ENGR 493-02 Special Topics on Microprocessor Applications
Spring 2019
When the Full Spectrum Farm clients came to campus on several Fridays, the students from ENGR493-02 taught by Dr. Yanjun Yan and ART 132 2D Design taught by Dr. Mary Anna LaFratta would meet with the clients in Bardo Art Center Design Studio 252 from 12 noon to
Both Dr. Yan and Dr. LaFratta has secured multiple grants to purchase materials for this Farm project and their individual course projects.
Initial Meetings
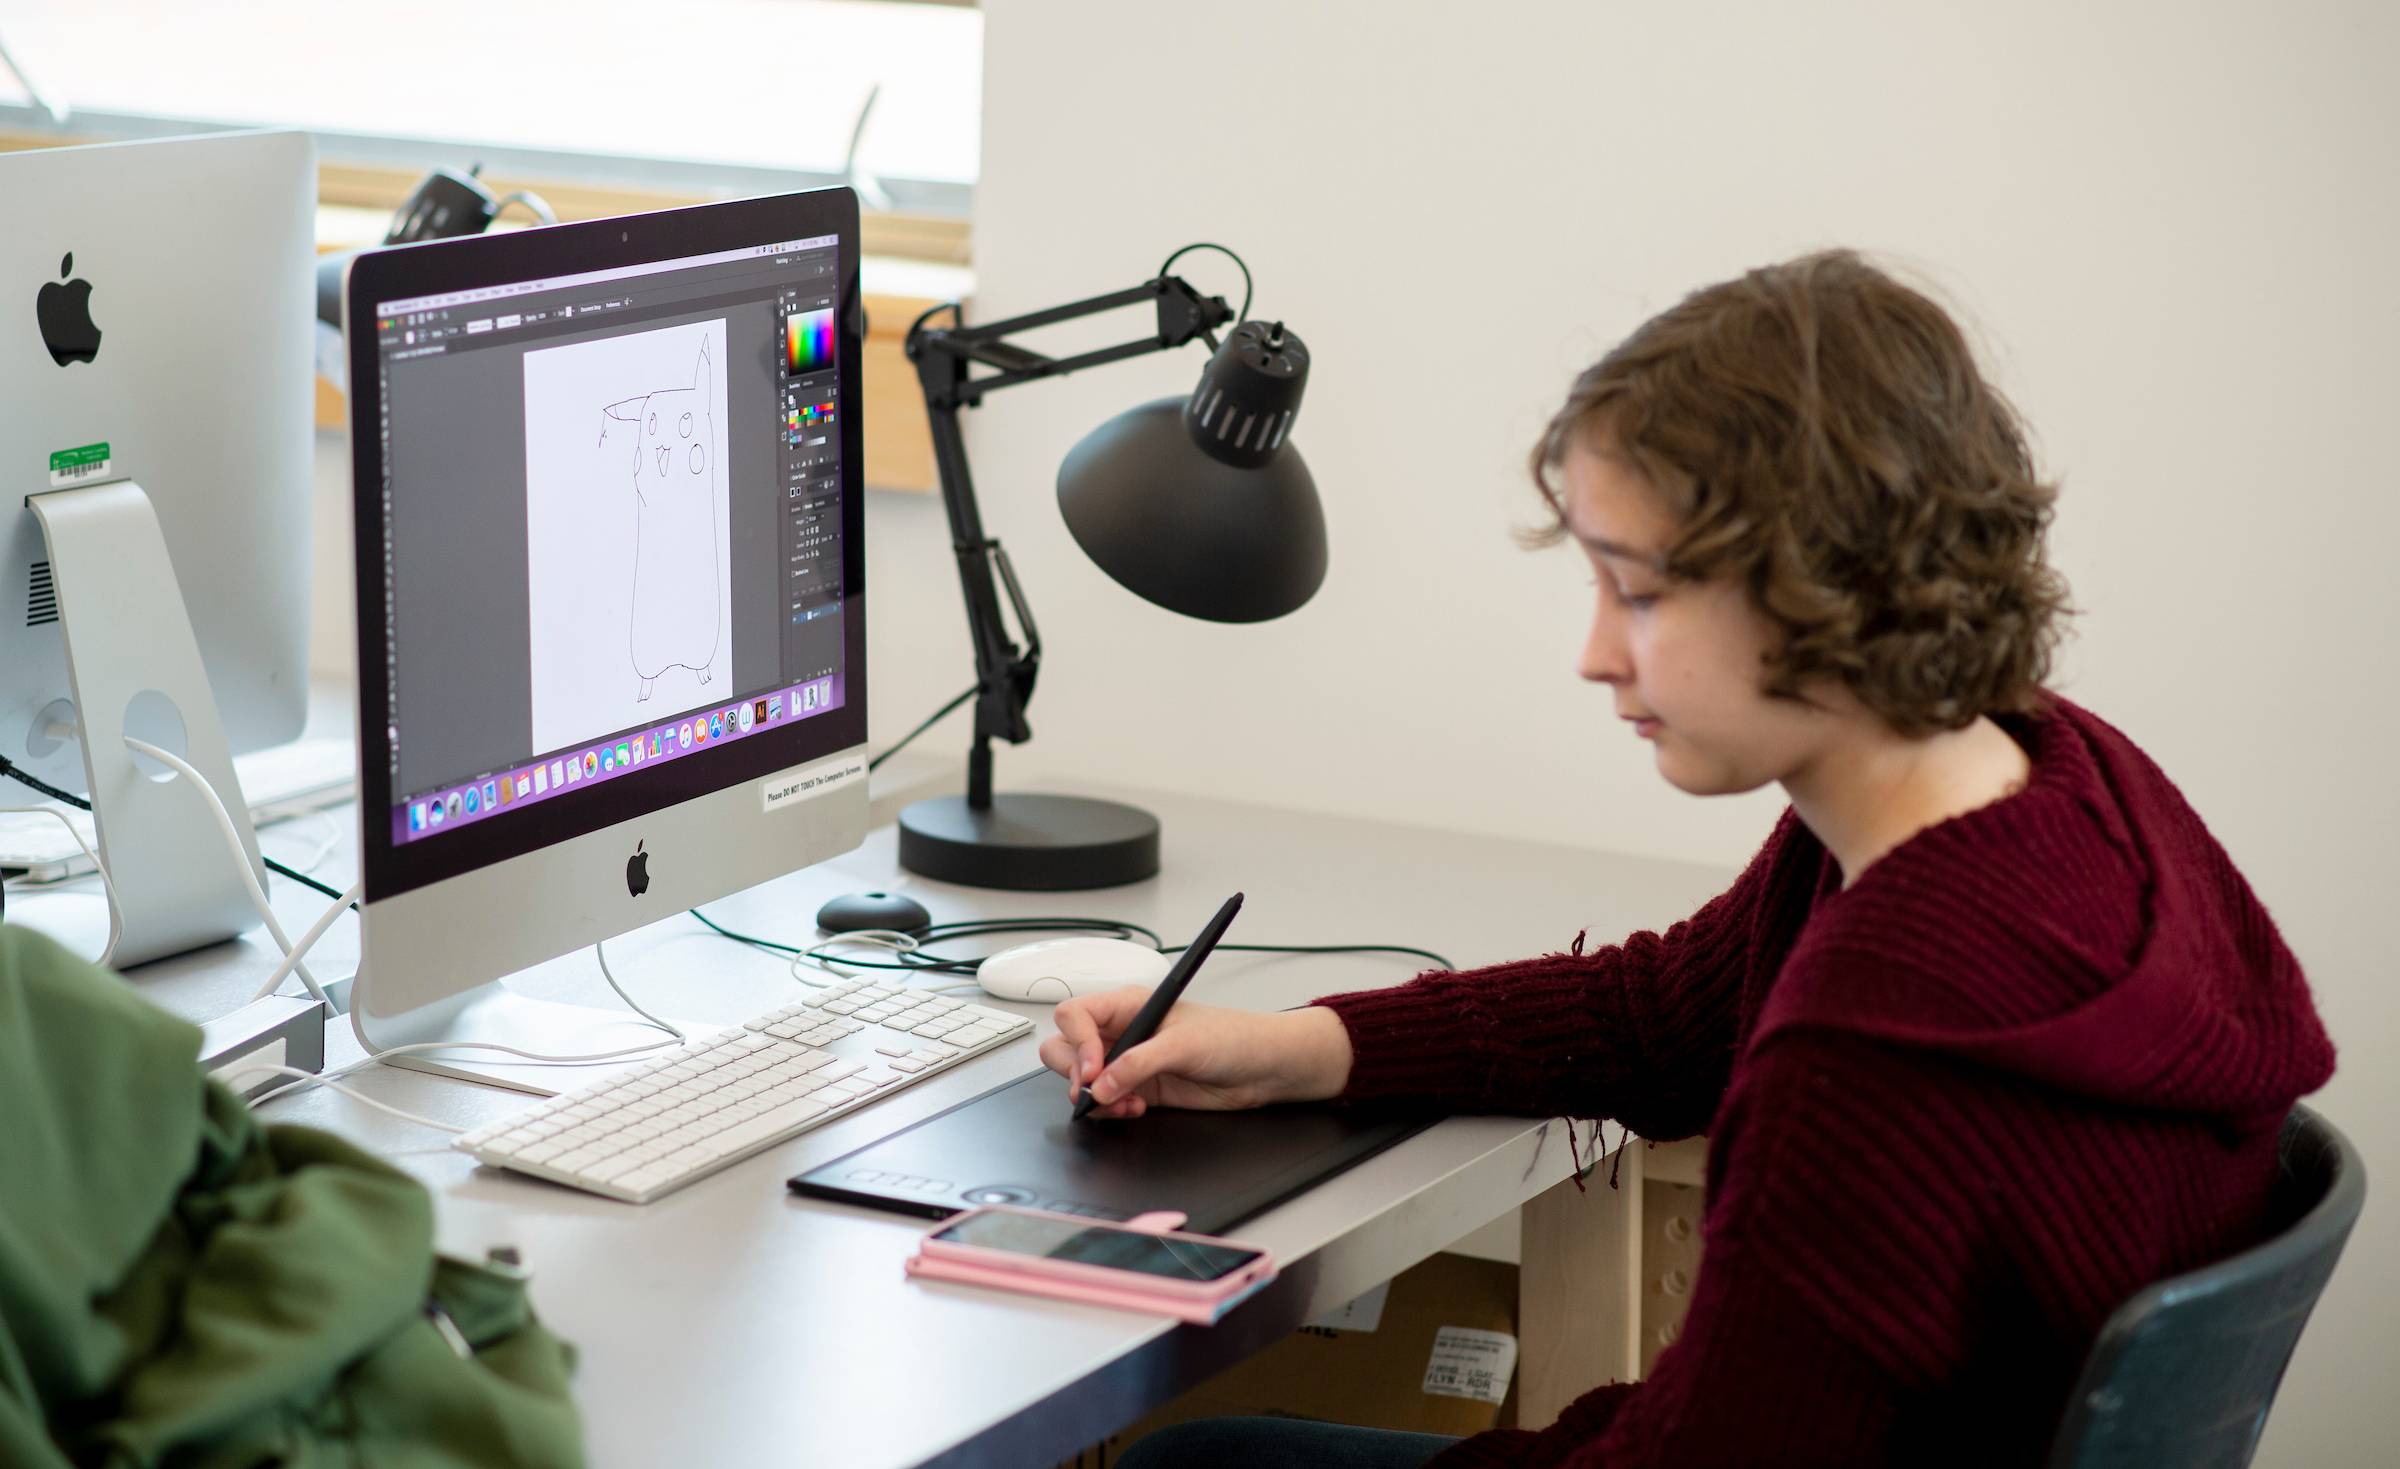
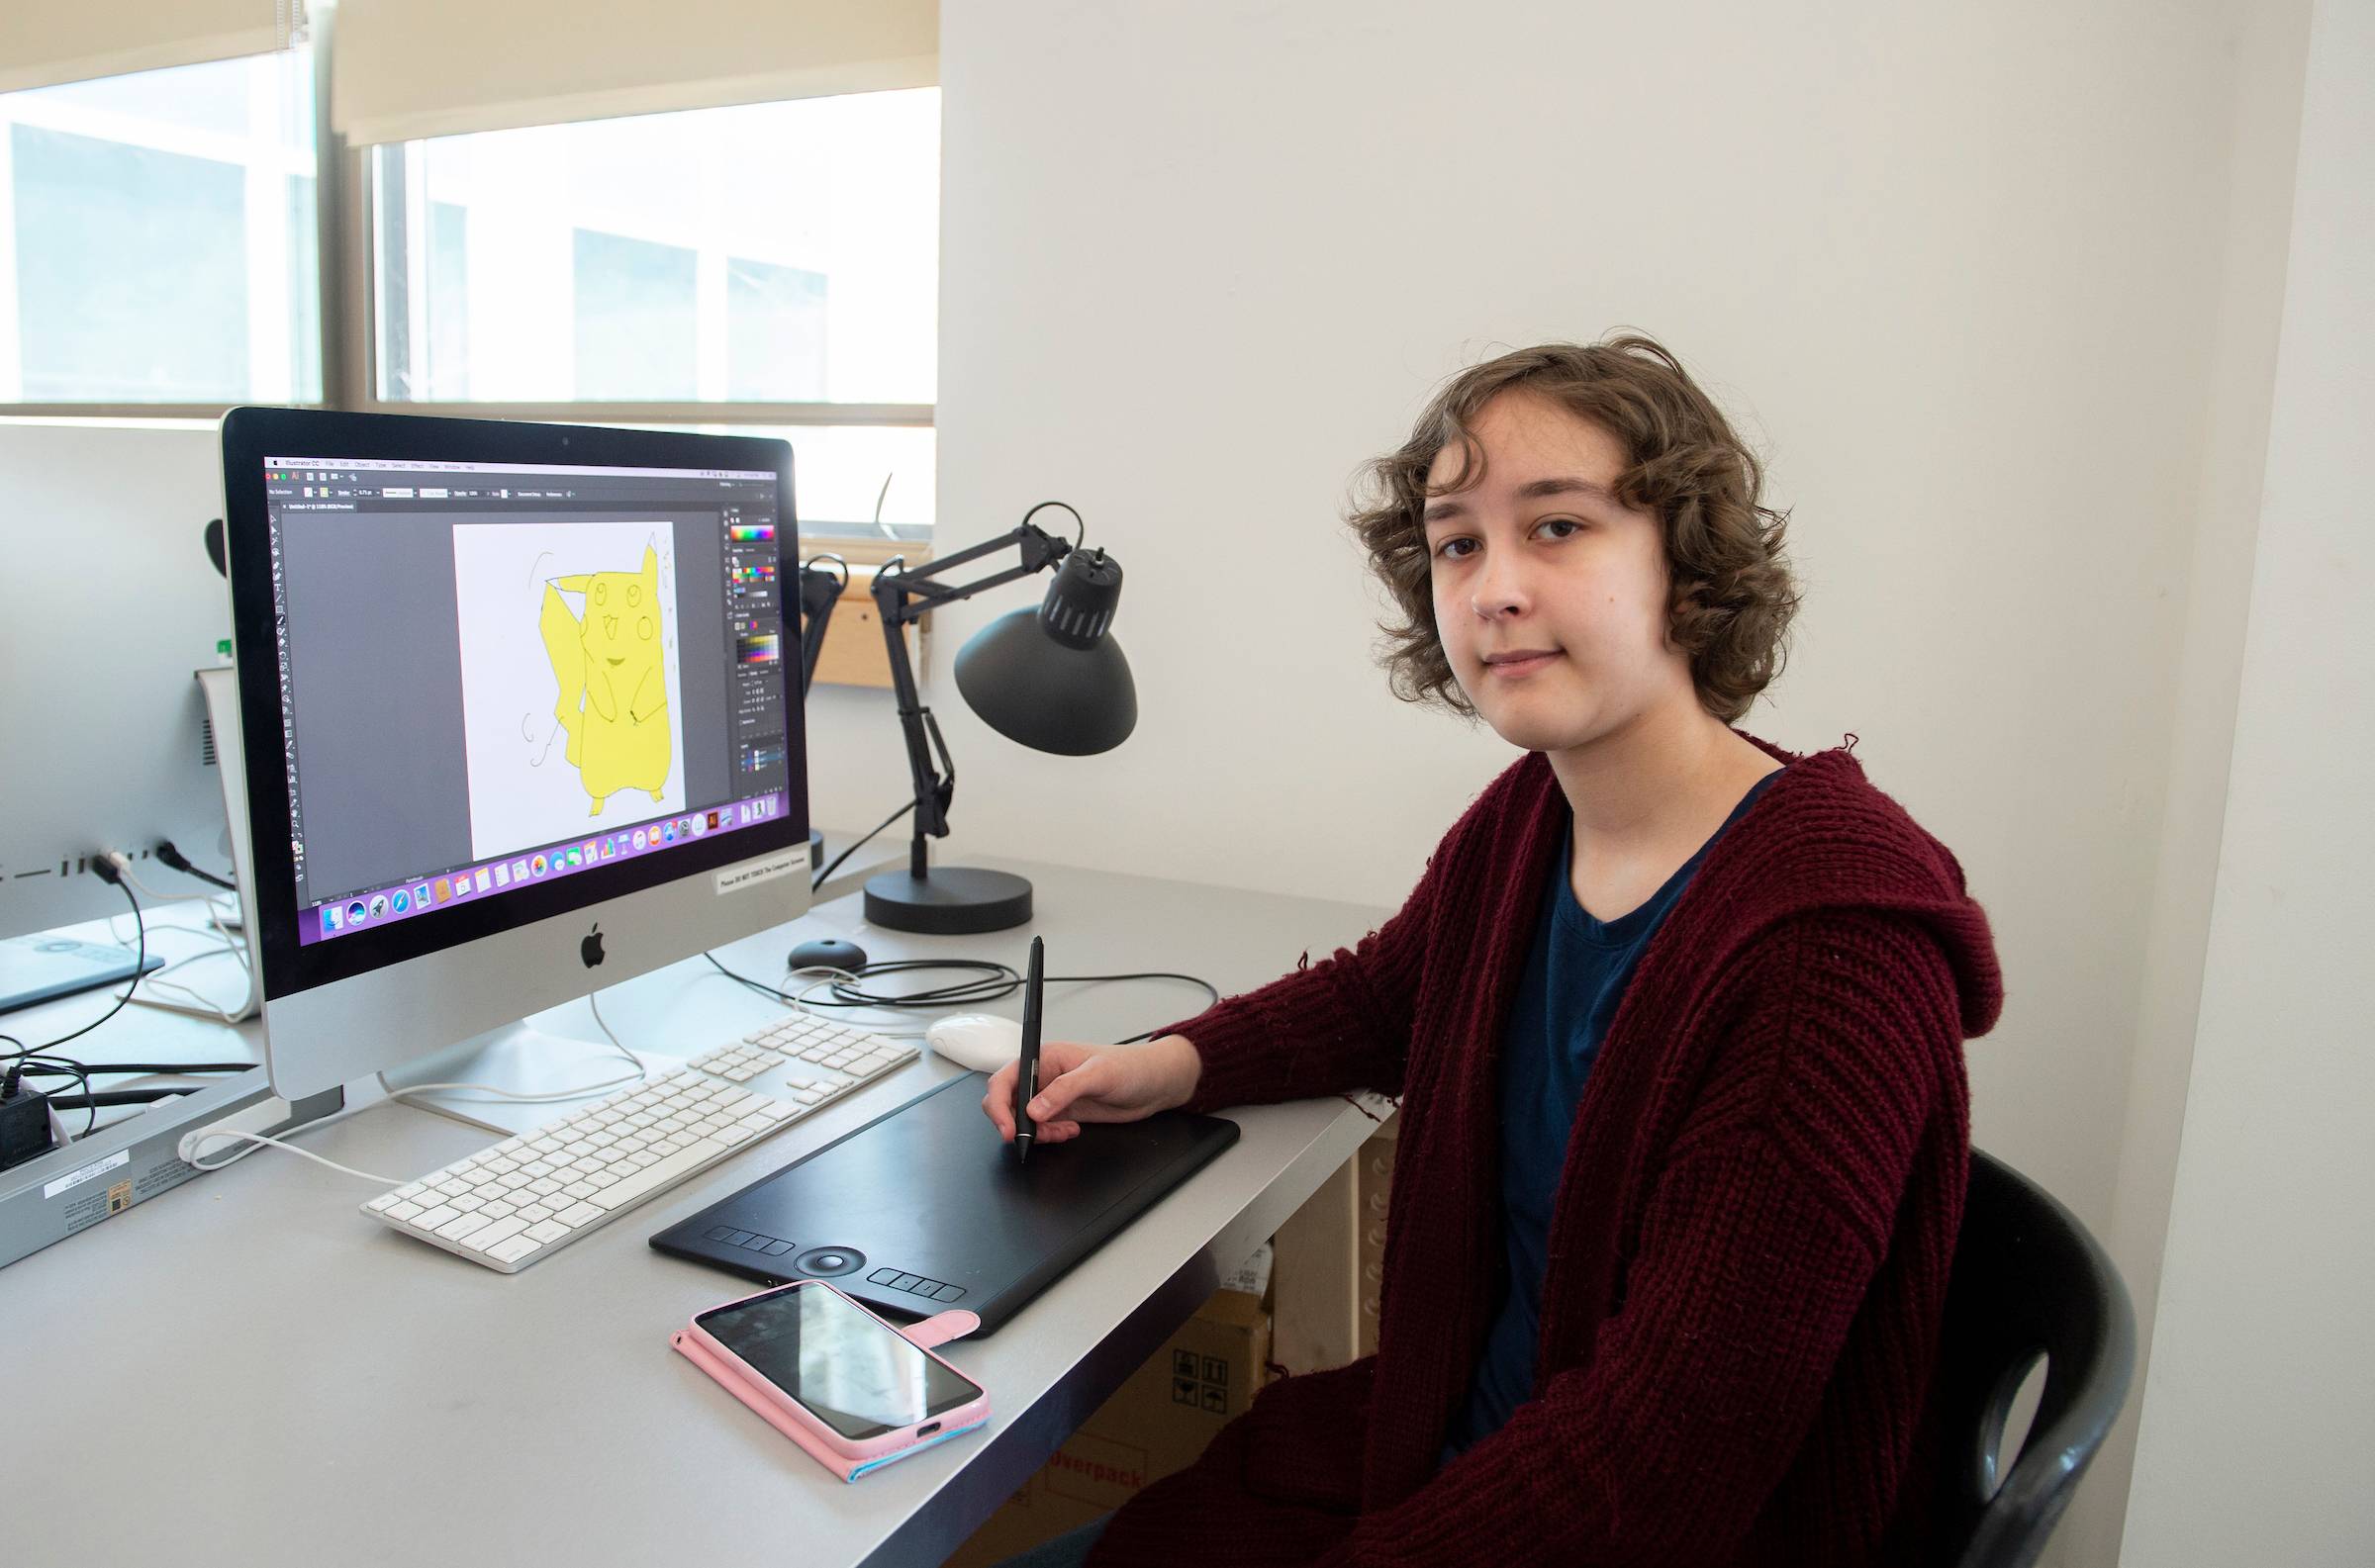
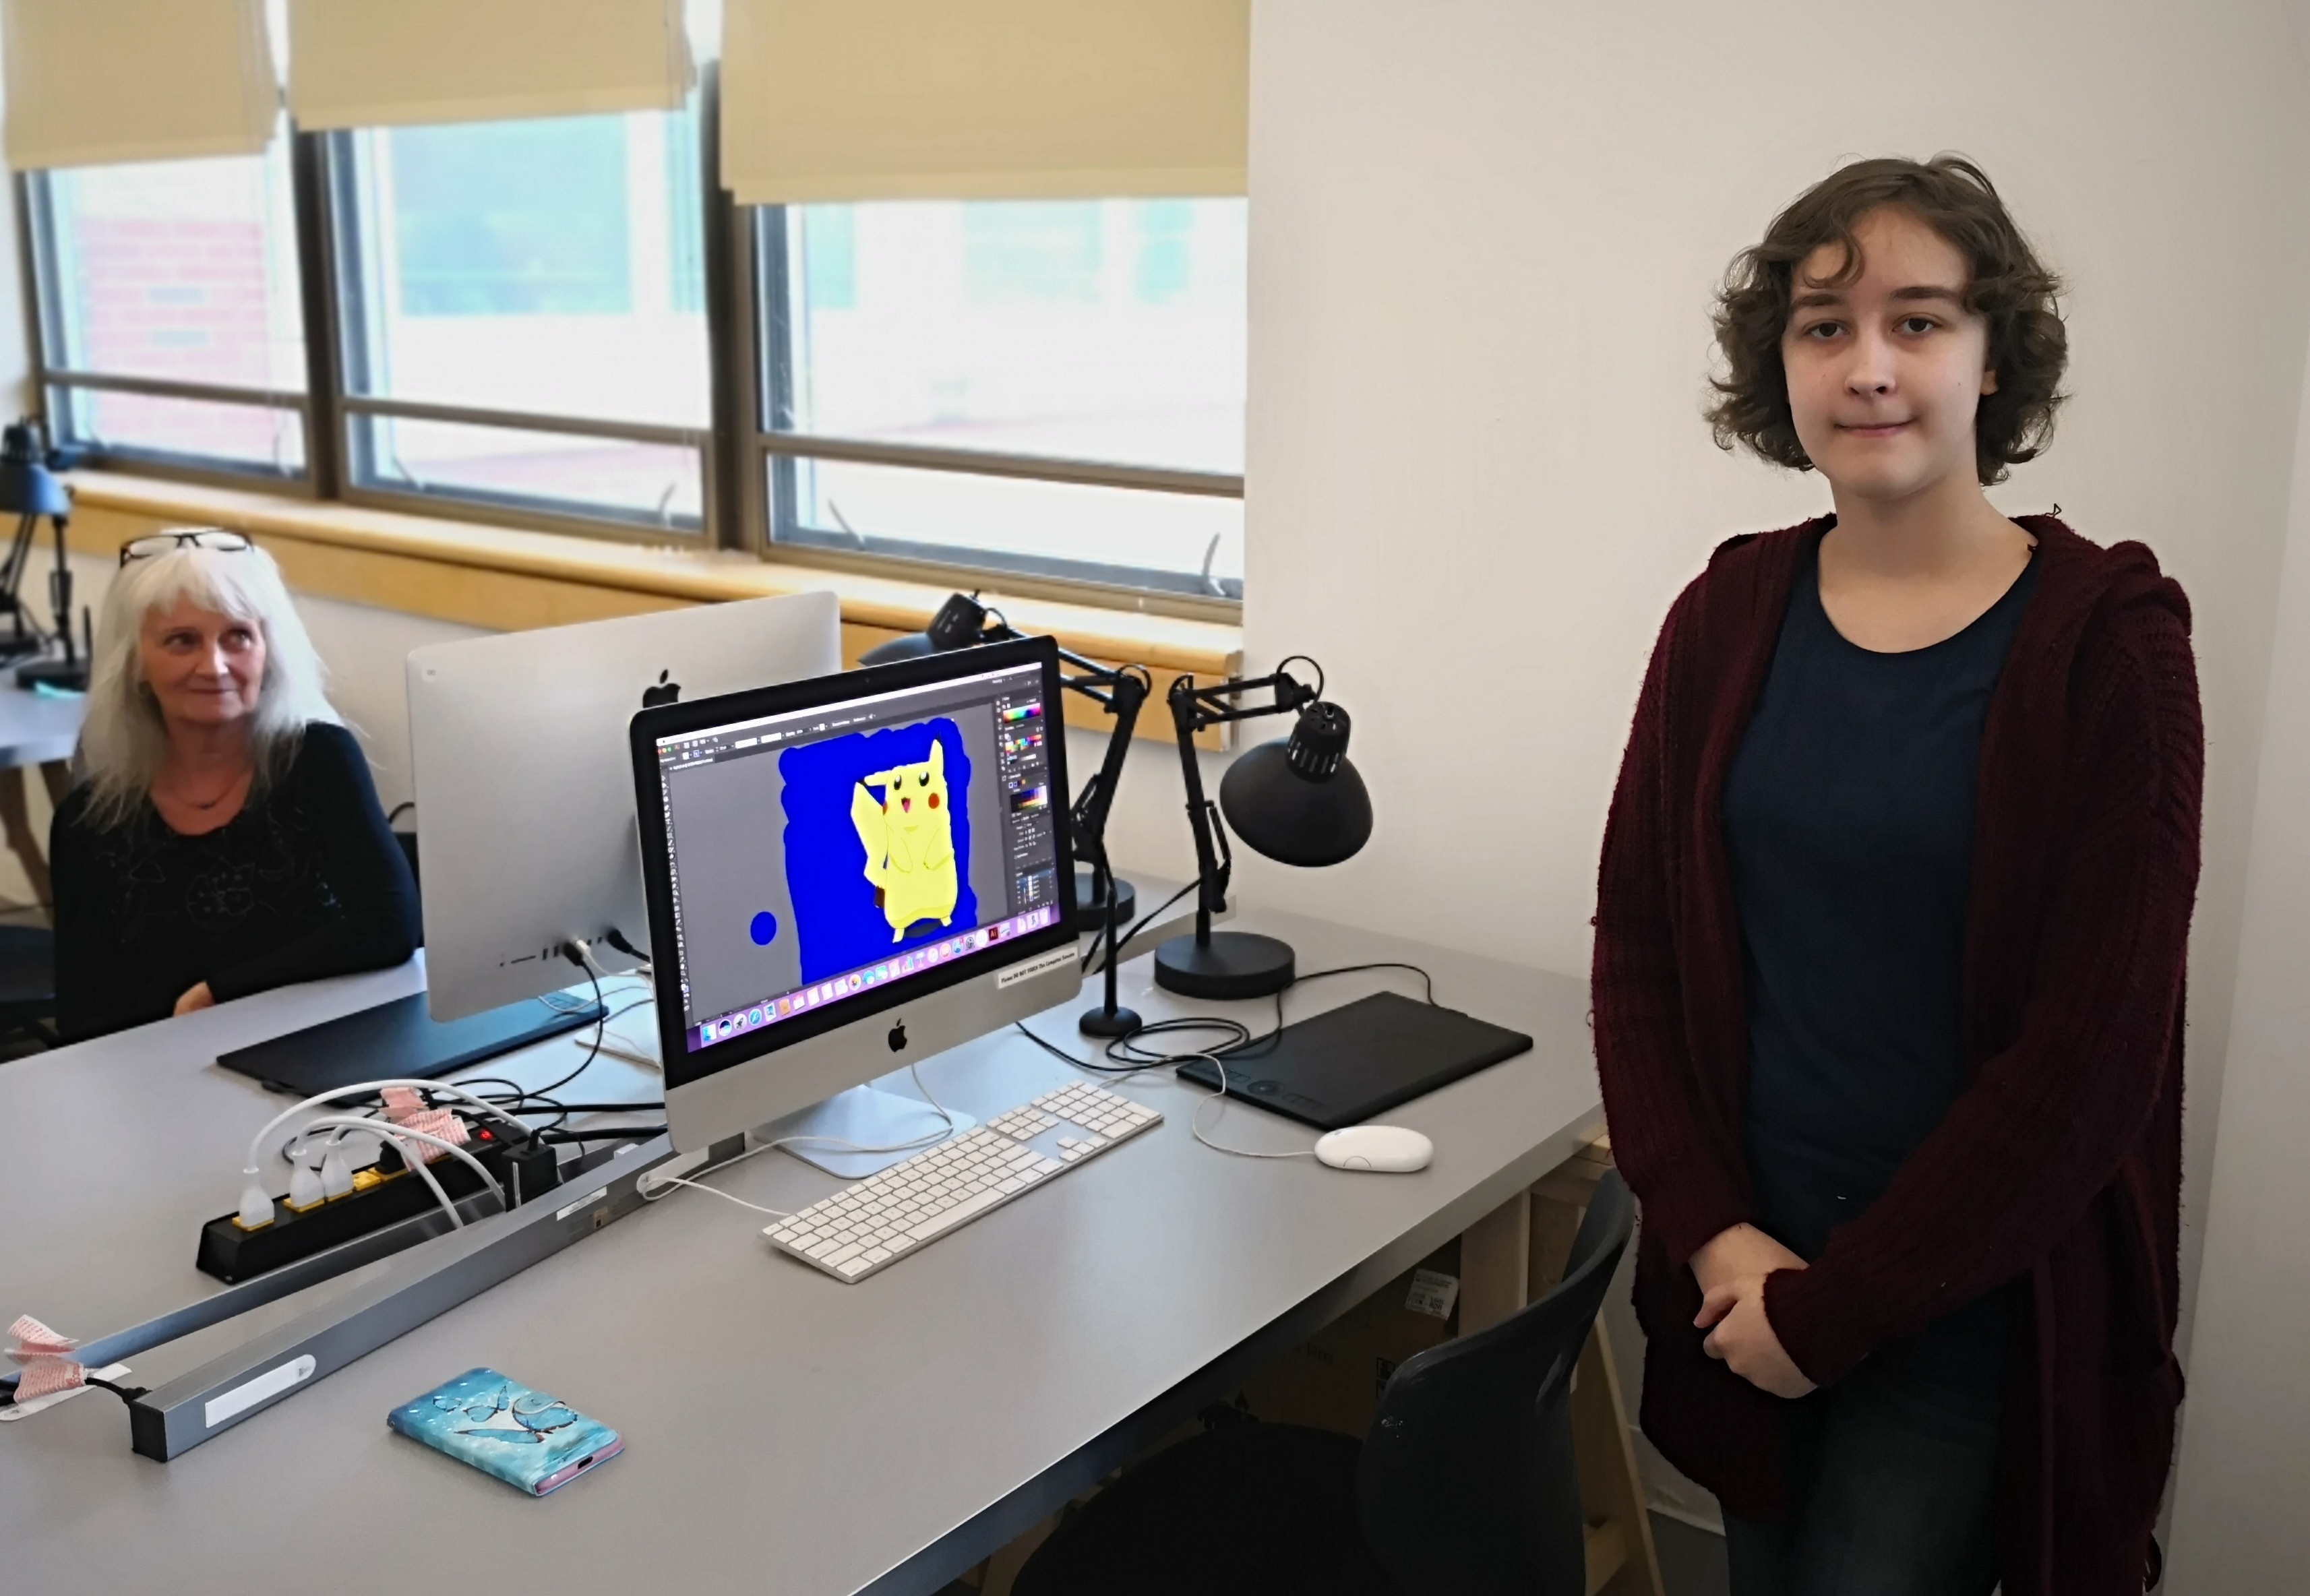
On Feb 1, 2019, Full Spectrum Farm clients and helpers visited Western Carolina University for the first time to learn to use WACOM tablets and Illustrator to draw on computers. No photos were taken.
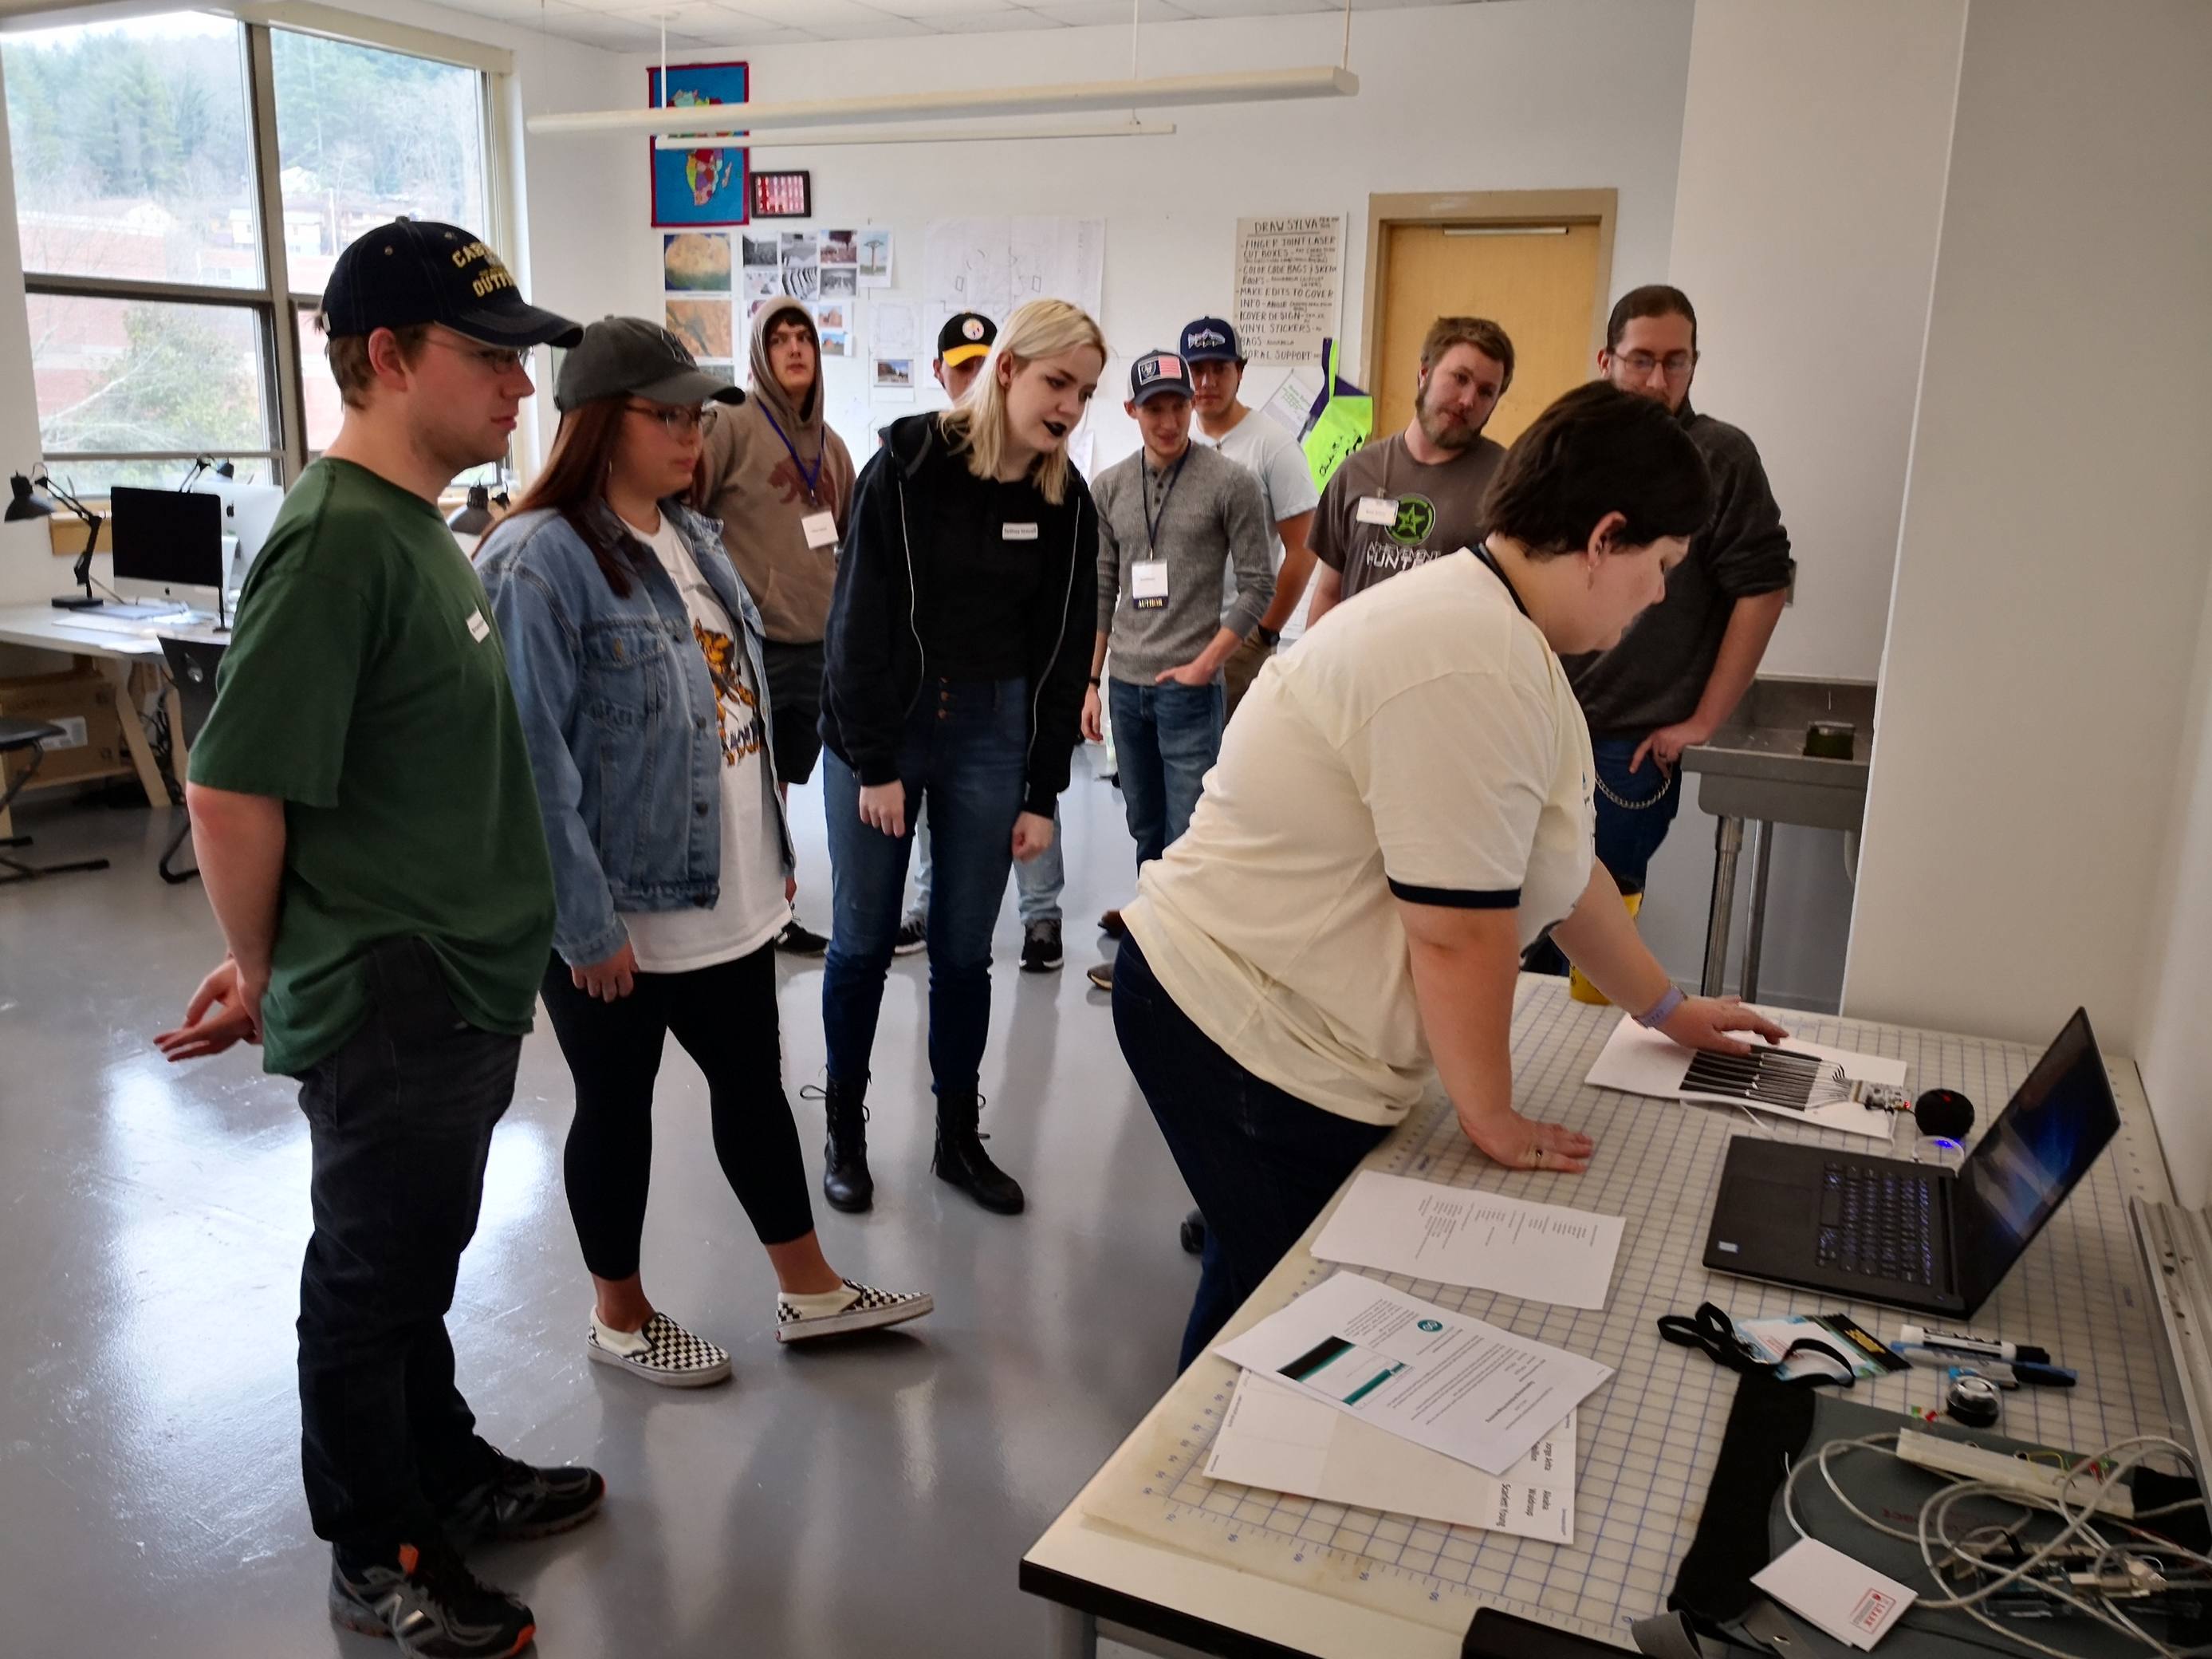
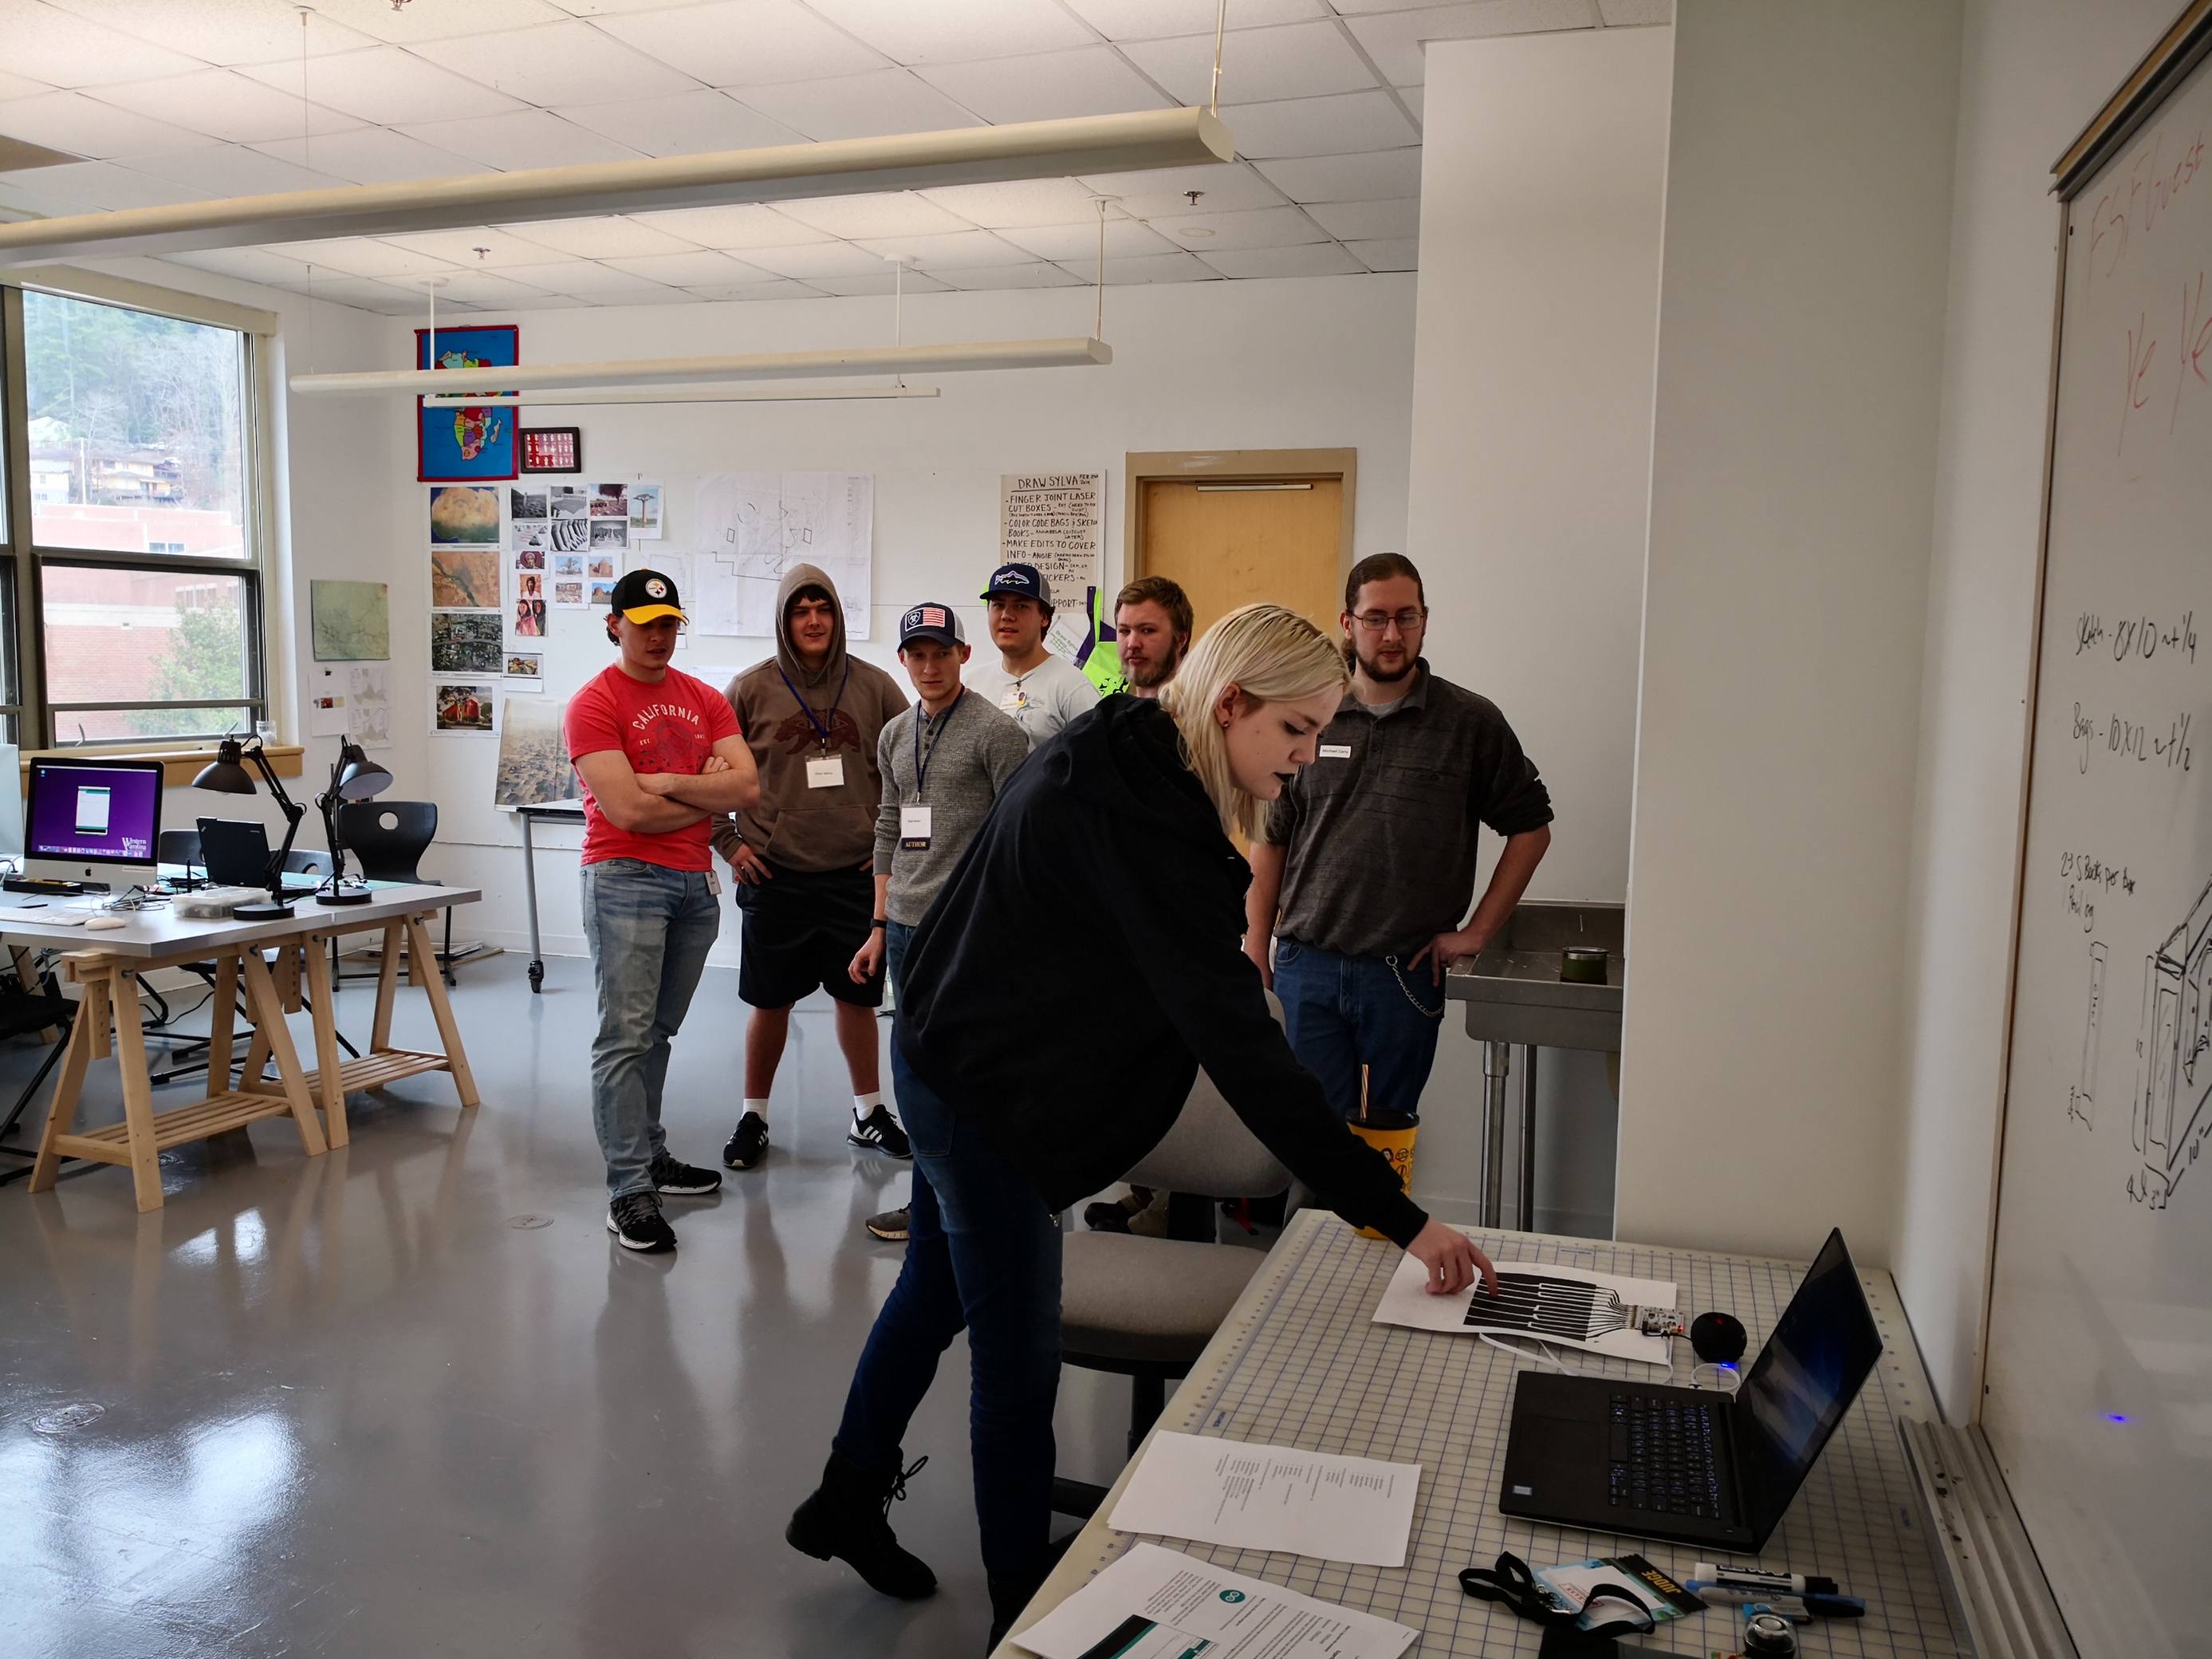
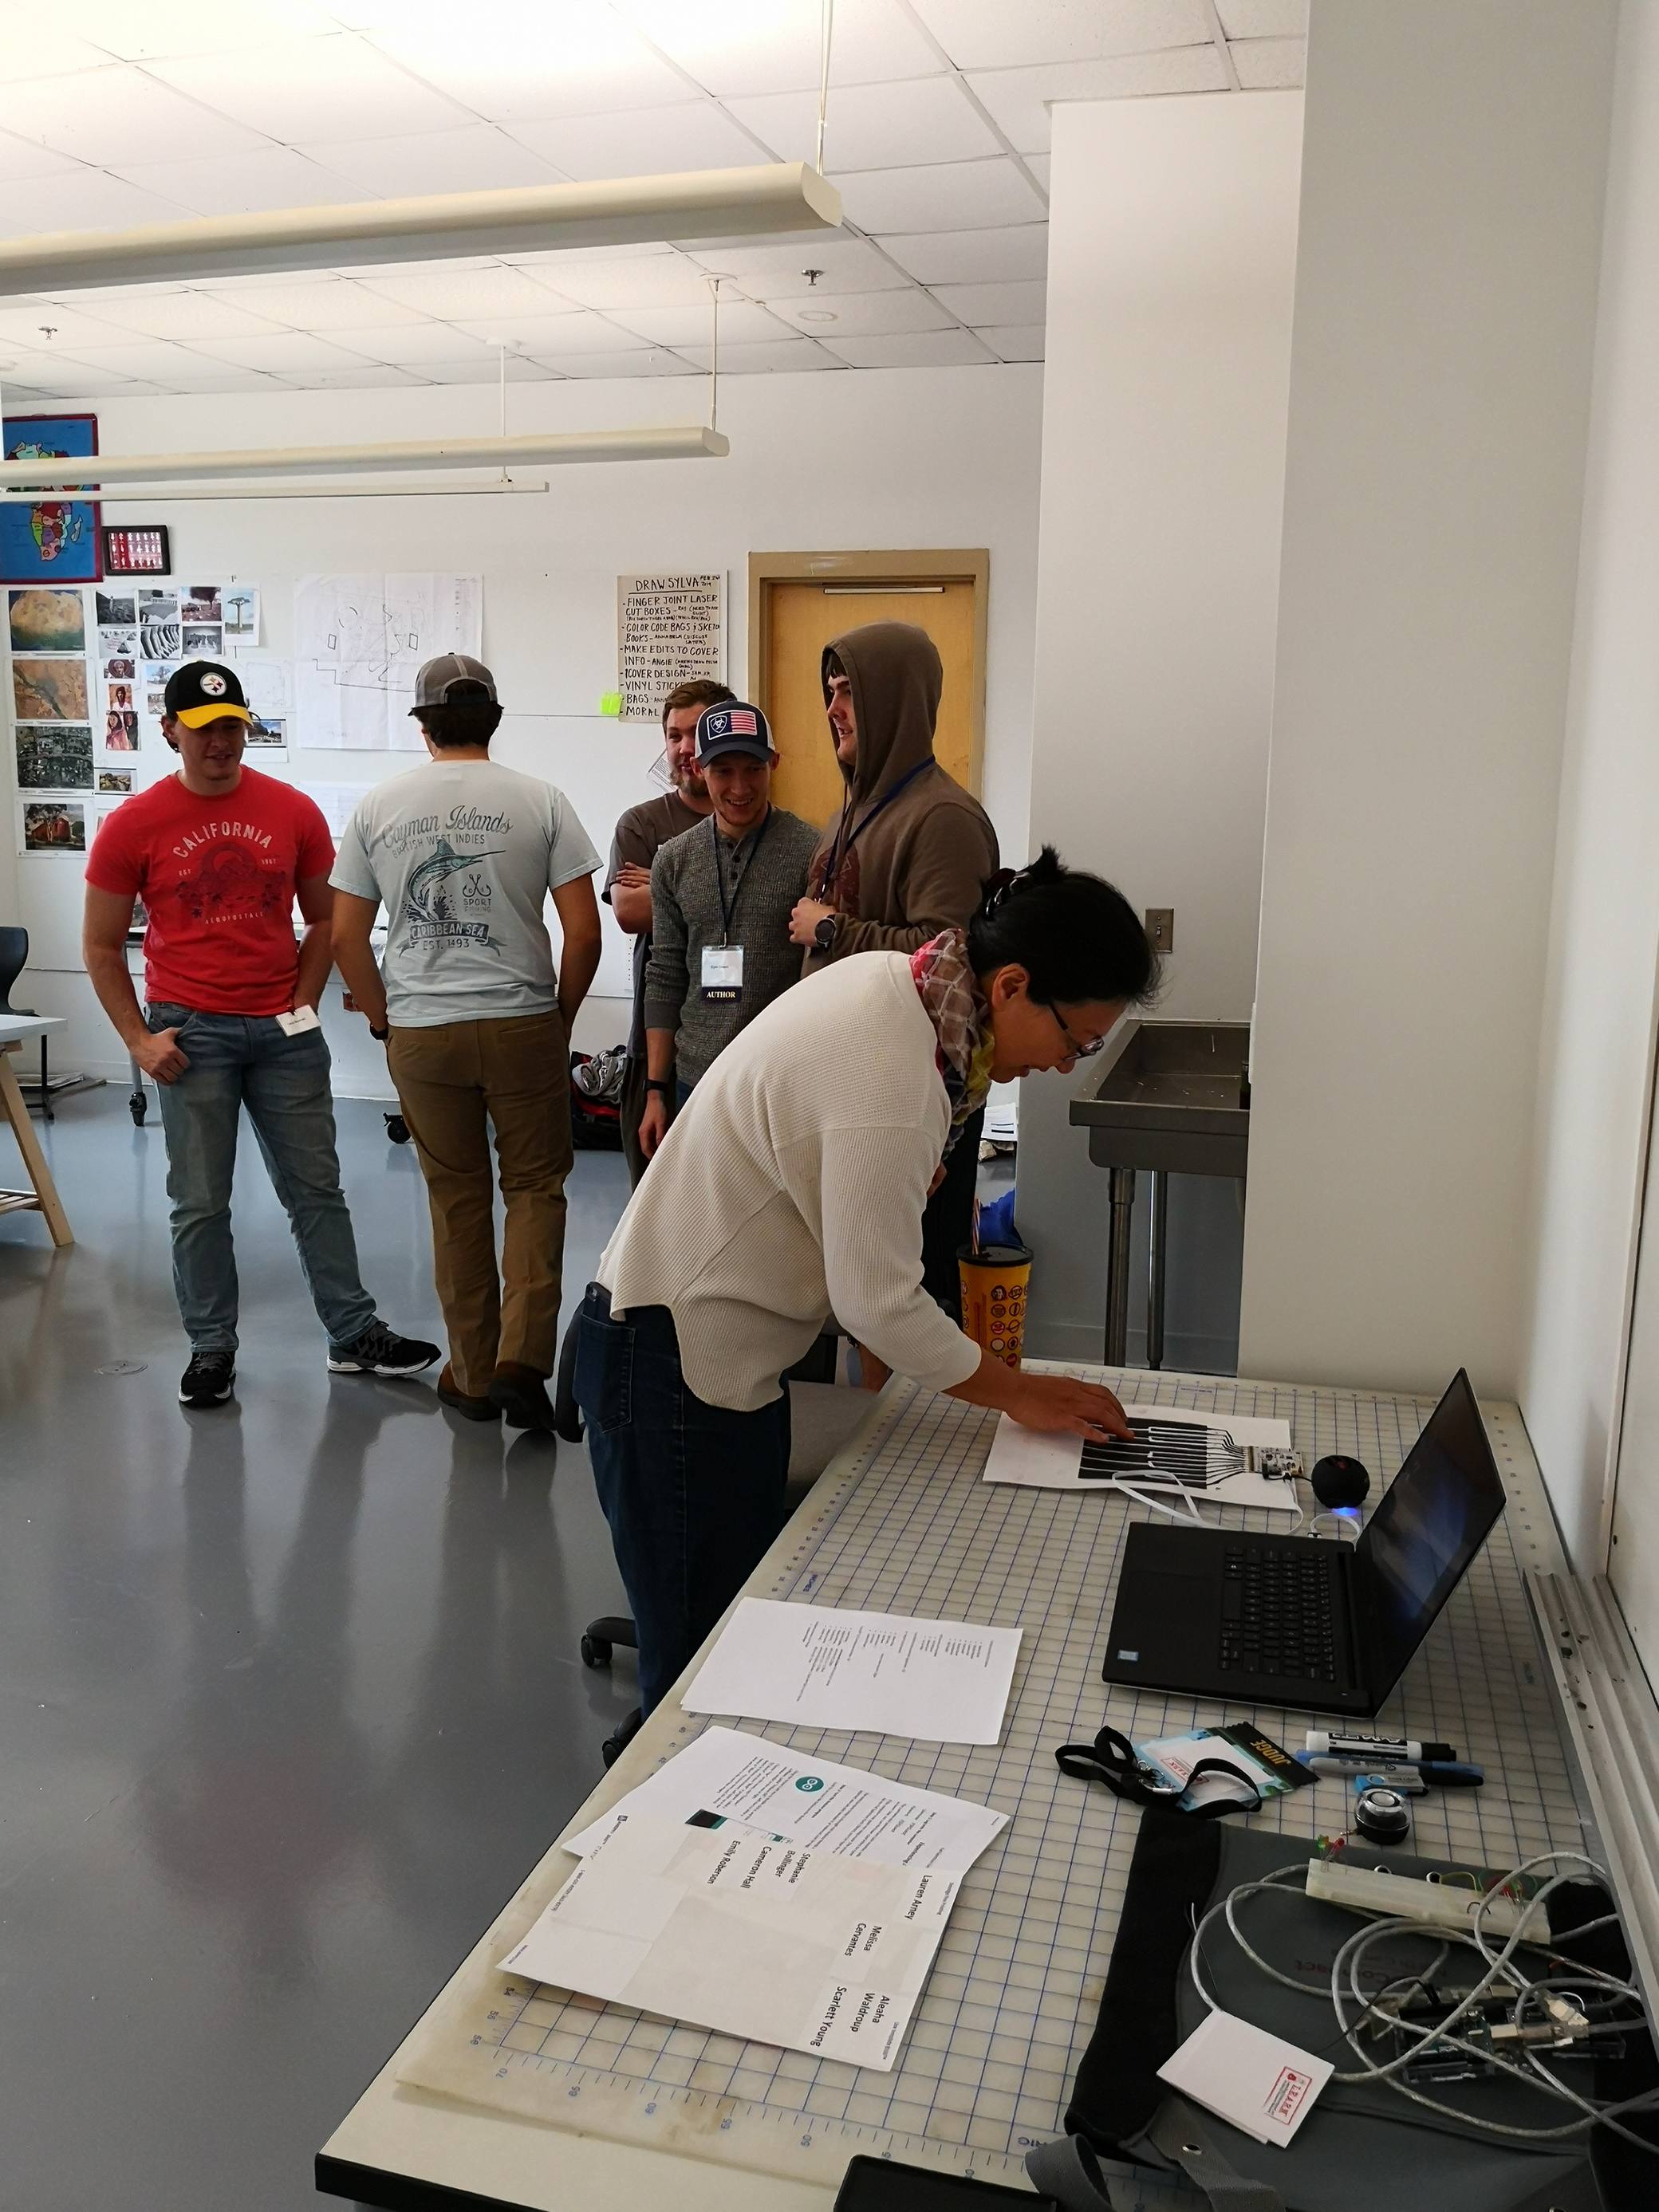
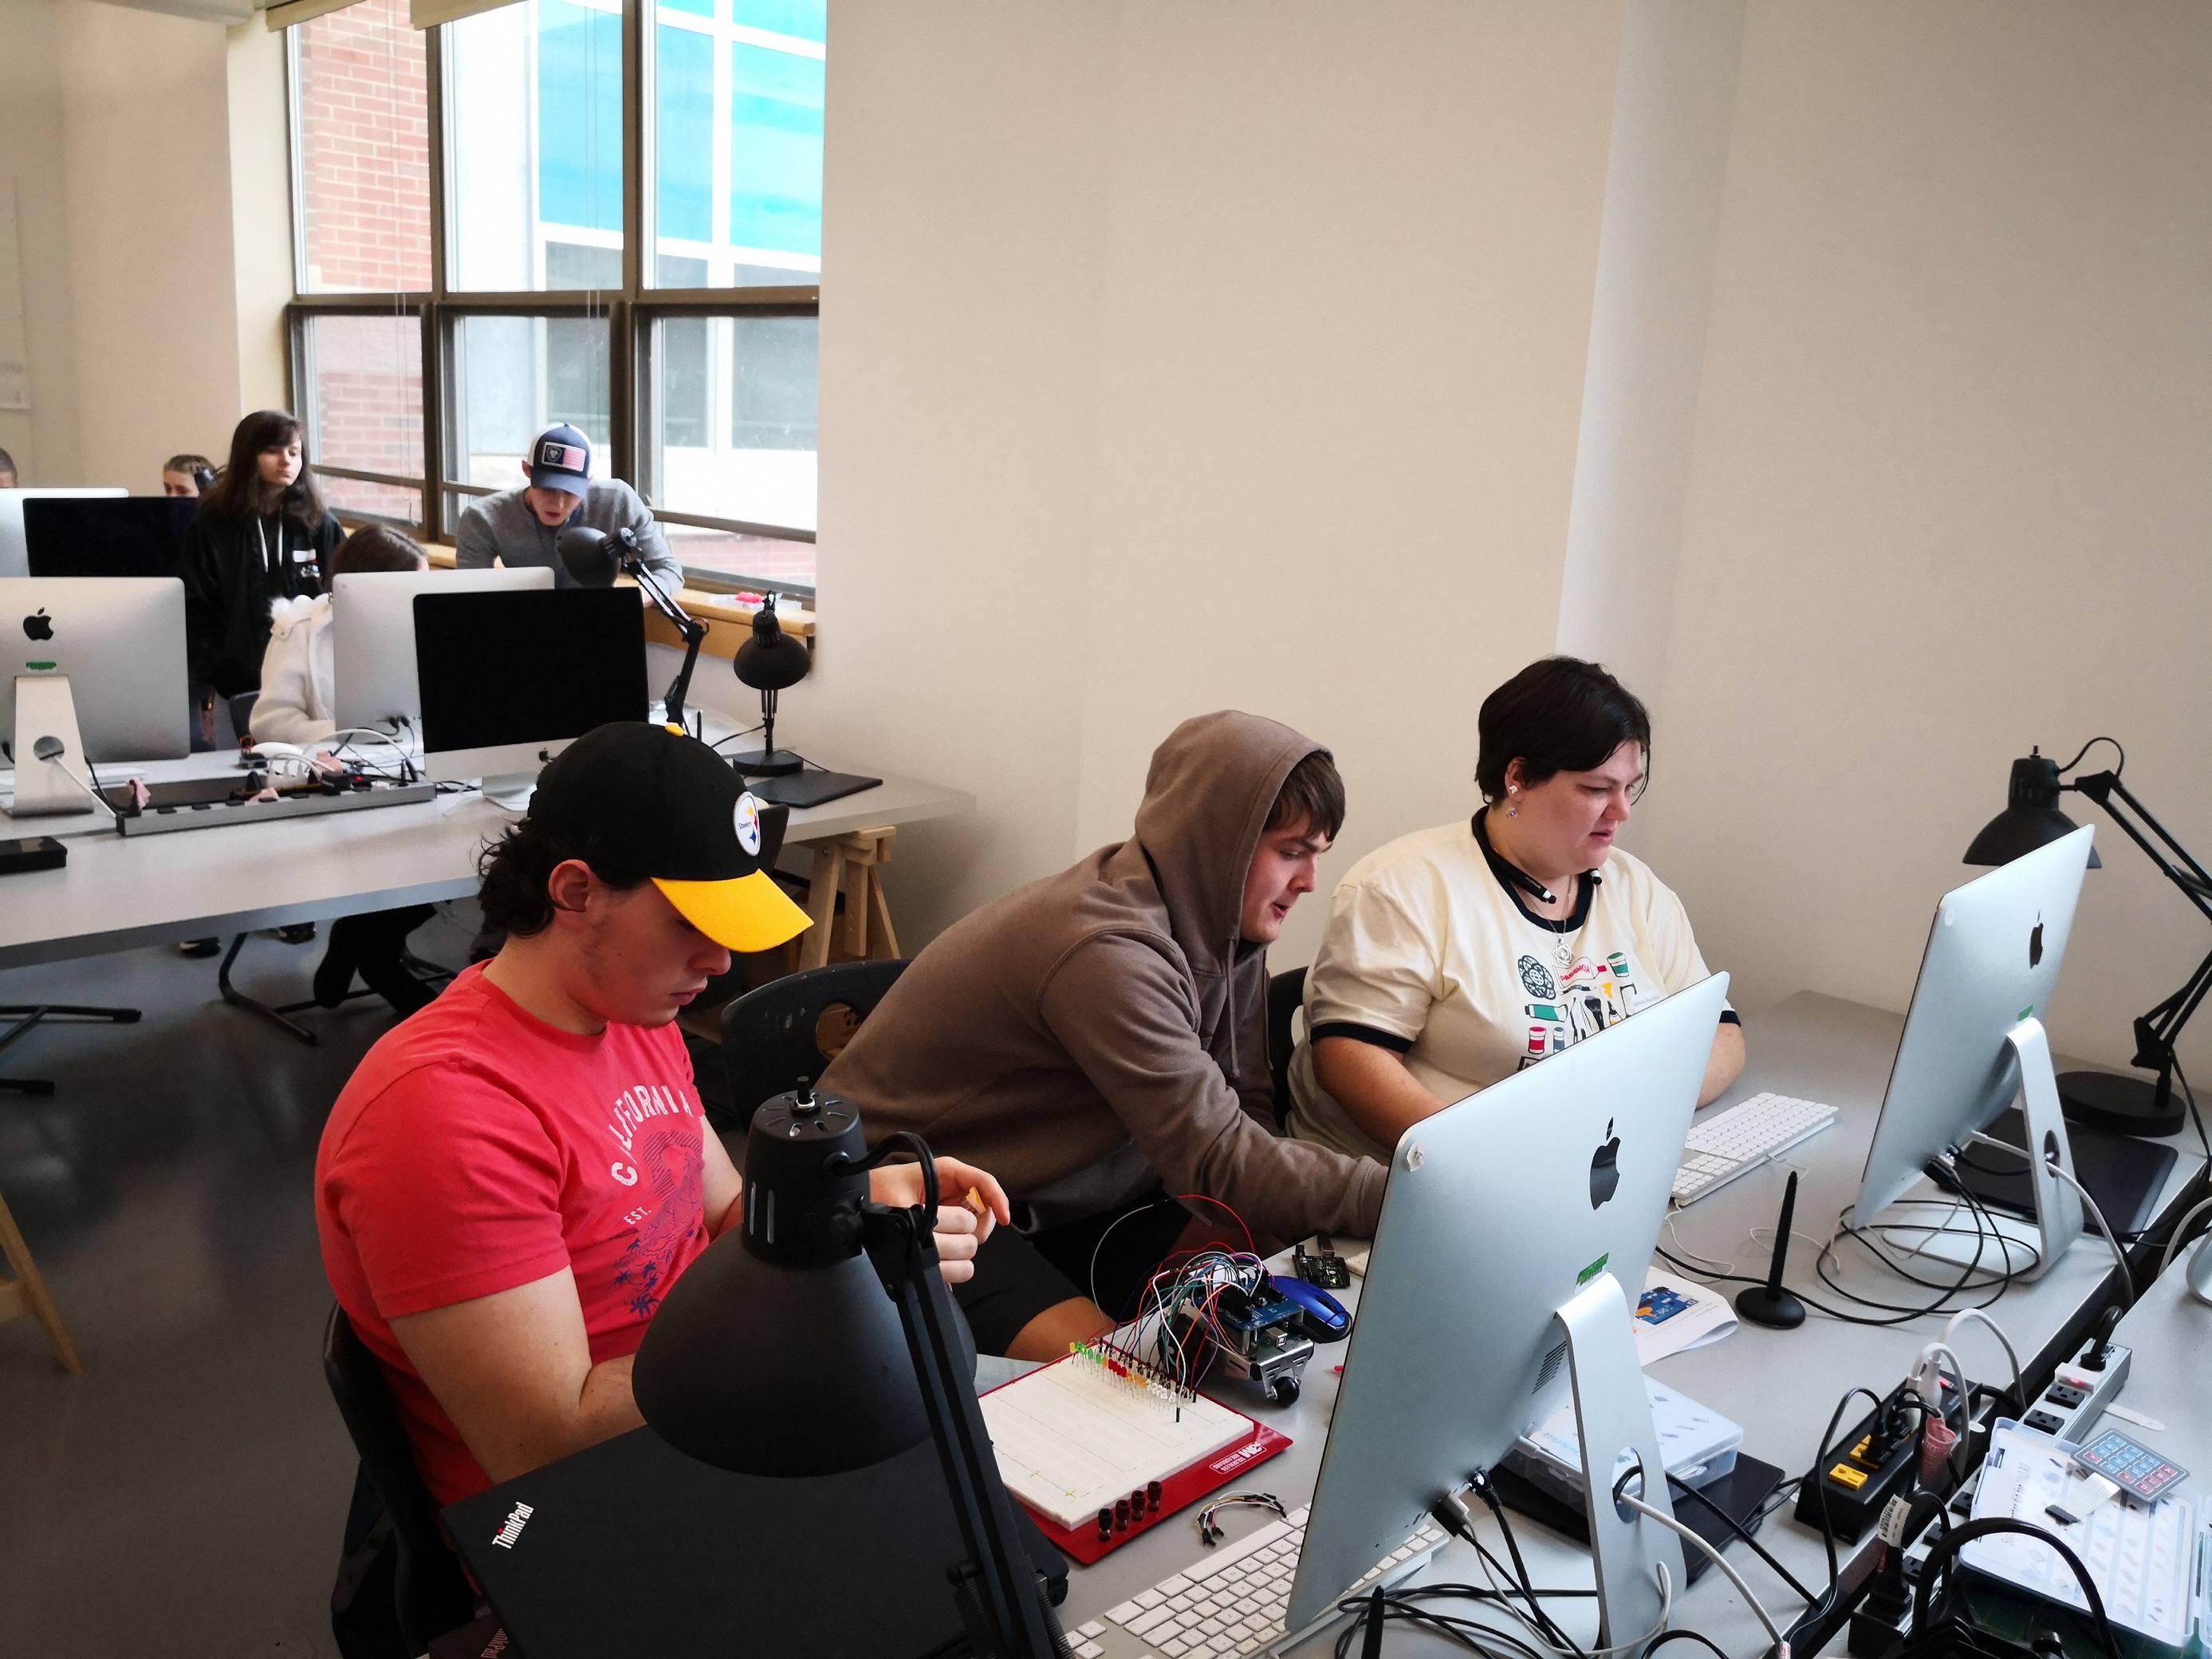
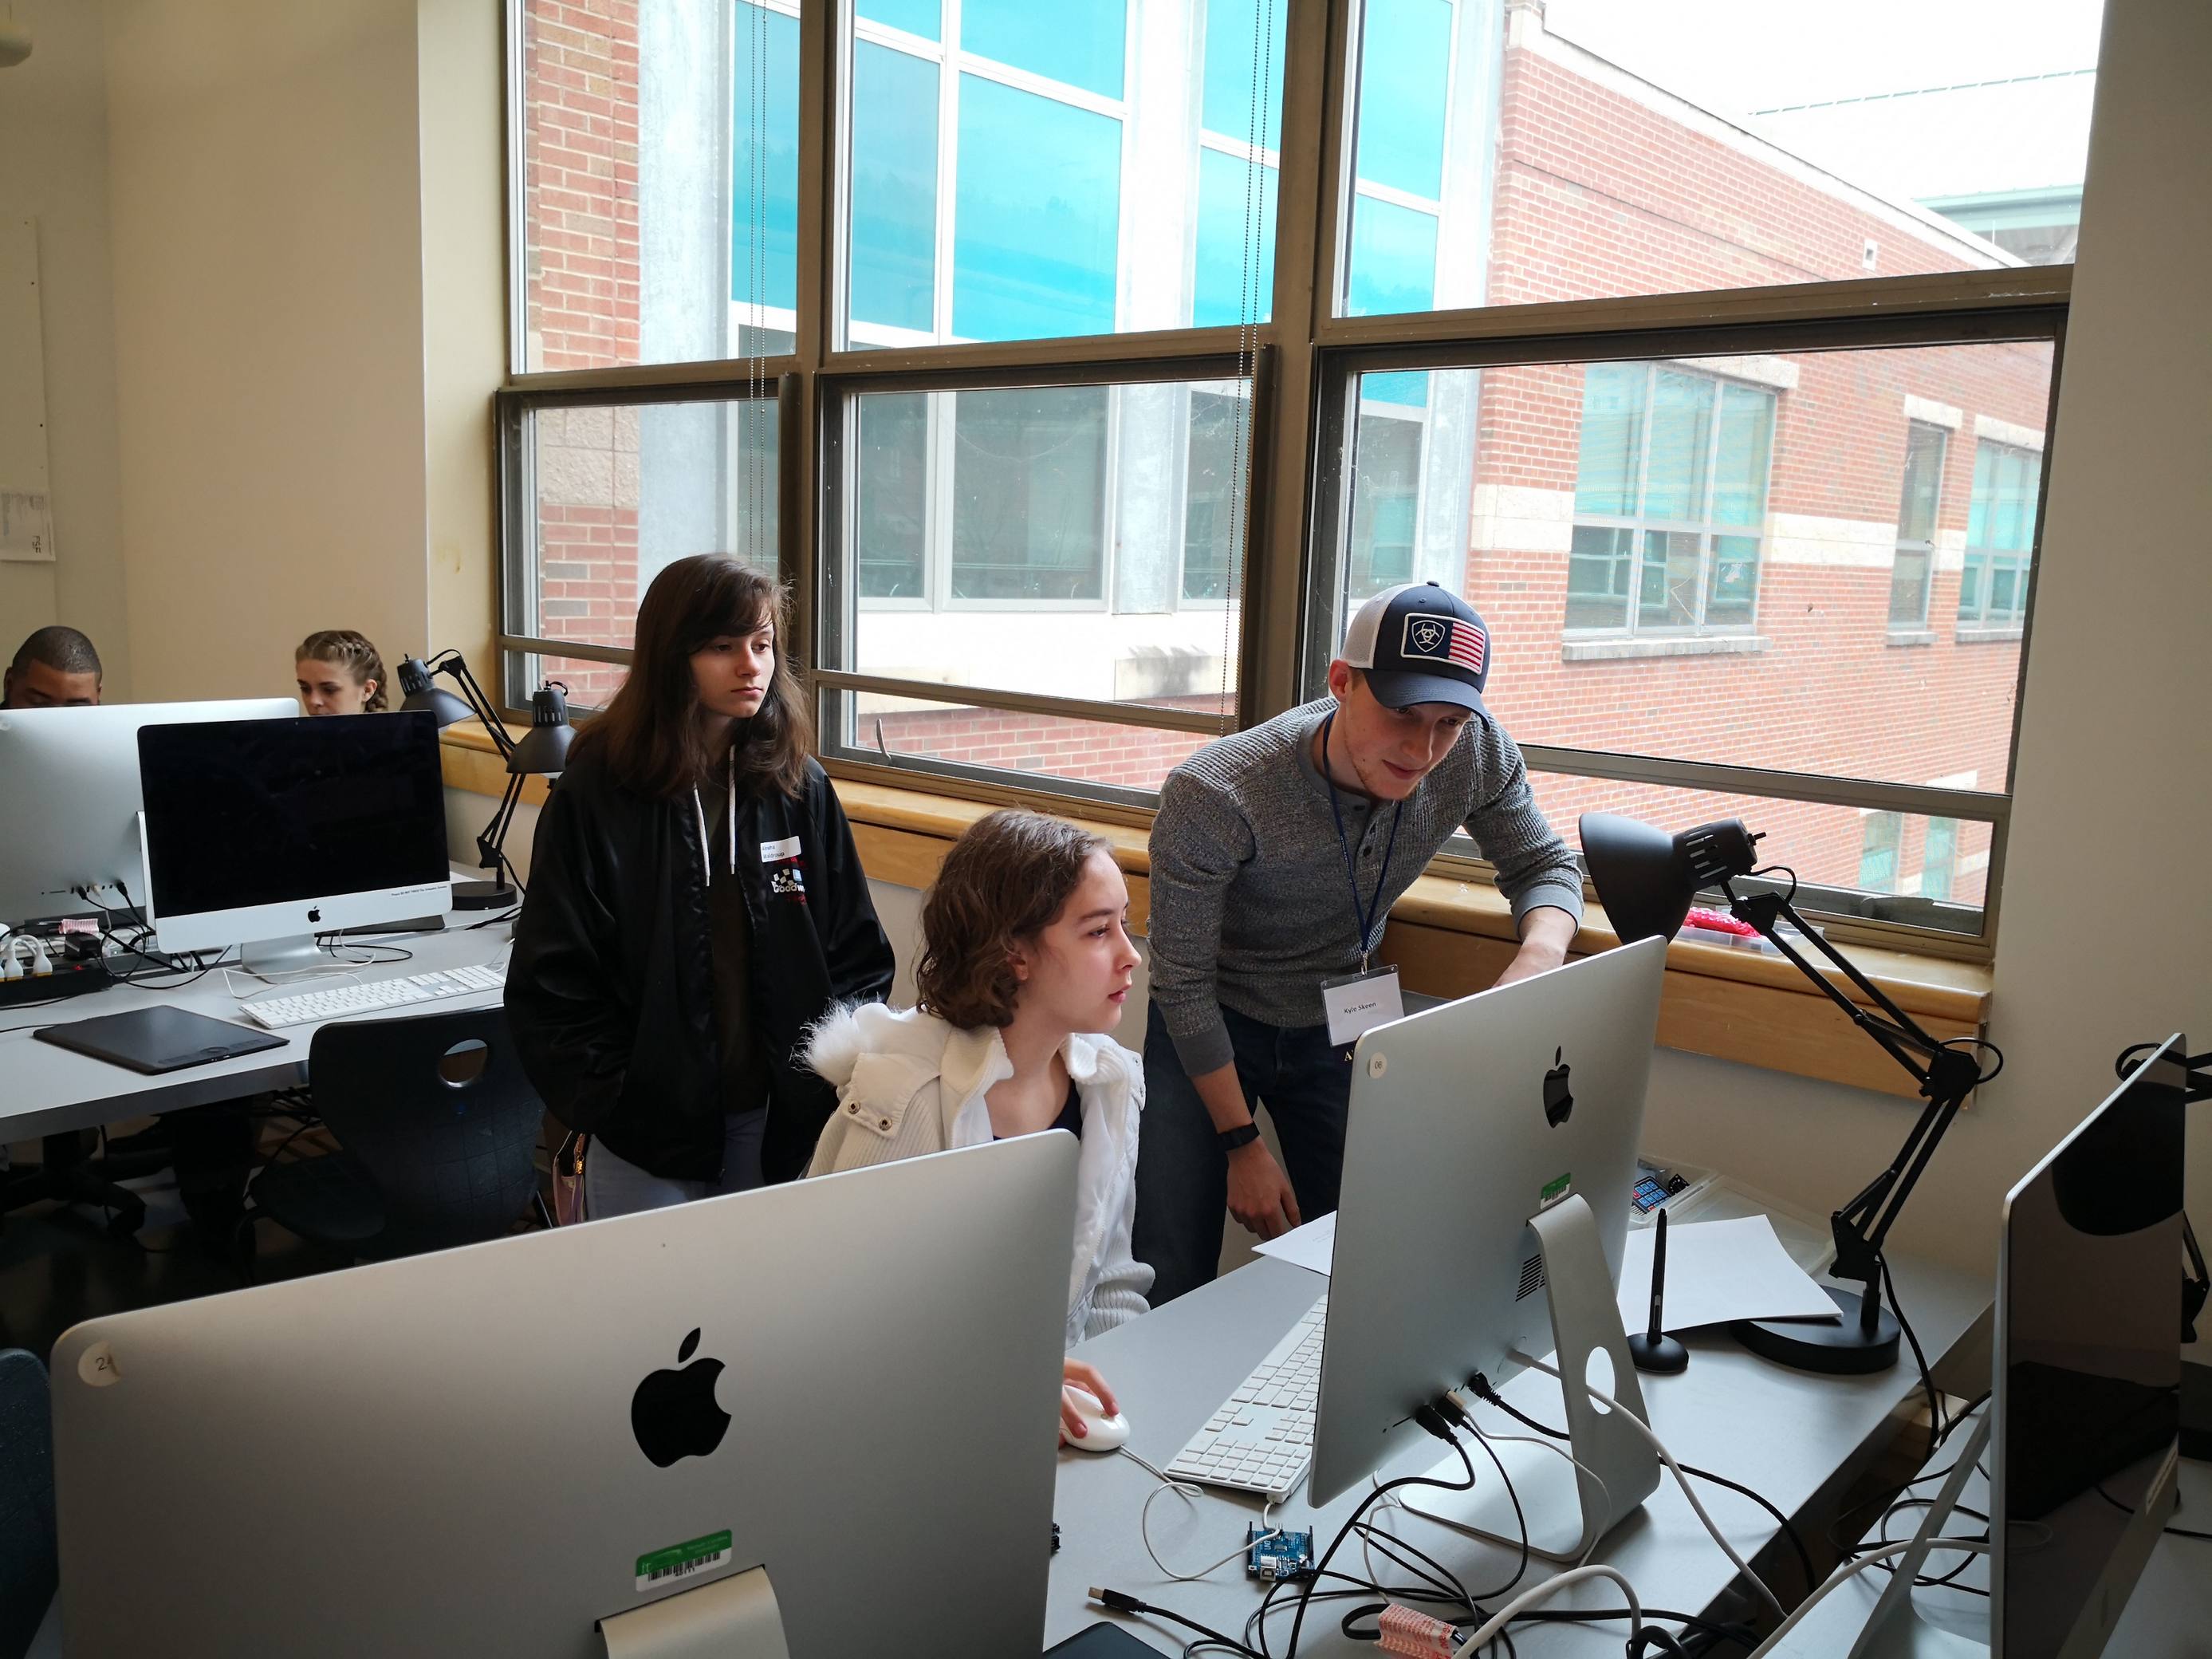
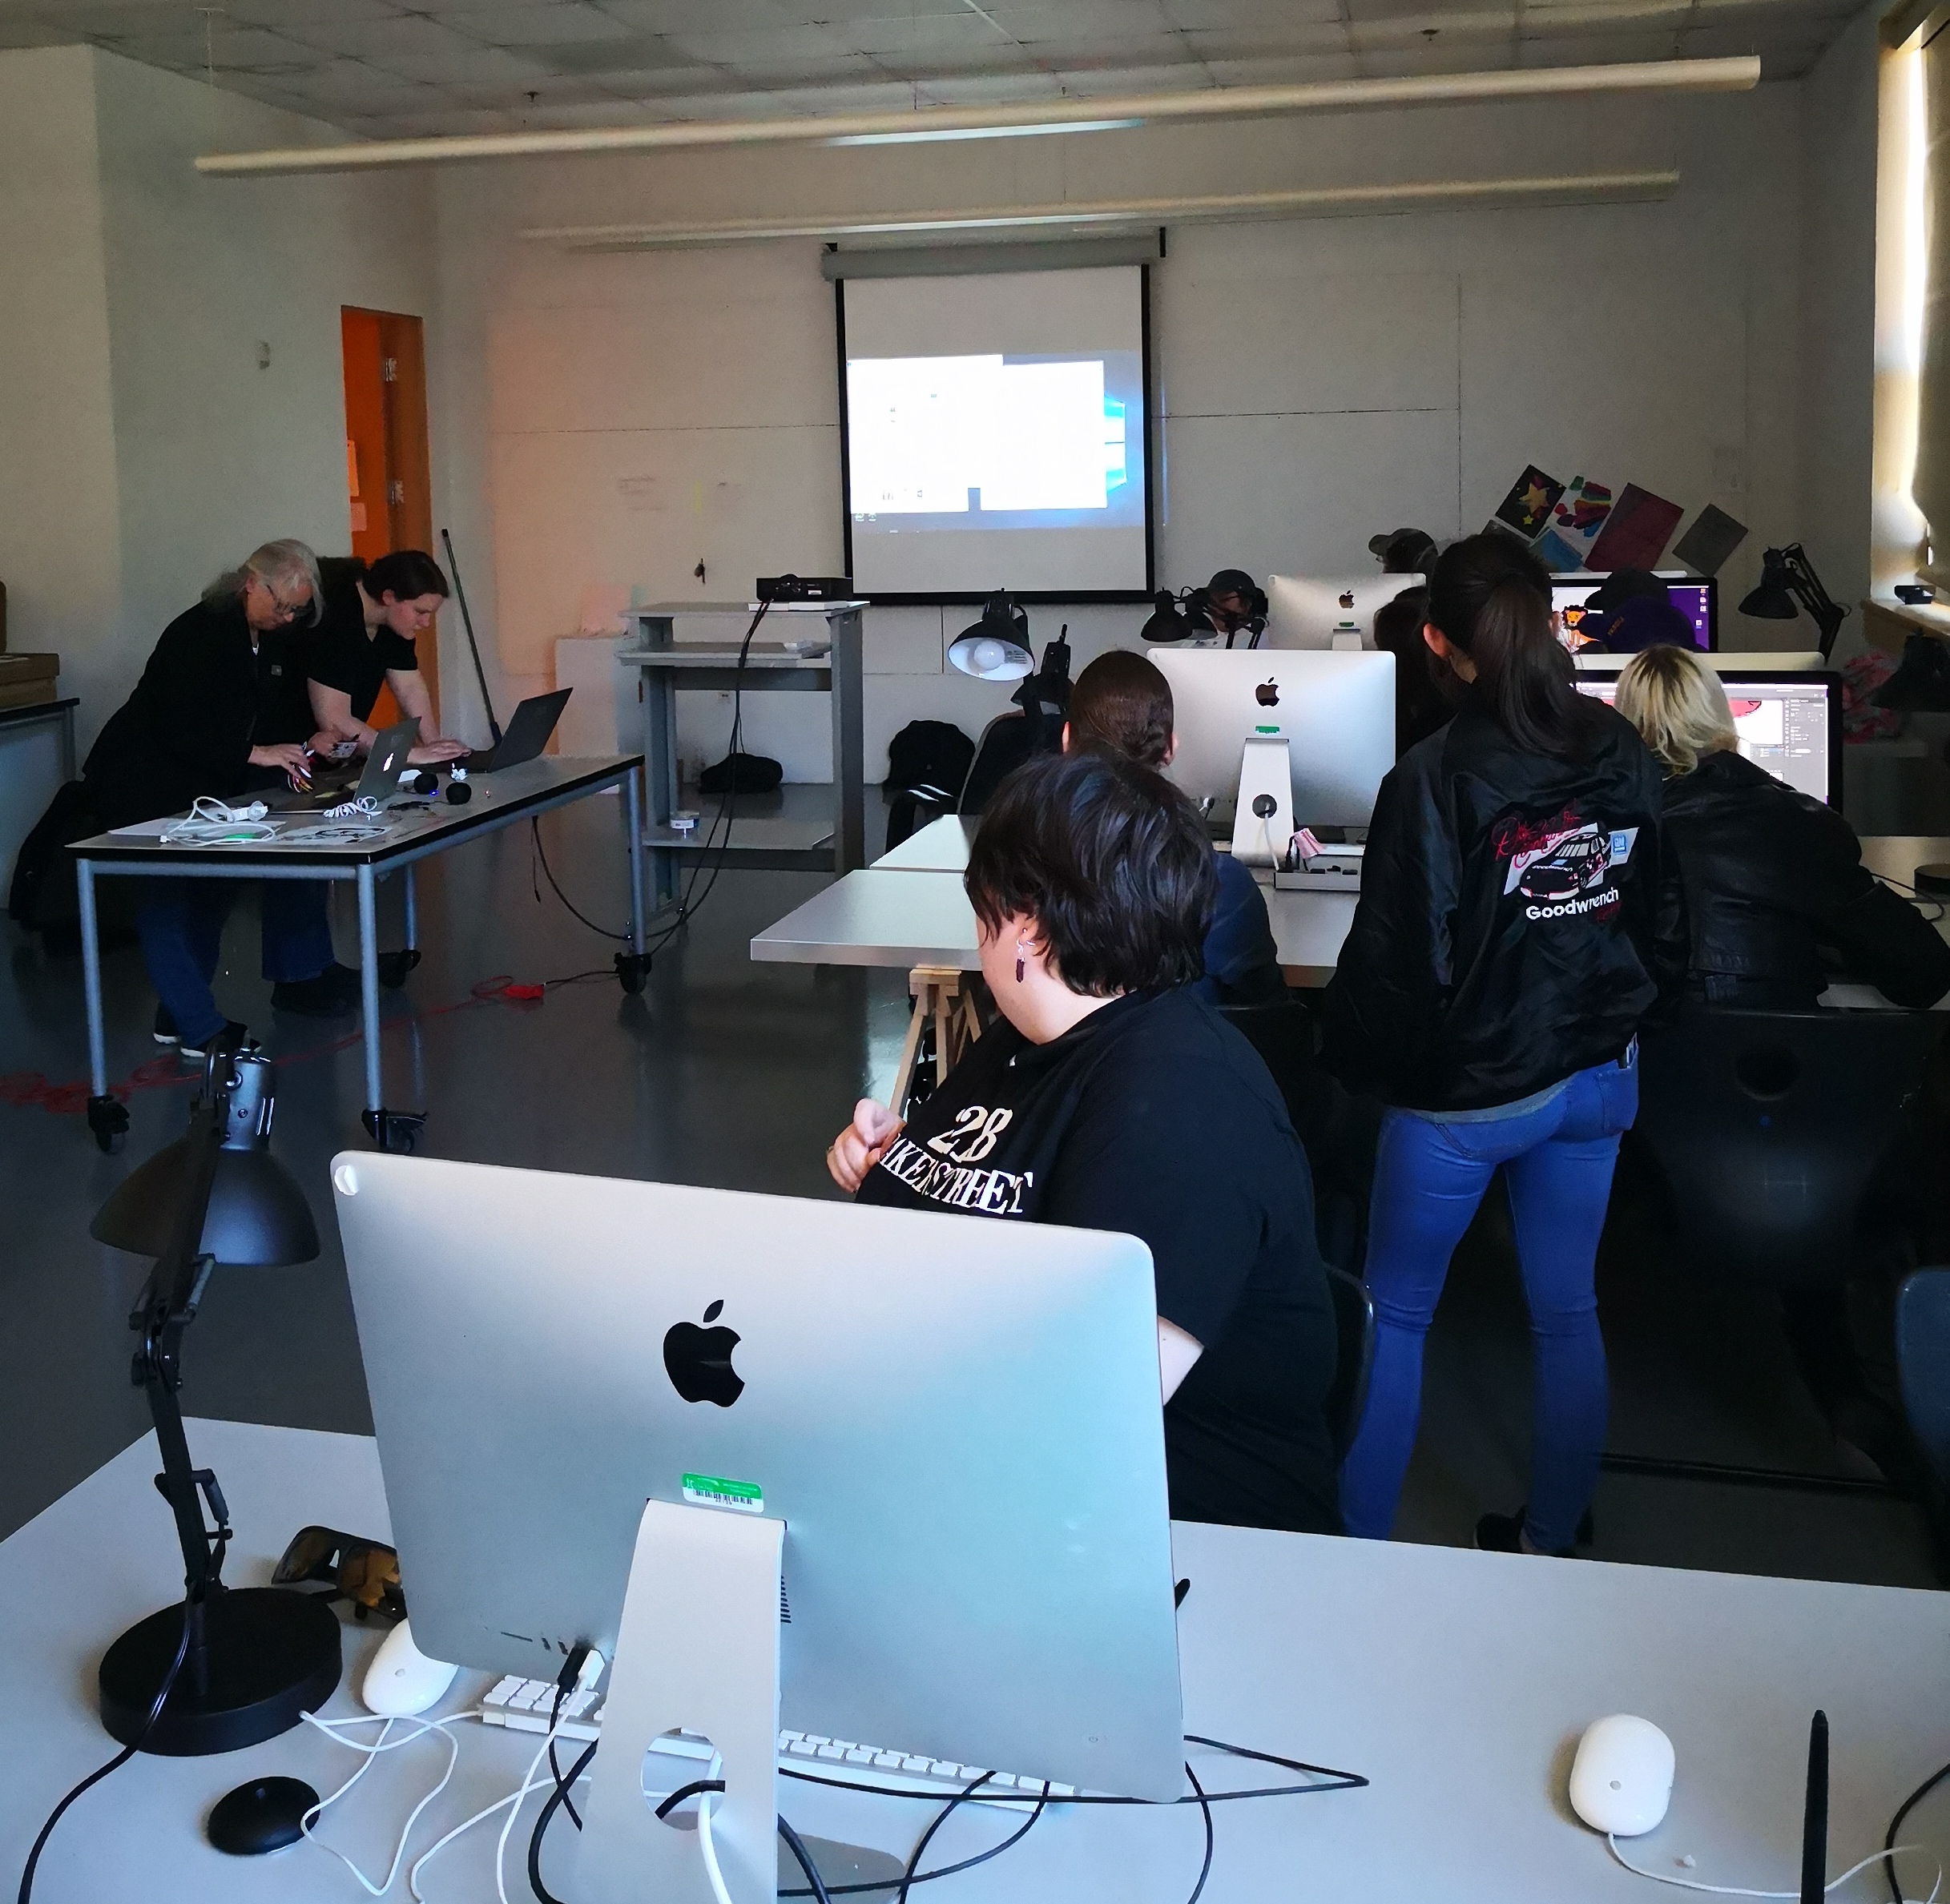
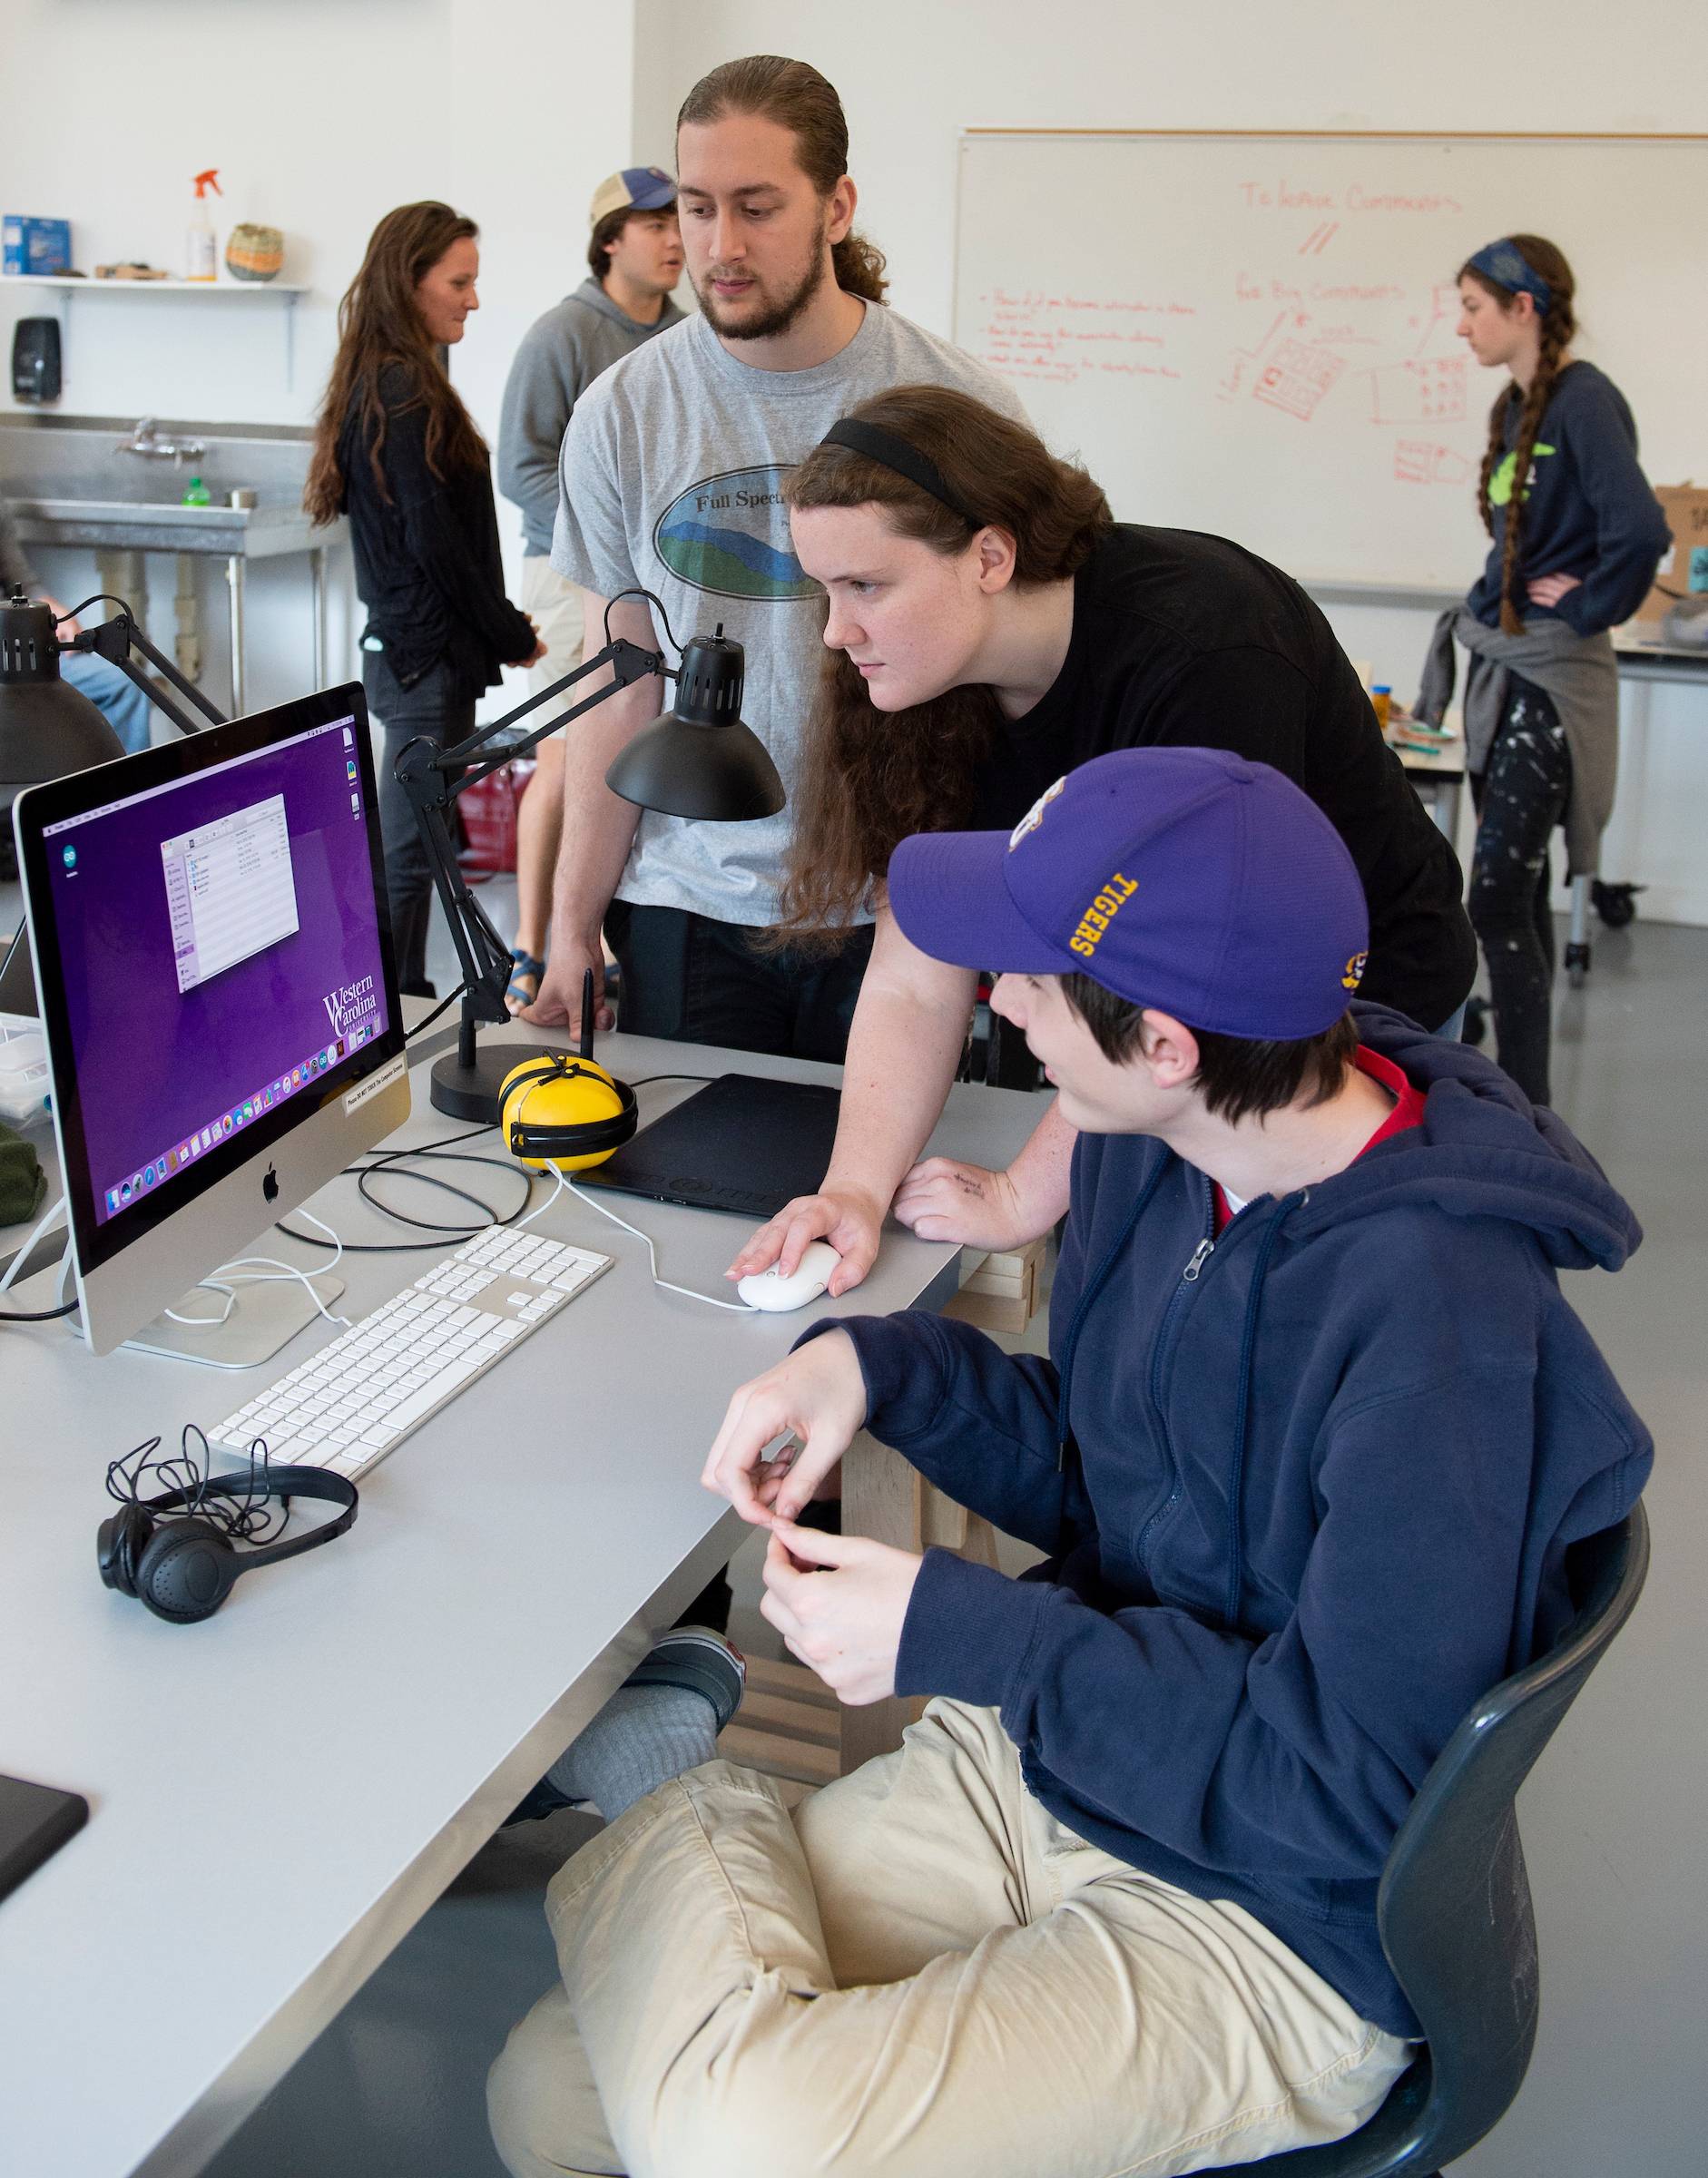
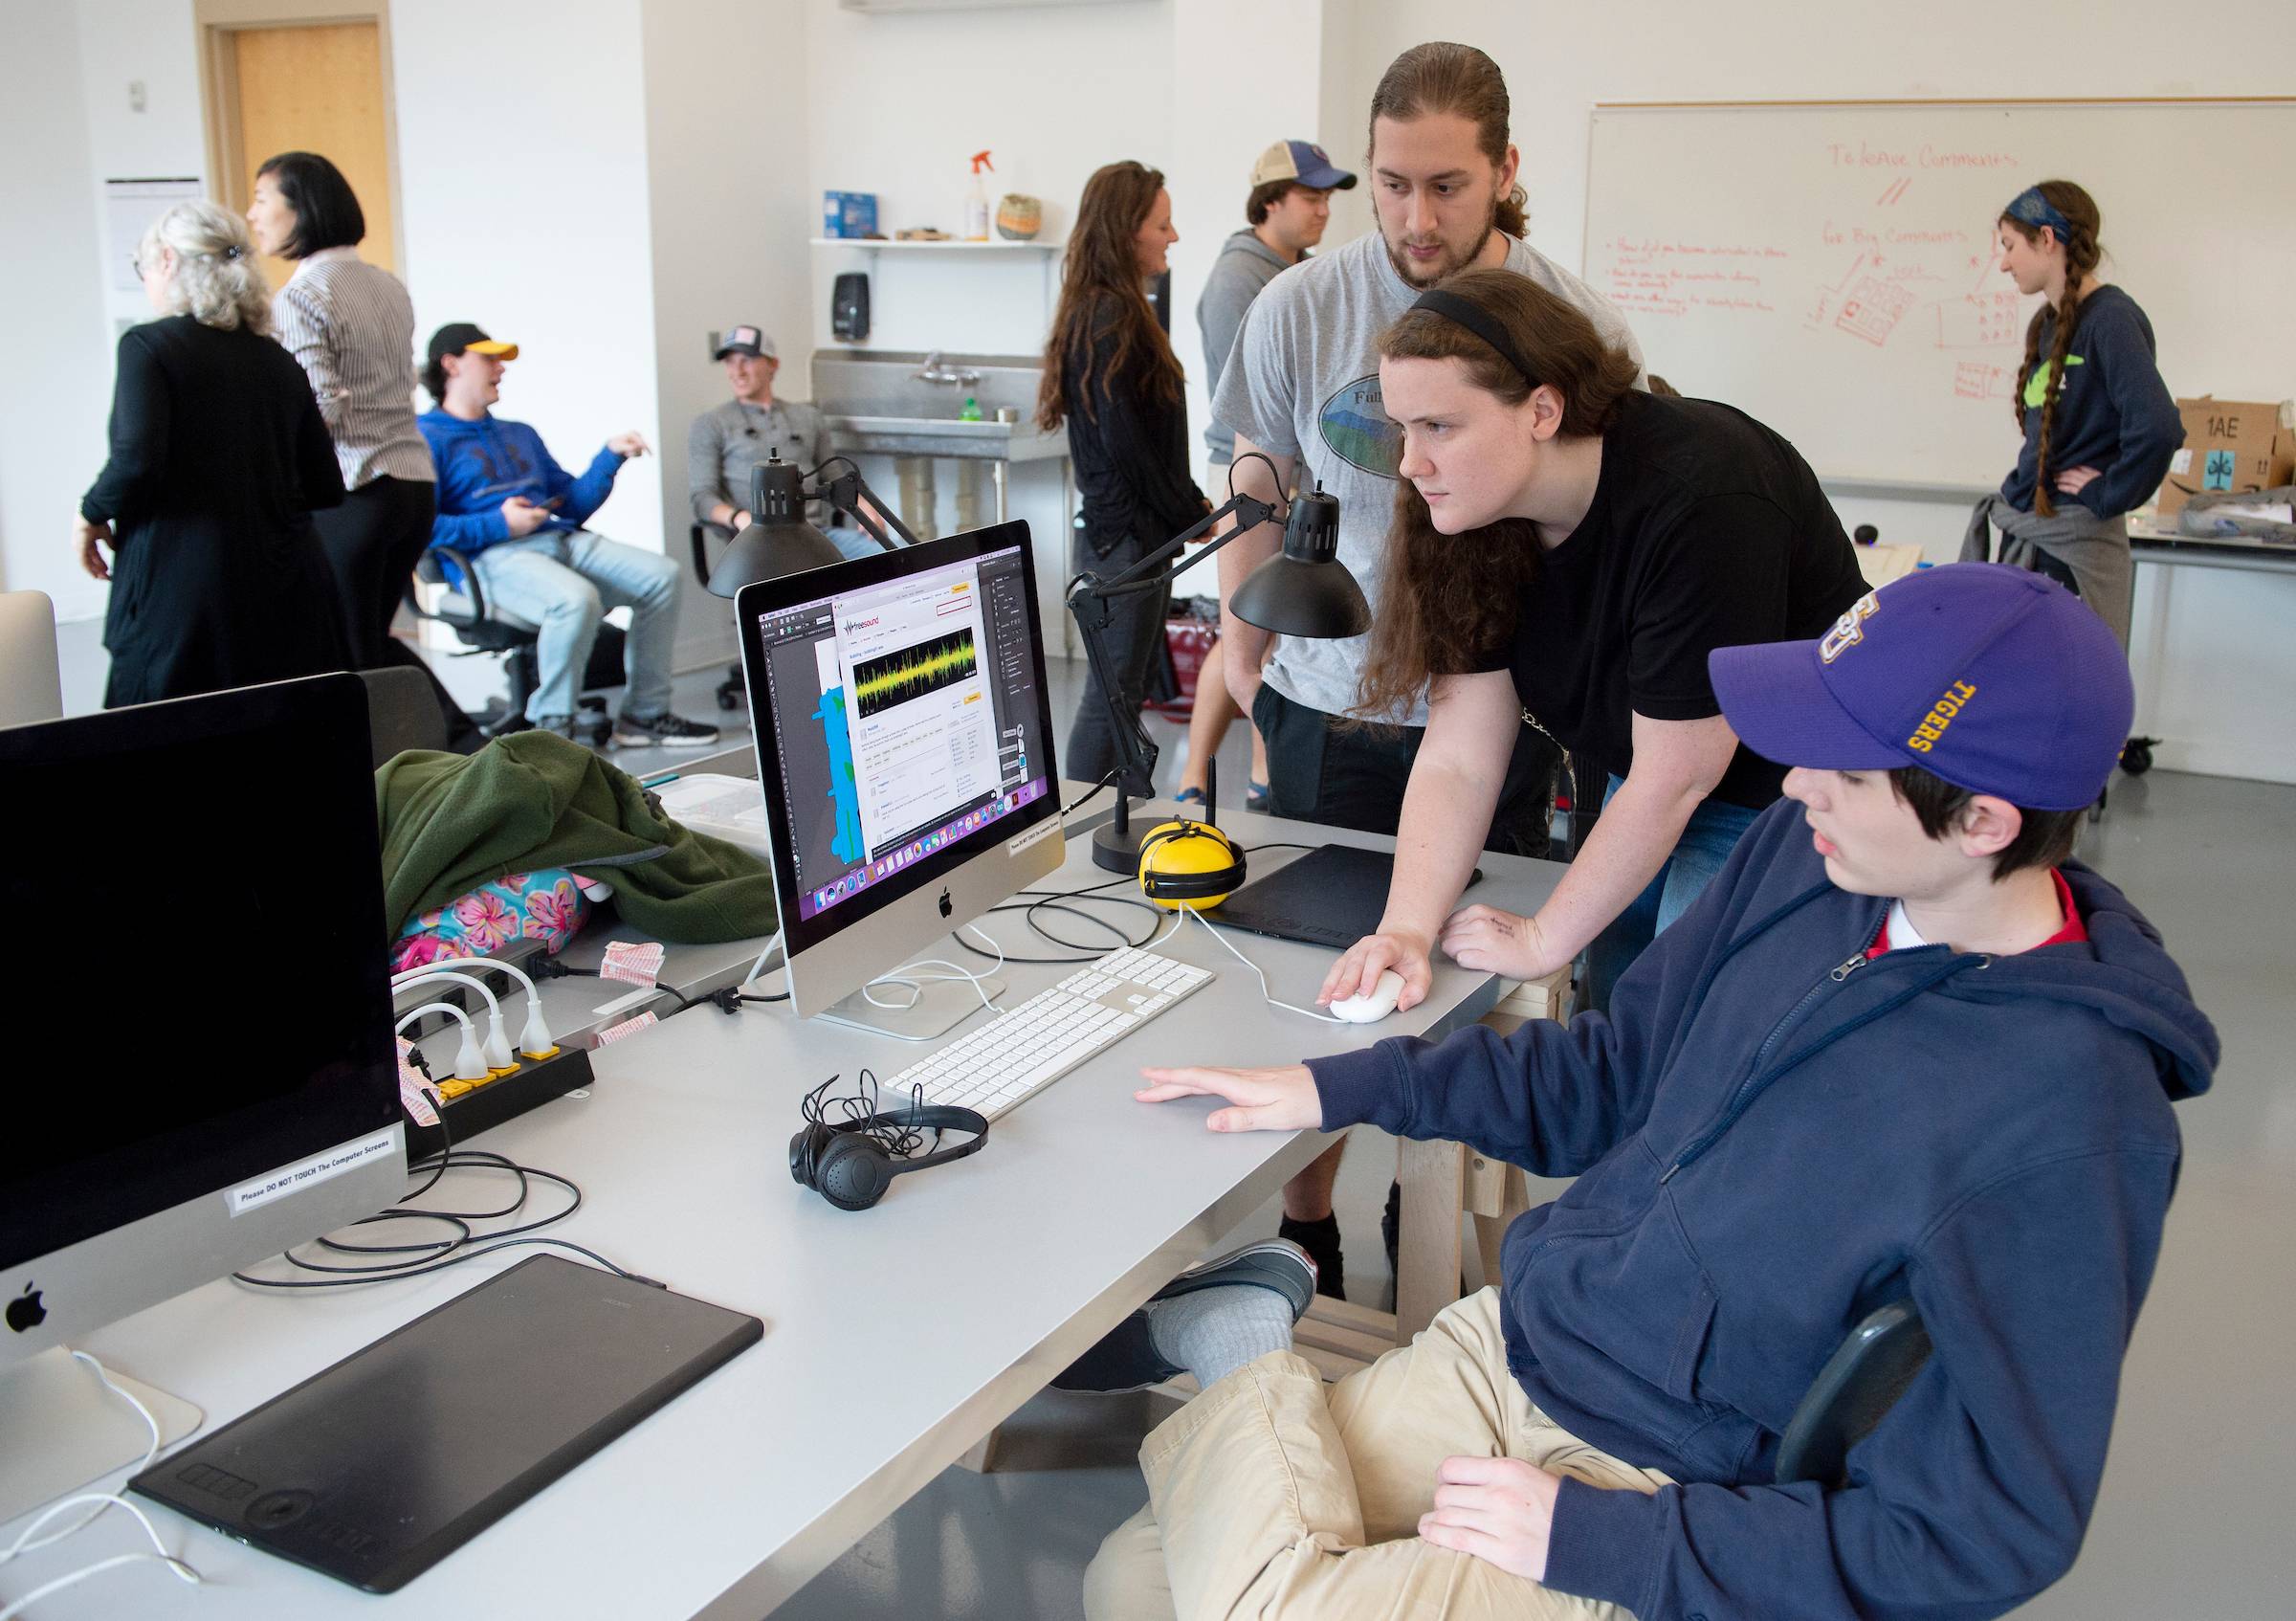
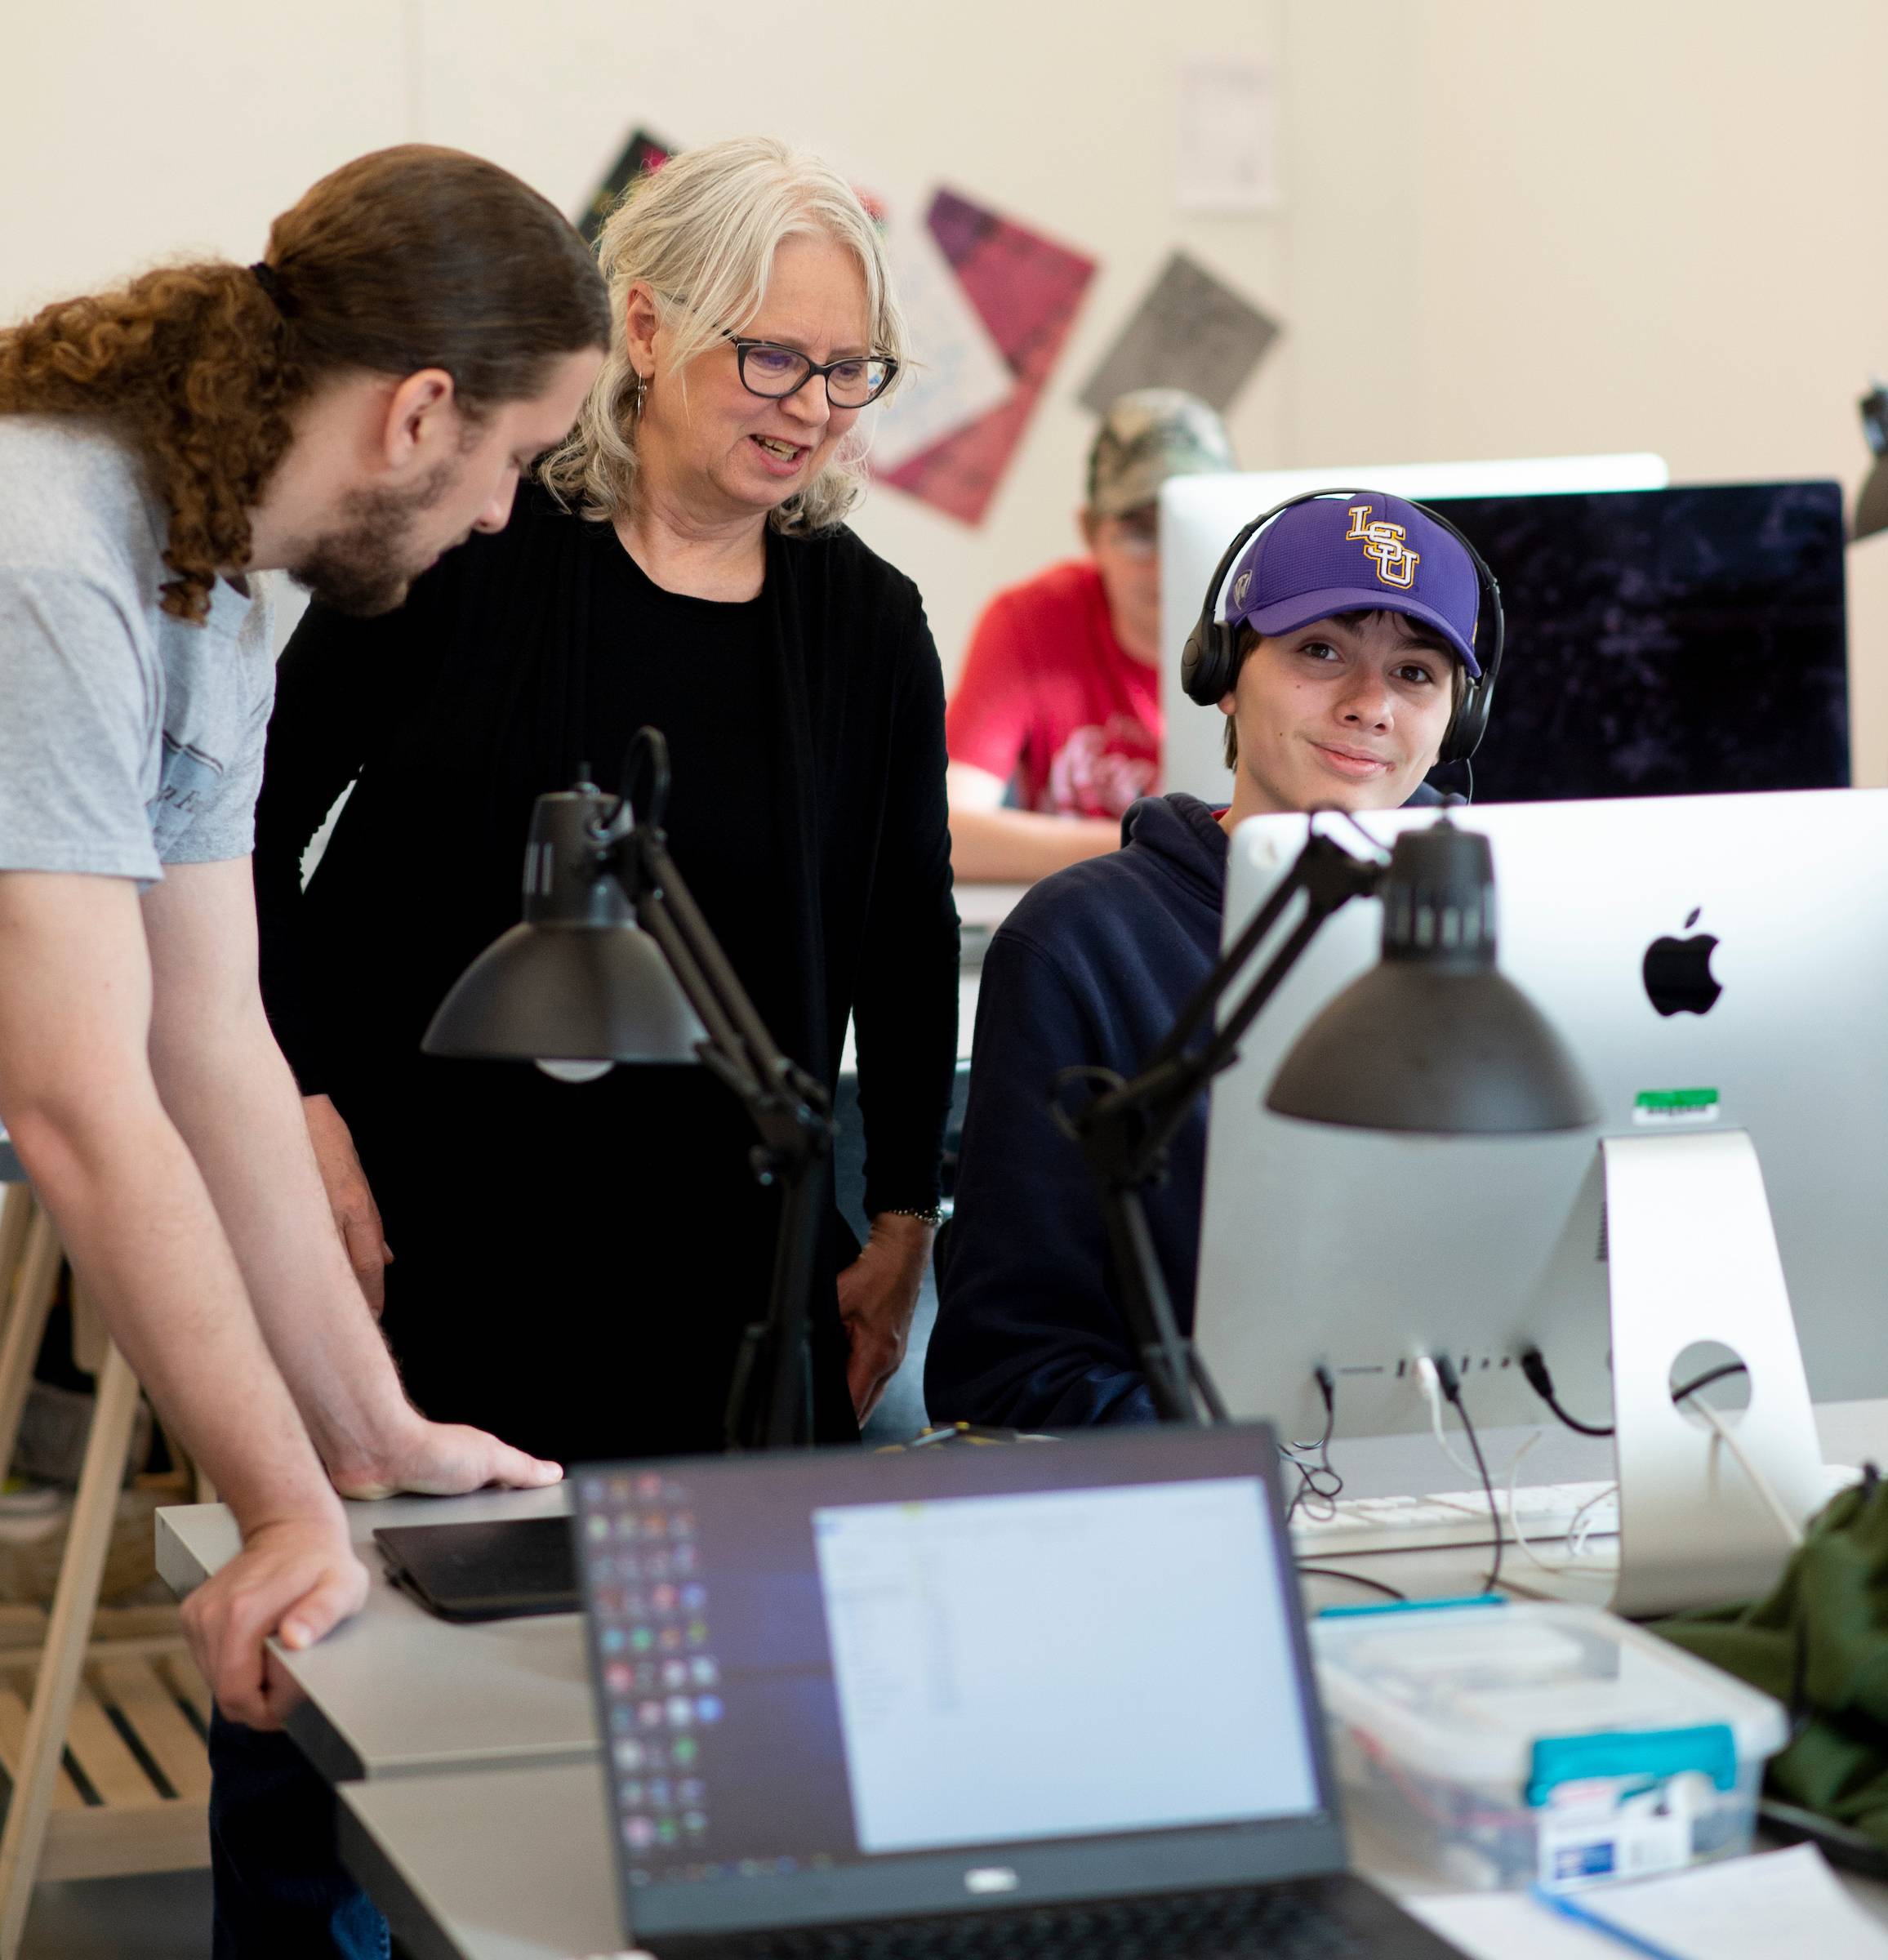
On Feb 15, 2019, Full Spectrum Farm clients and helpers visited Western Carolina University for the second time to learn the basics of Arduino Programming.
The written instructions for the day can be
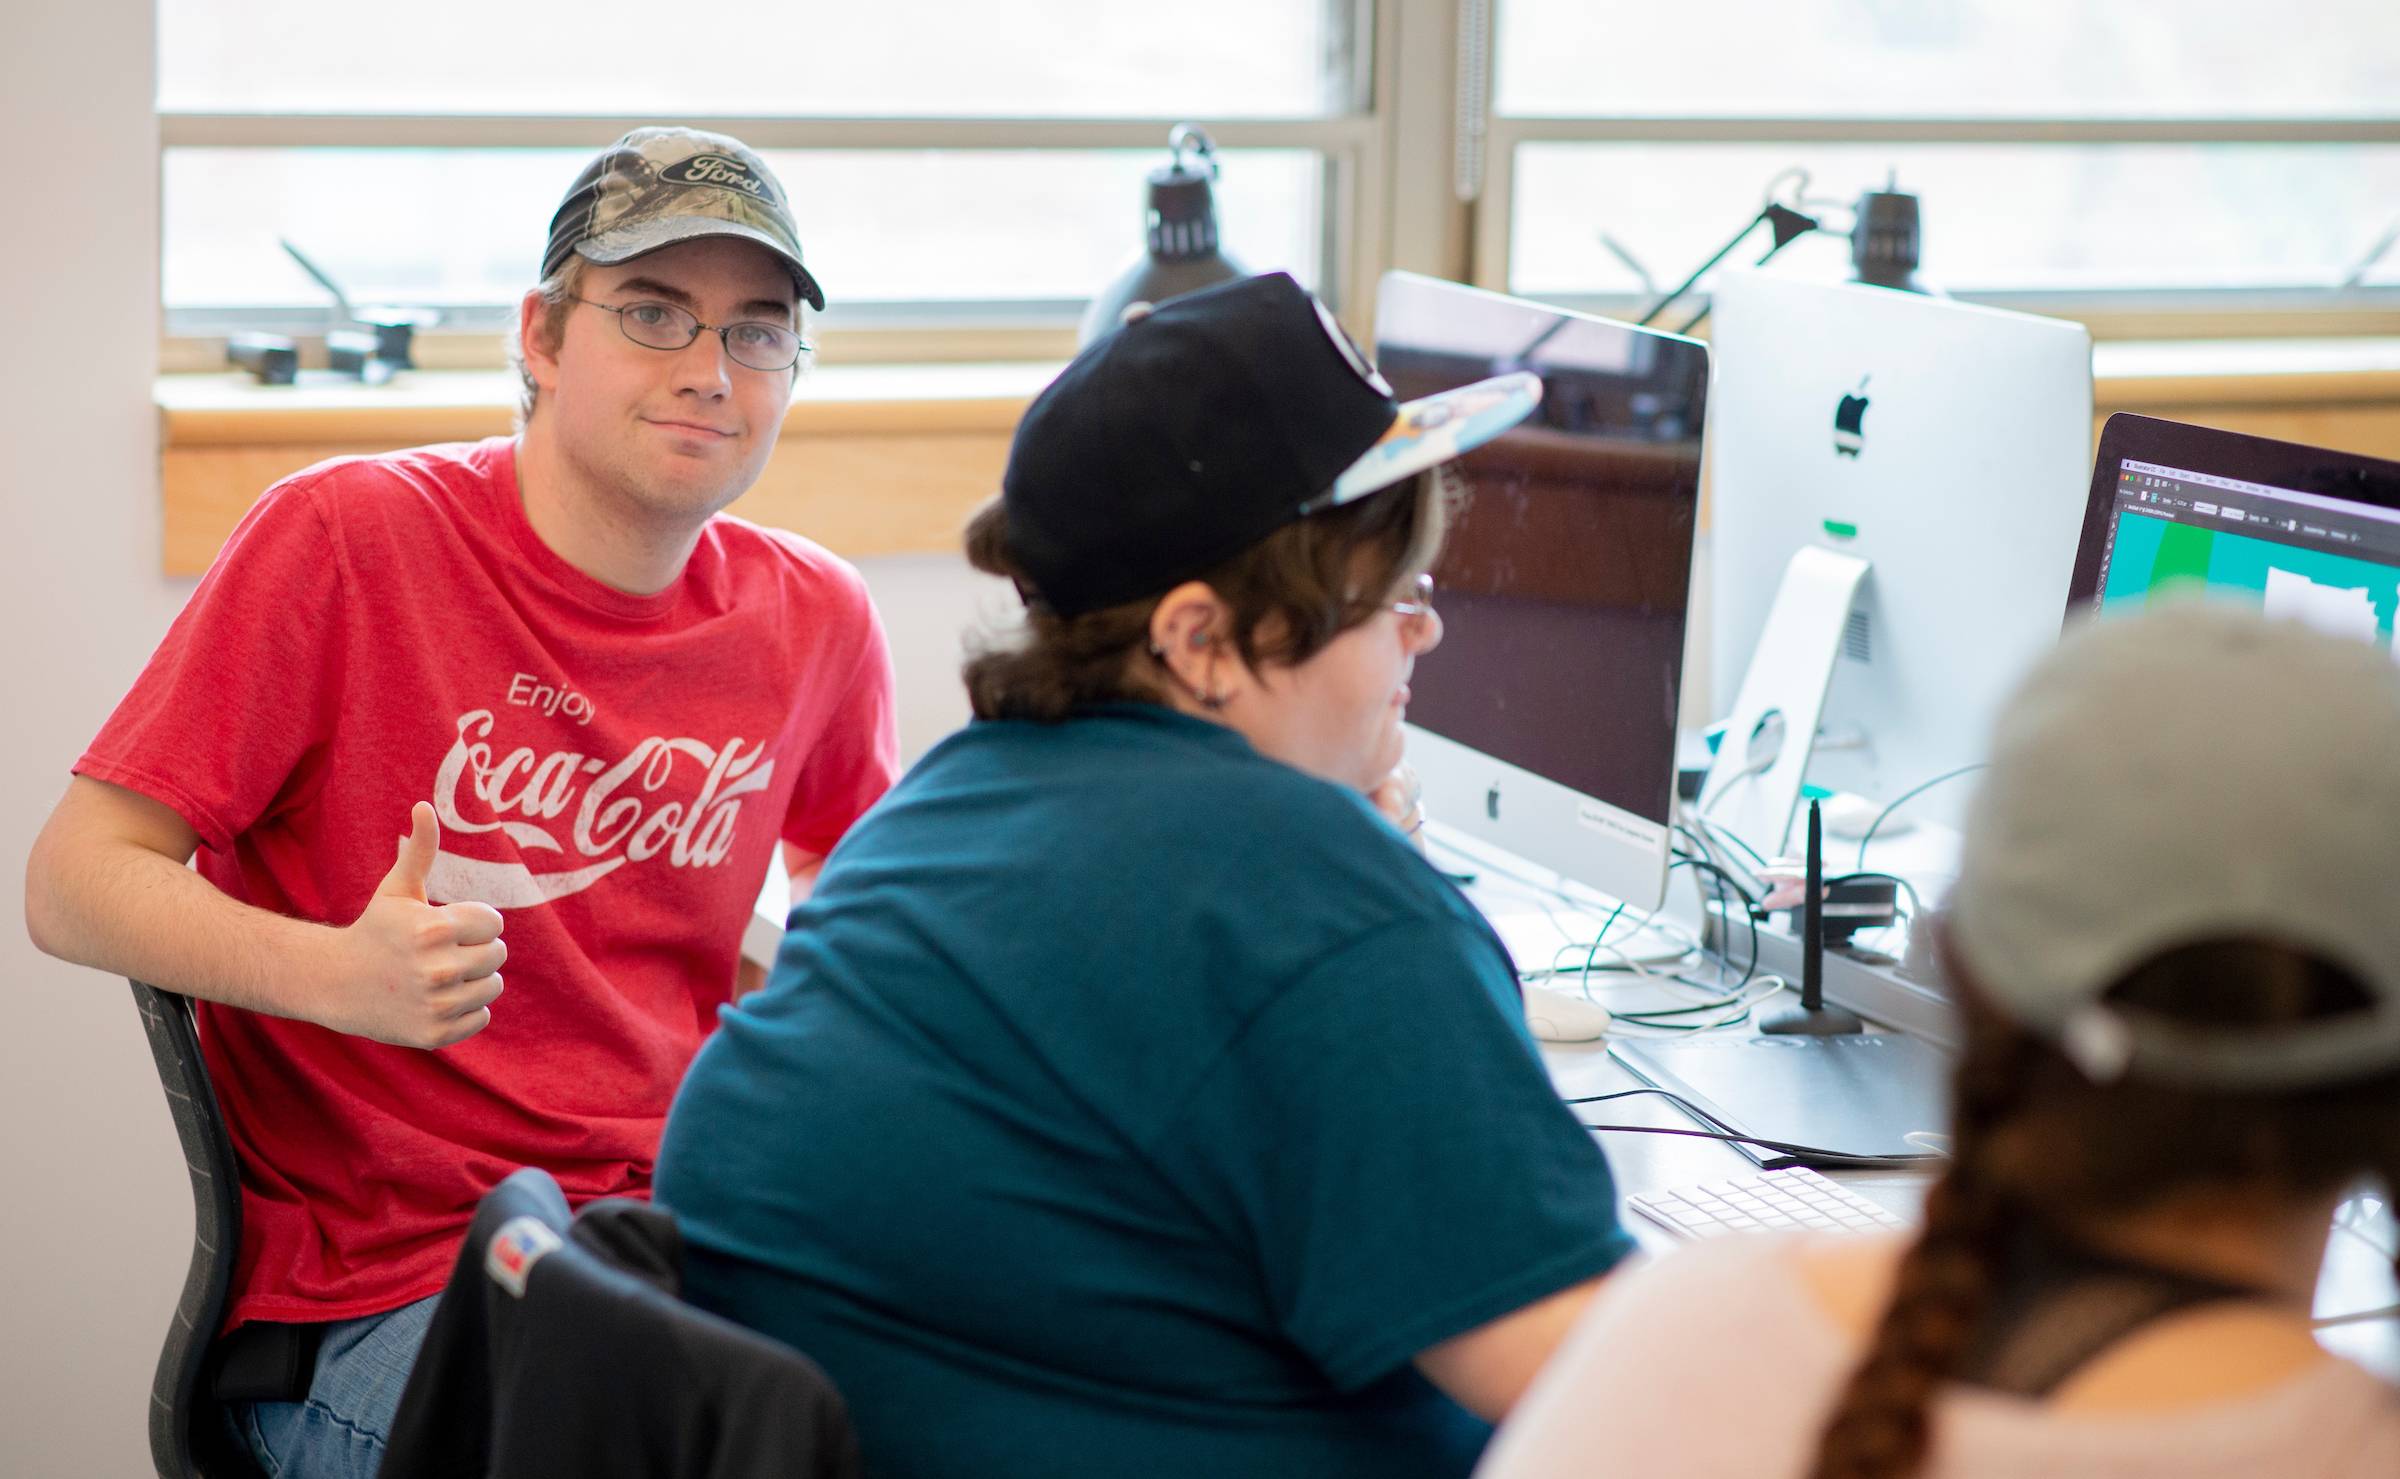
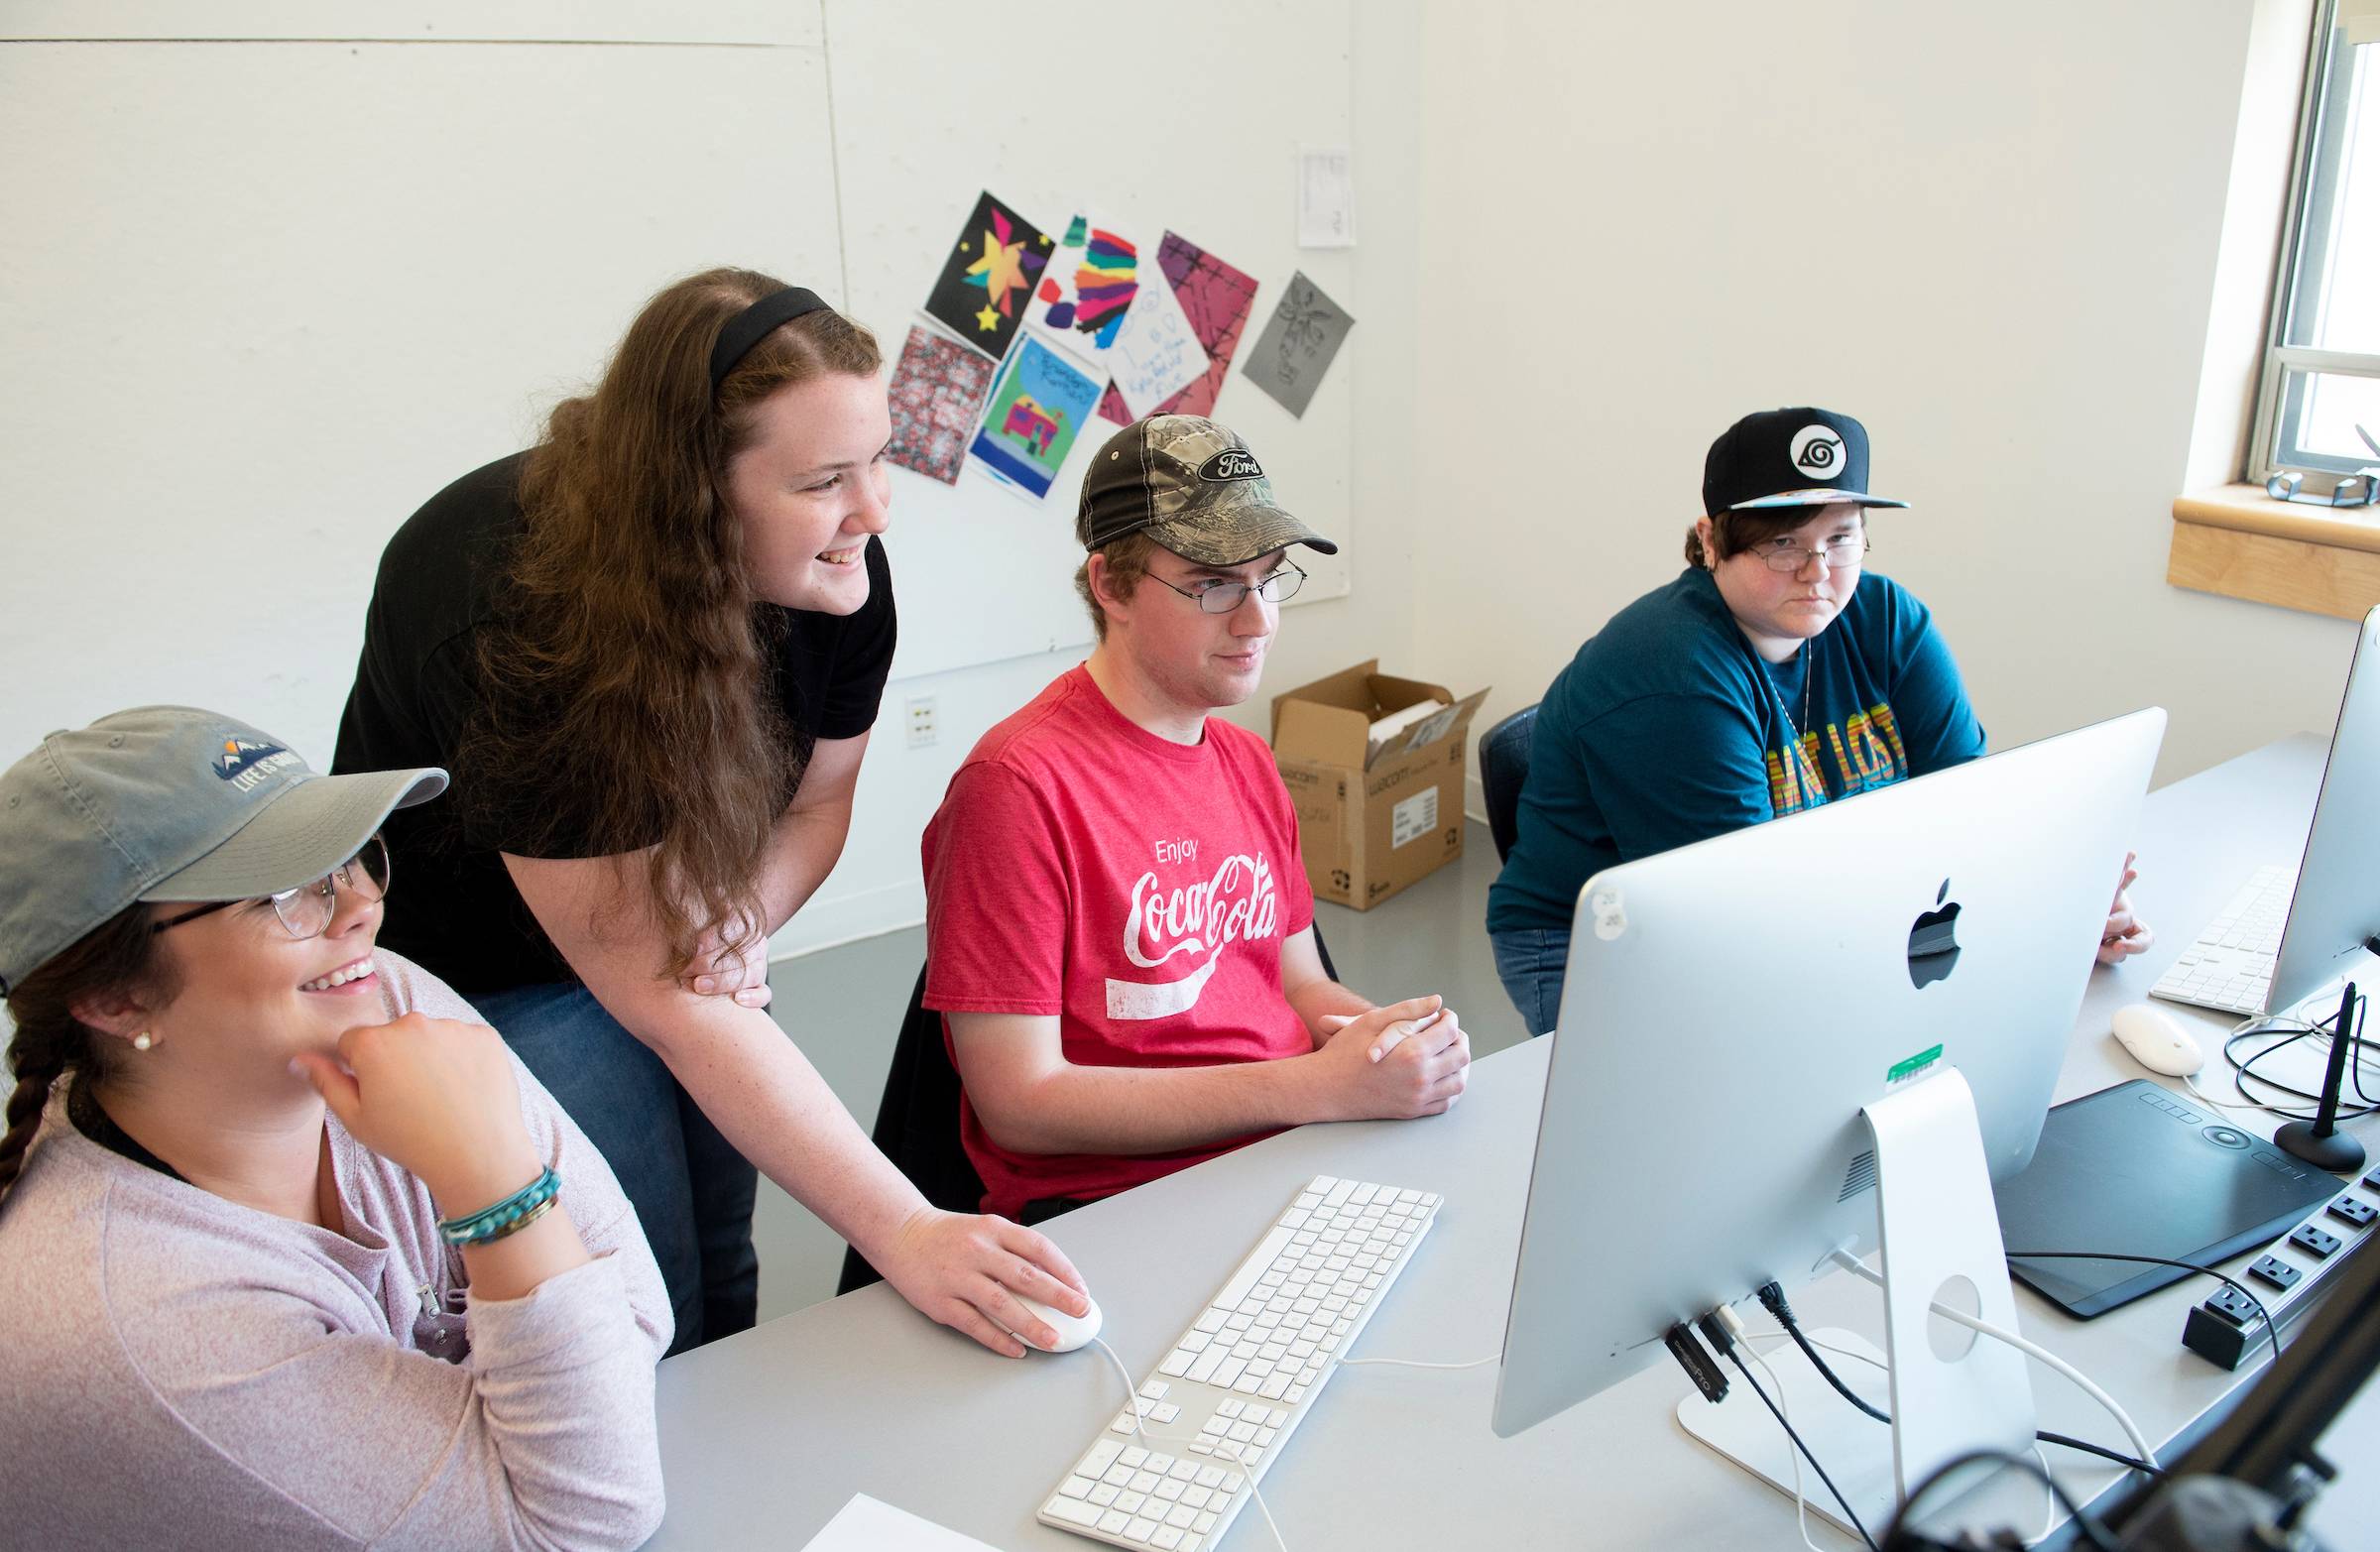
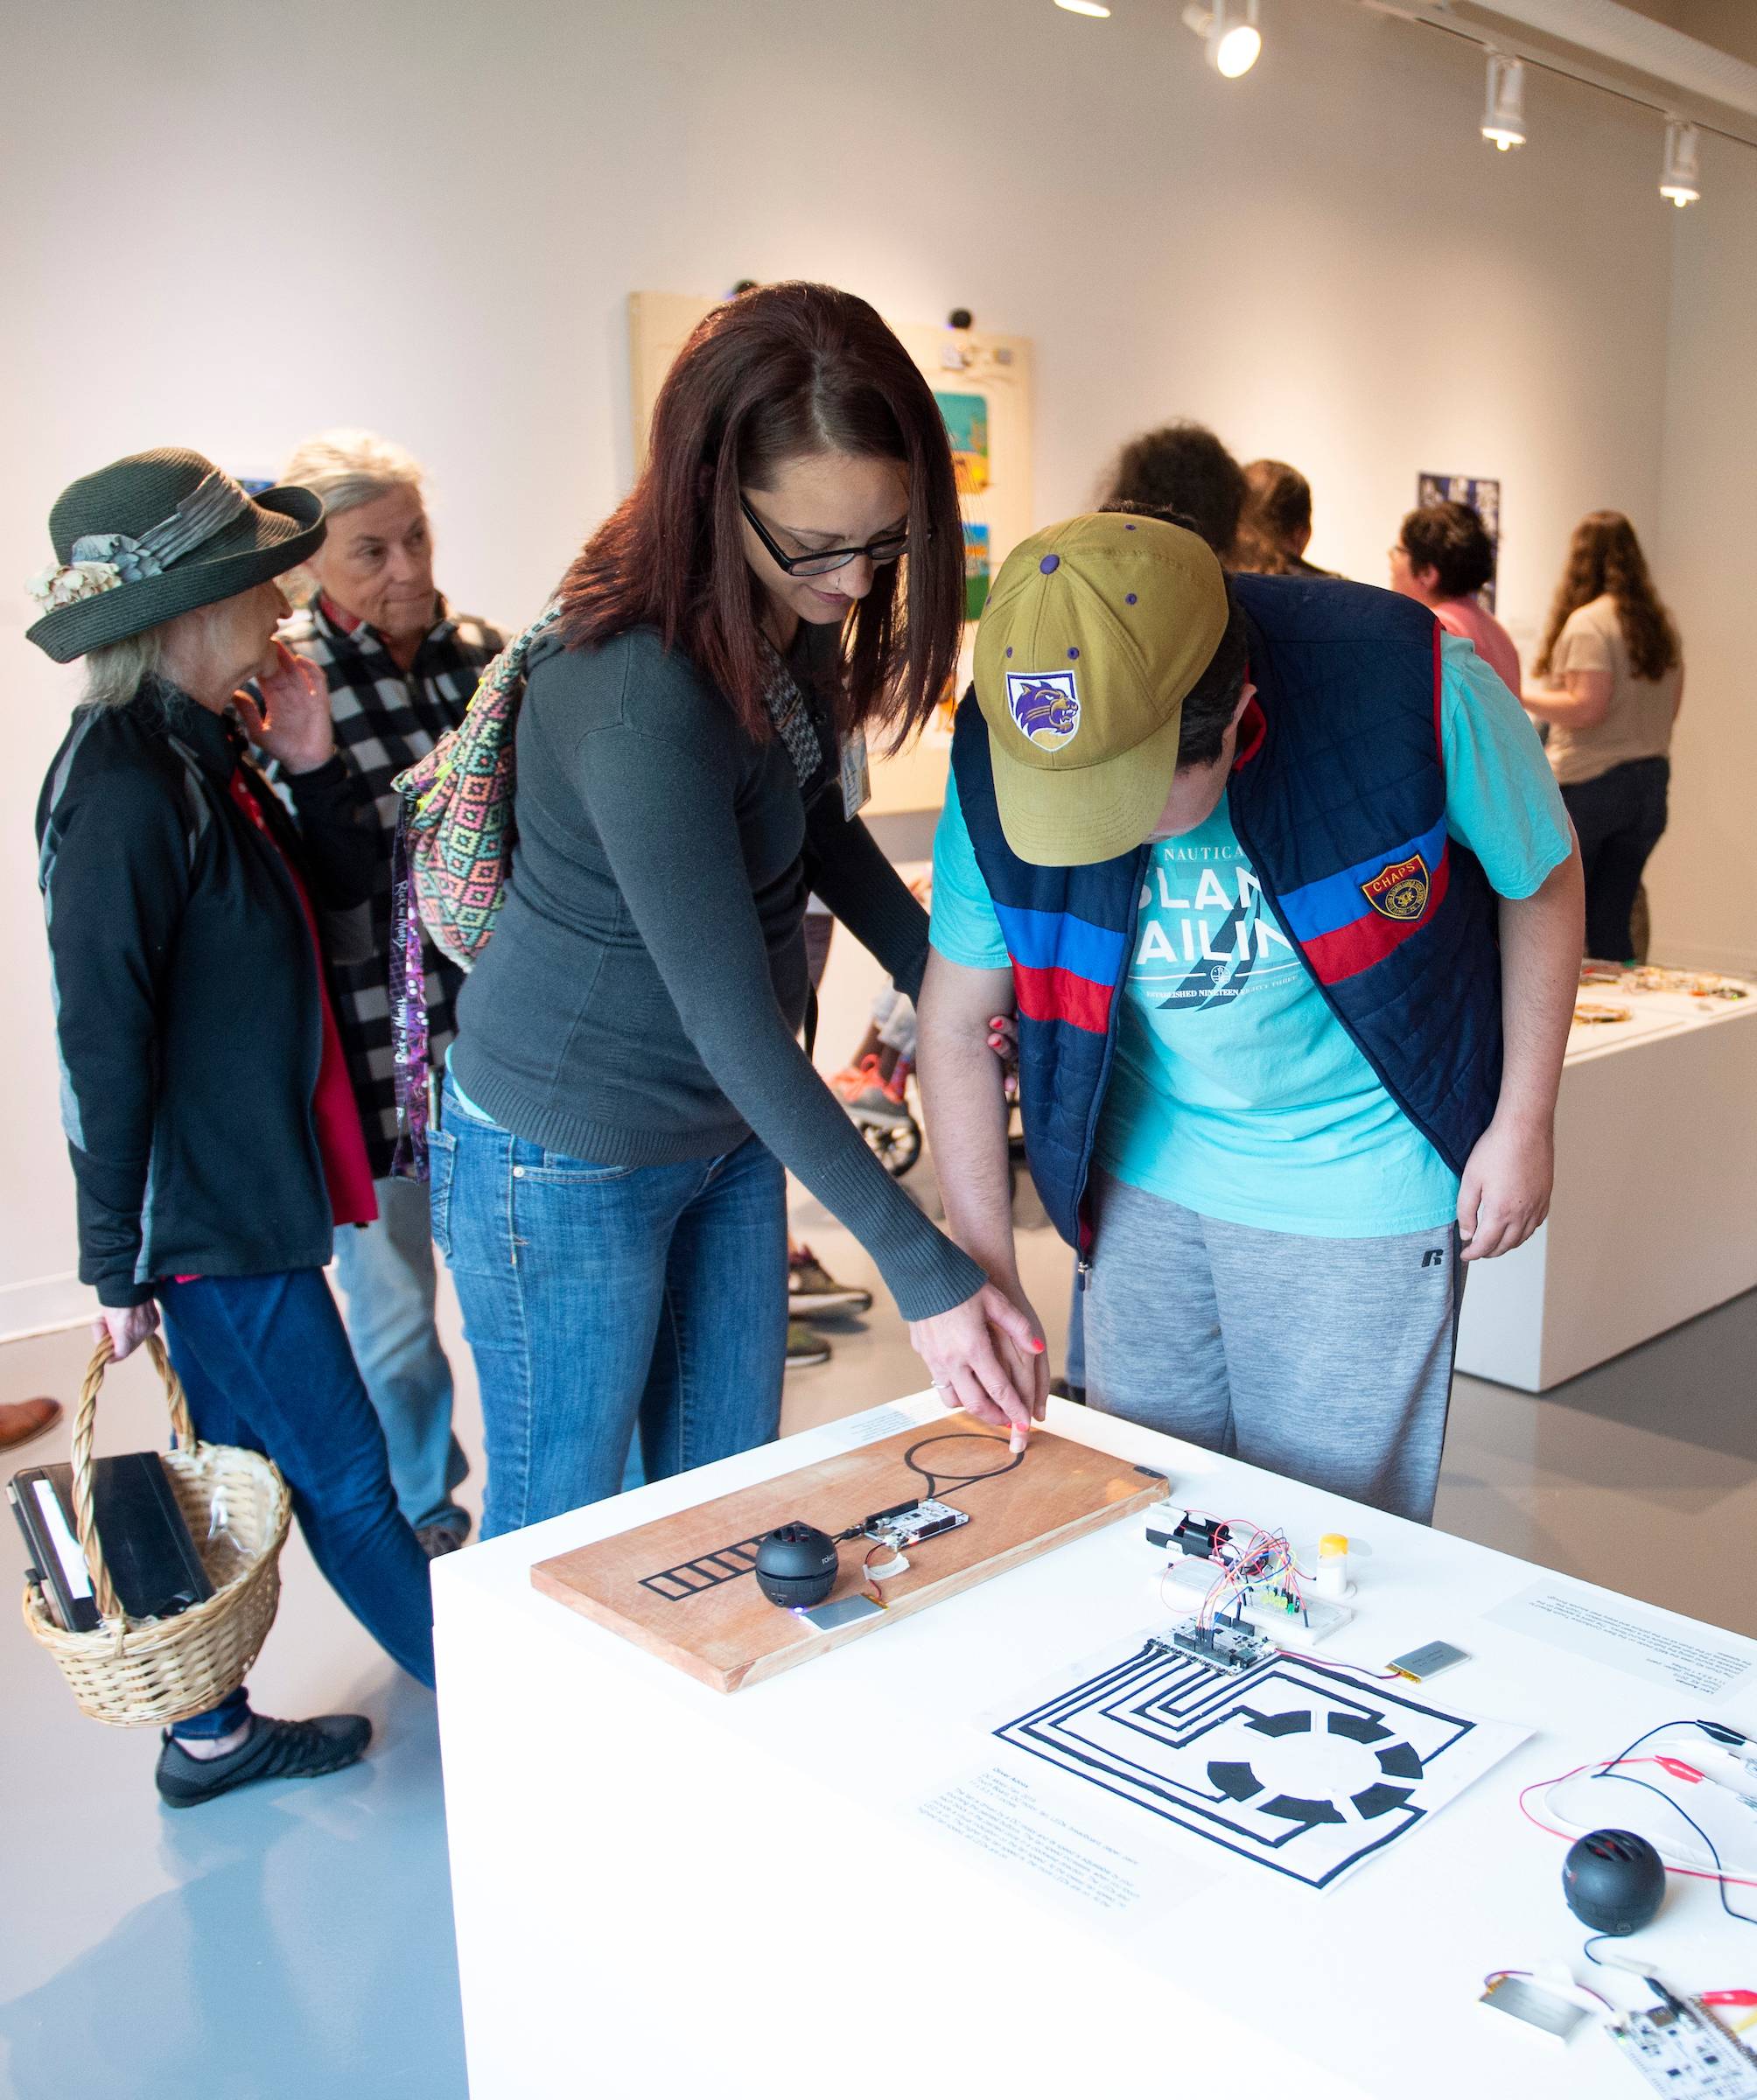
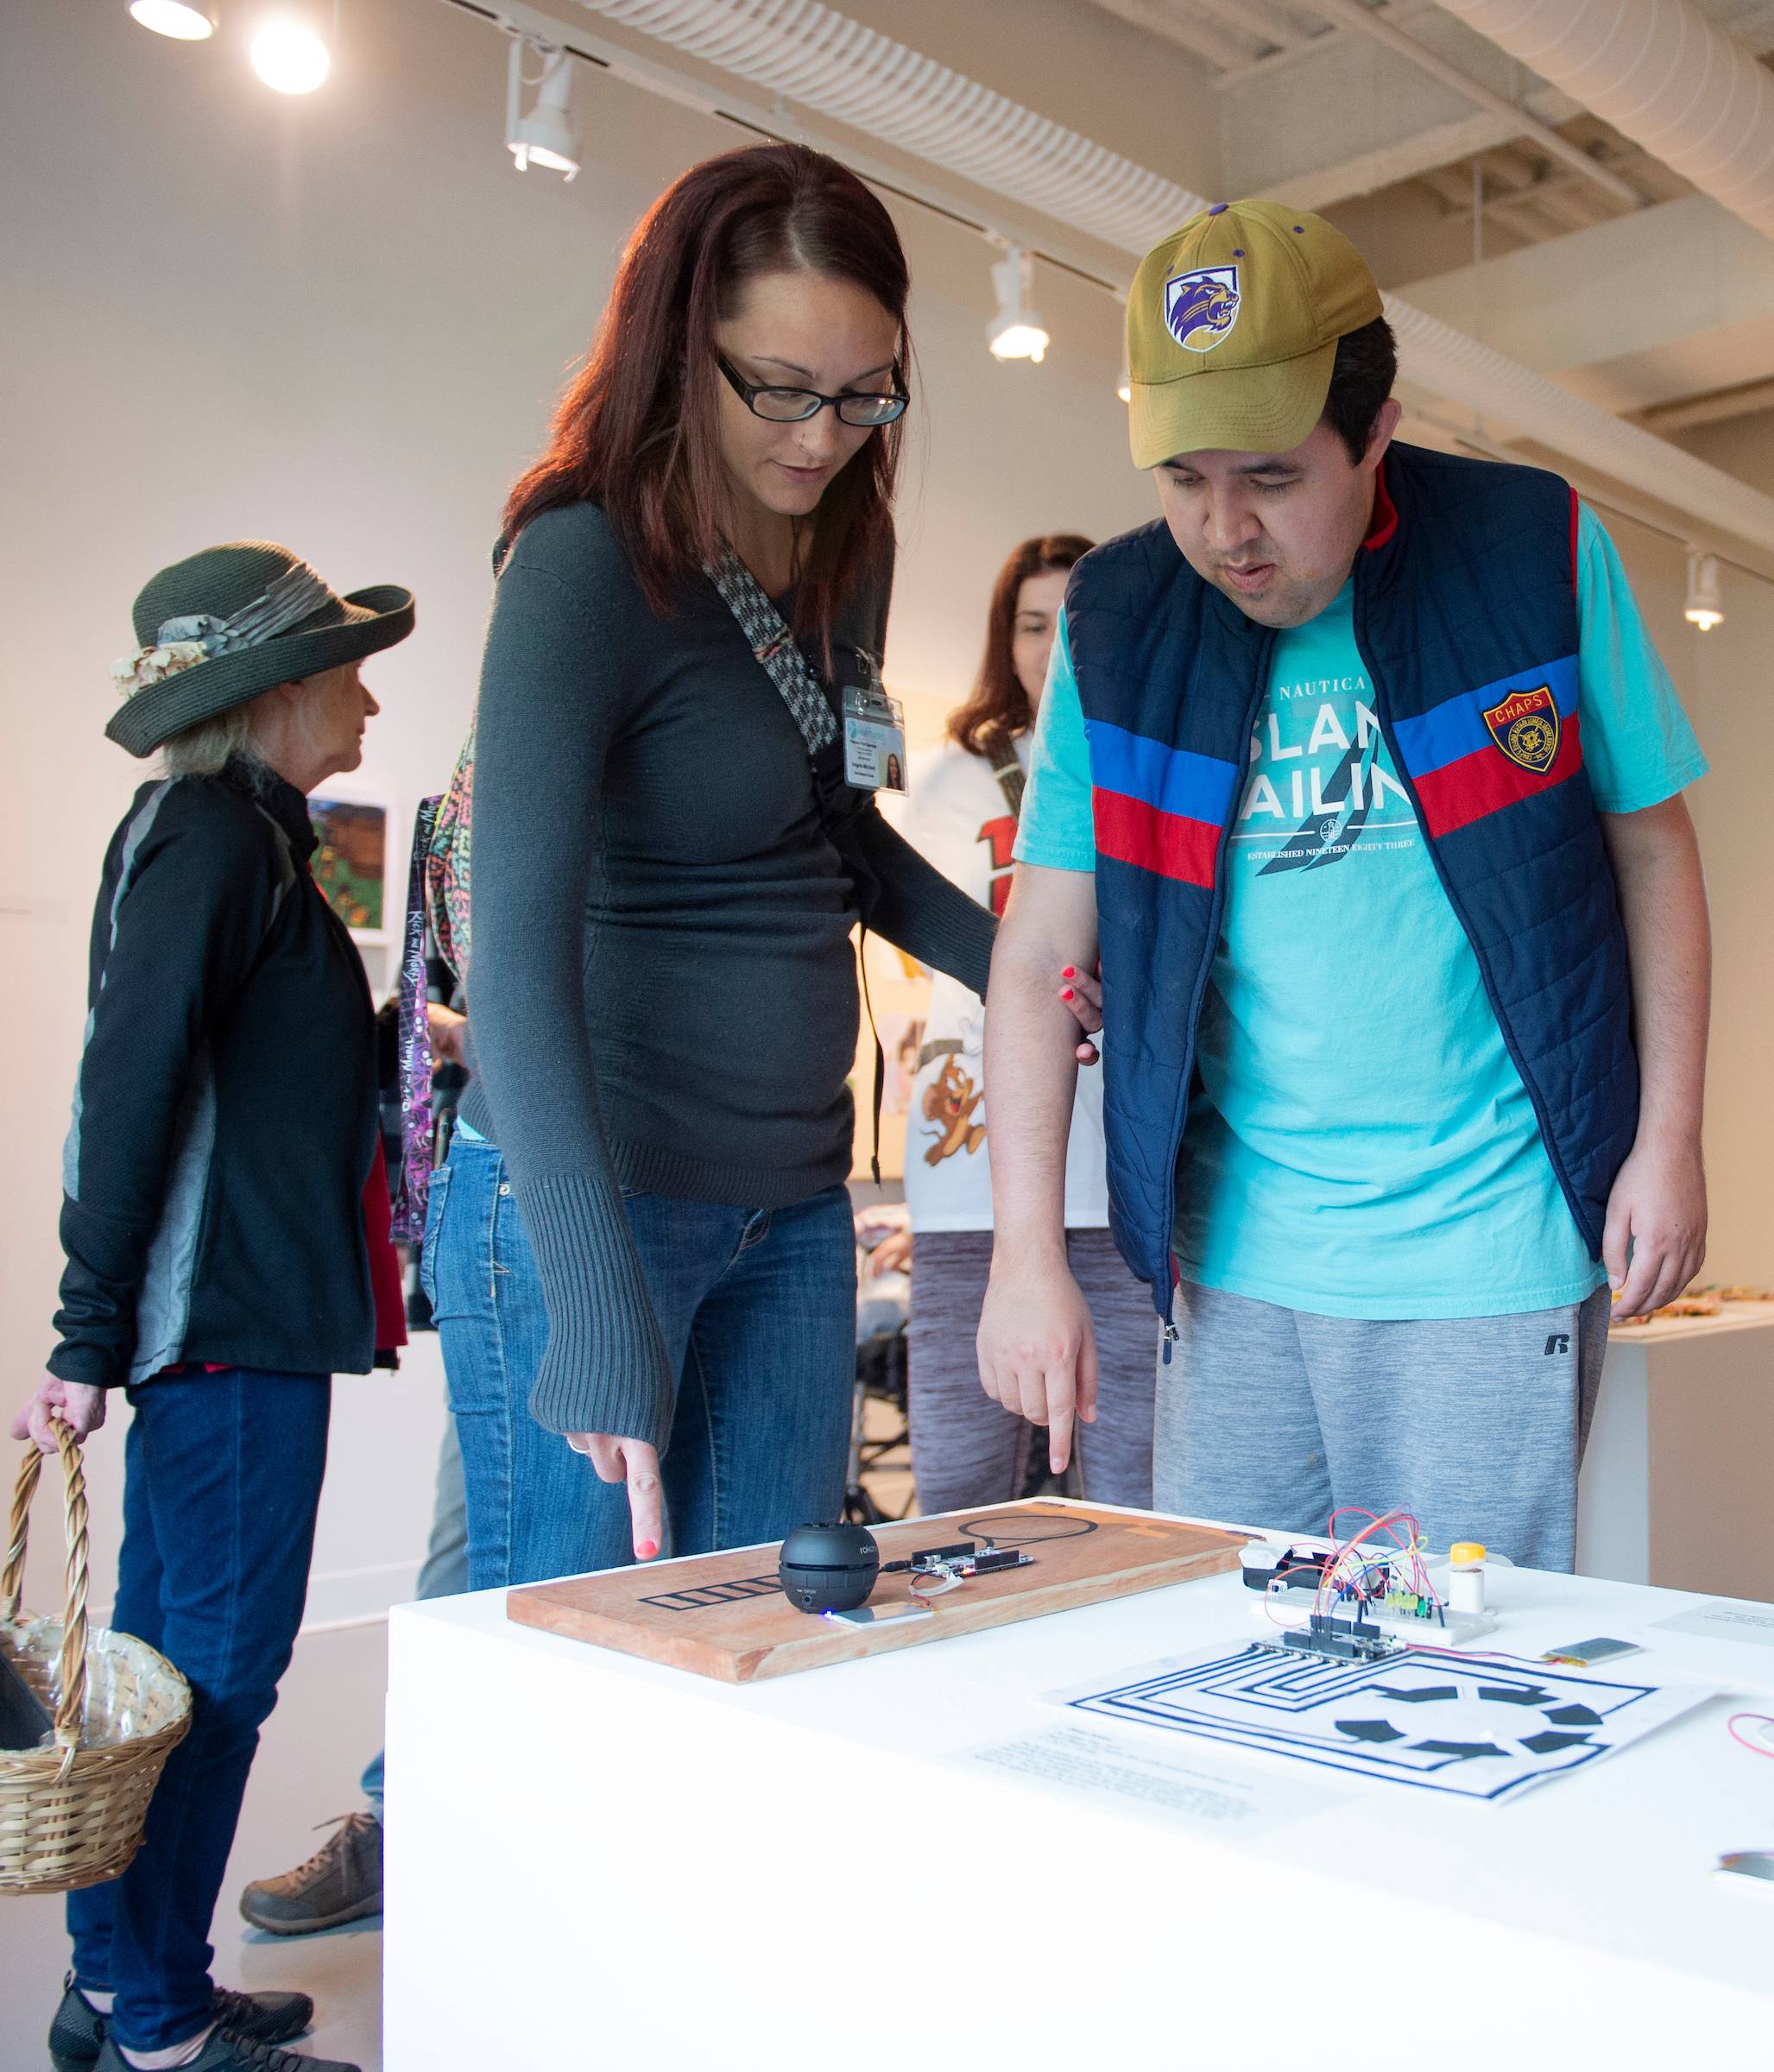
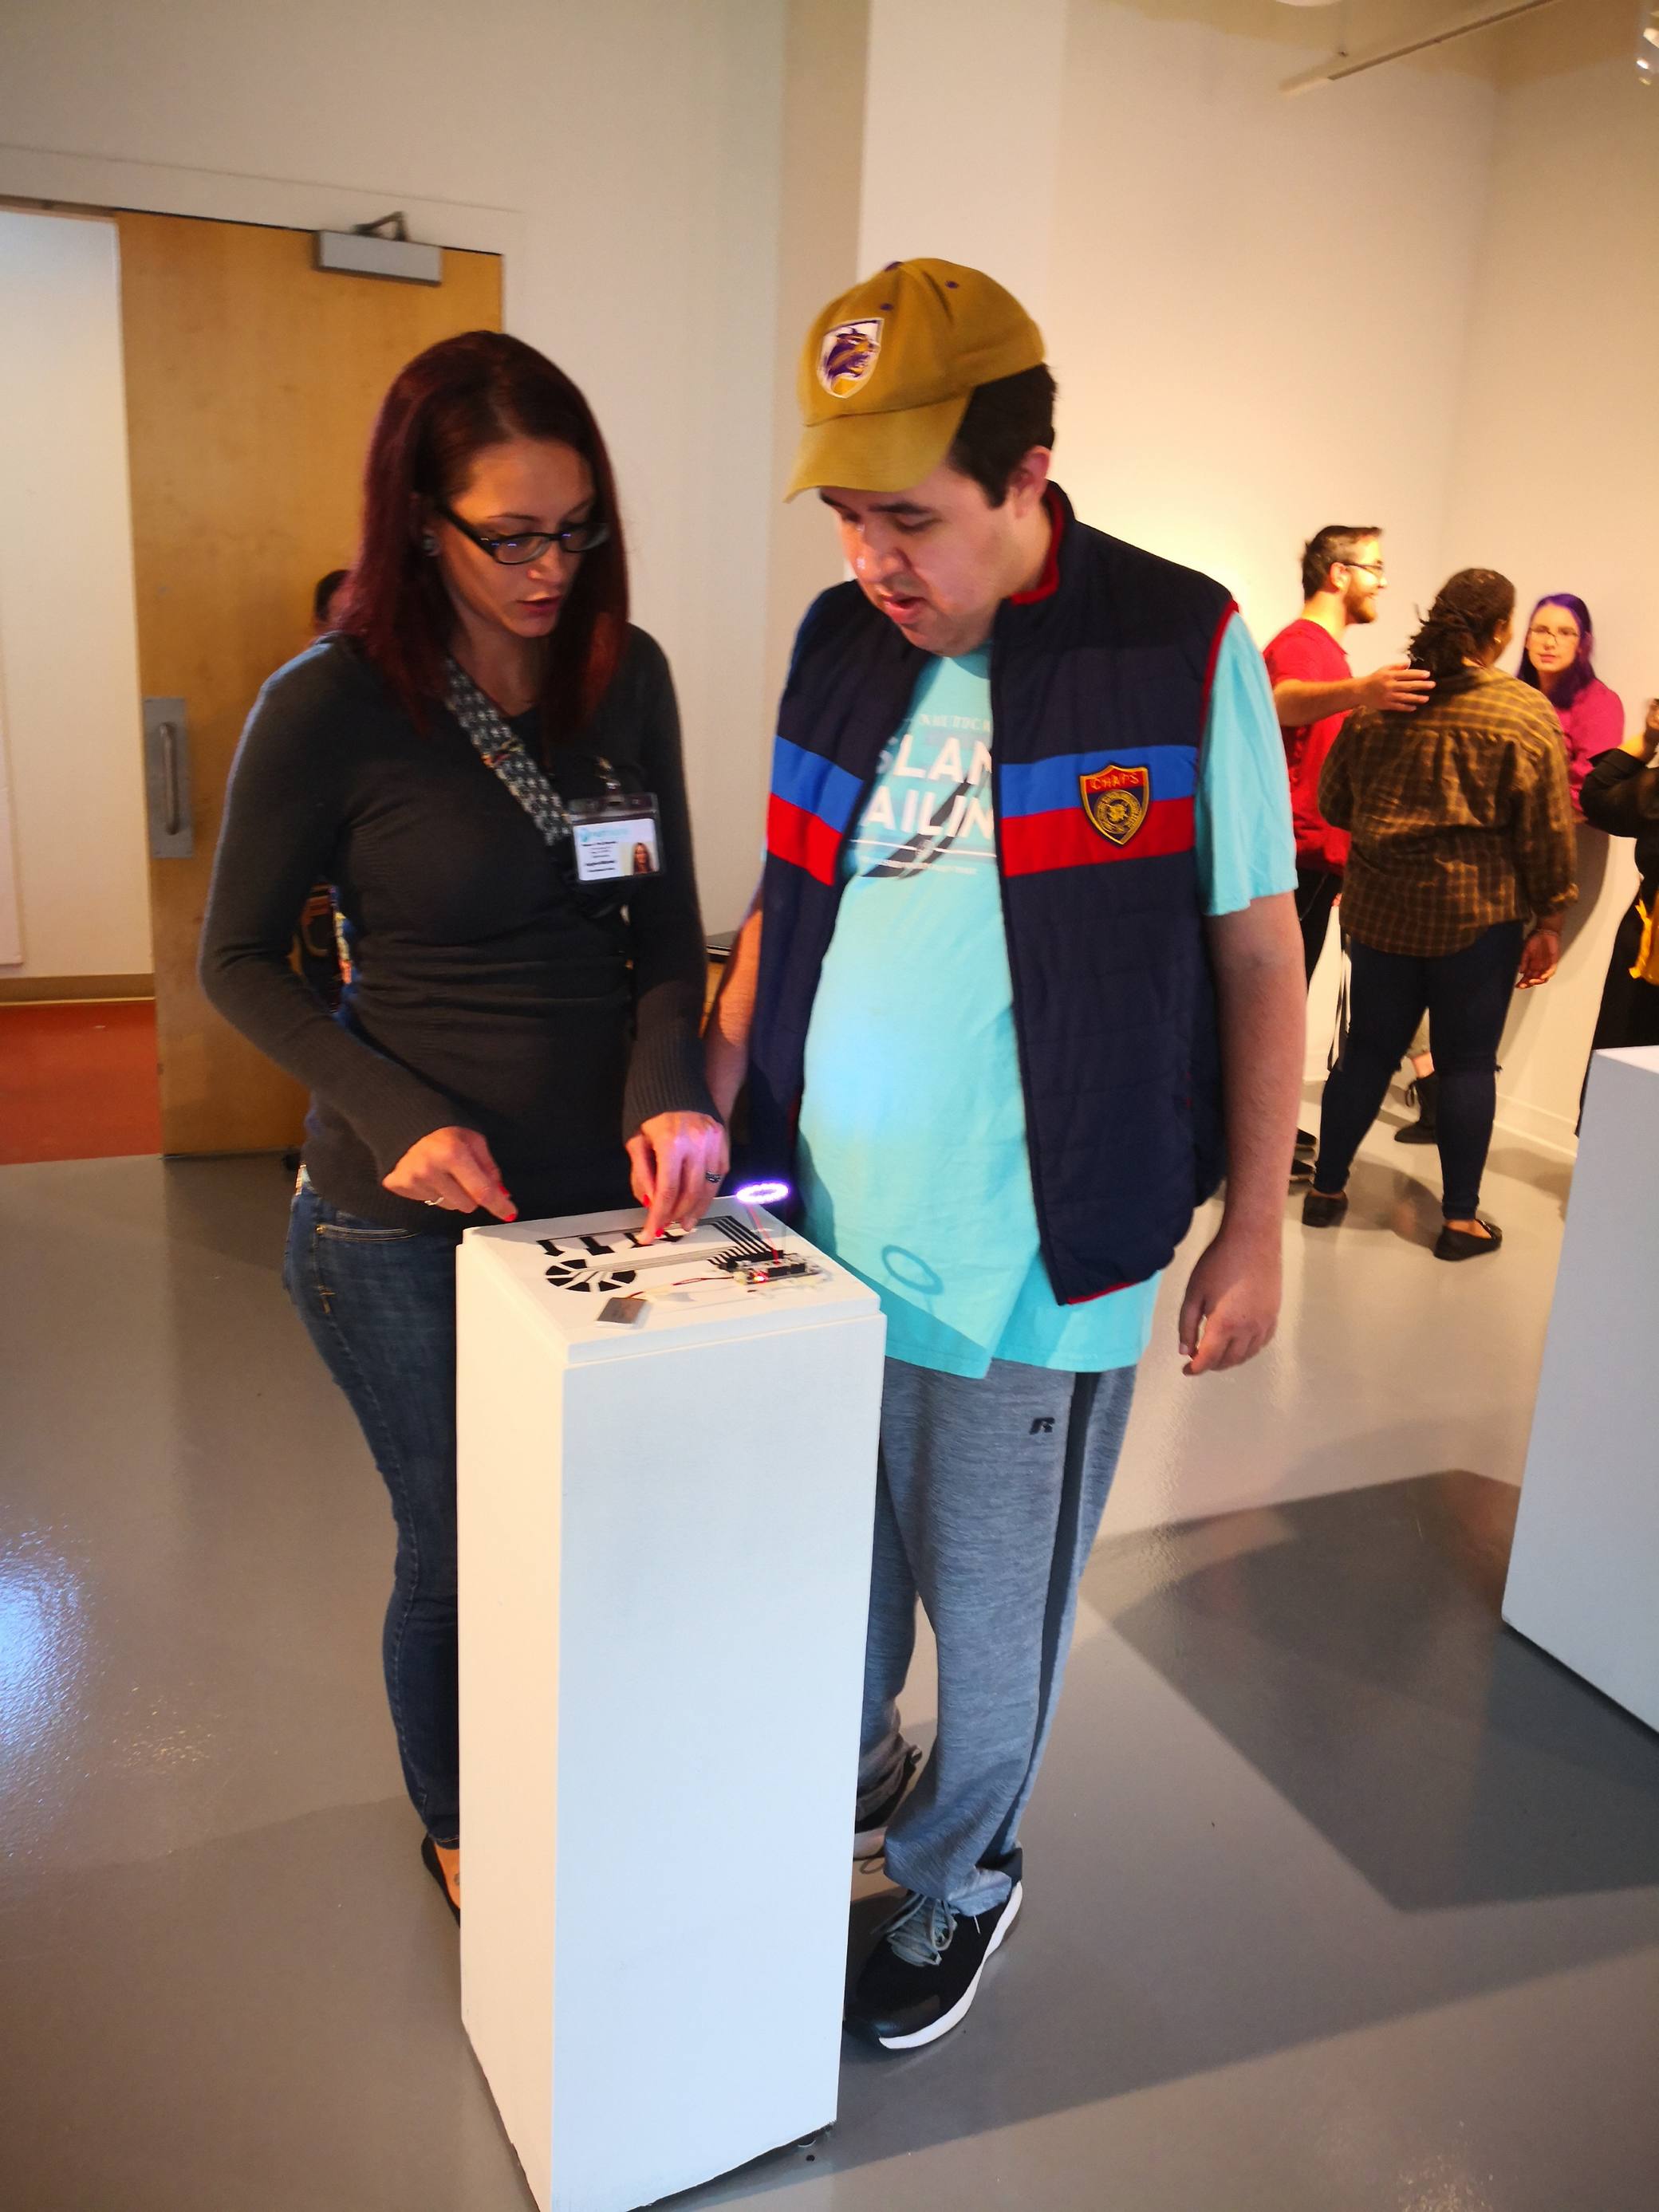
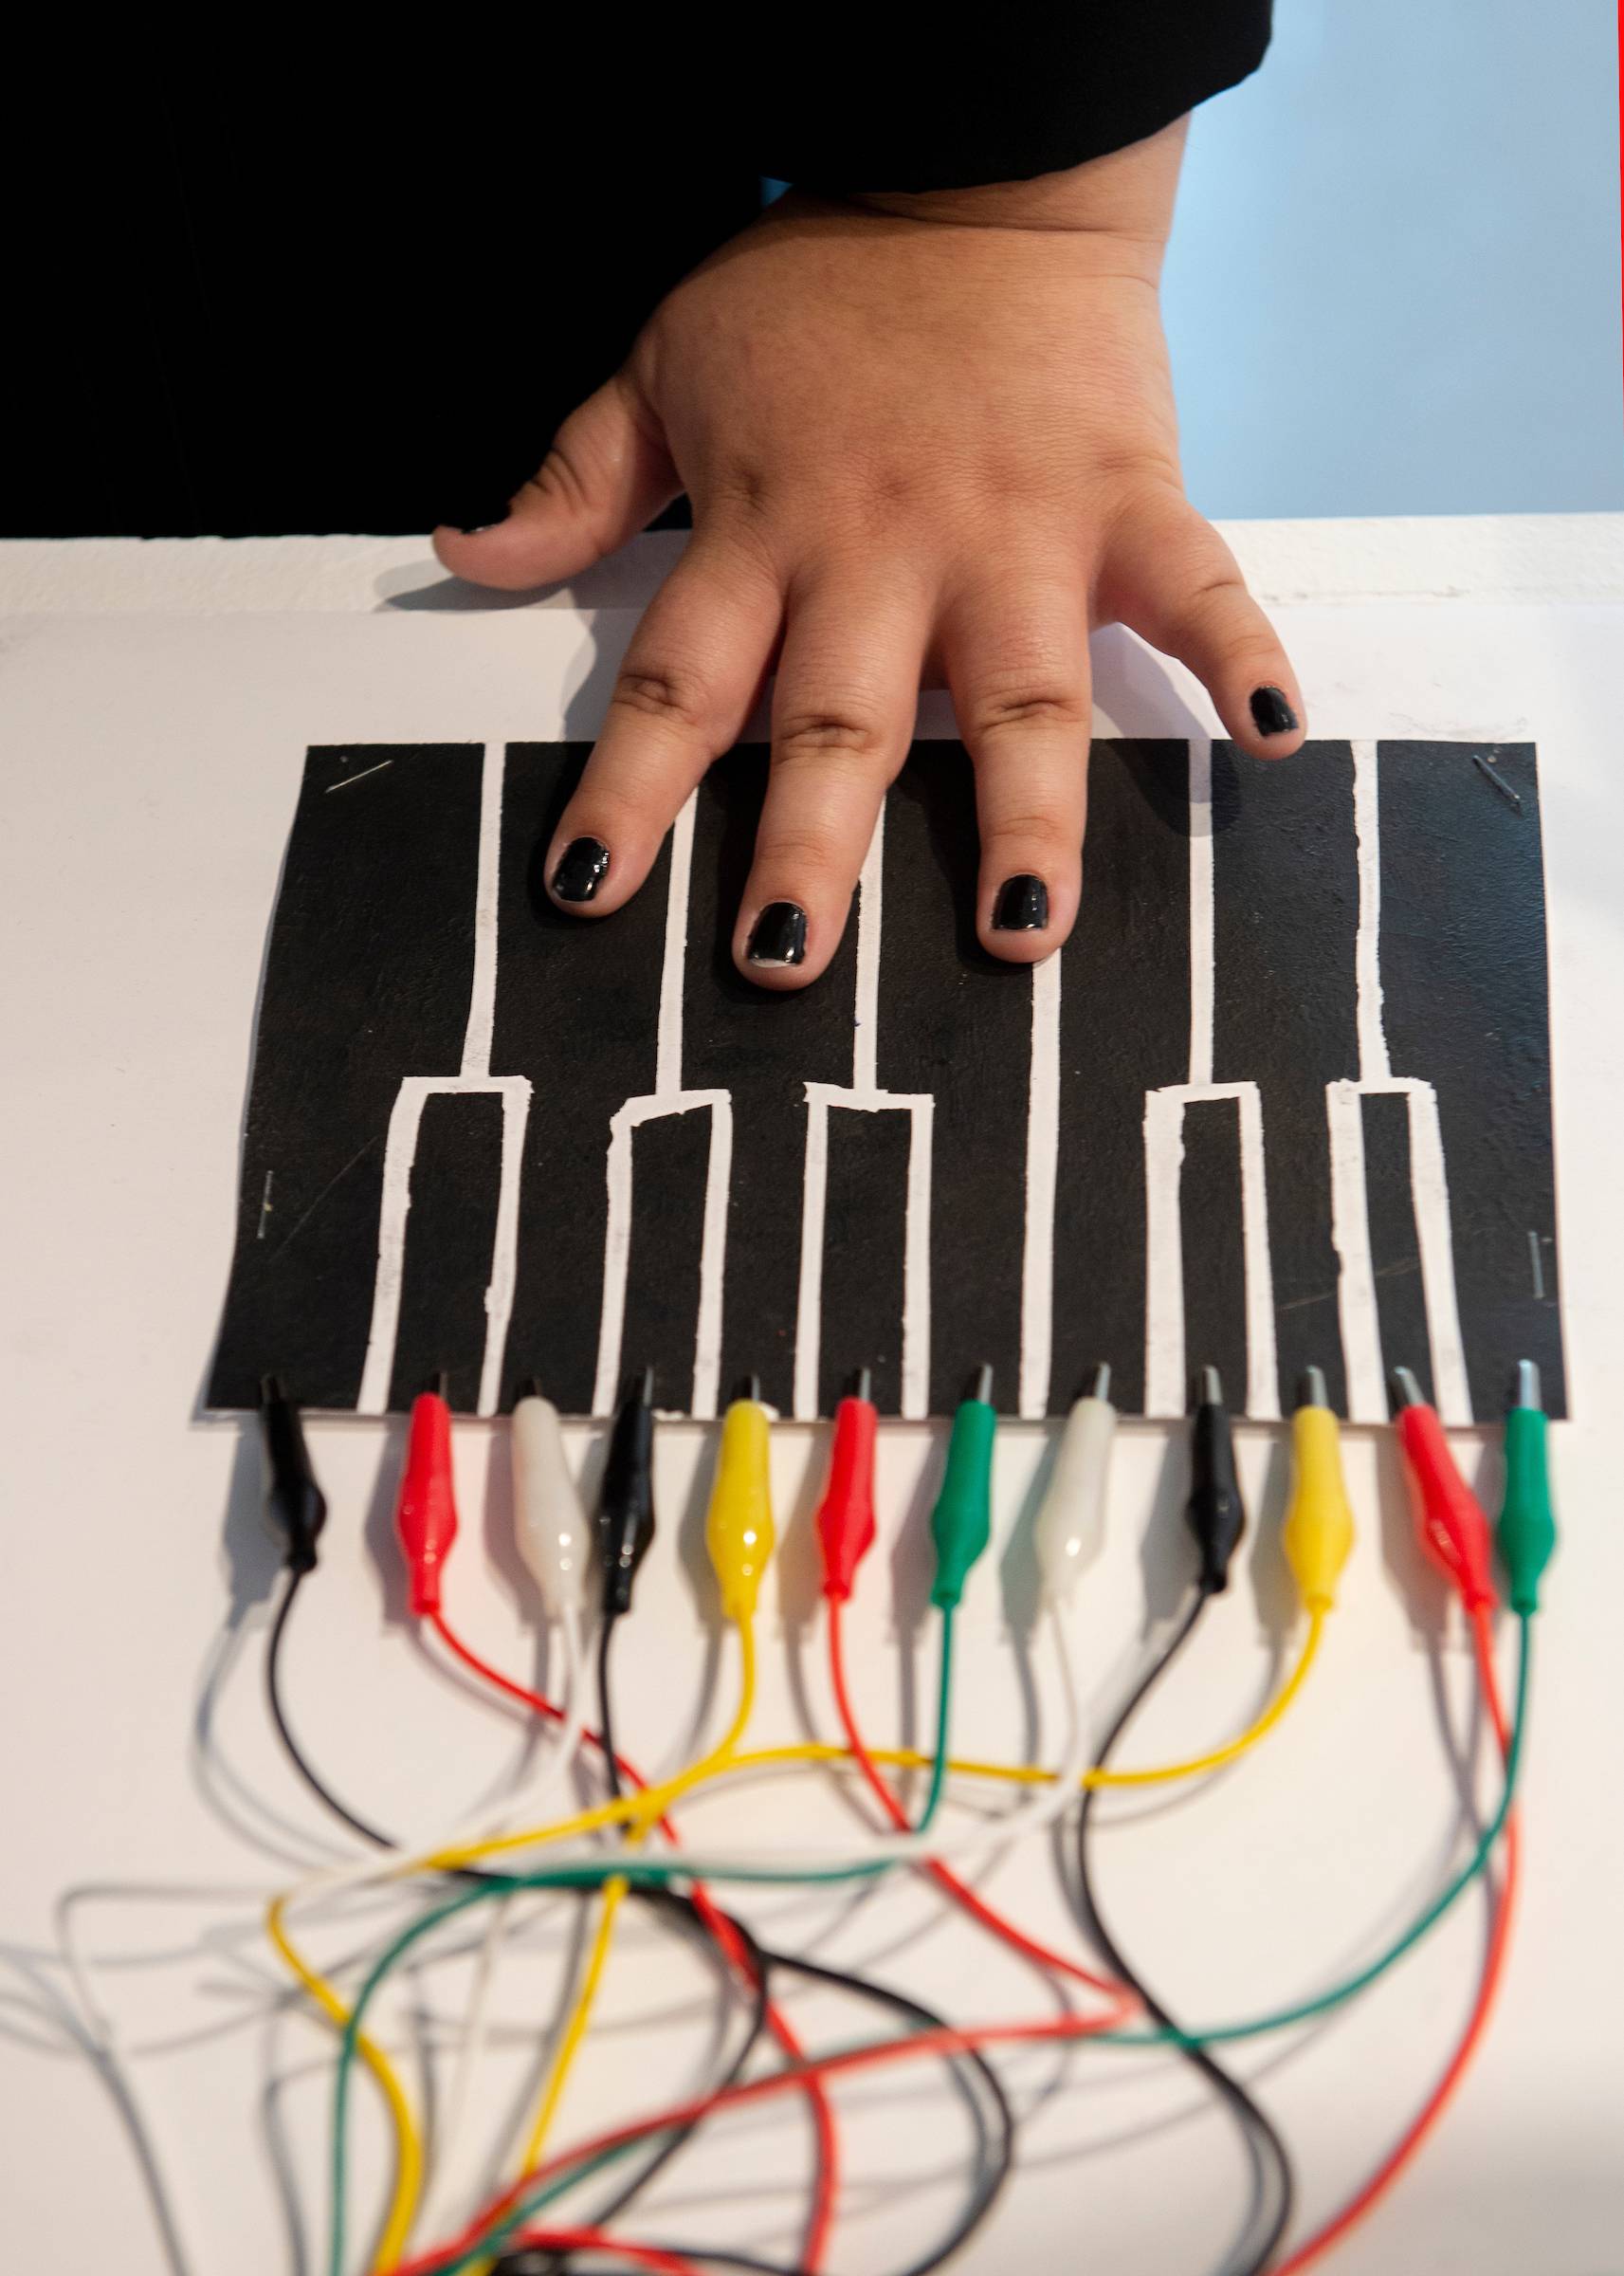
At the beginning of the session, people tried out the midi-keyboard made out of Bare Conductive Touch Board and conductive paint.
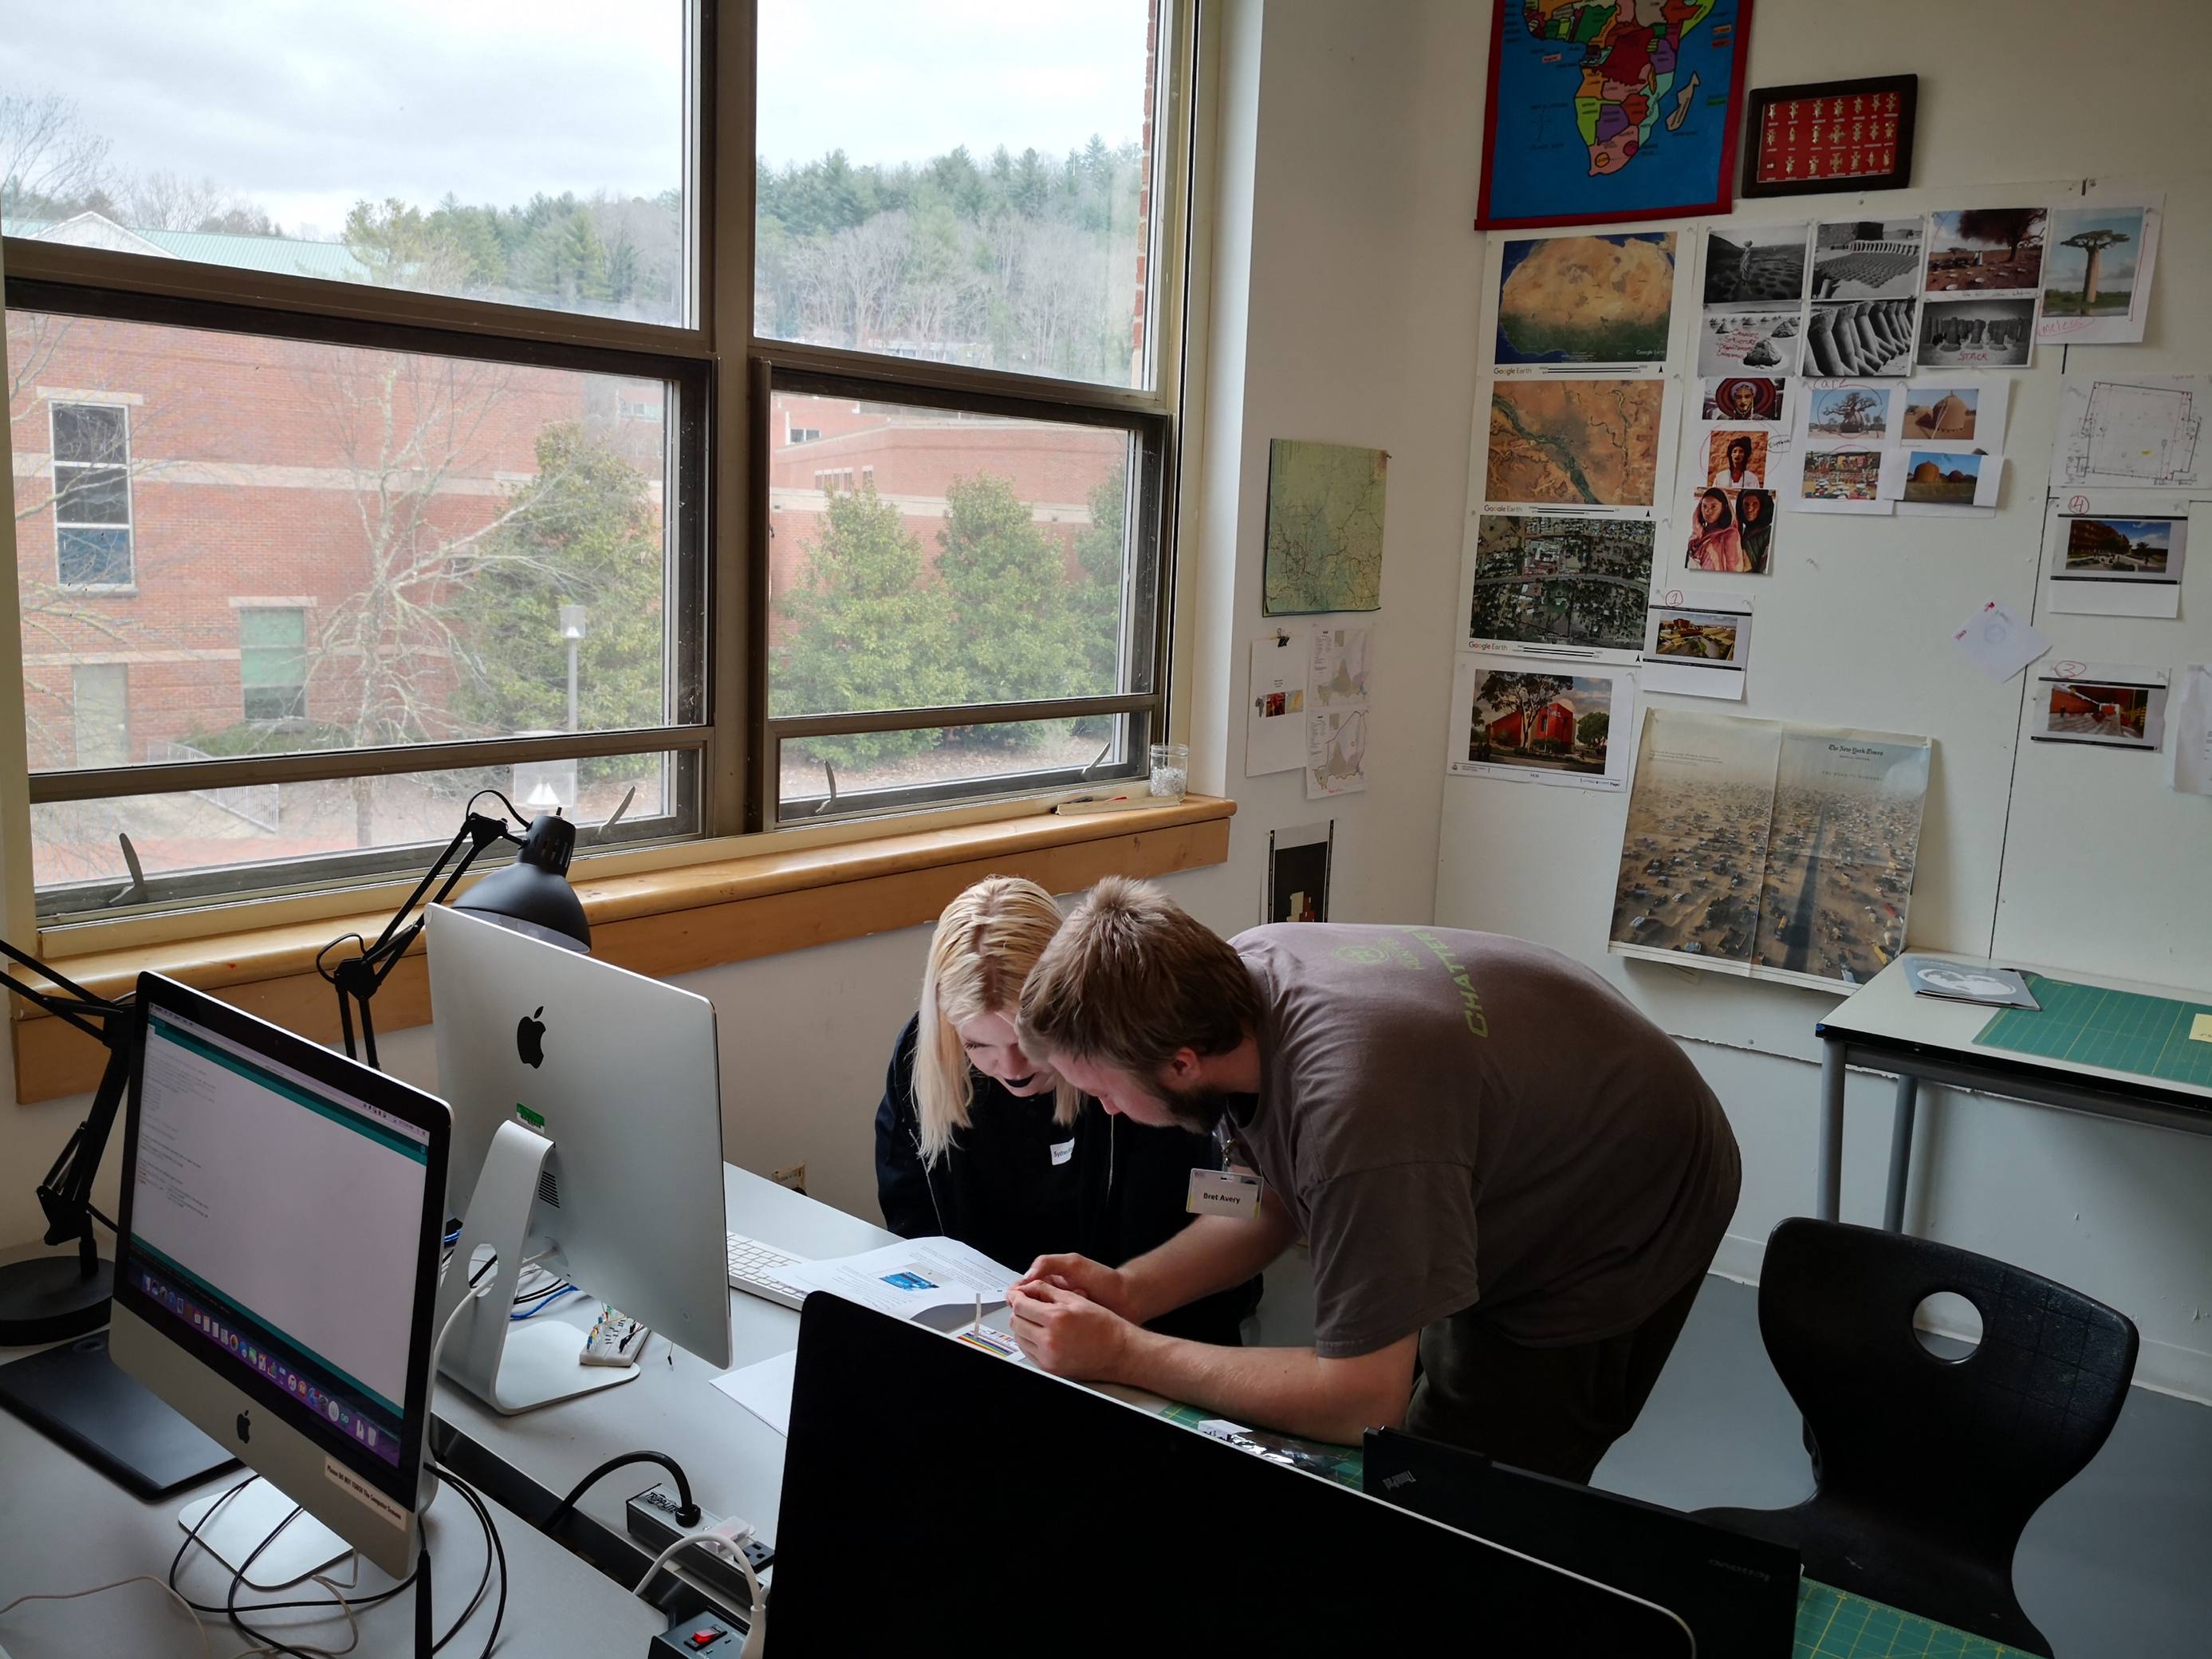
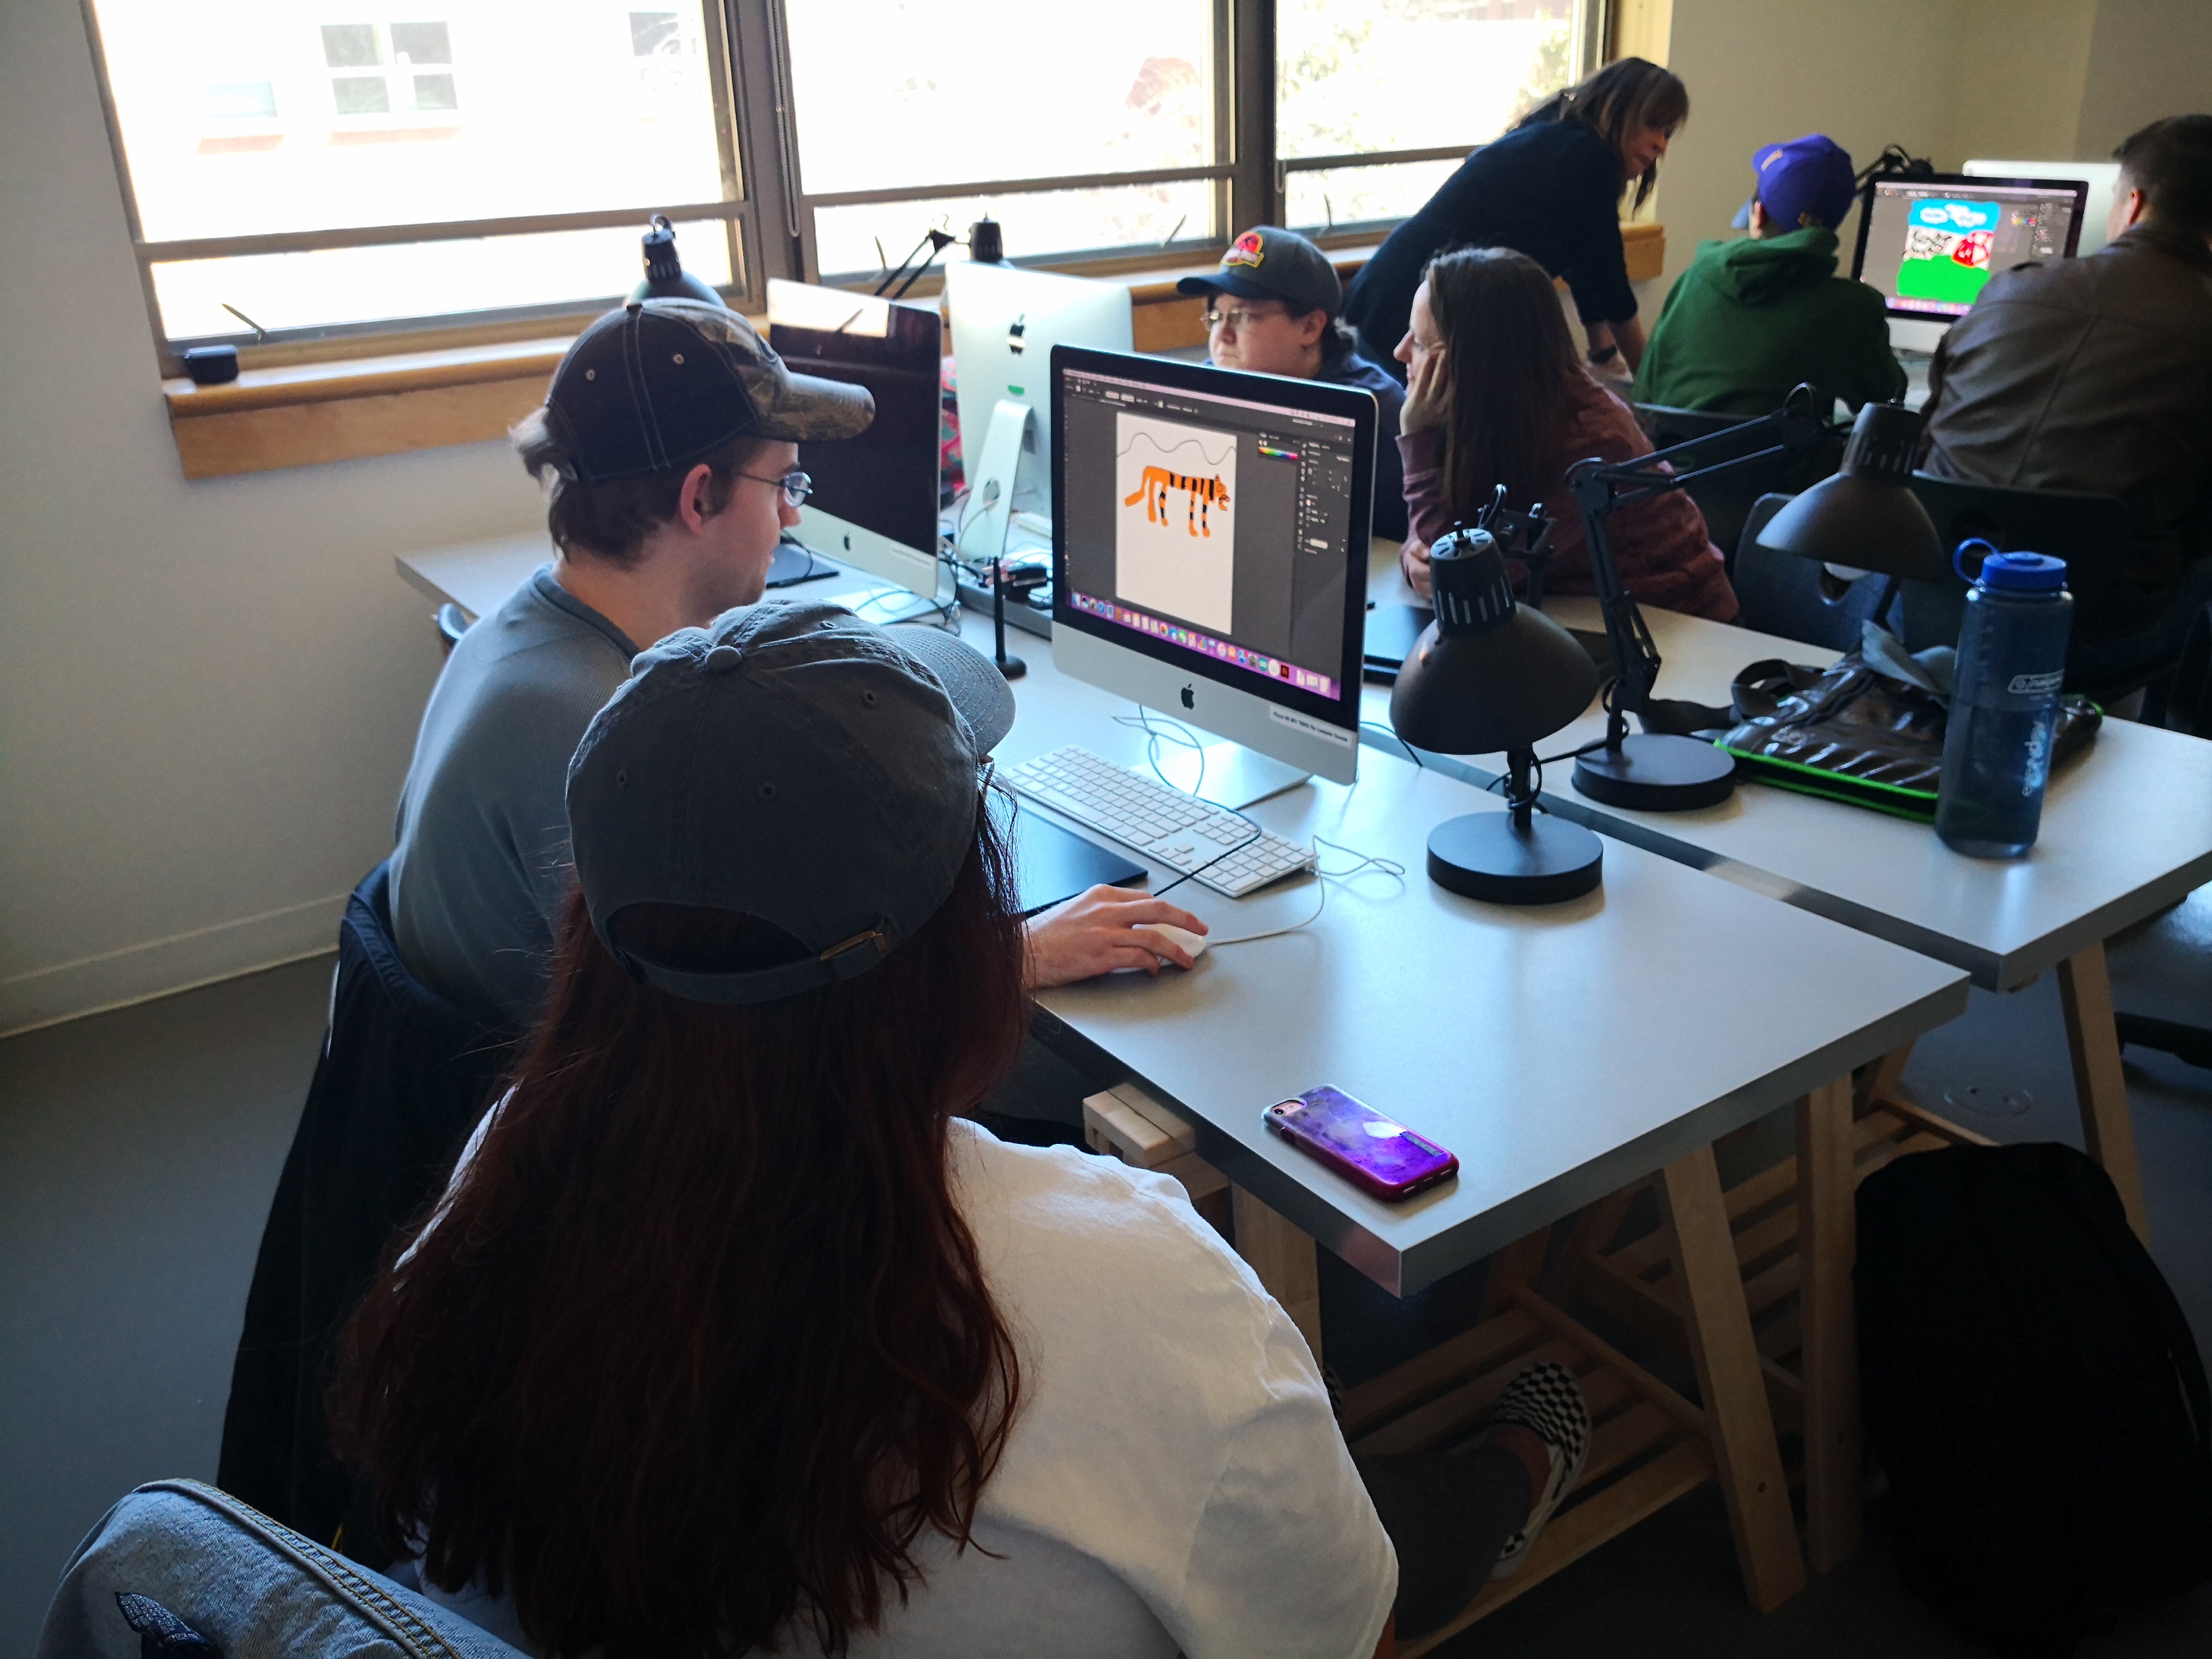
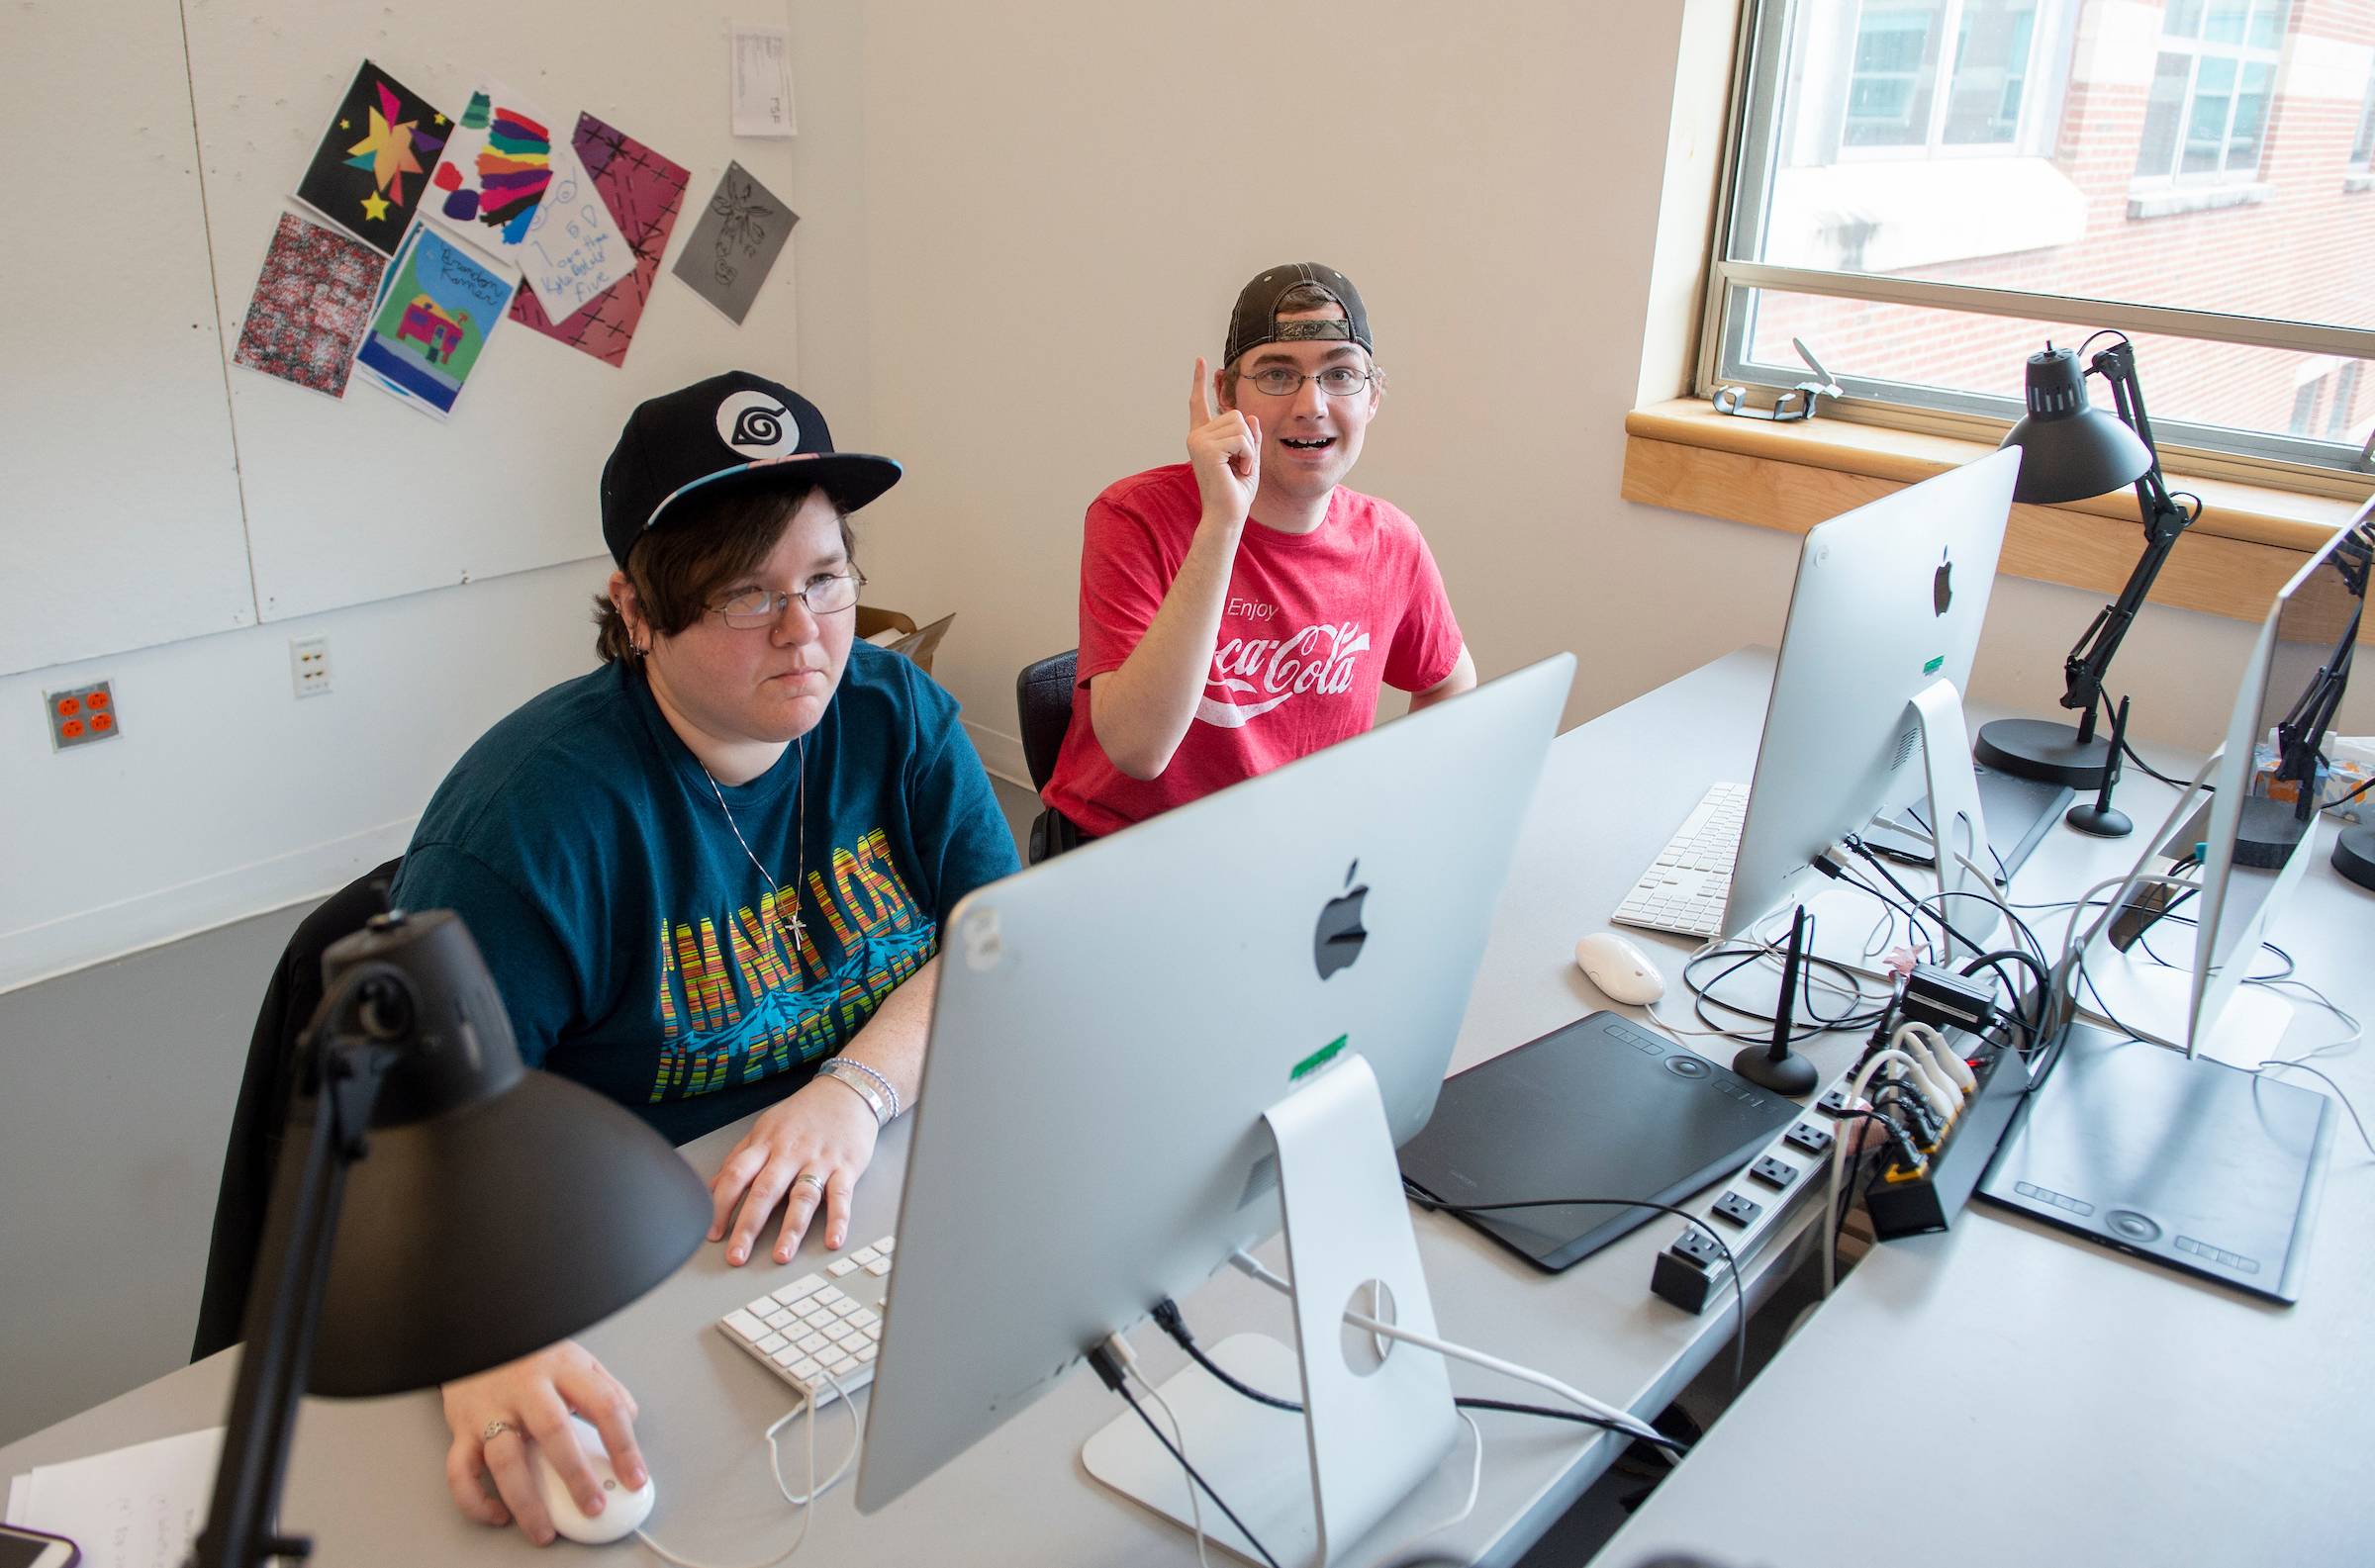
After trying out the midi-keyboard, everyone was very engaged in their own creation.

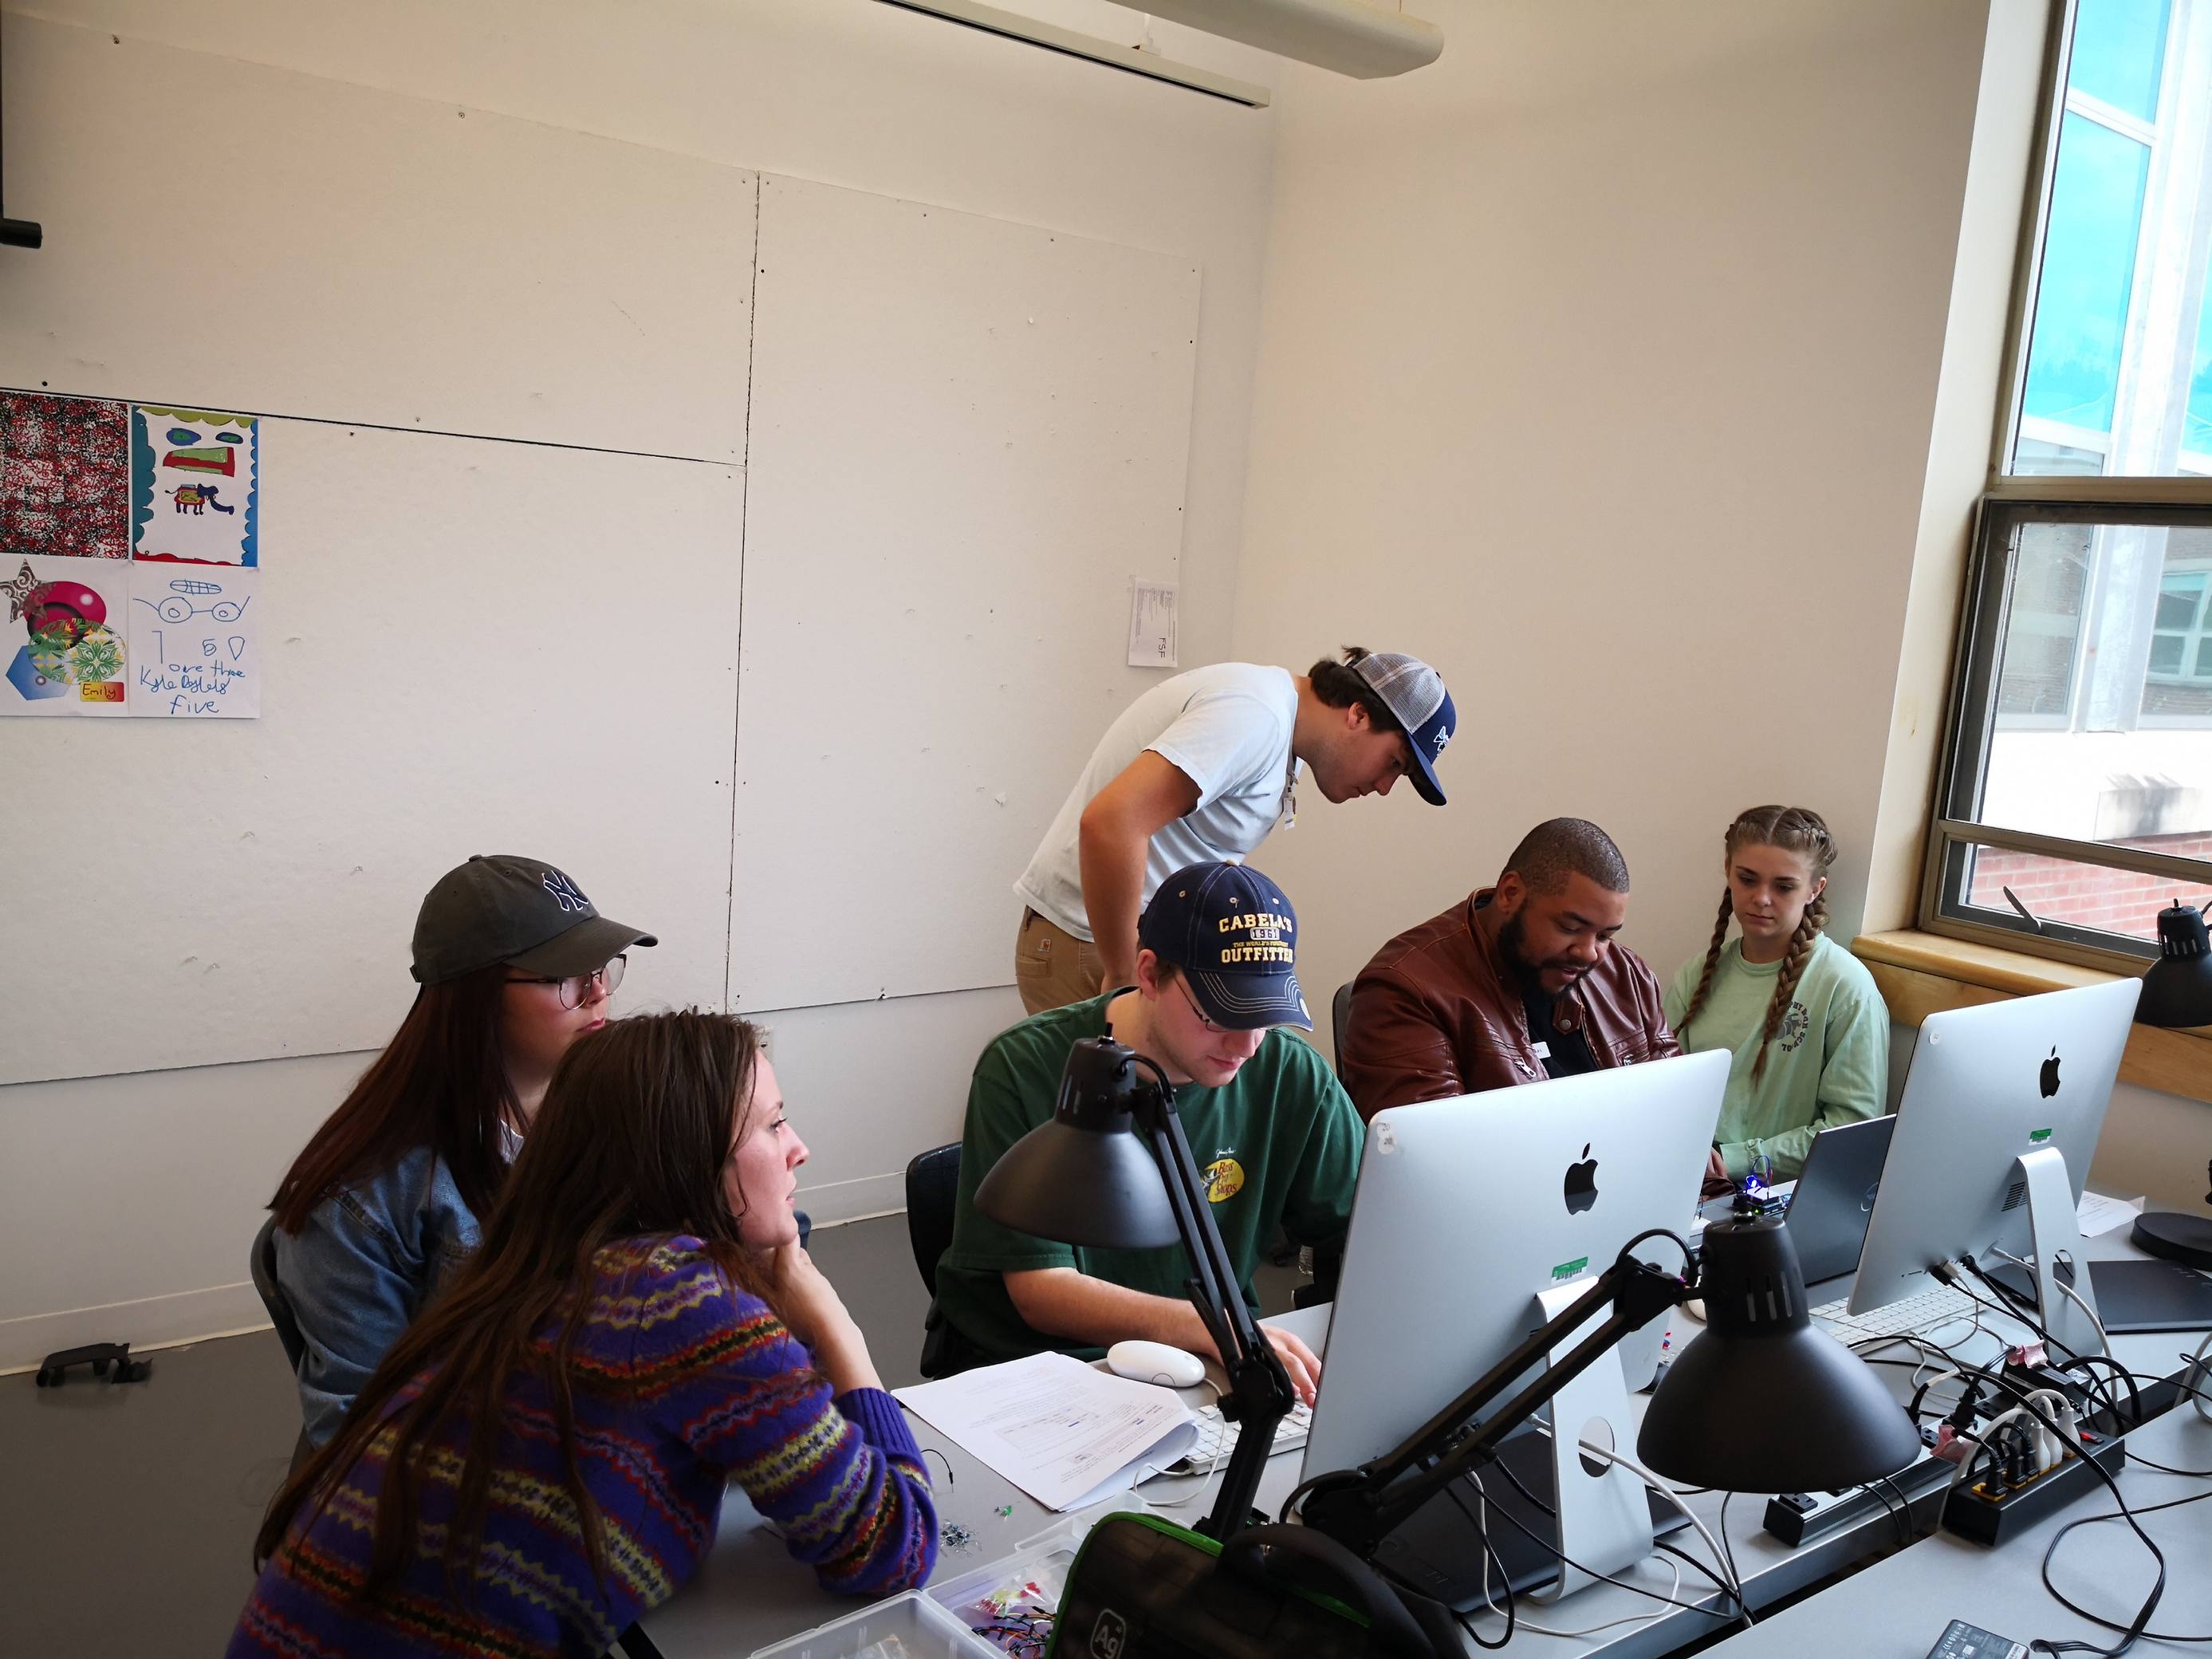
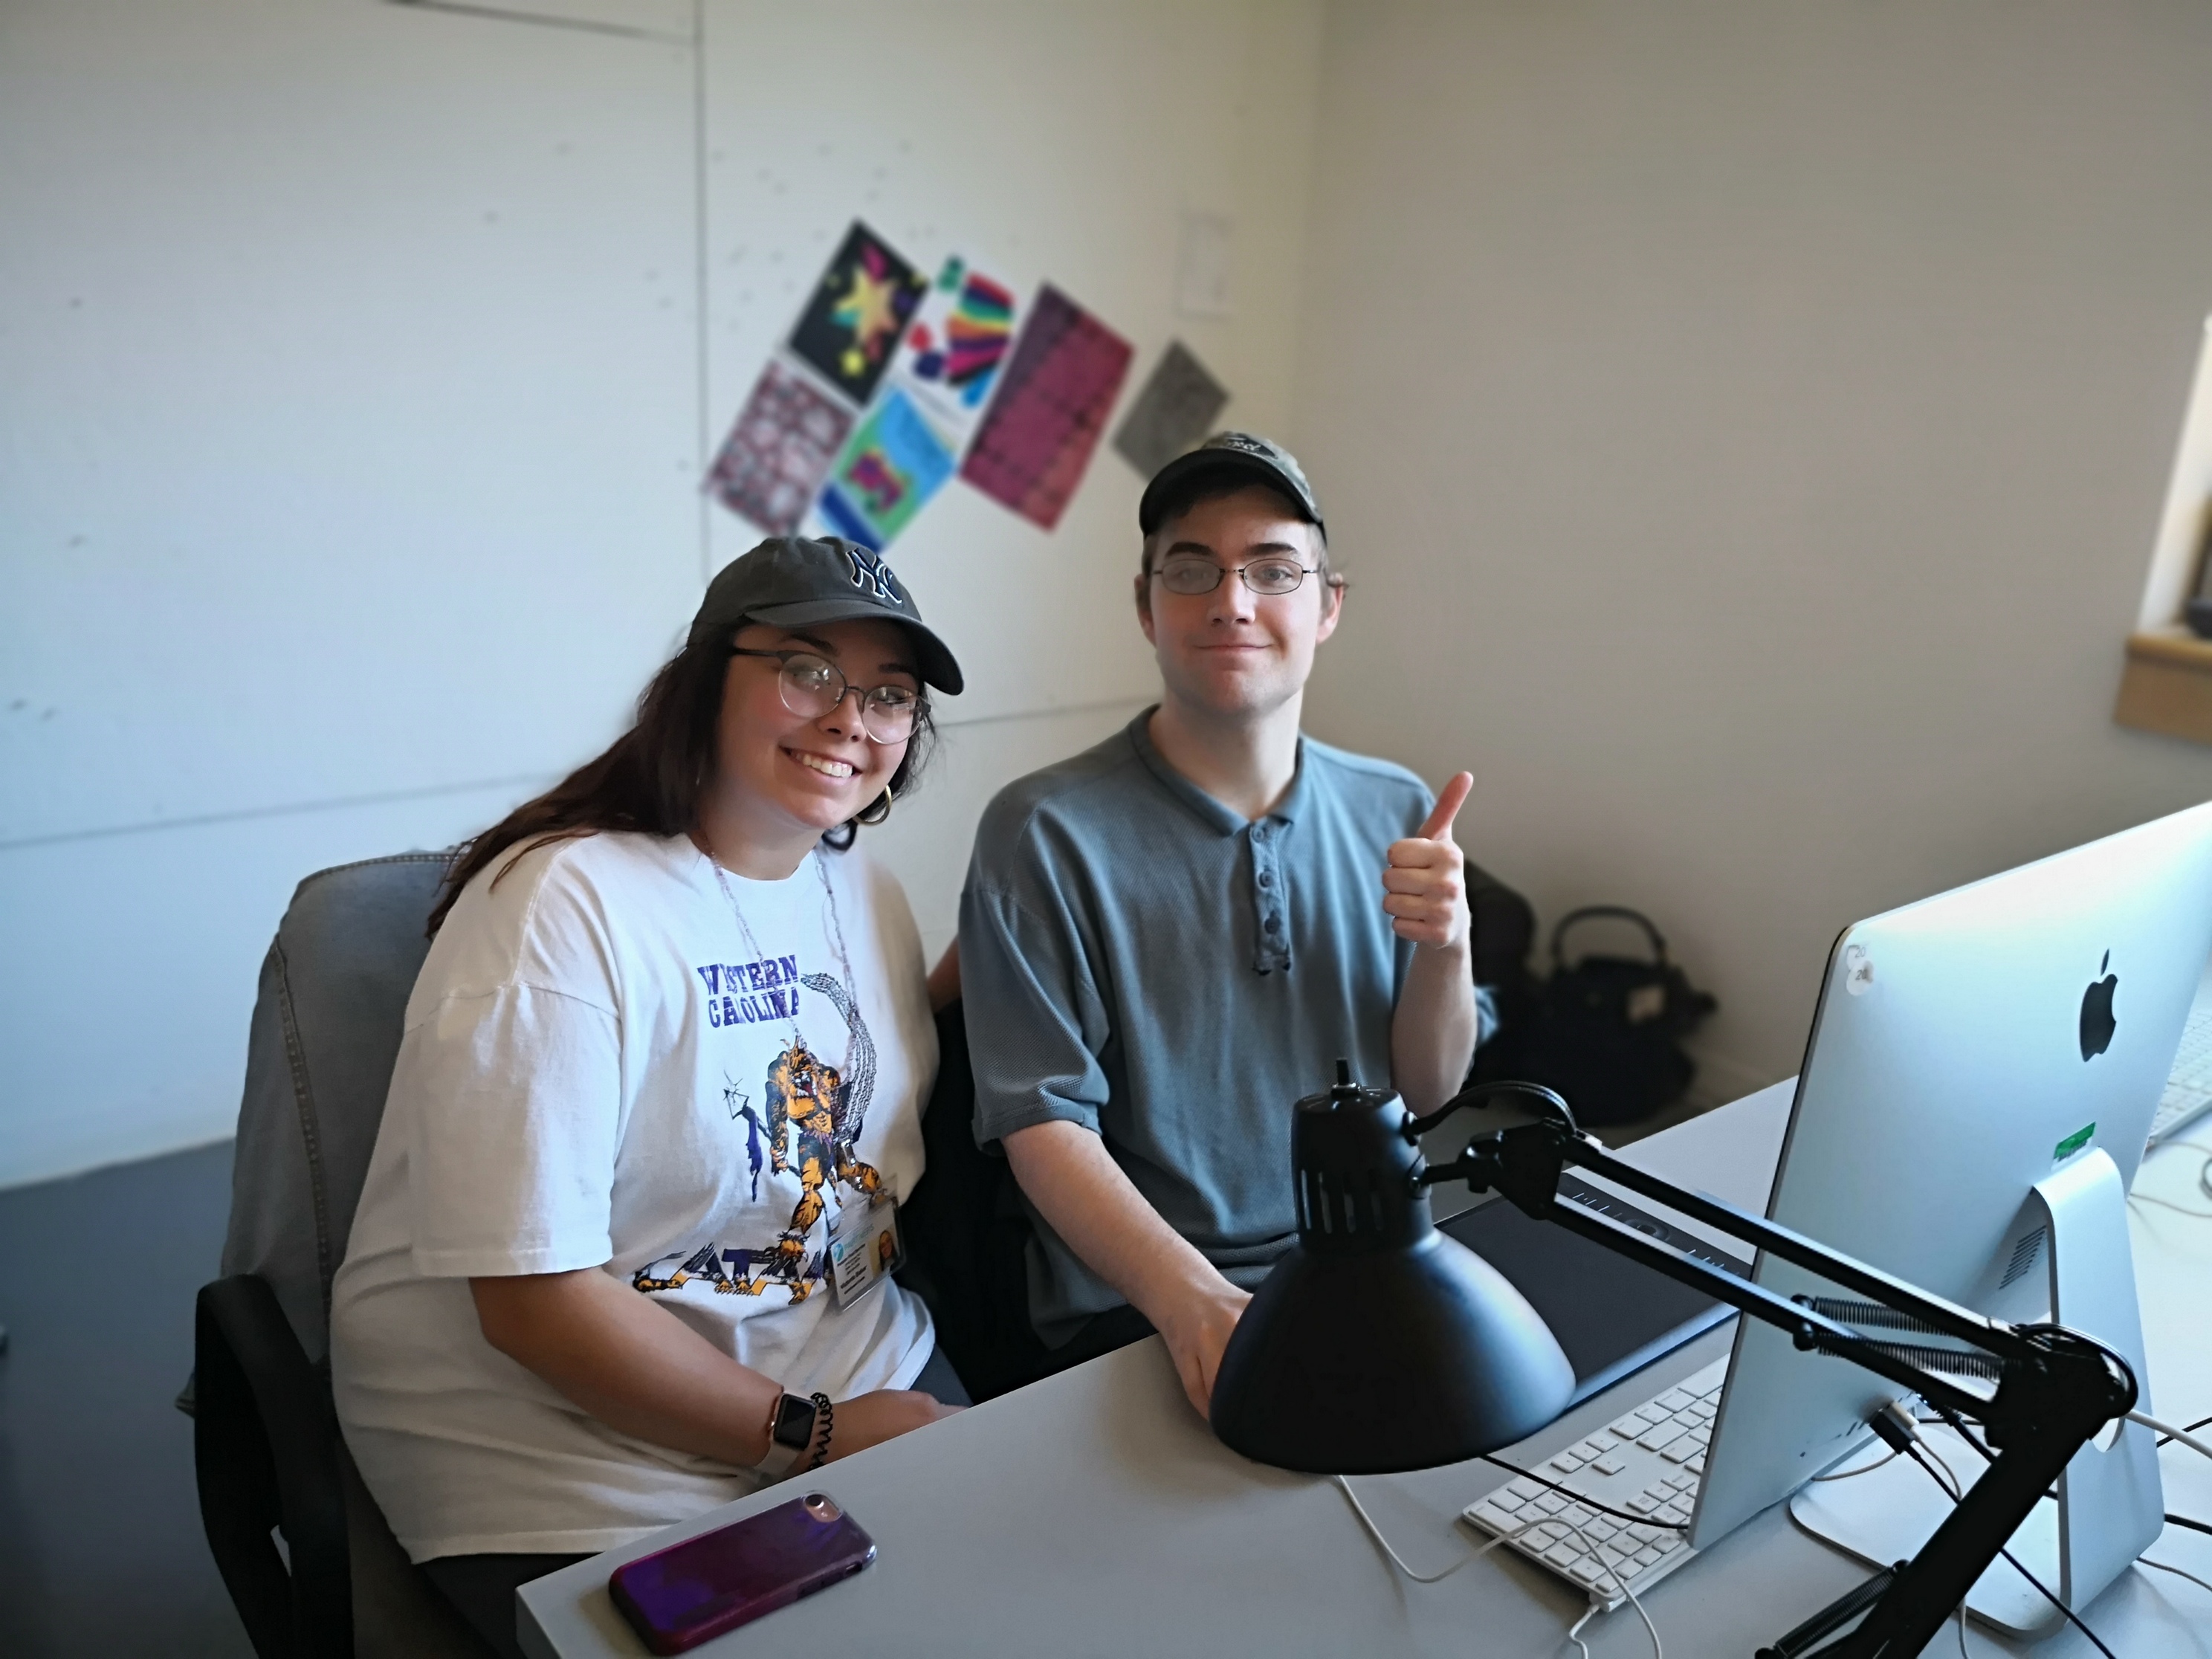
At the end of the session, groups of each client and their student helpers presented their fun creations!
Group 1:
Group 2:
Group 3:
Group 4:
Group 5:
Group 6:
Project Progression
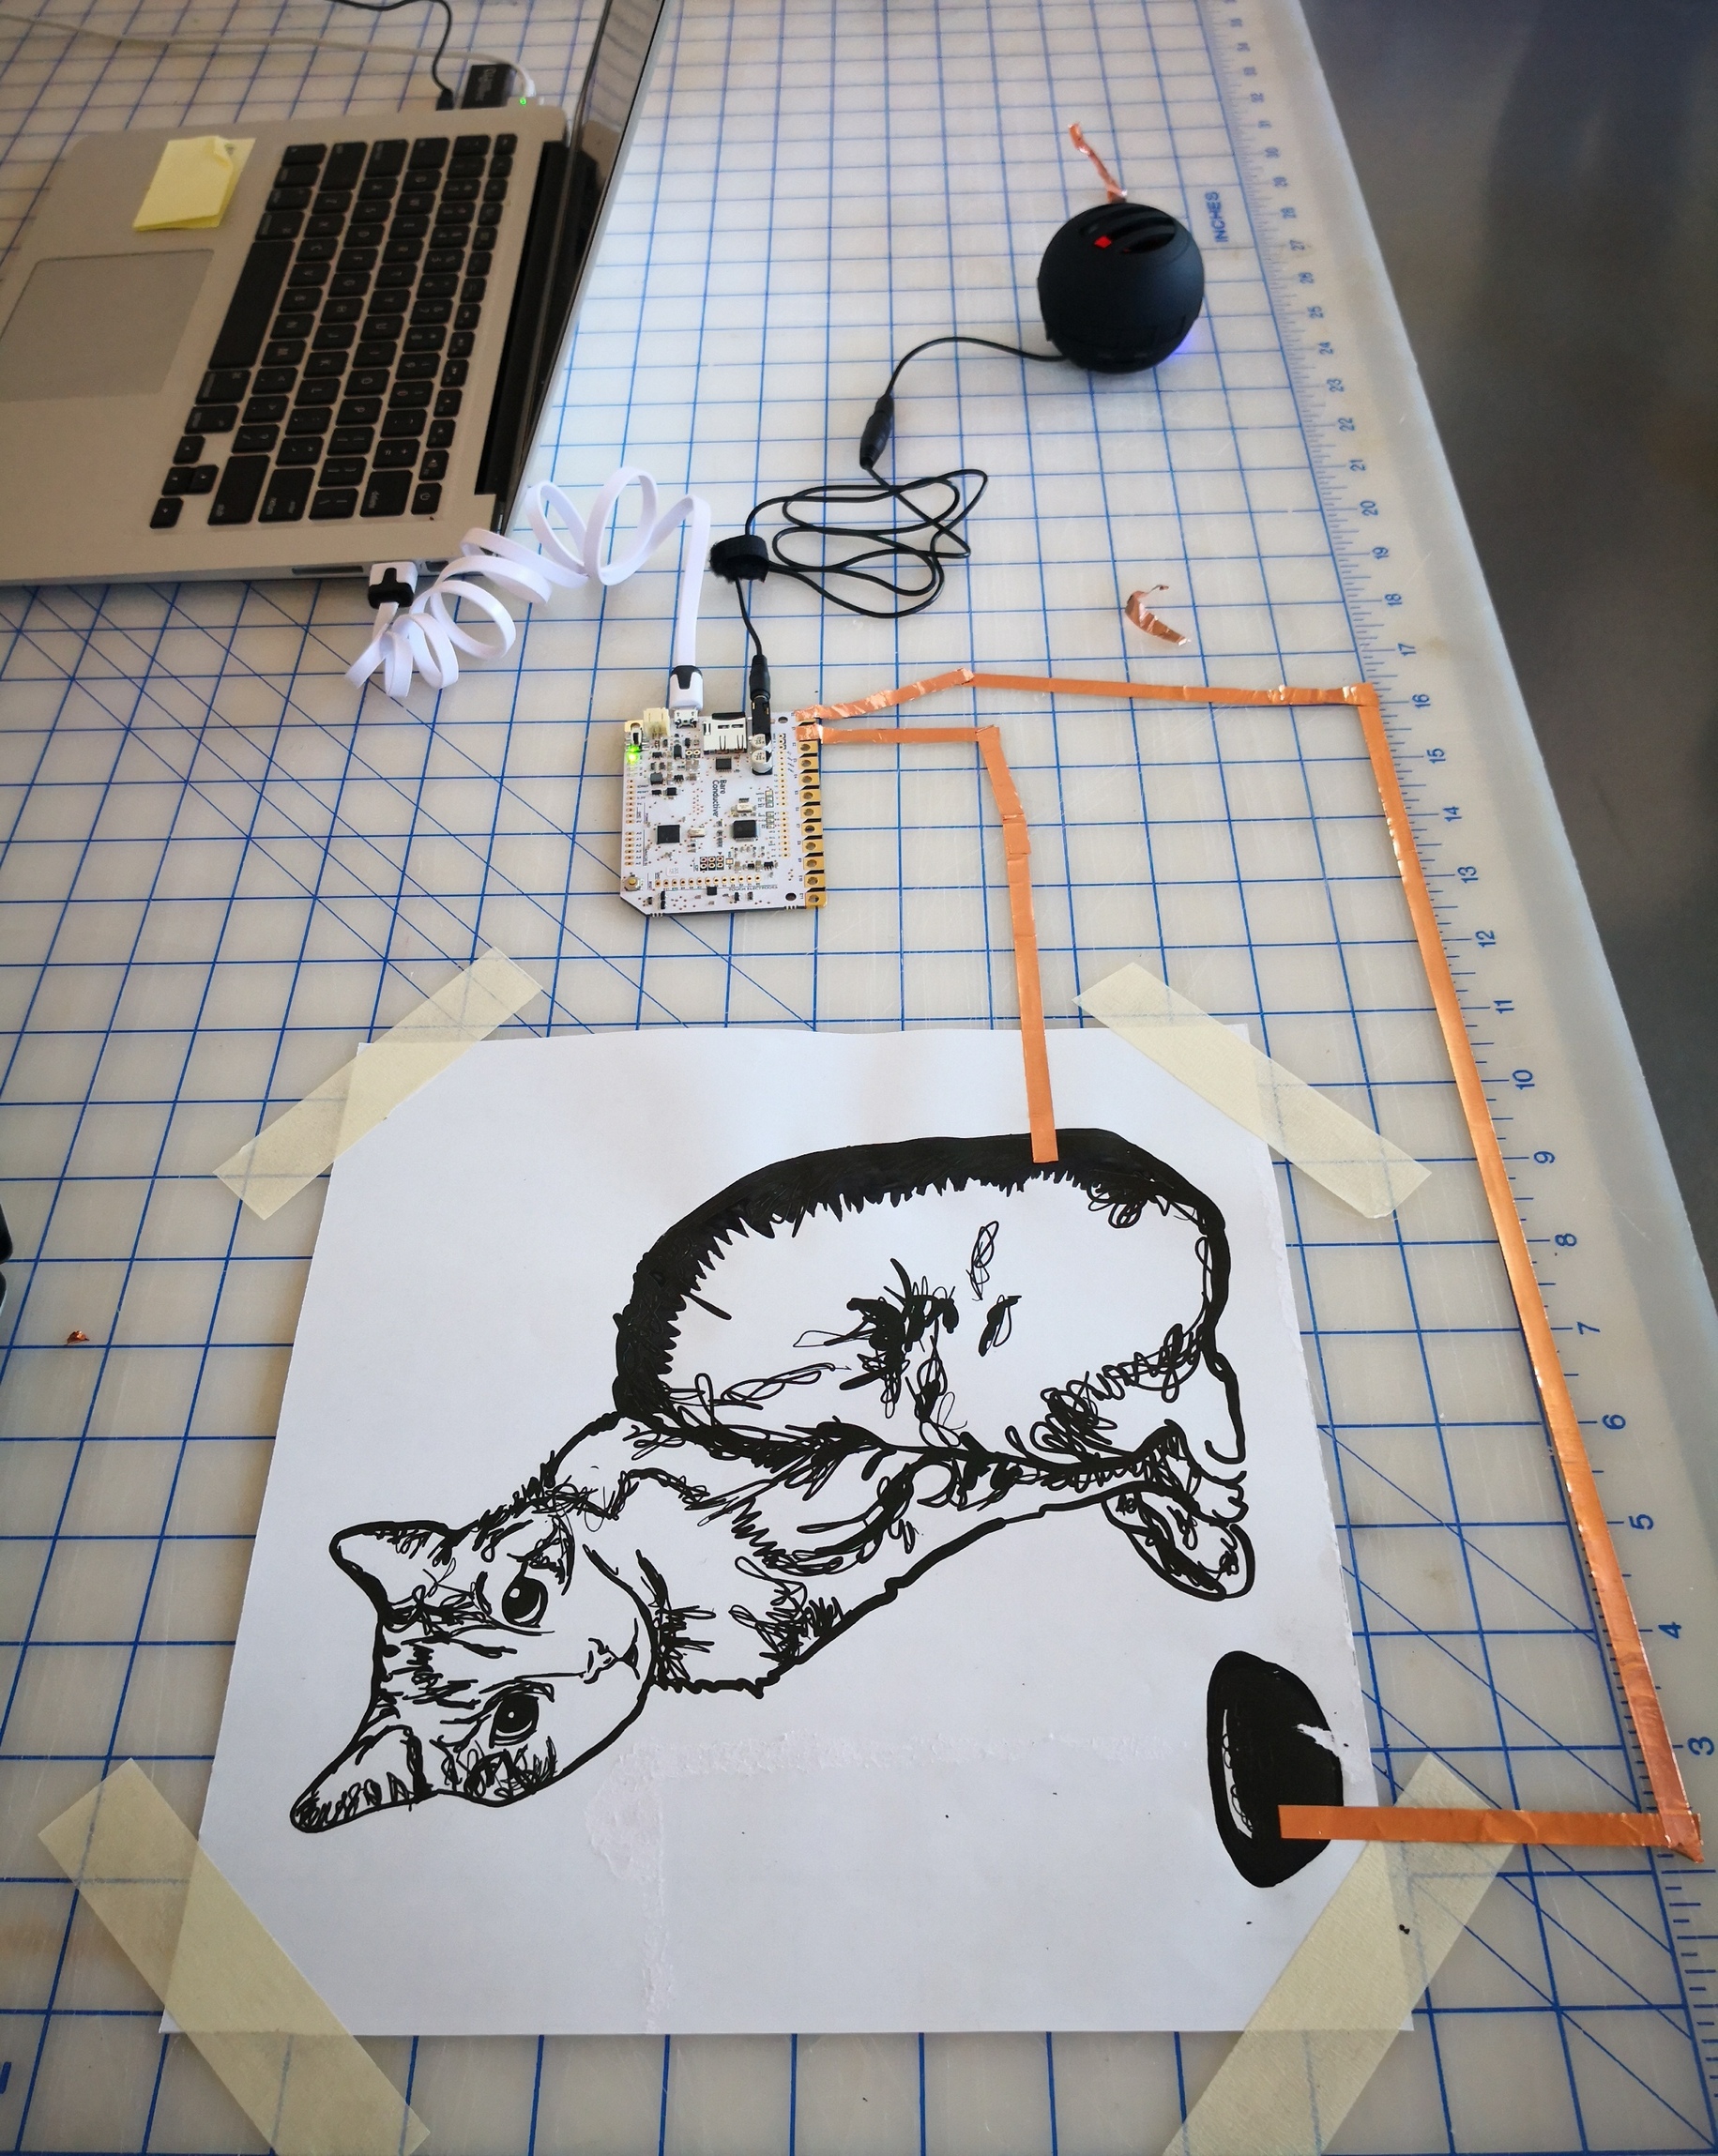
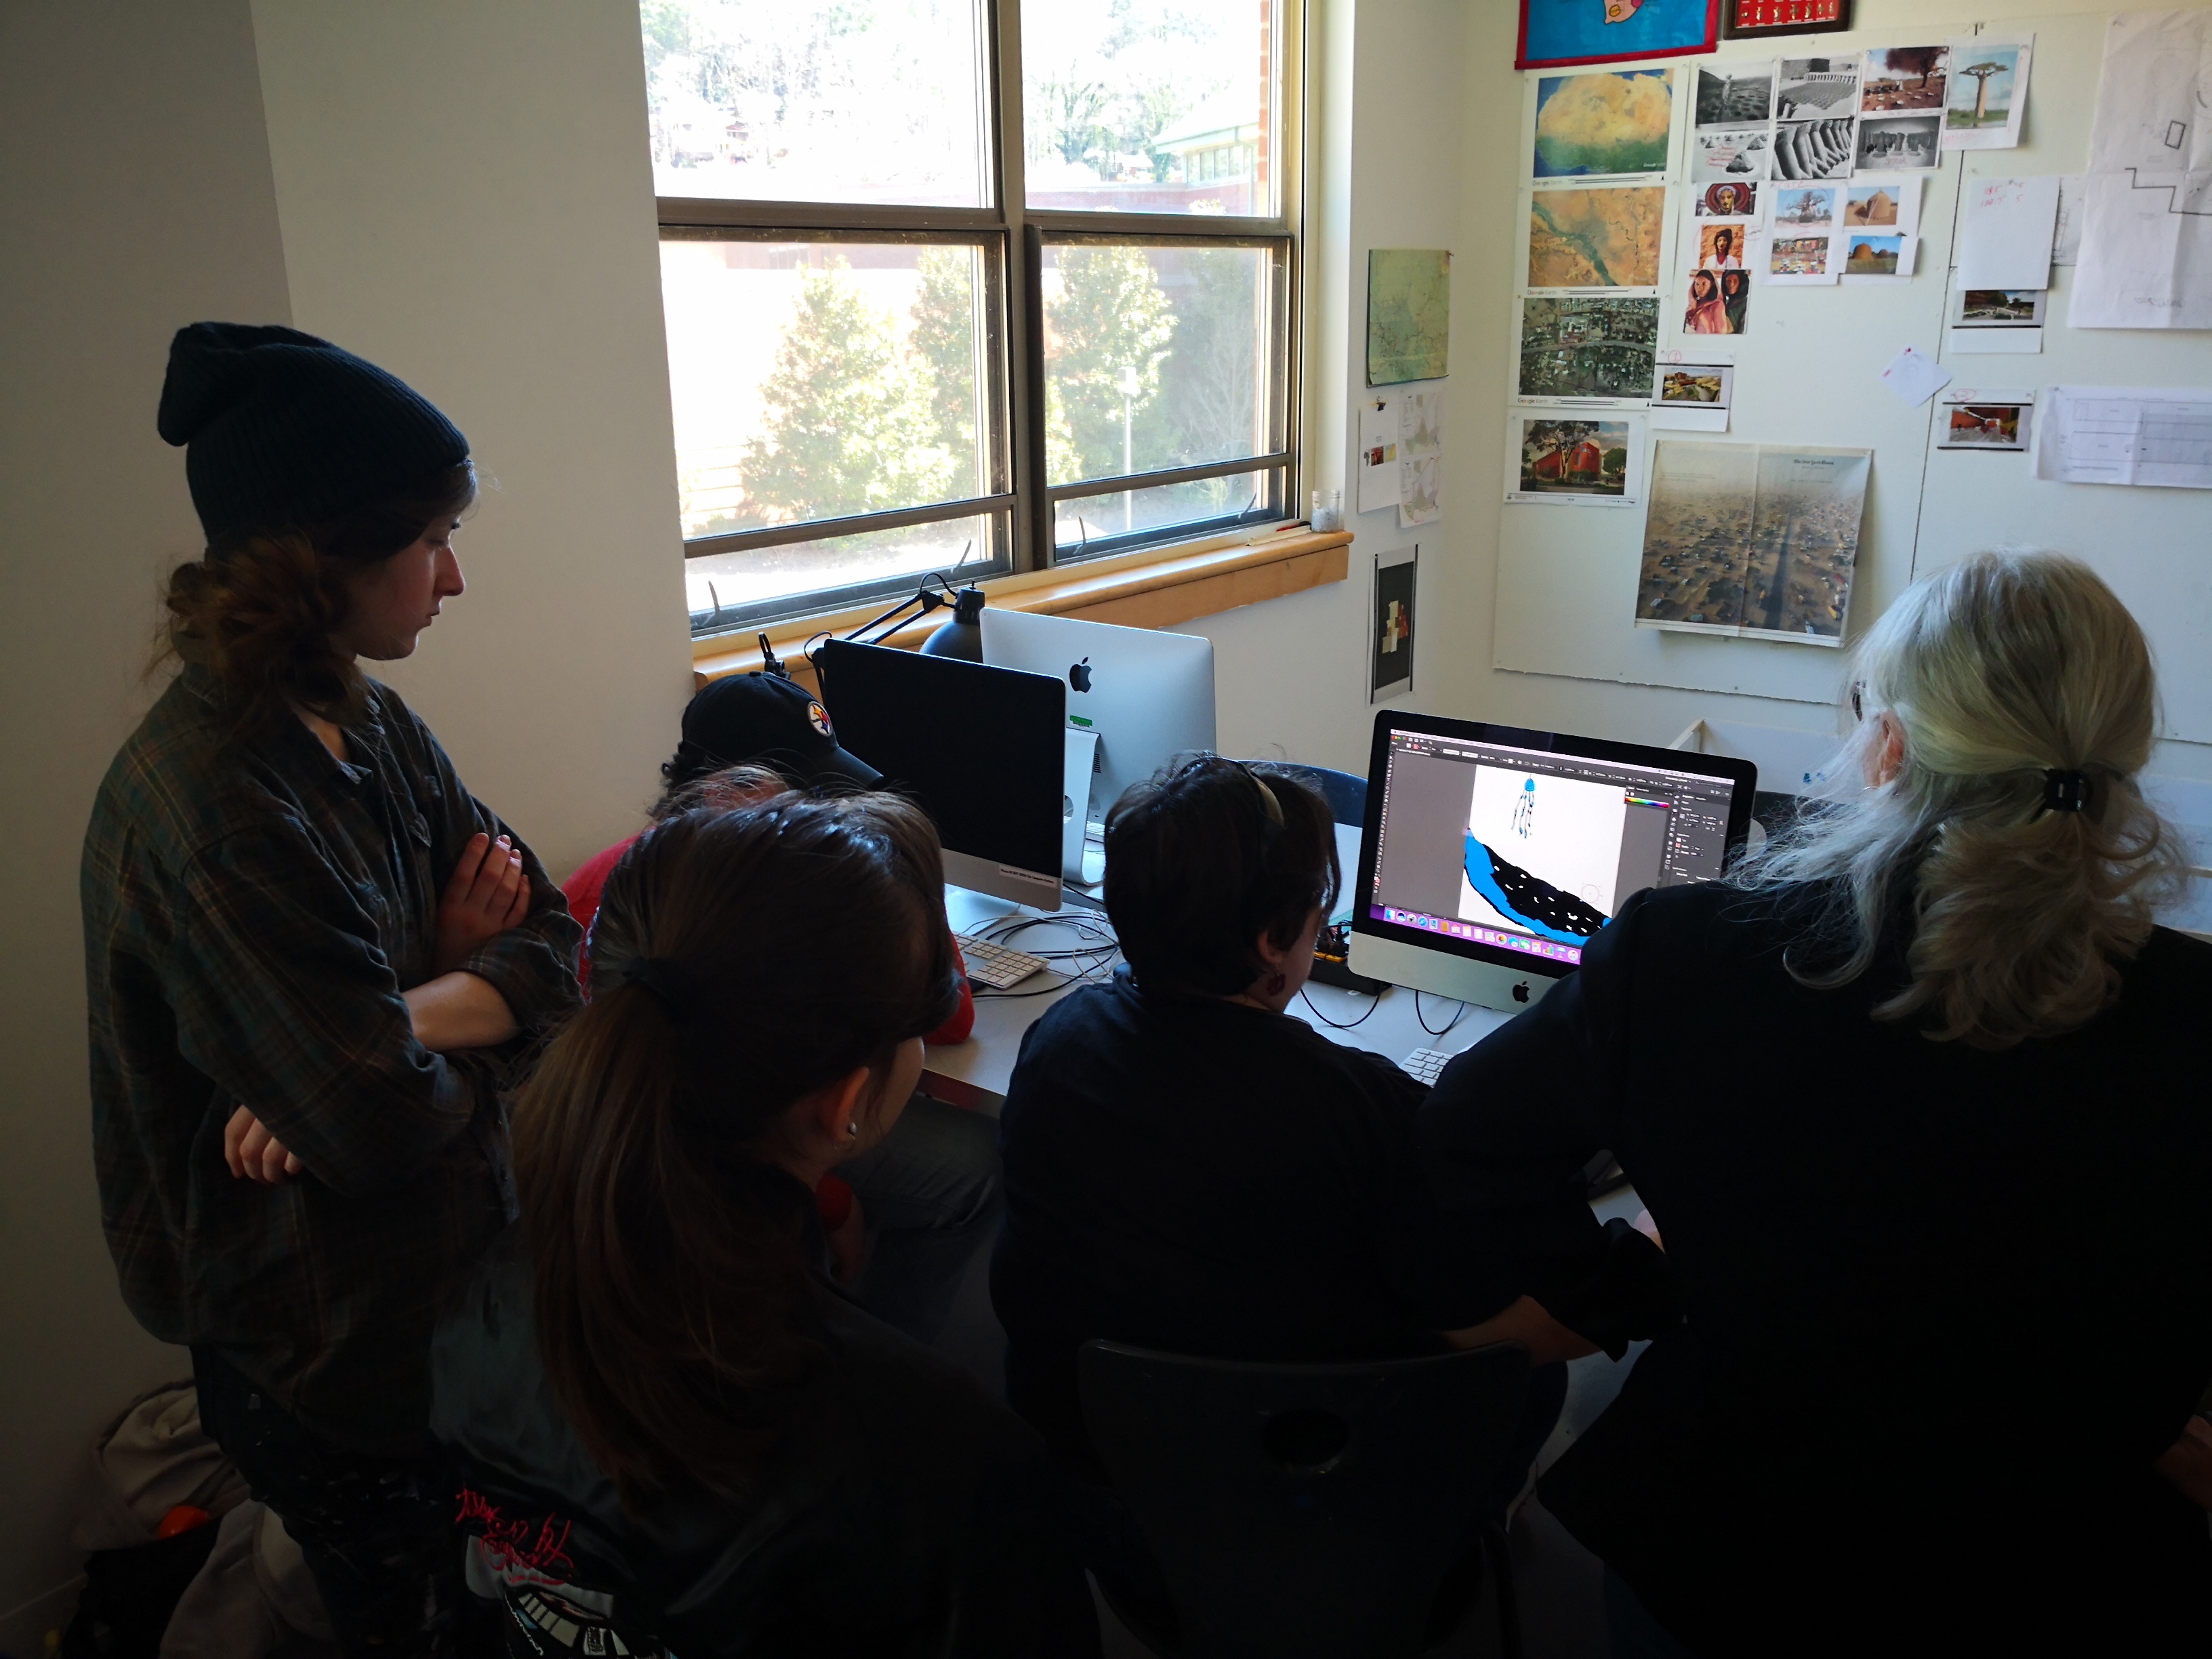
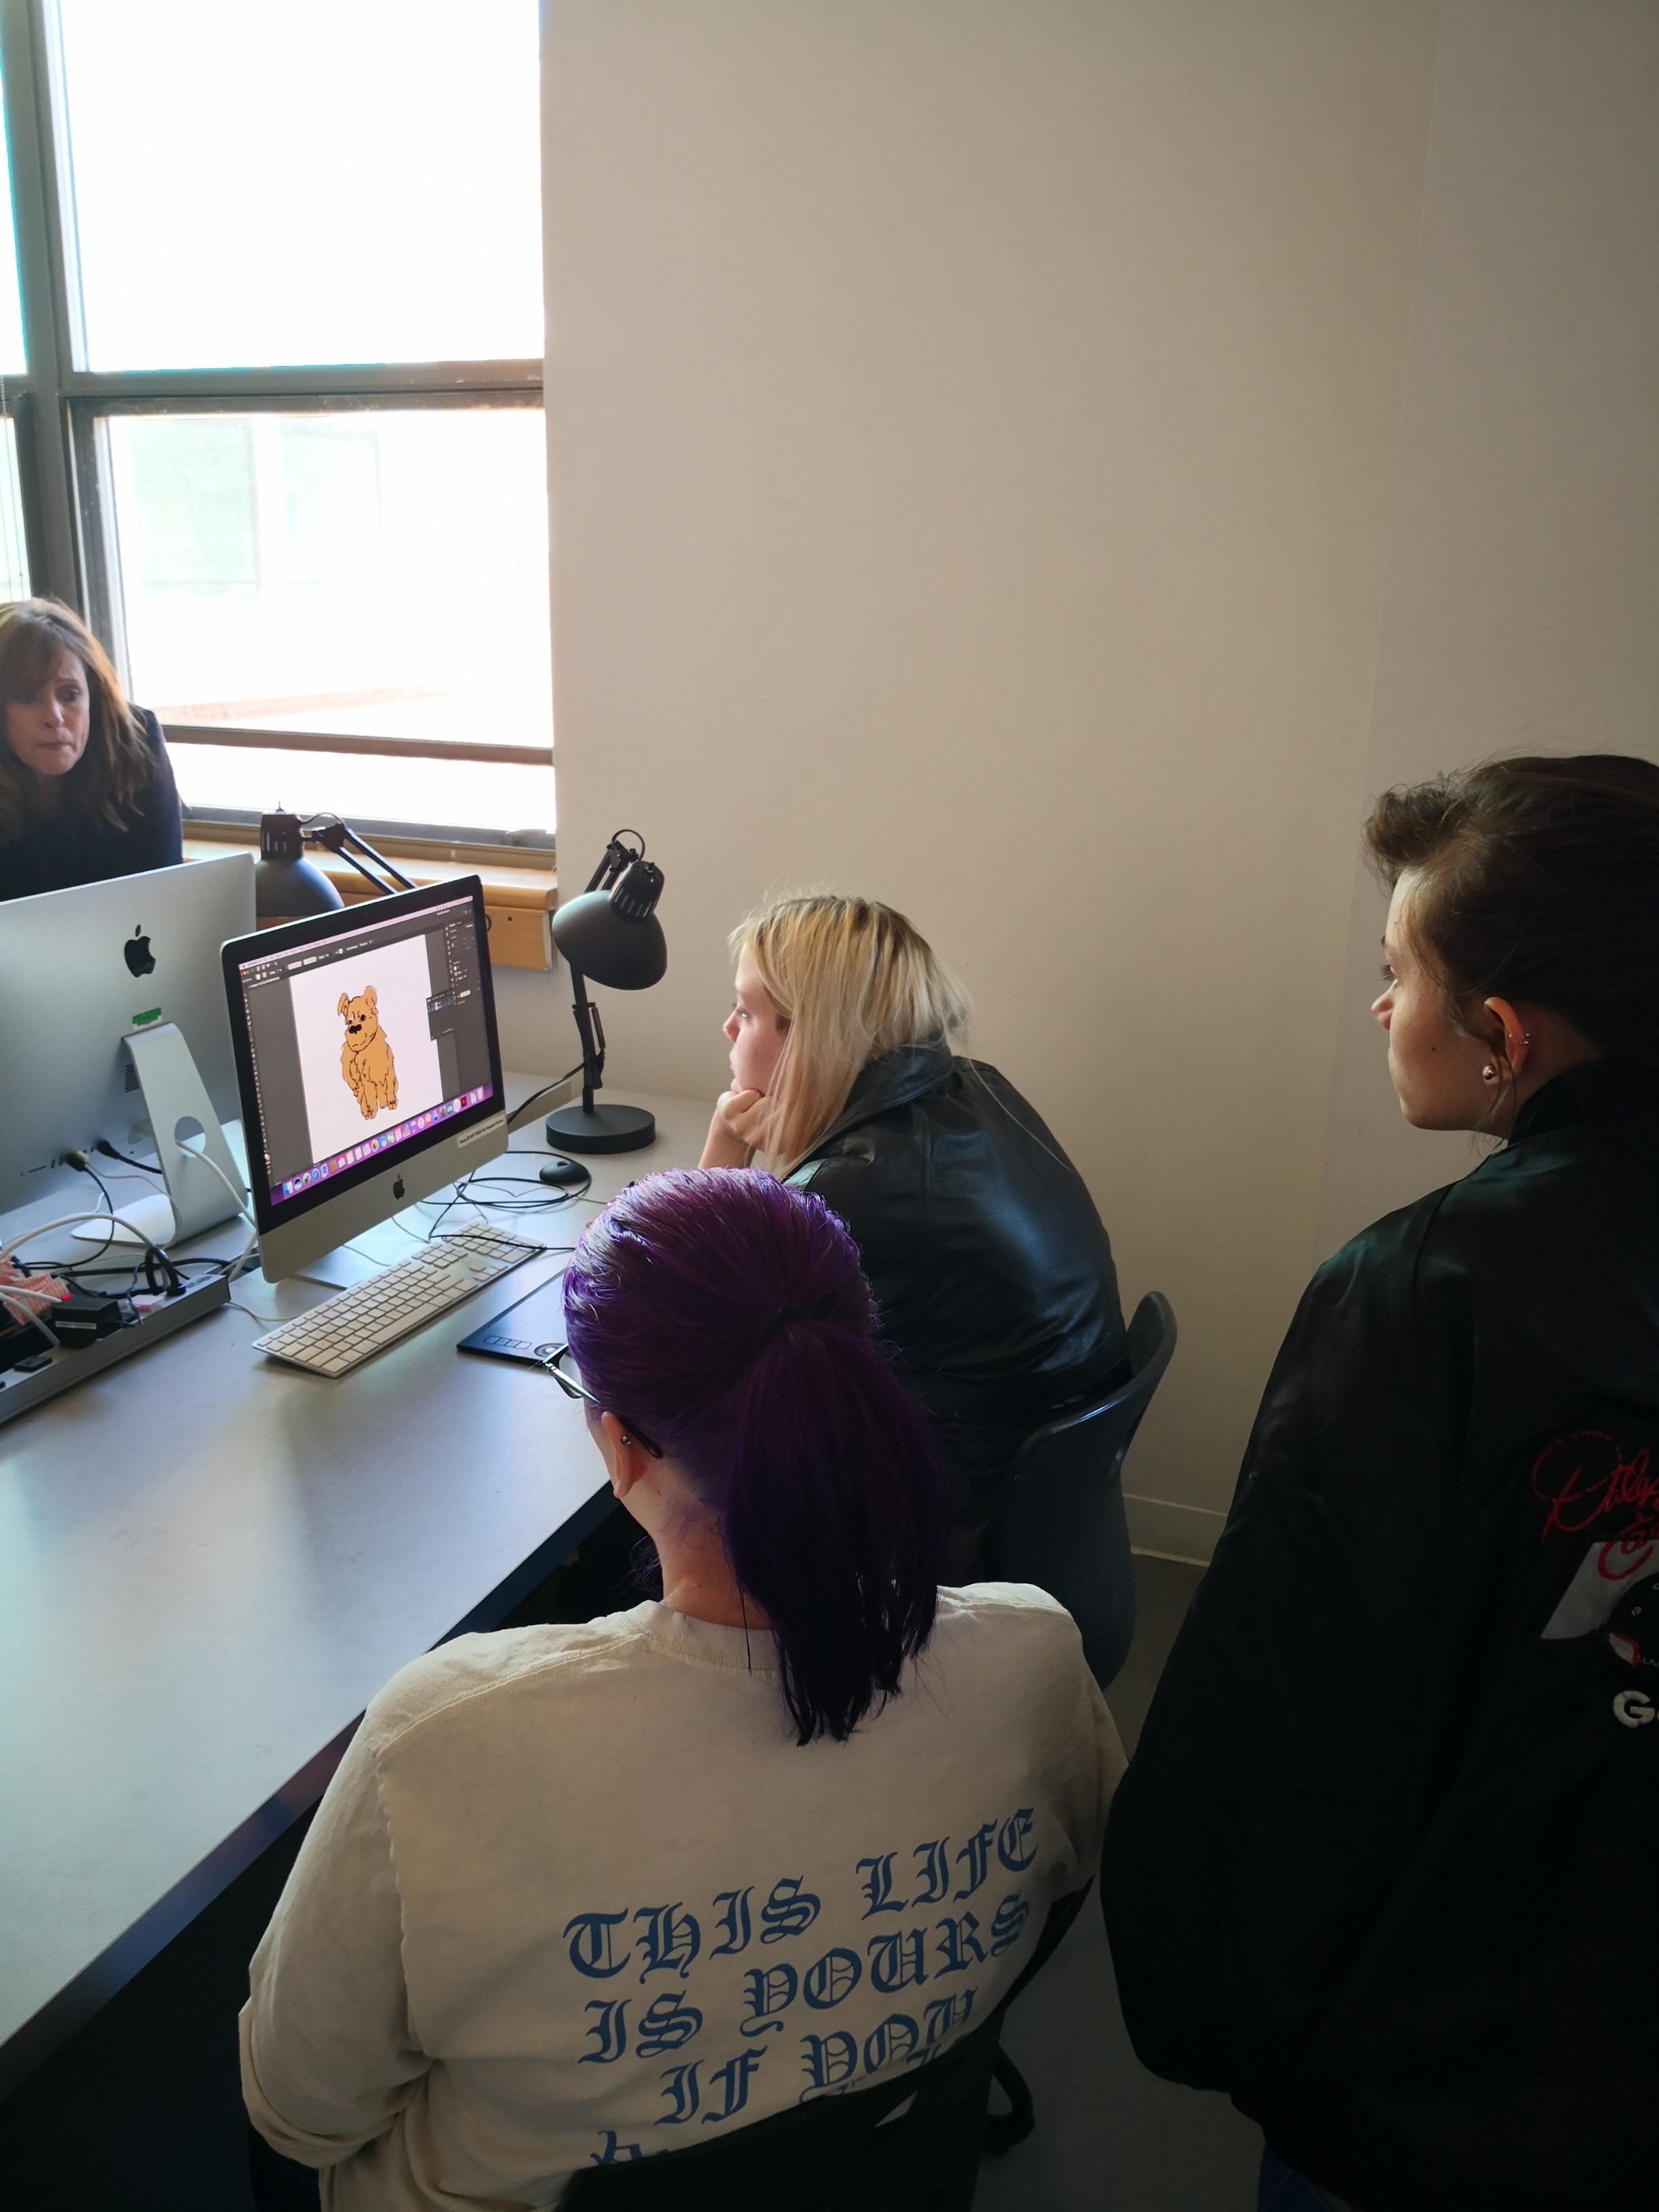
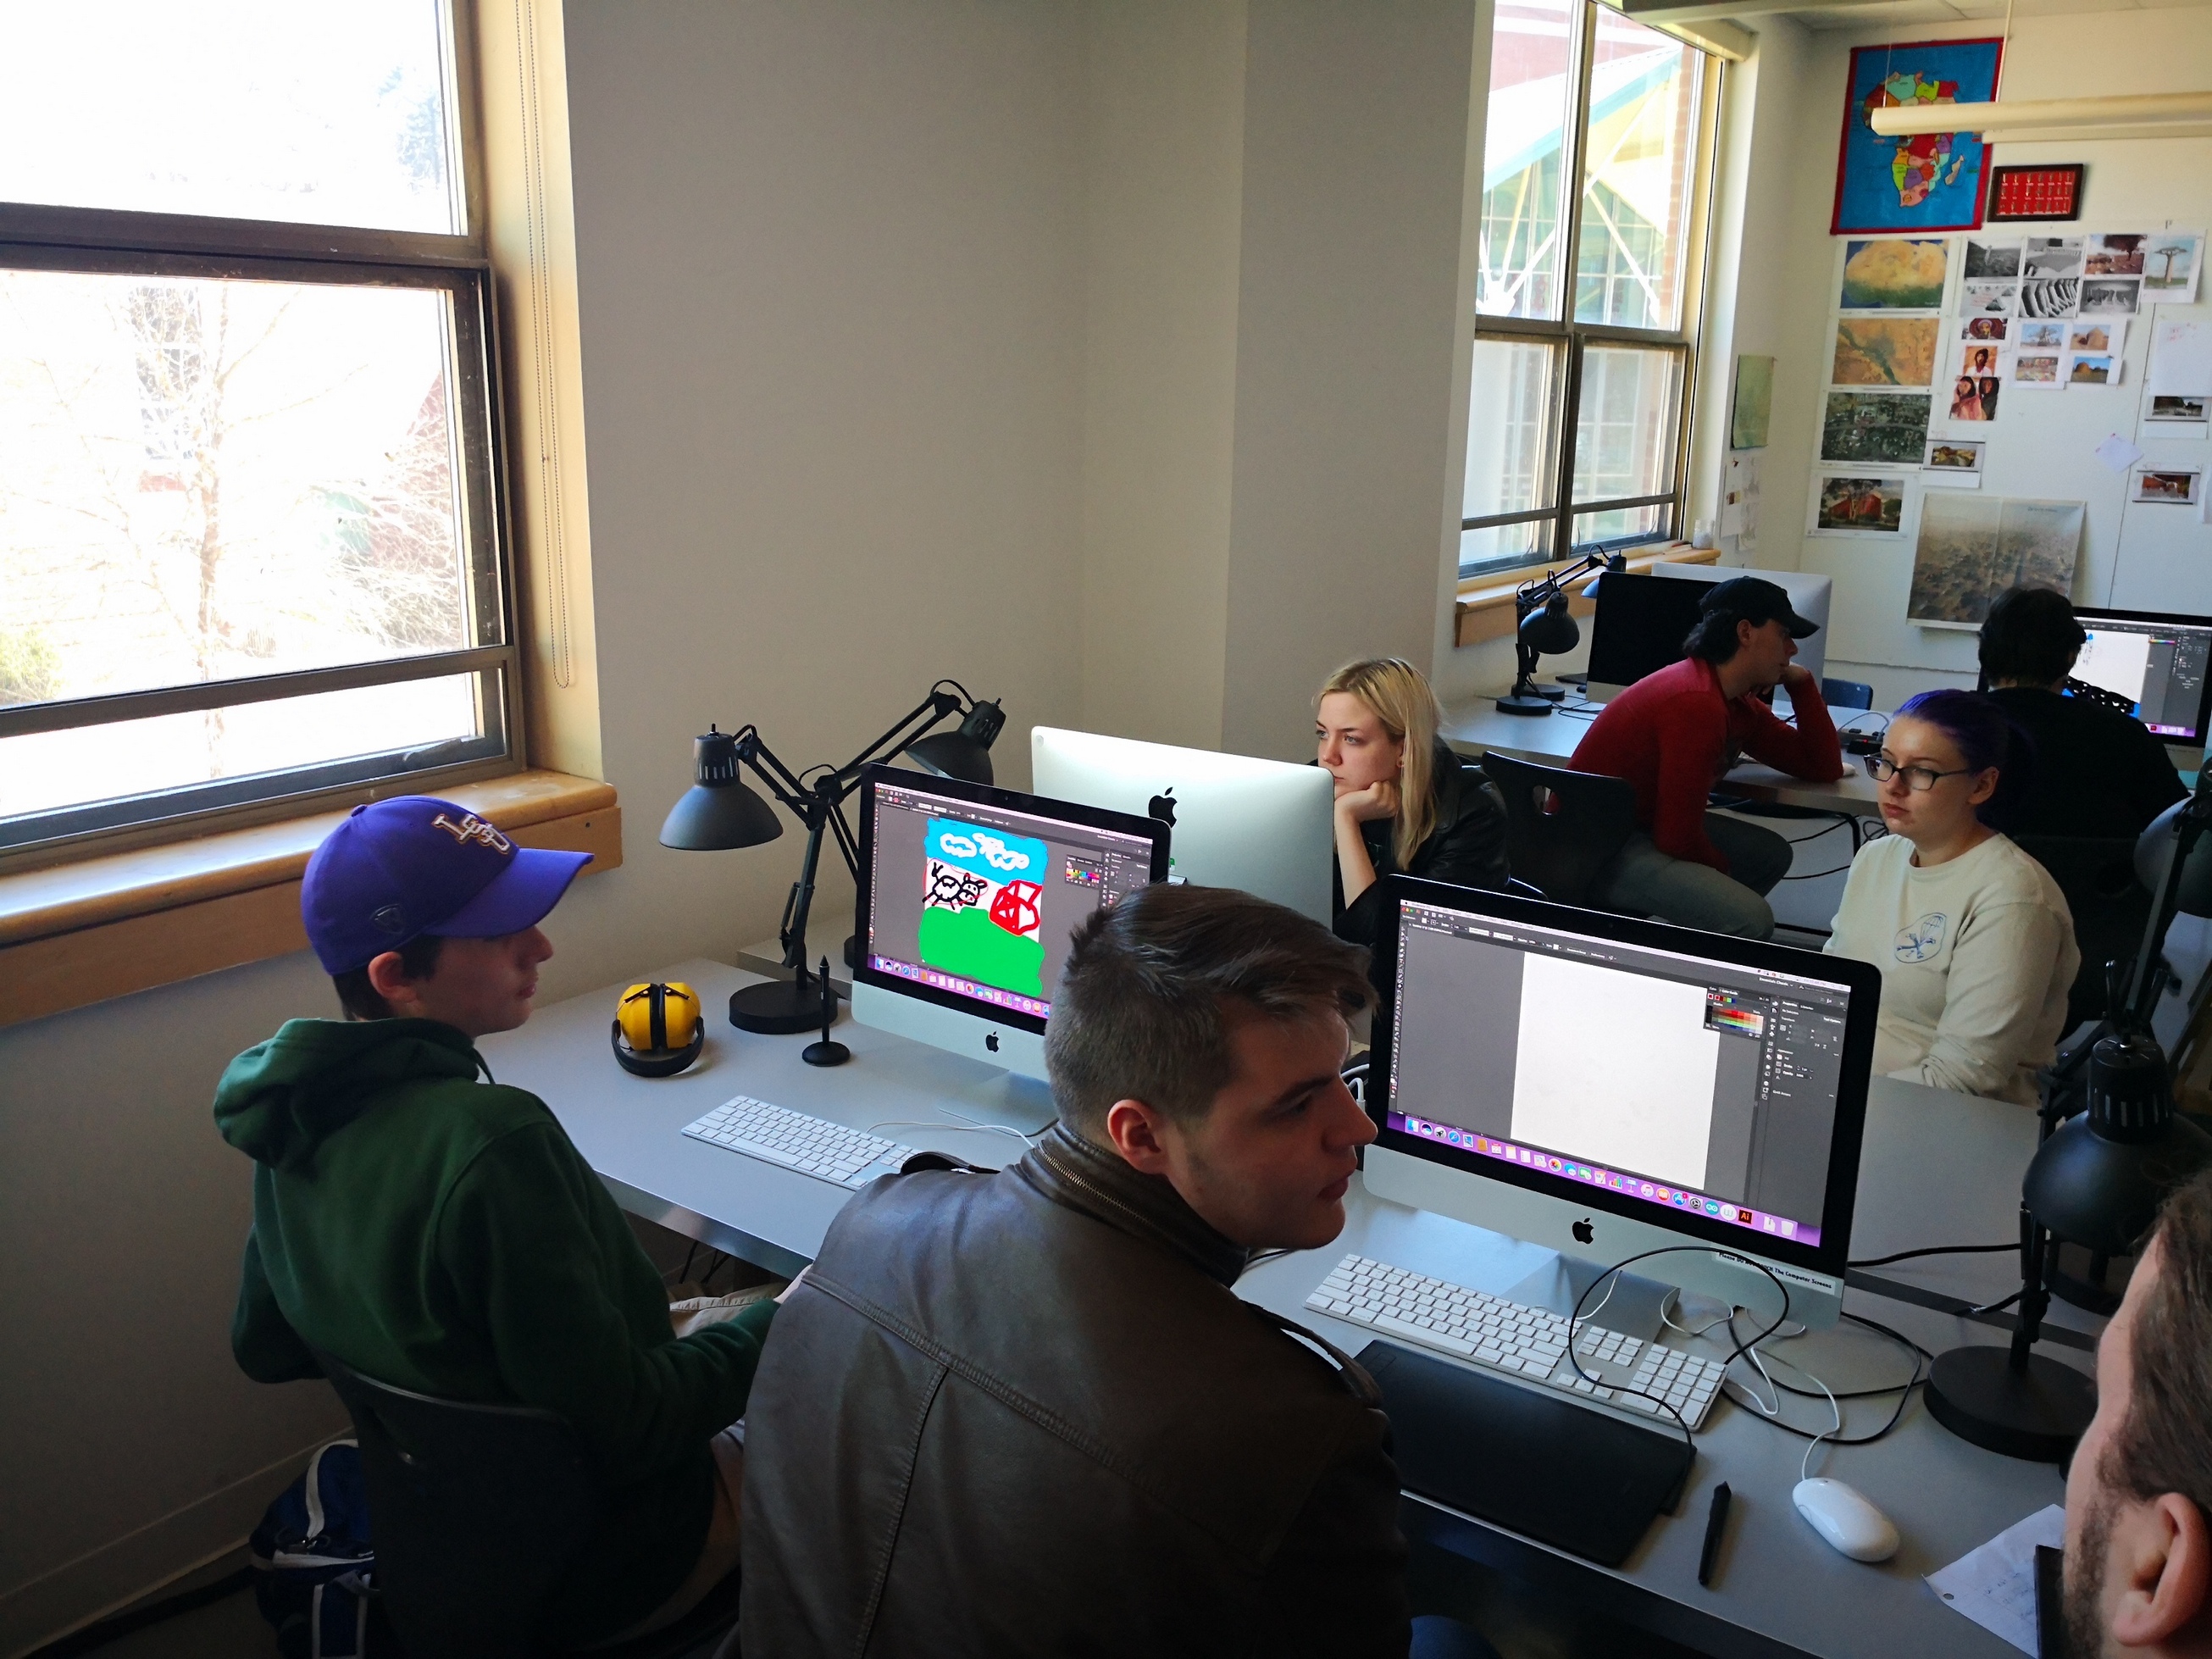
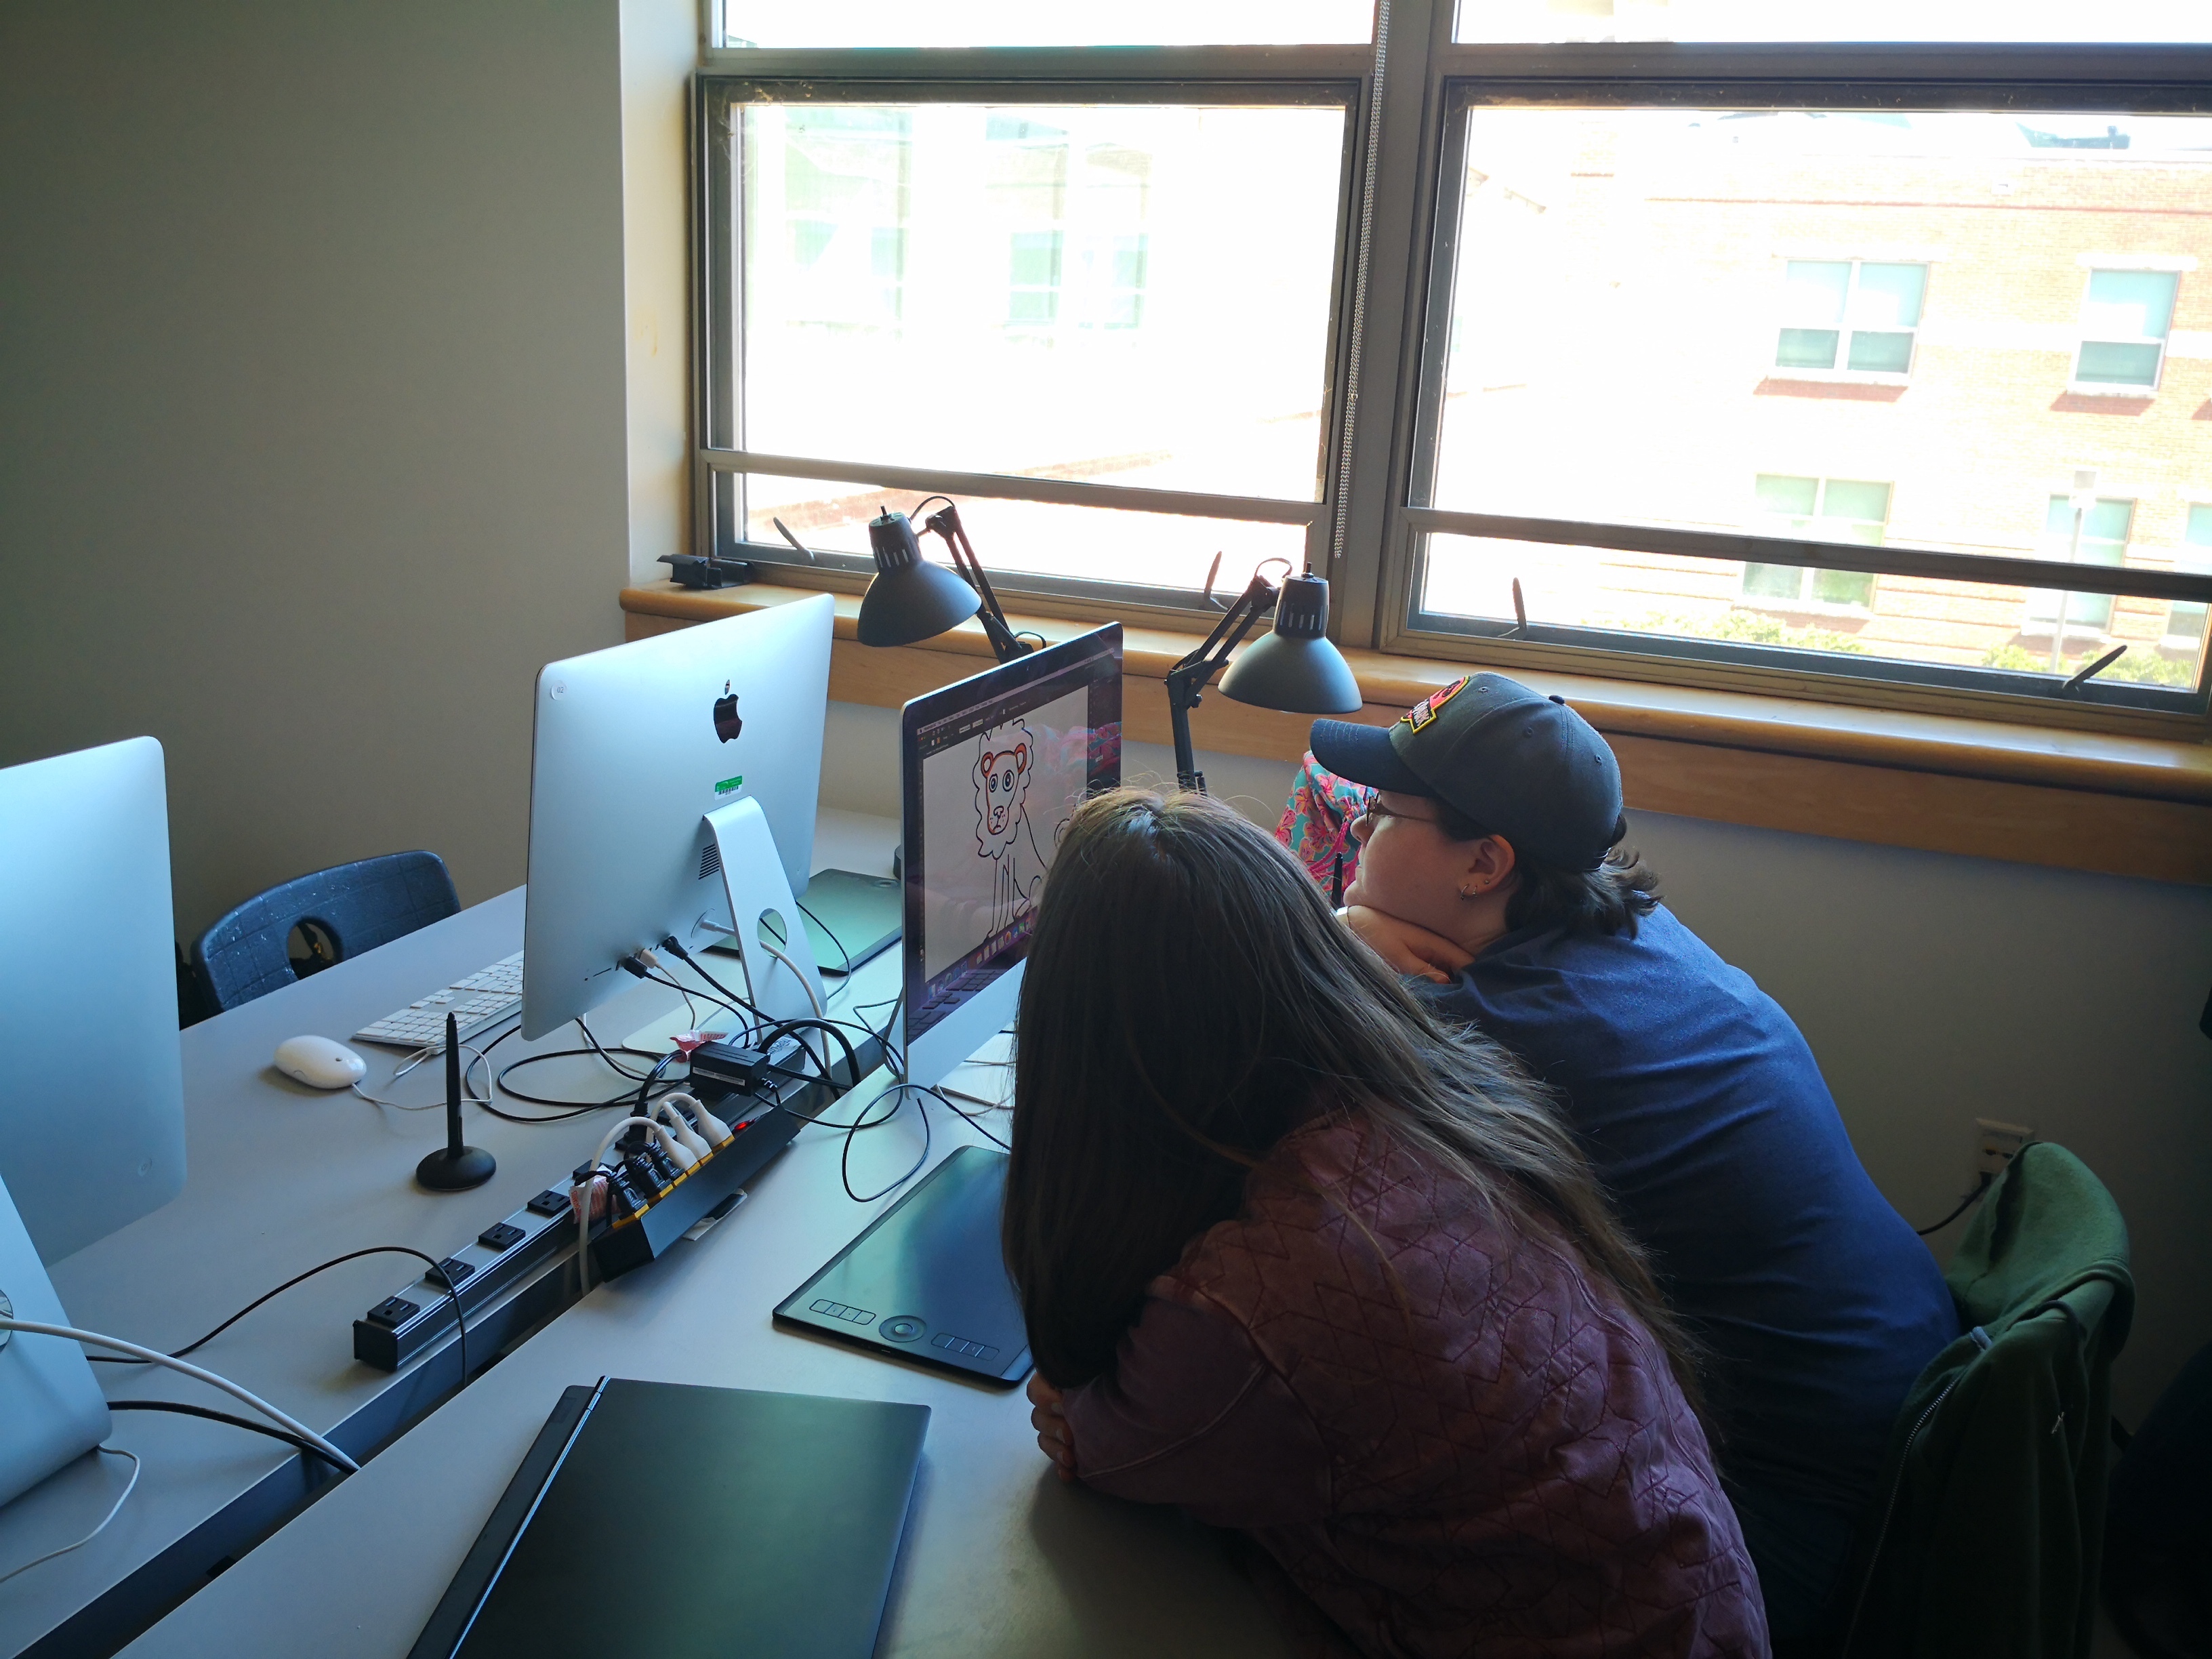
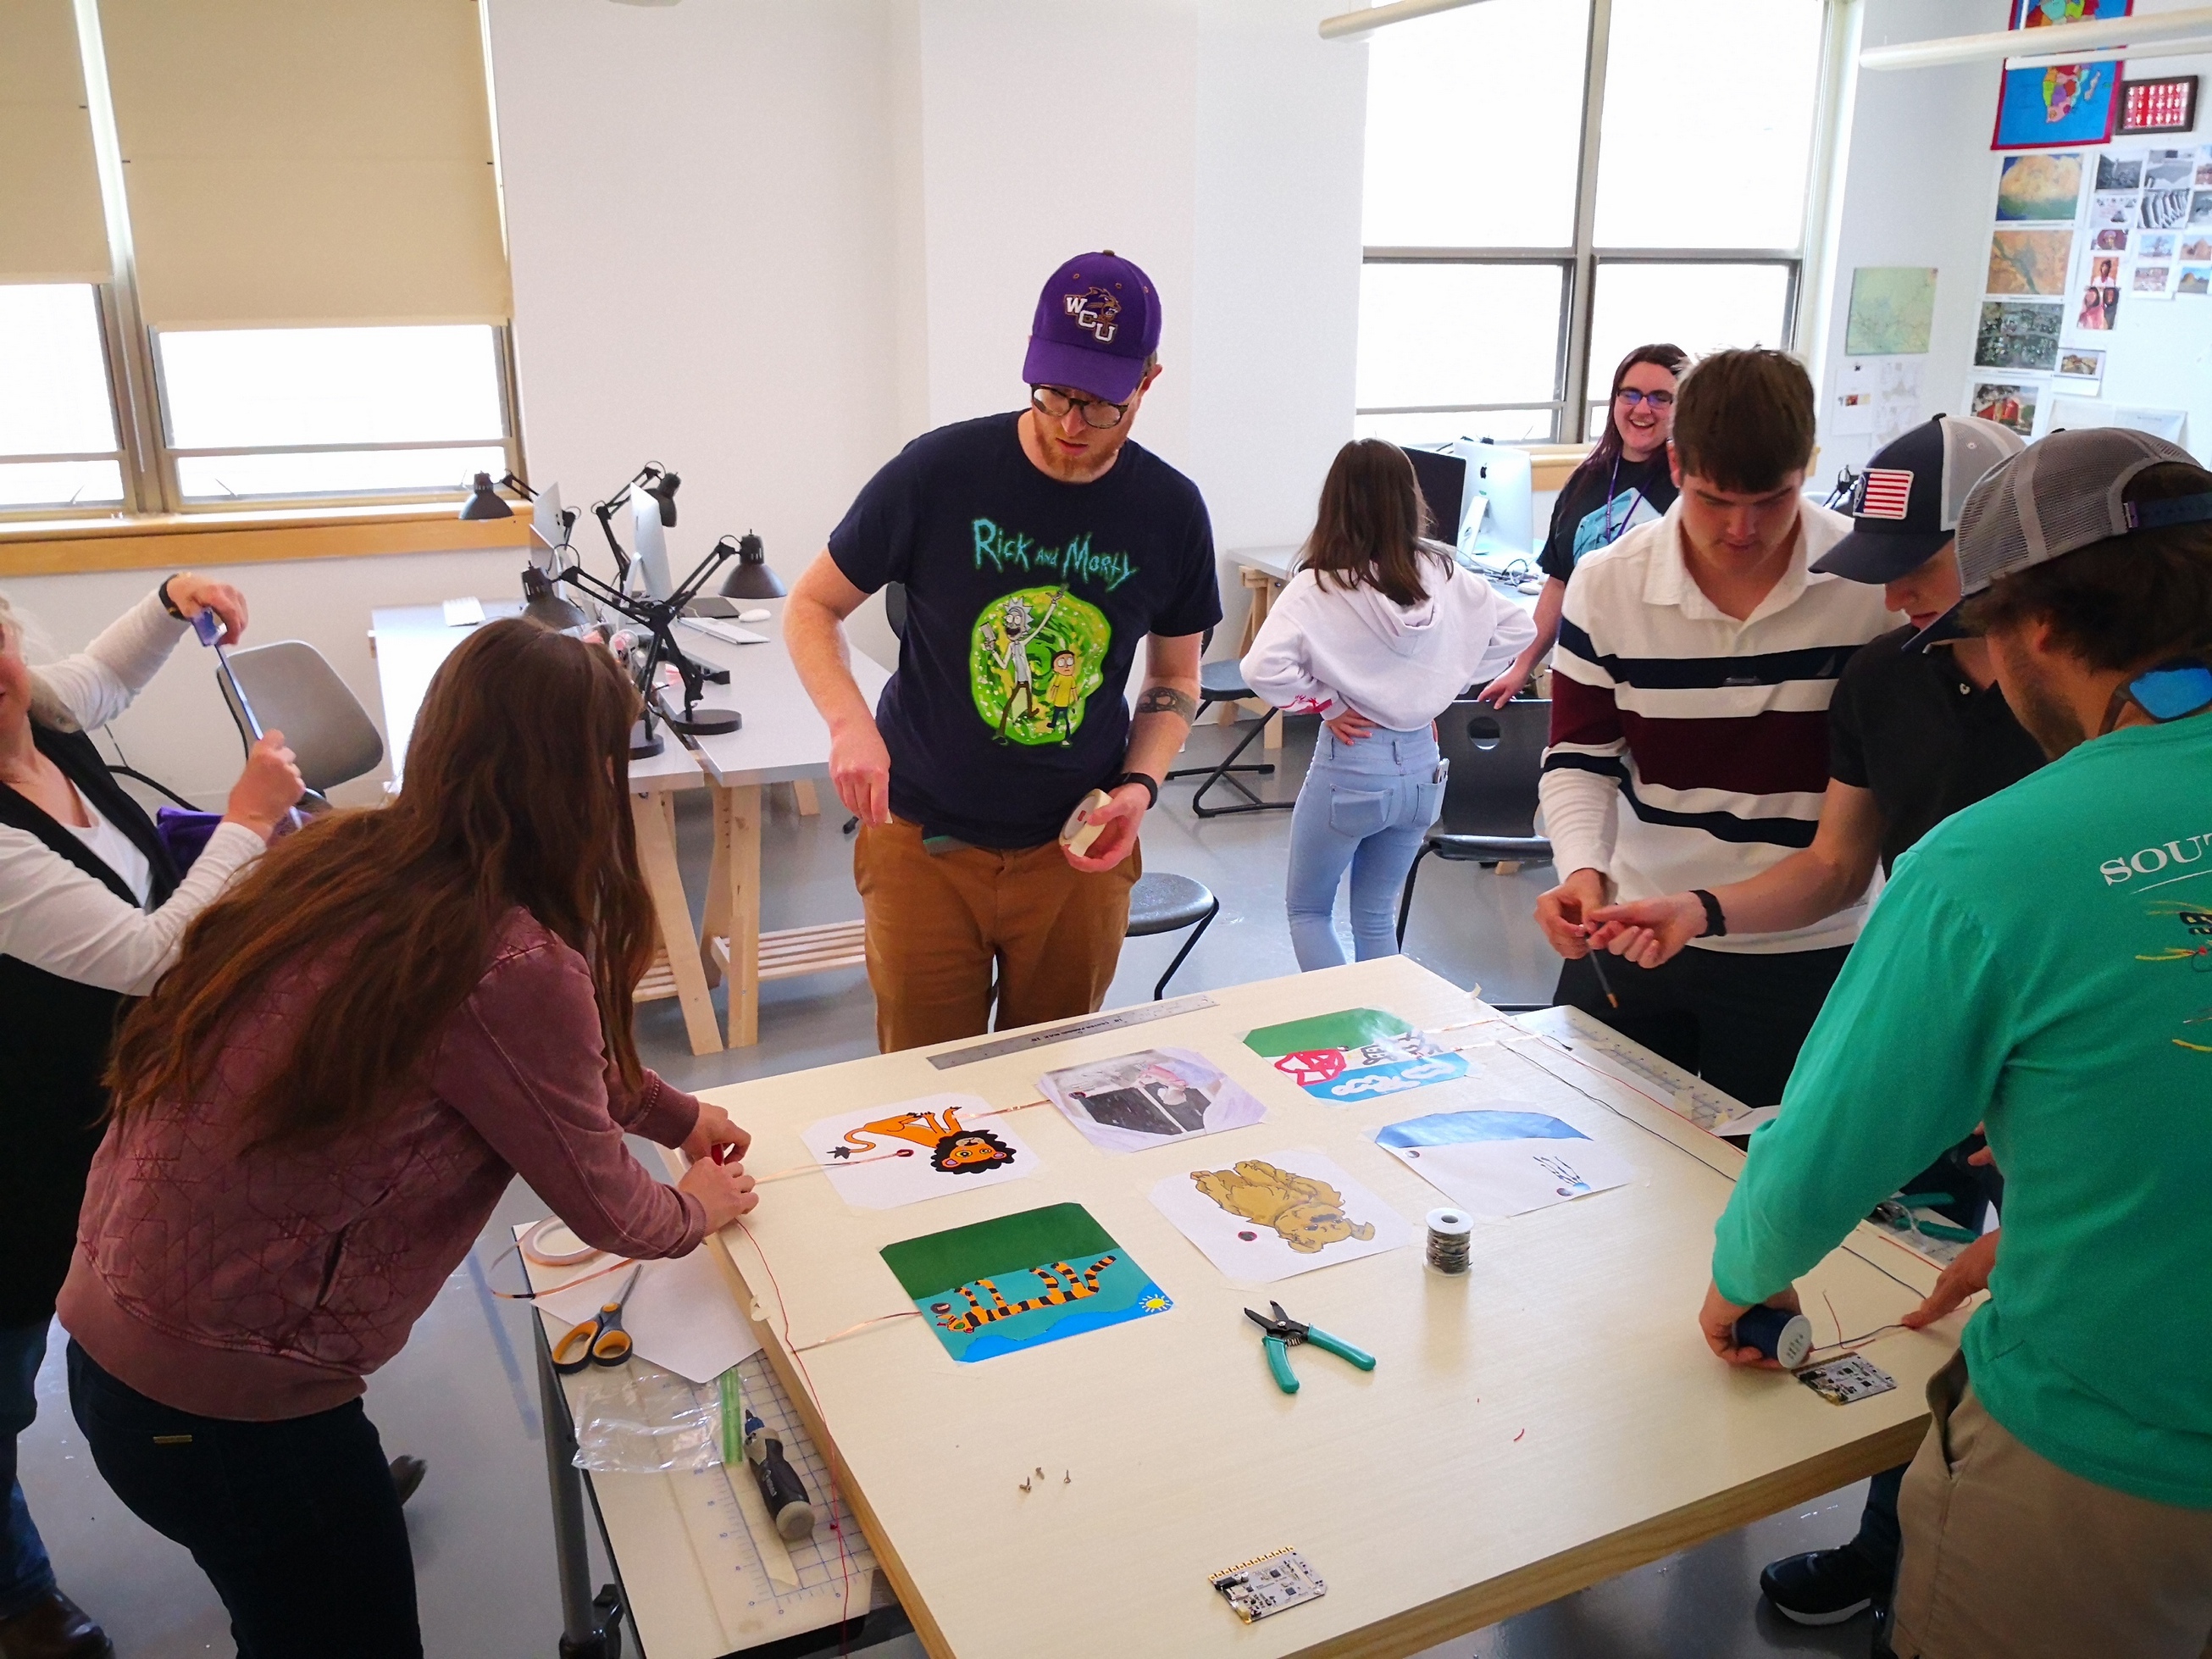
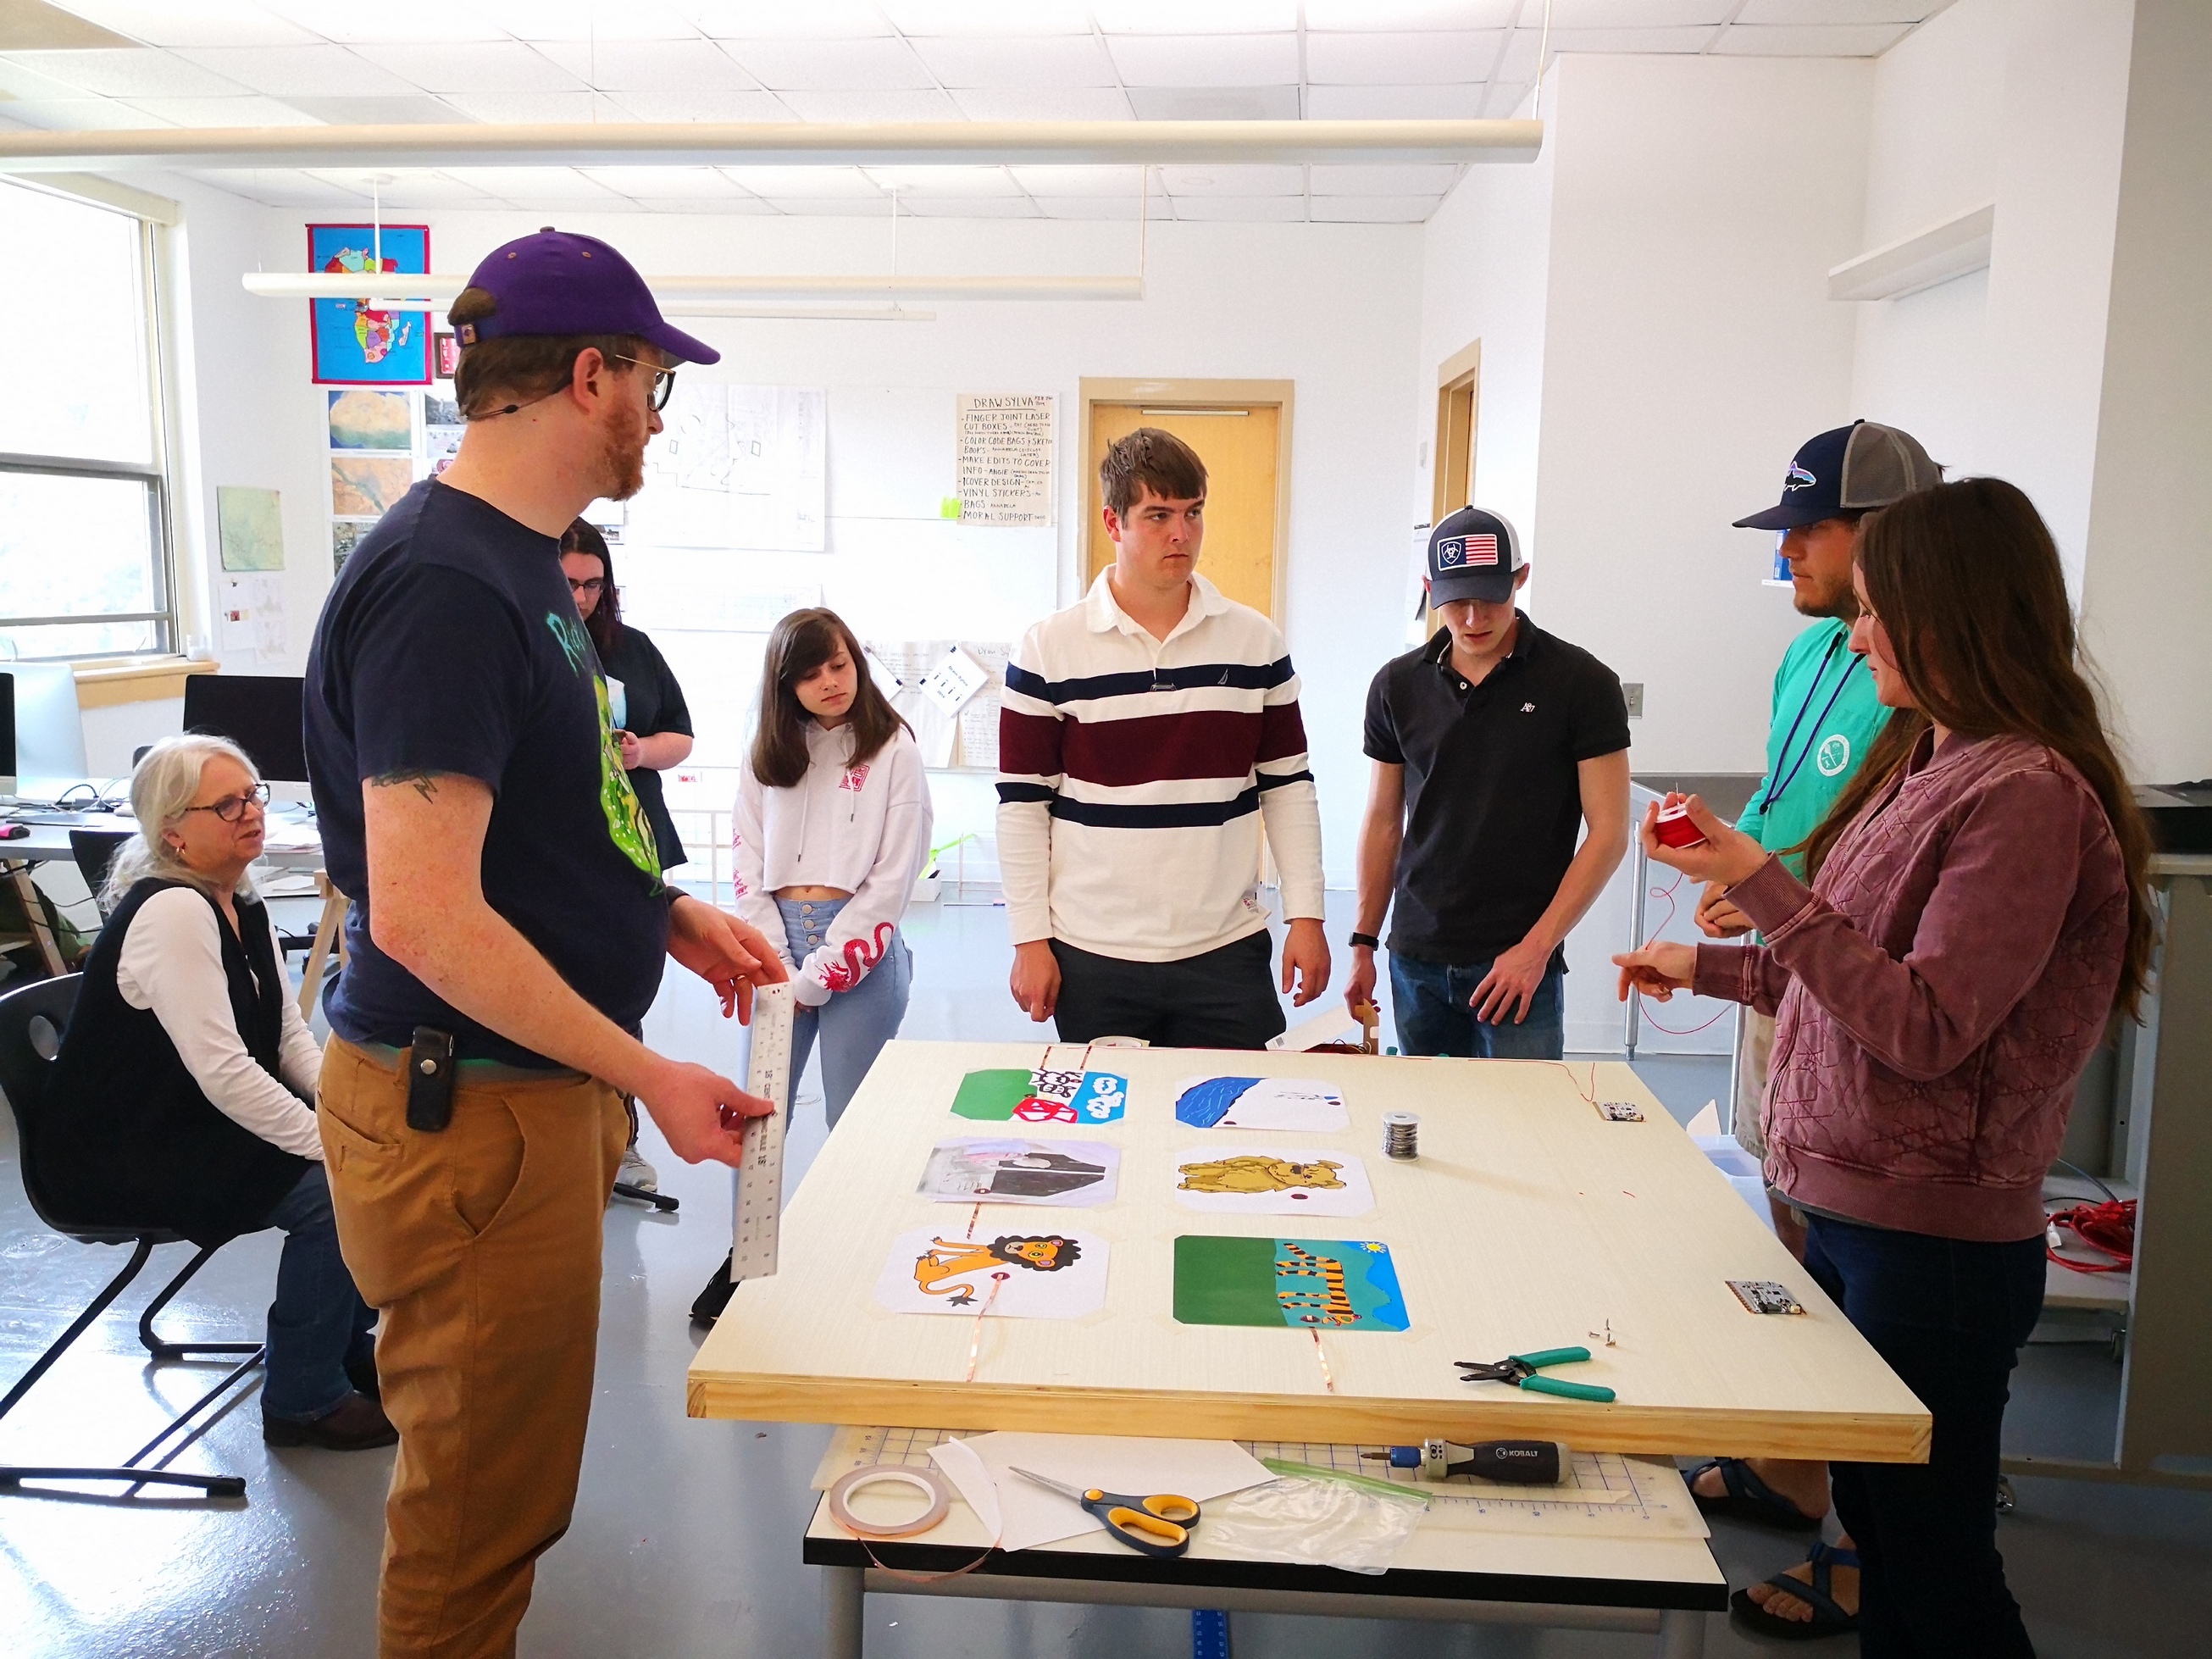
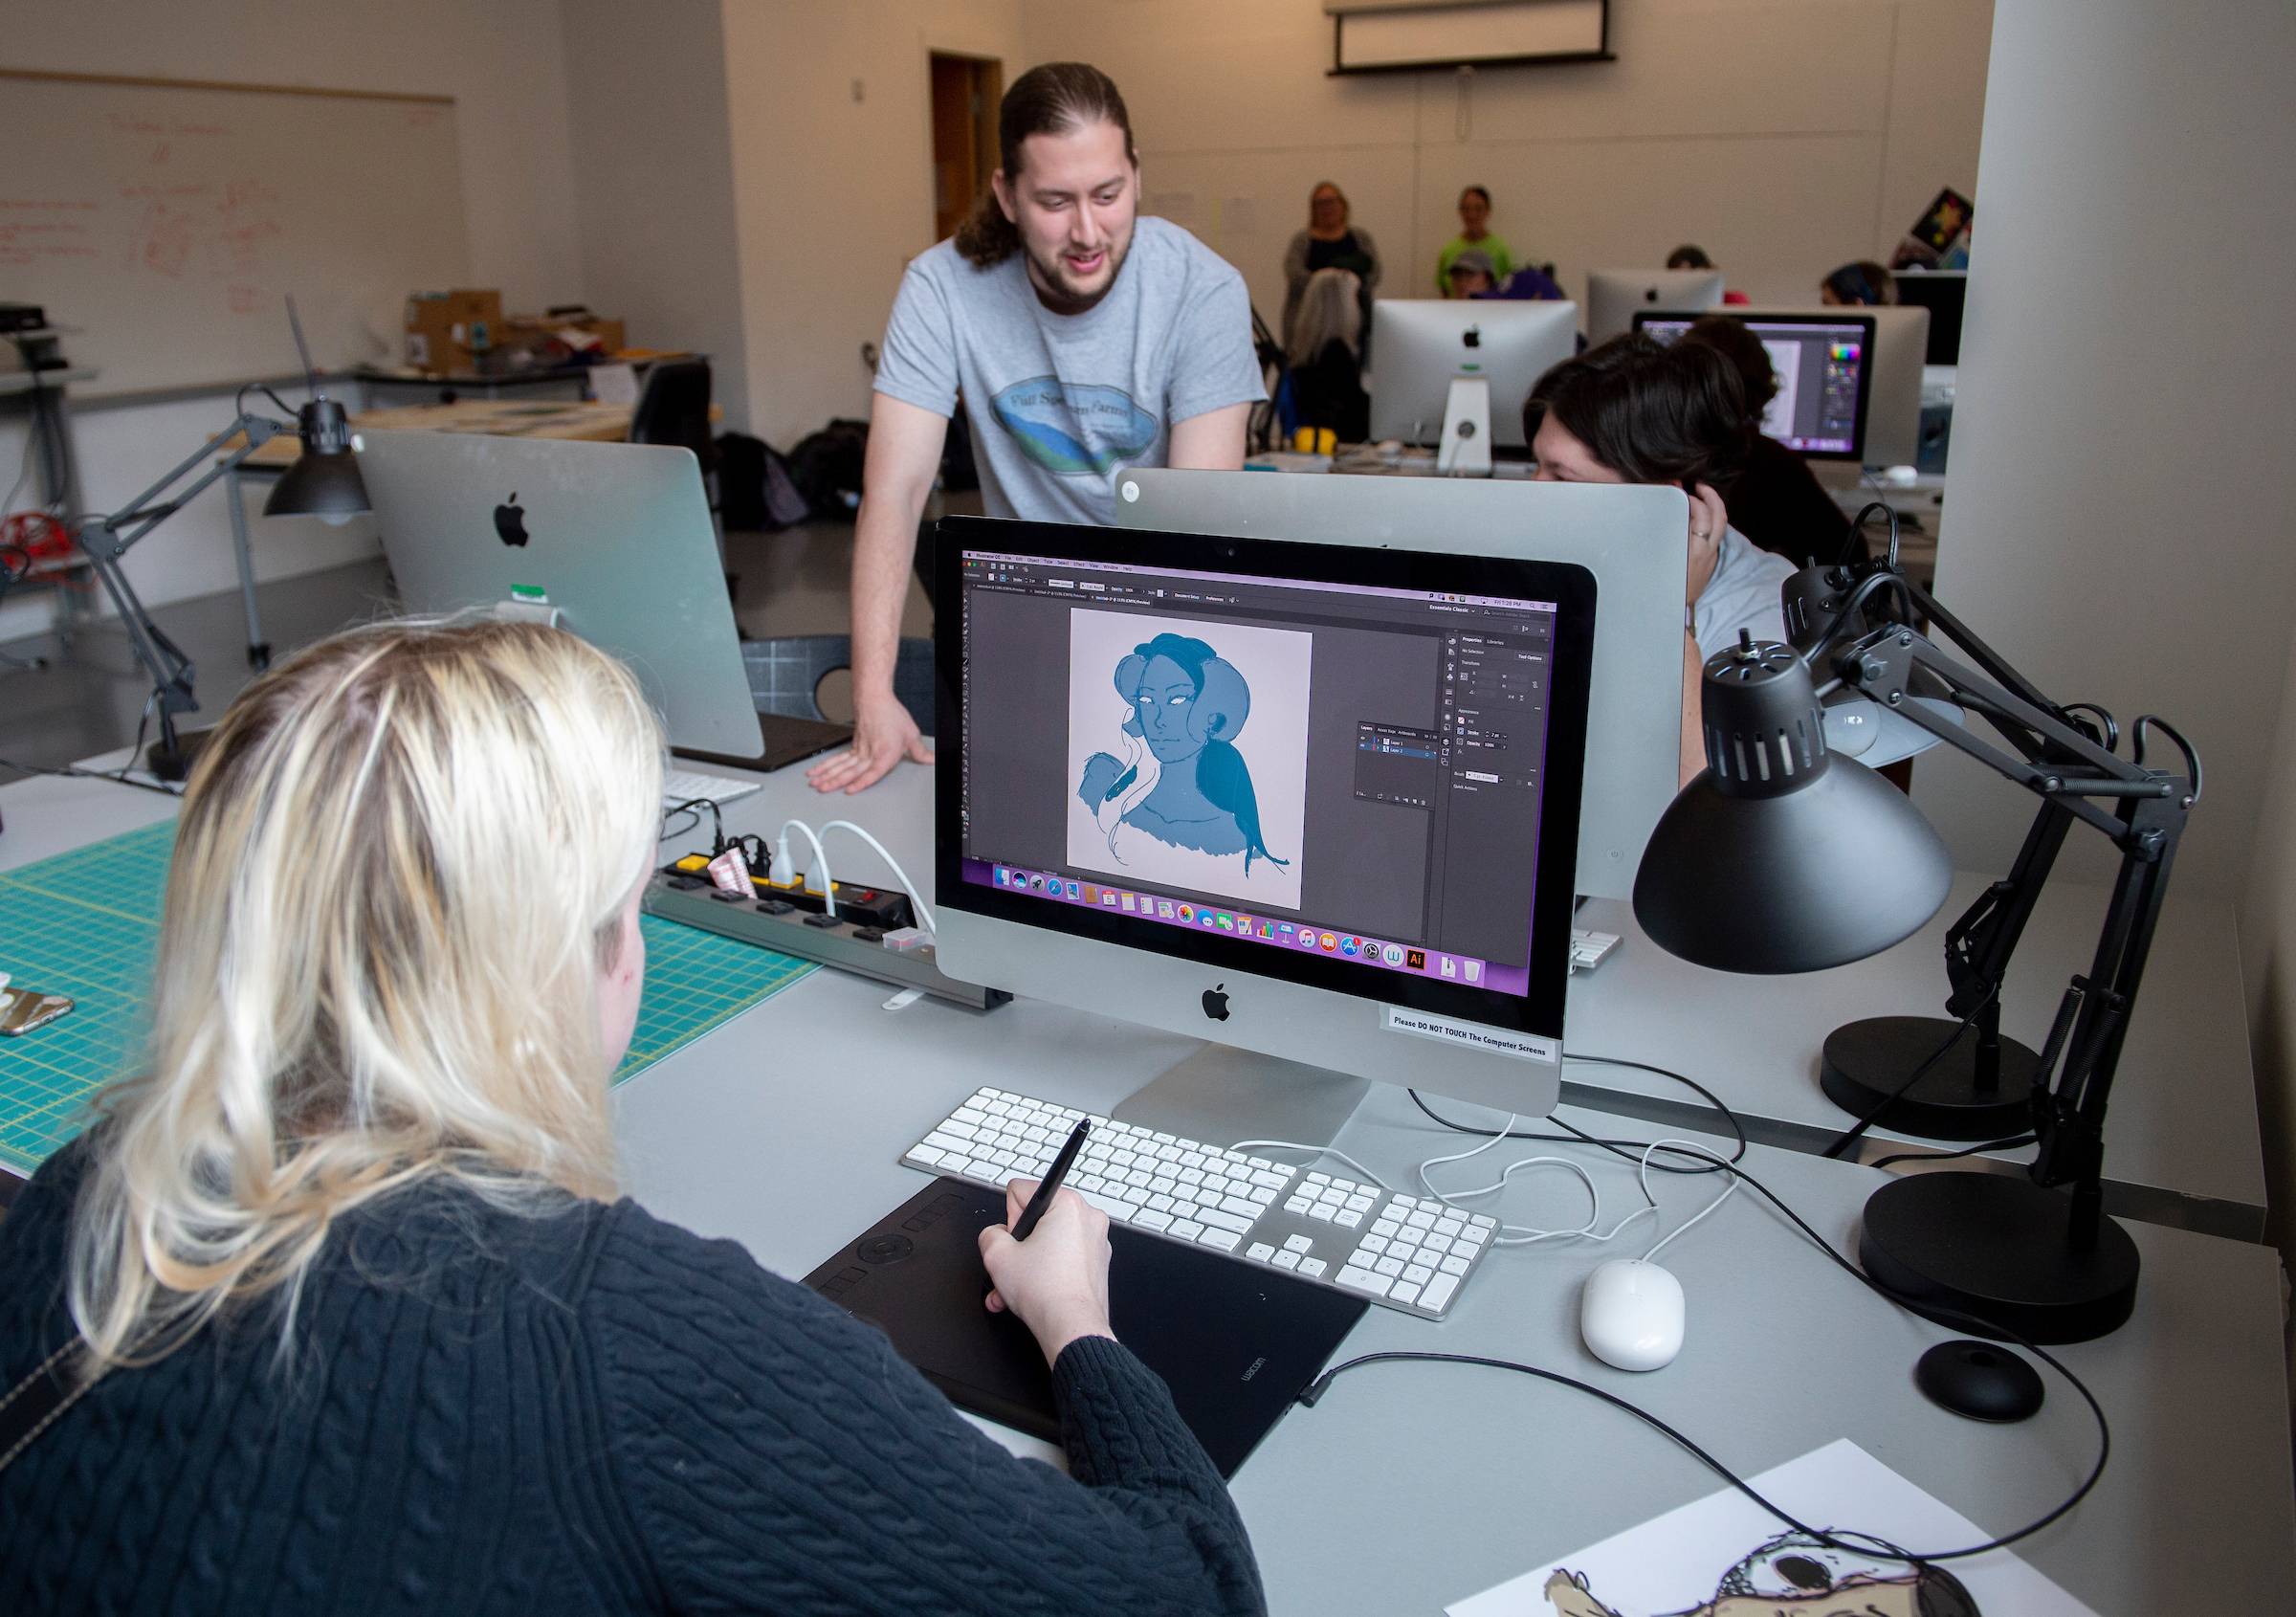
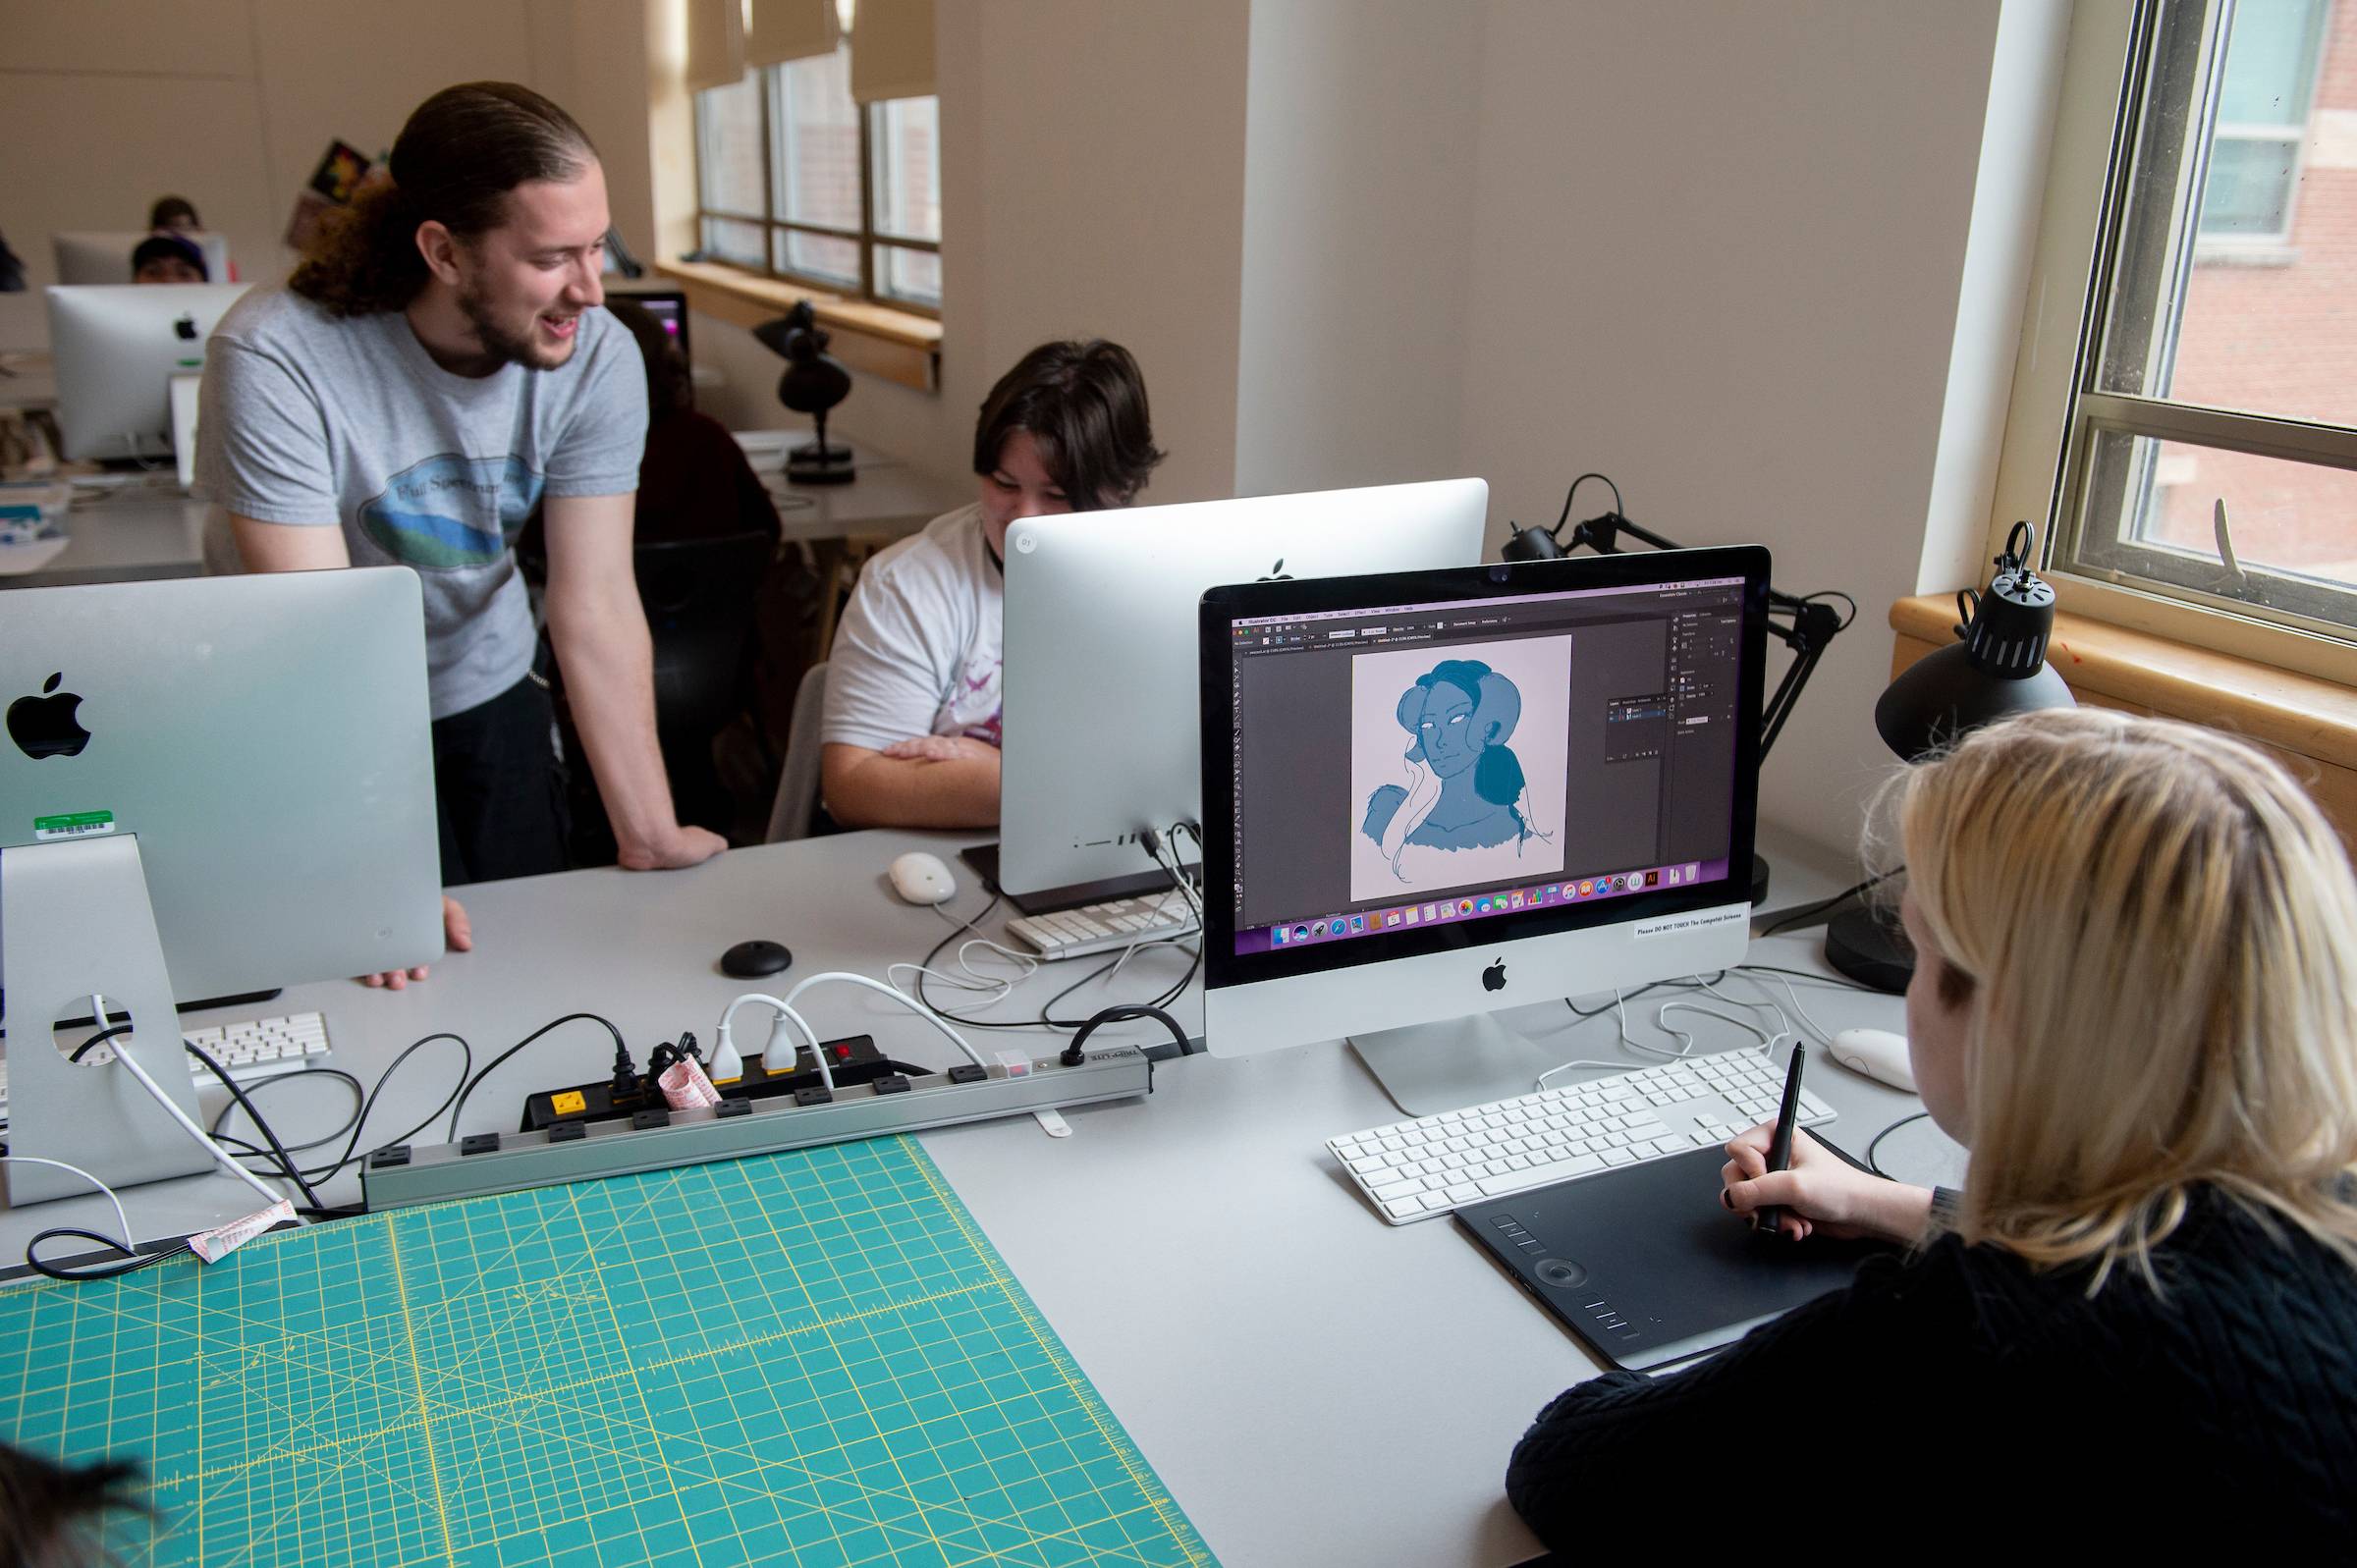
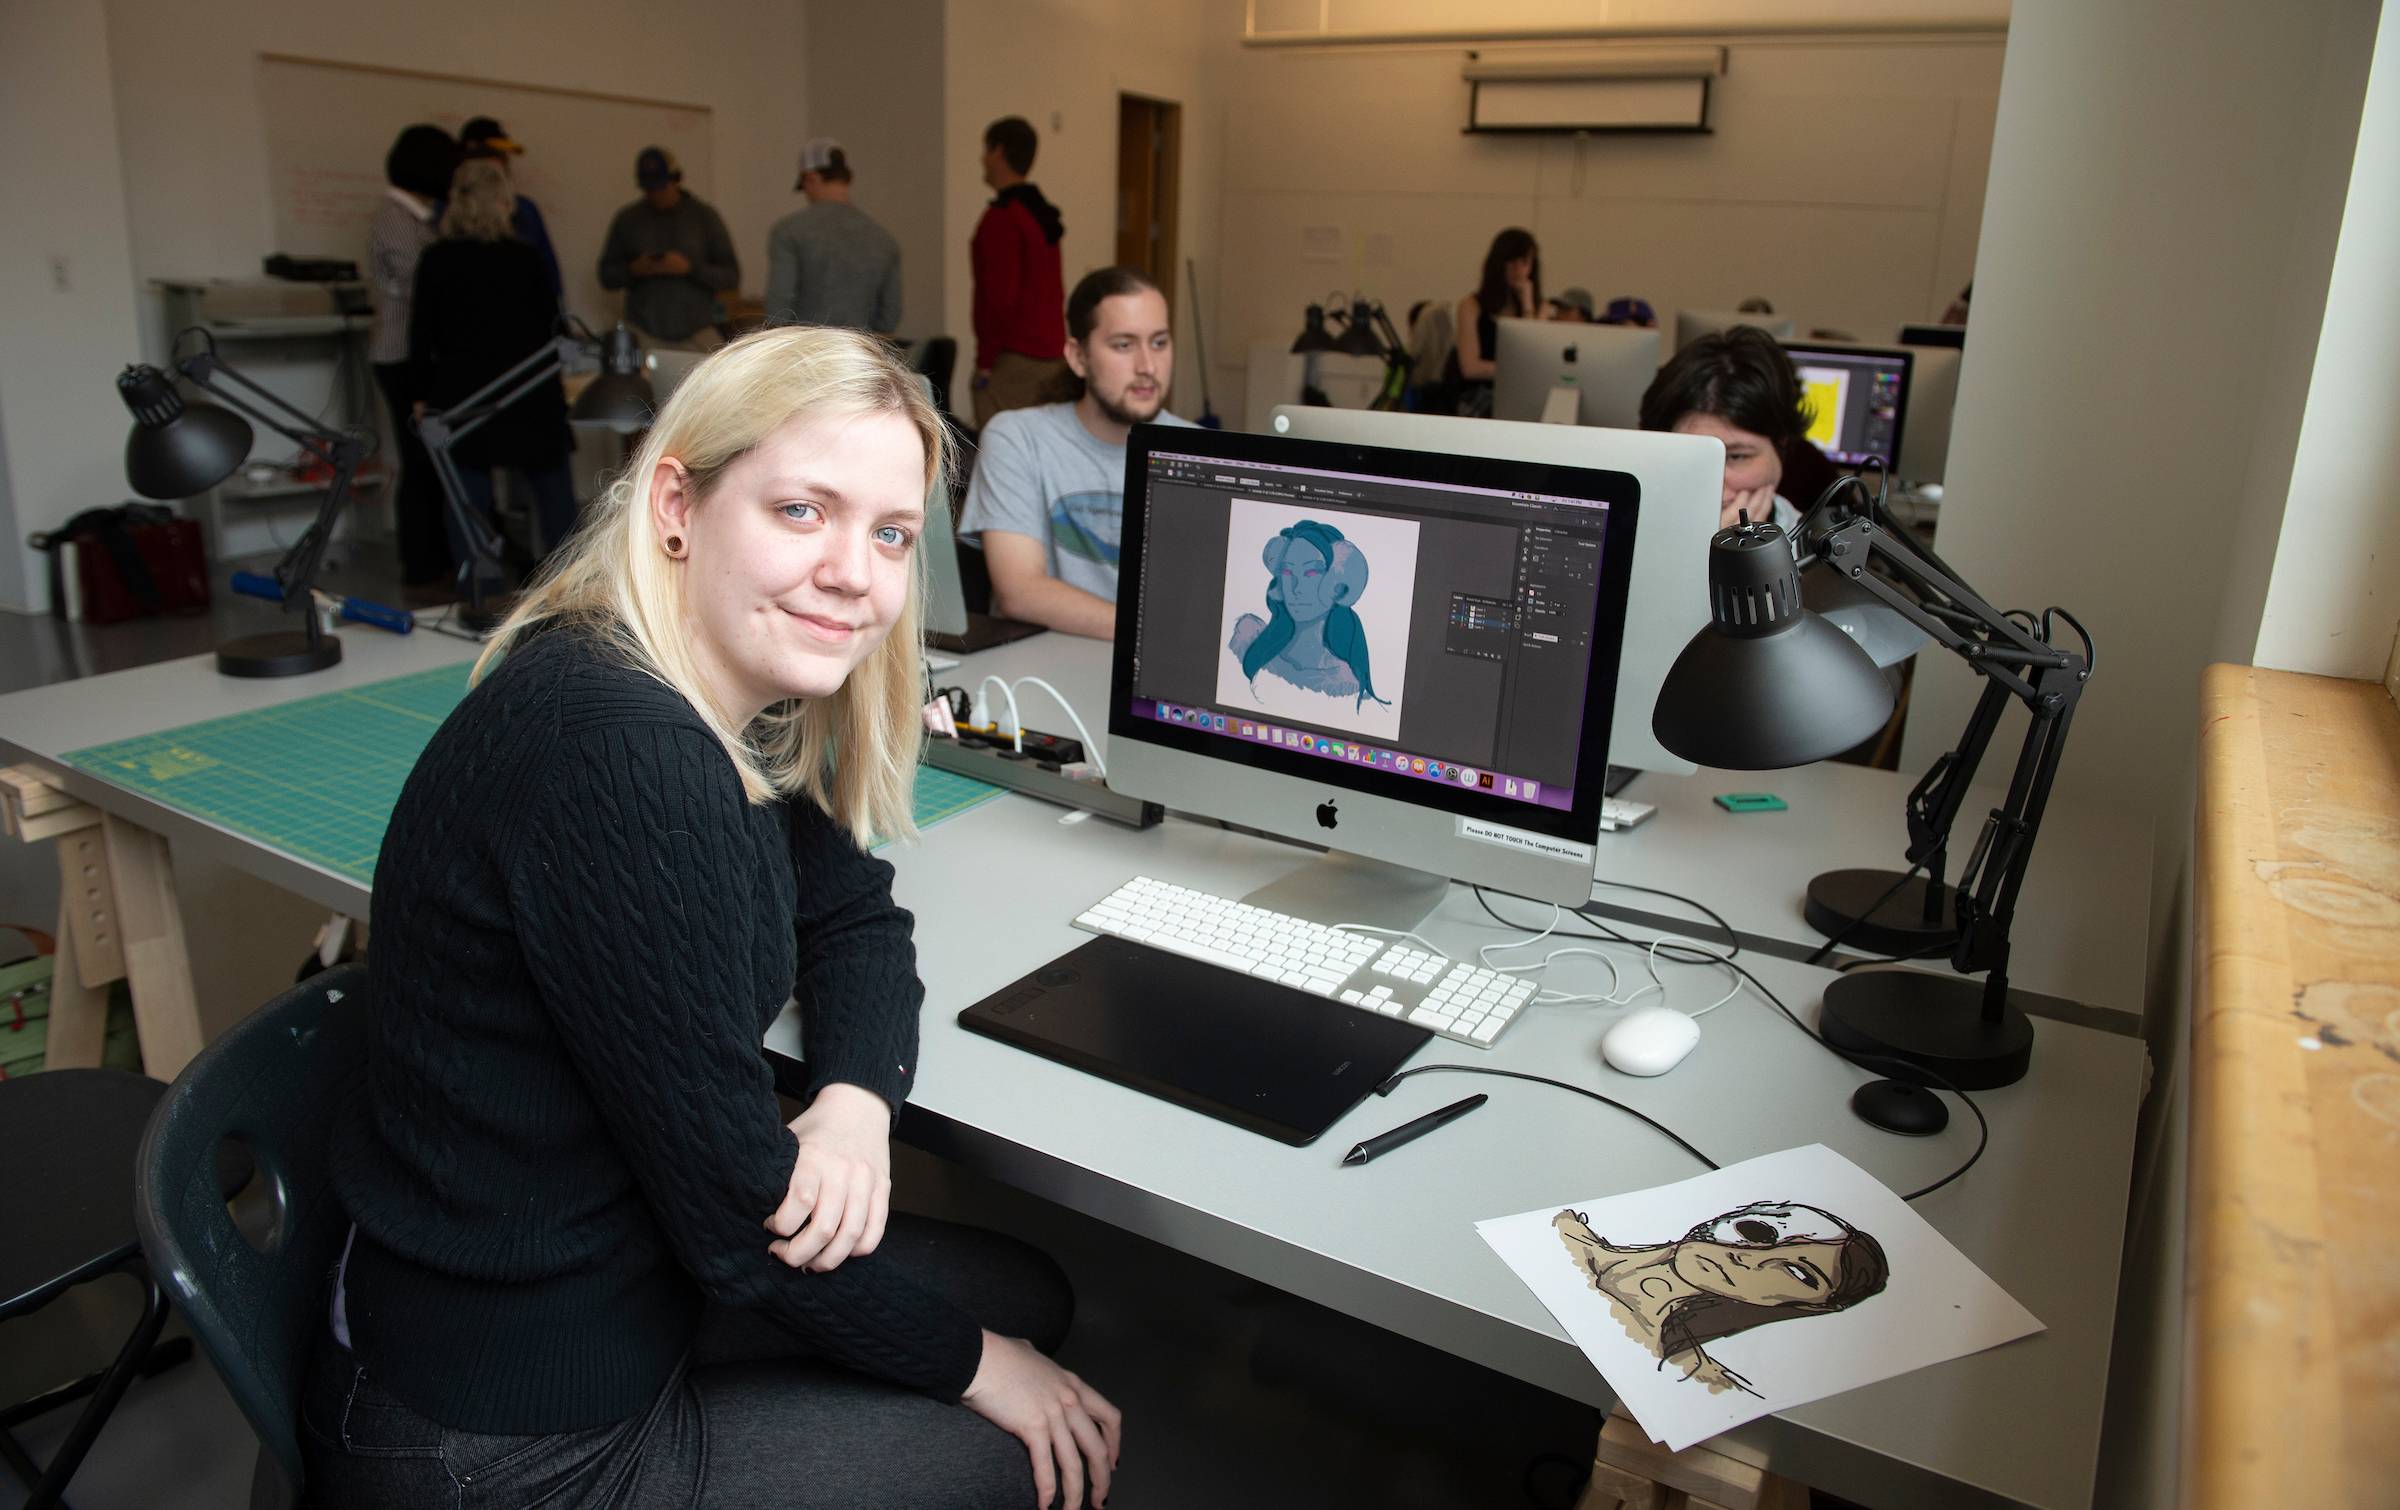
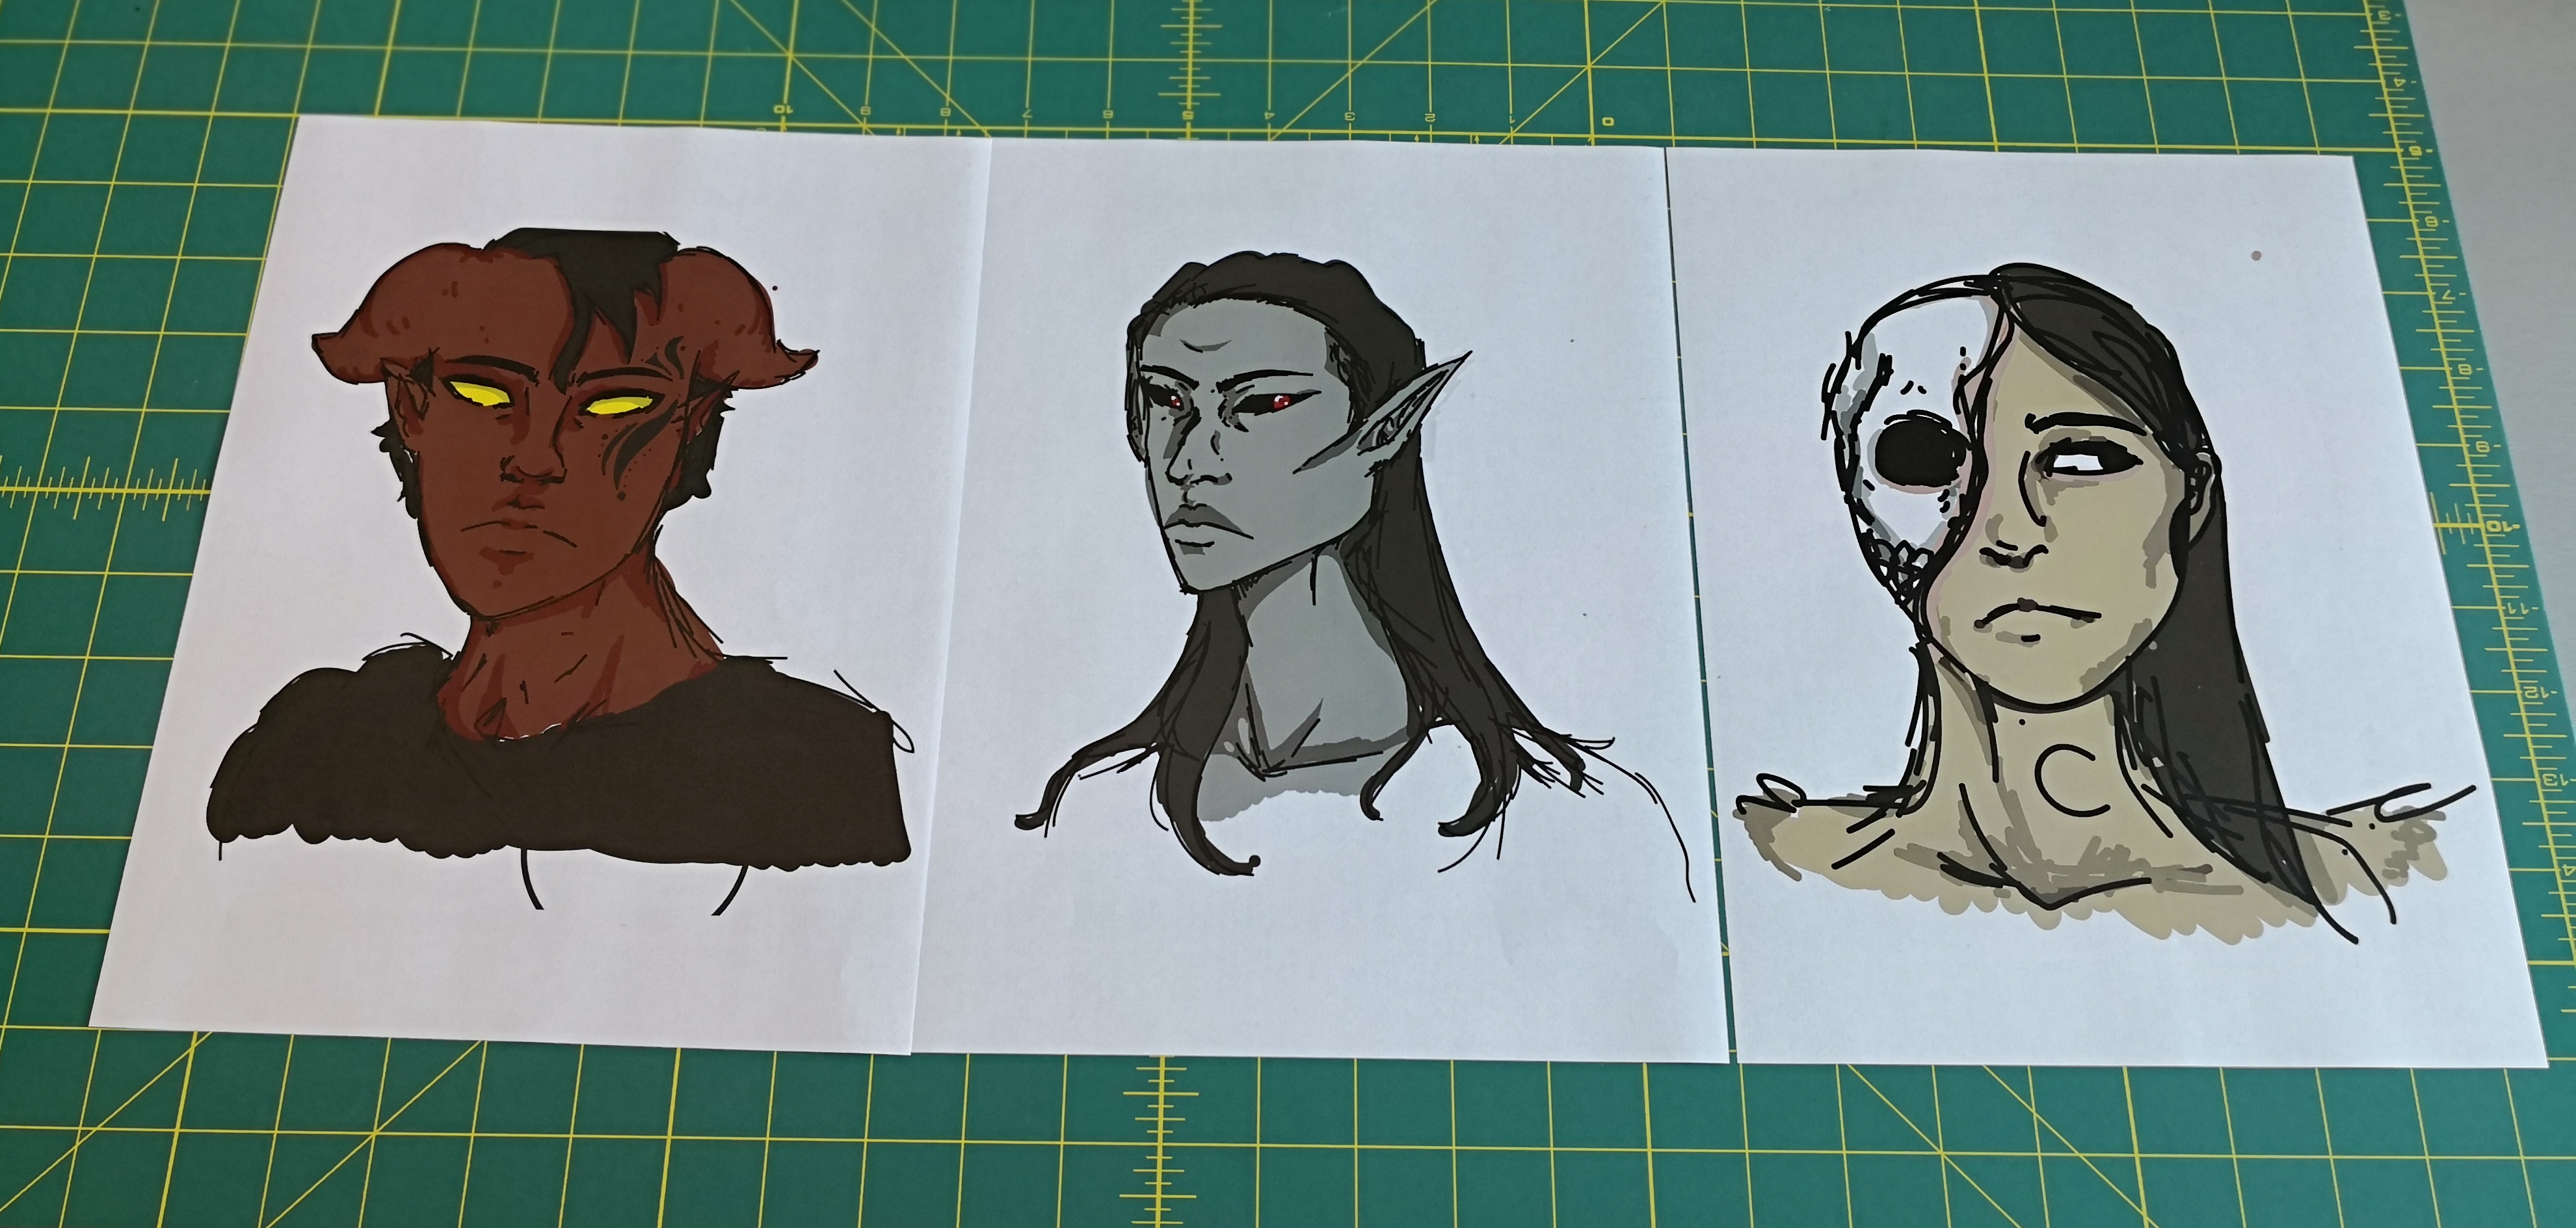
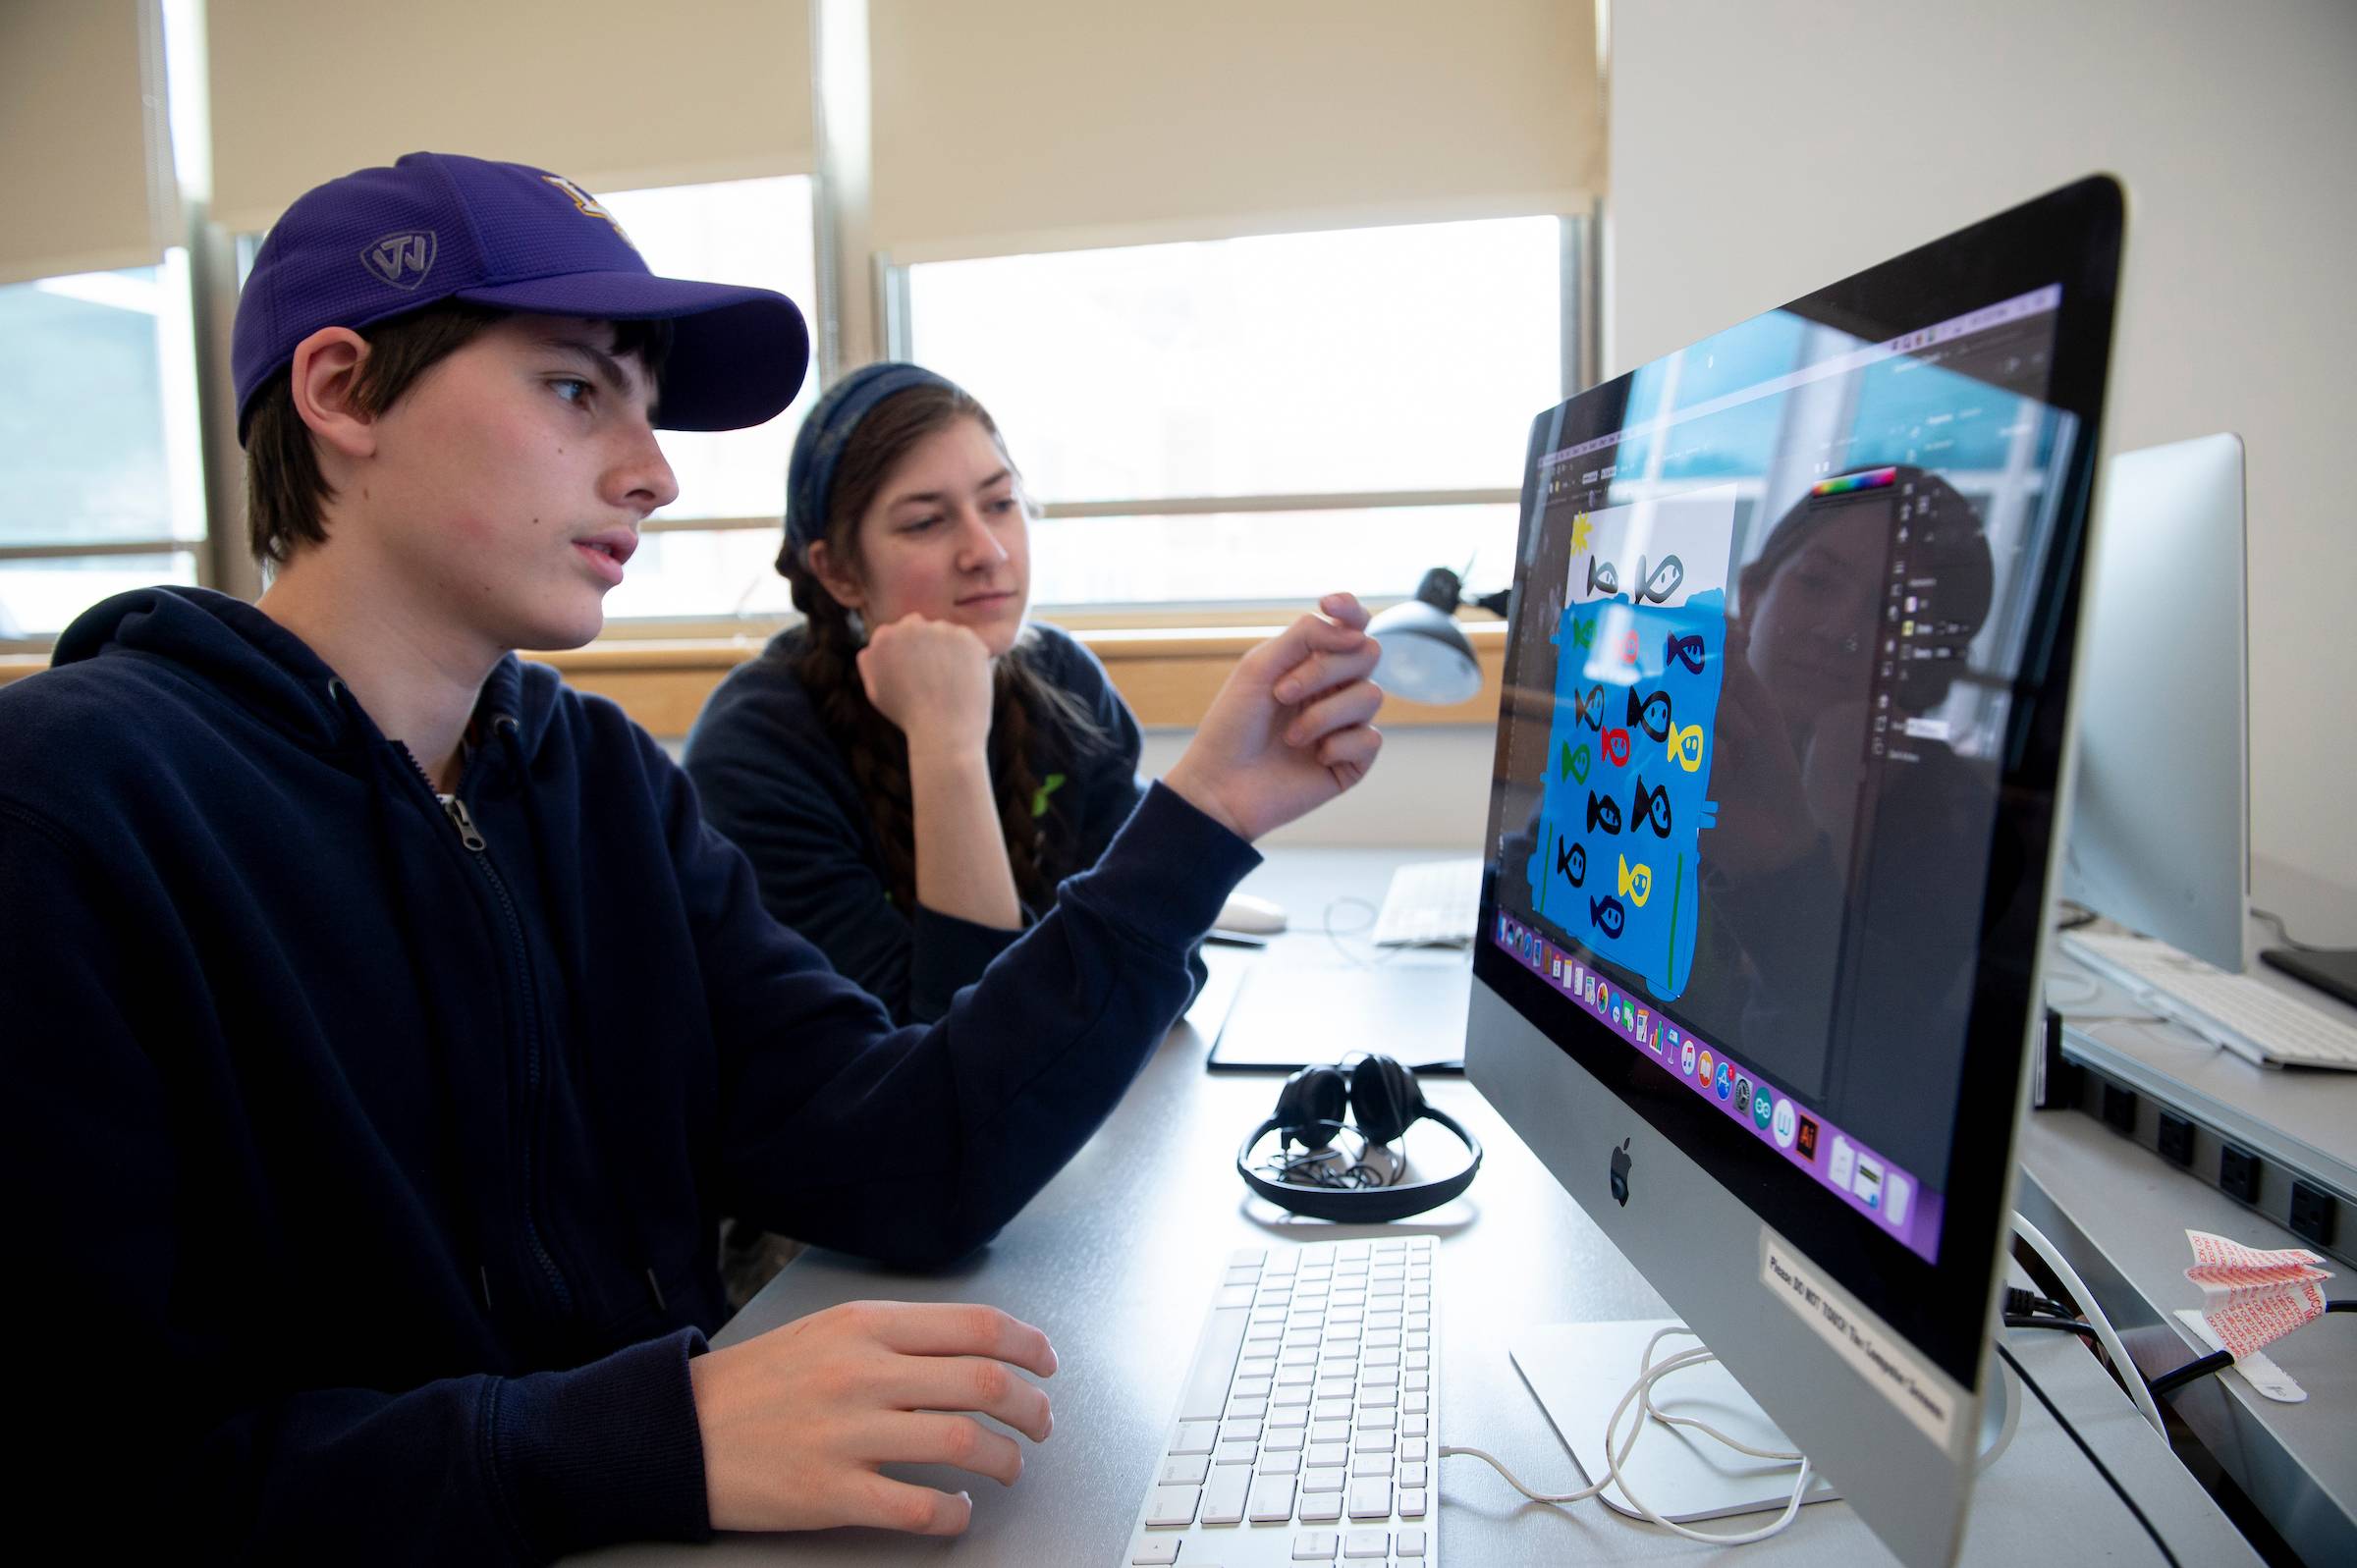
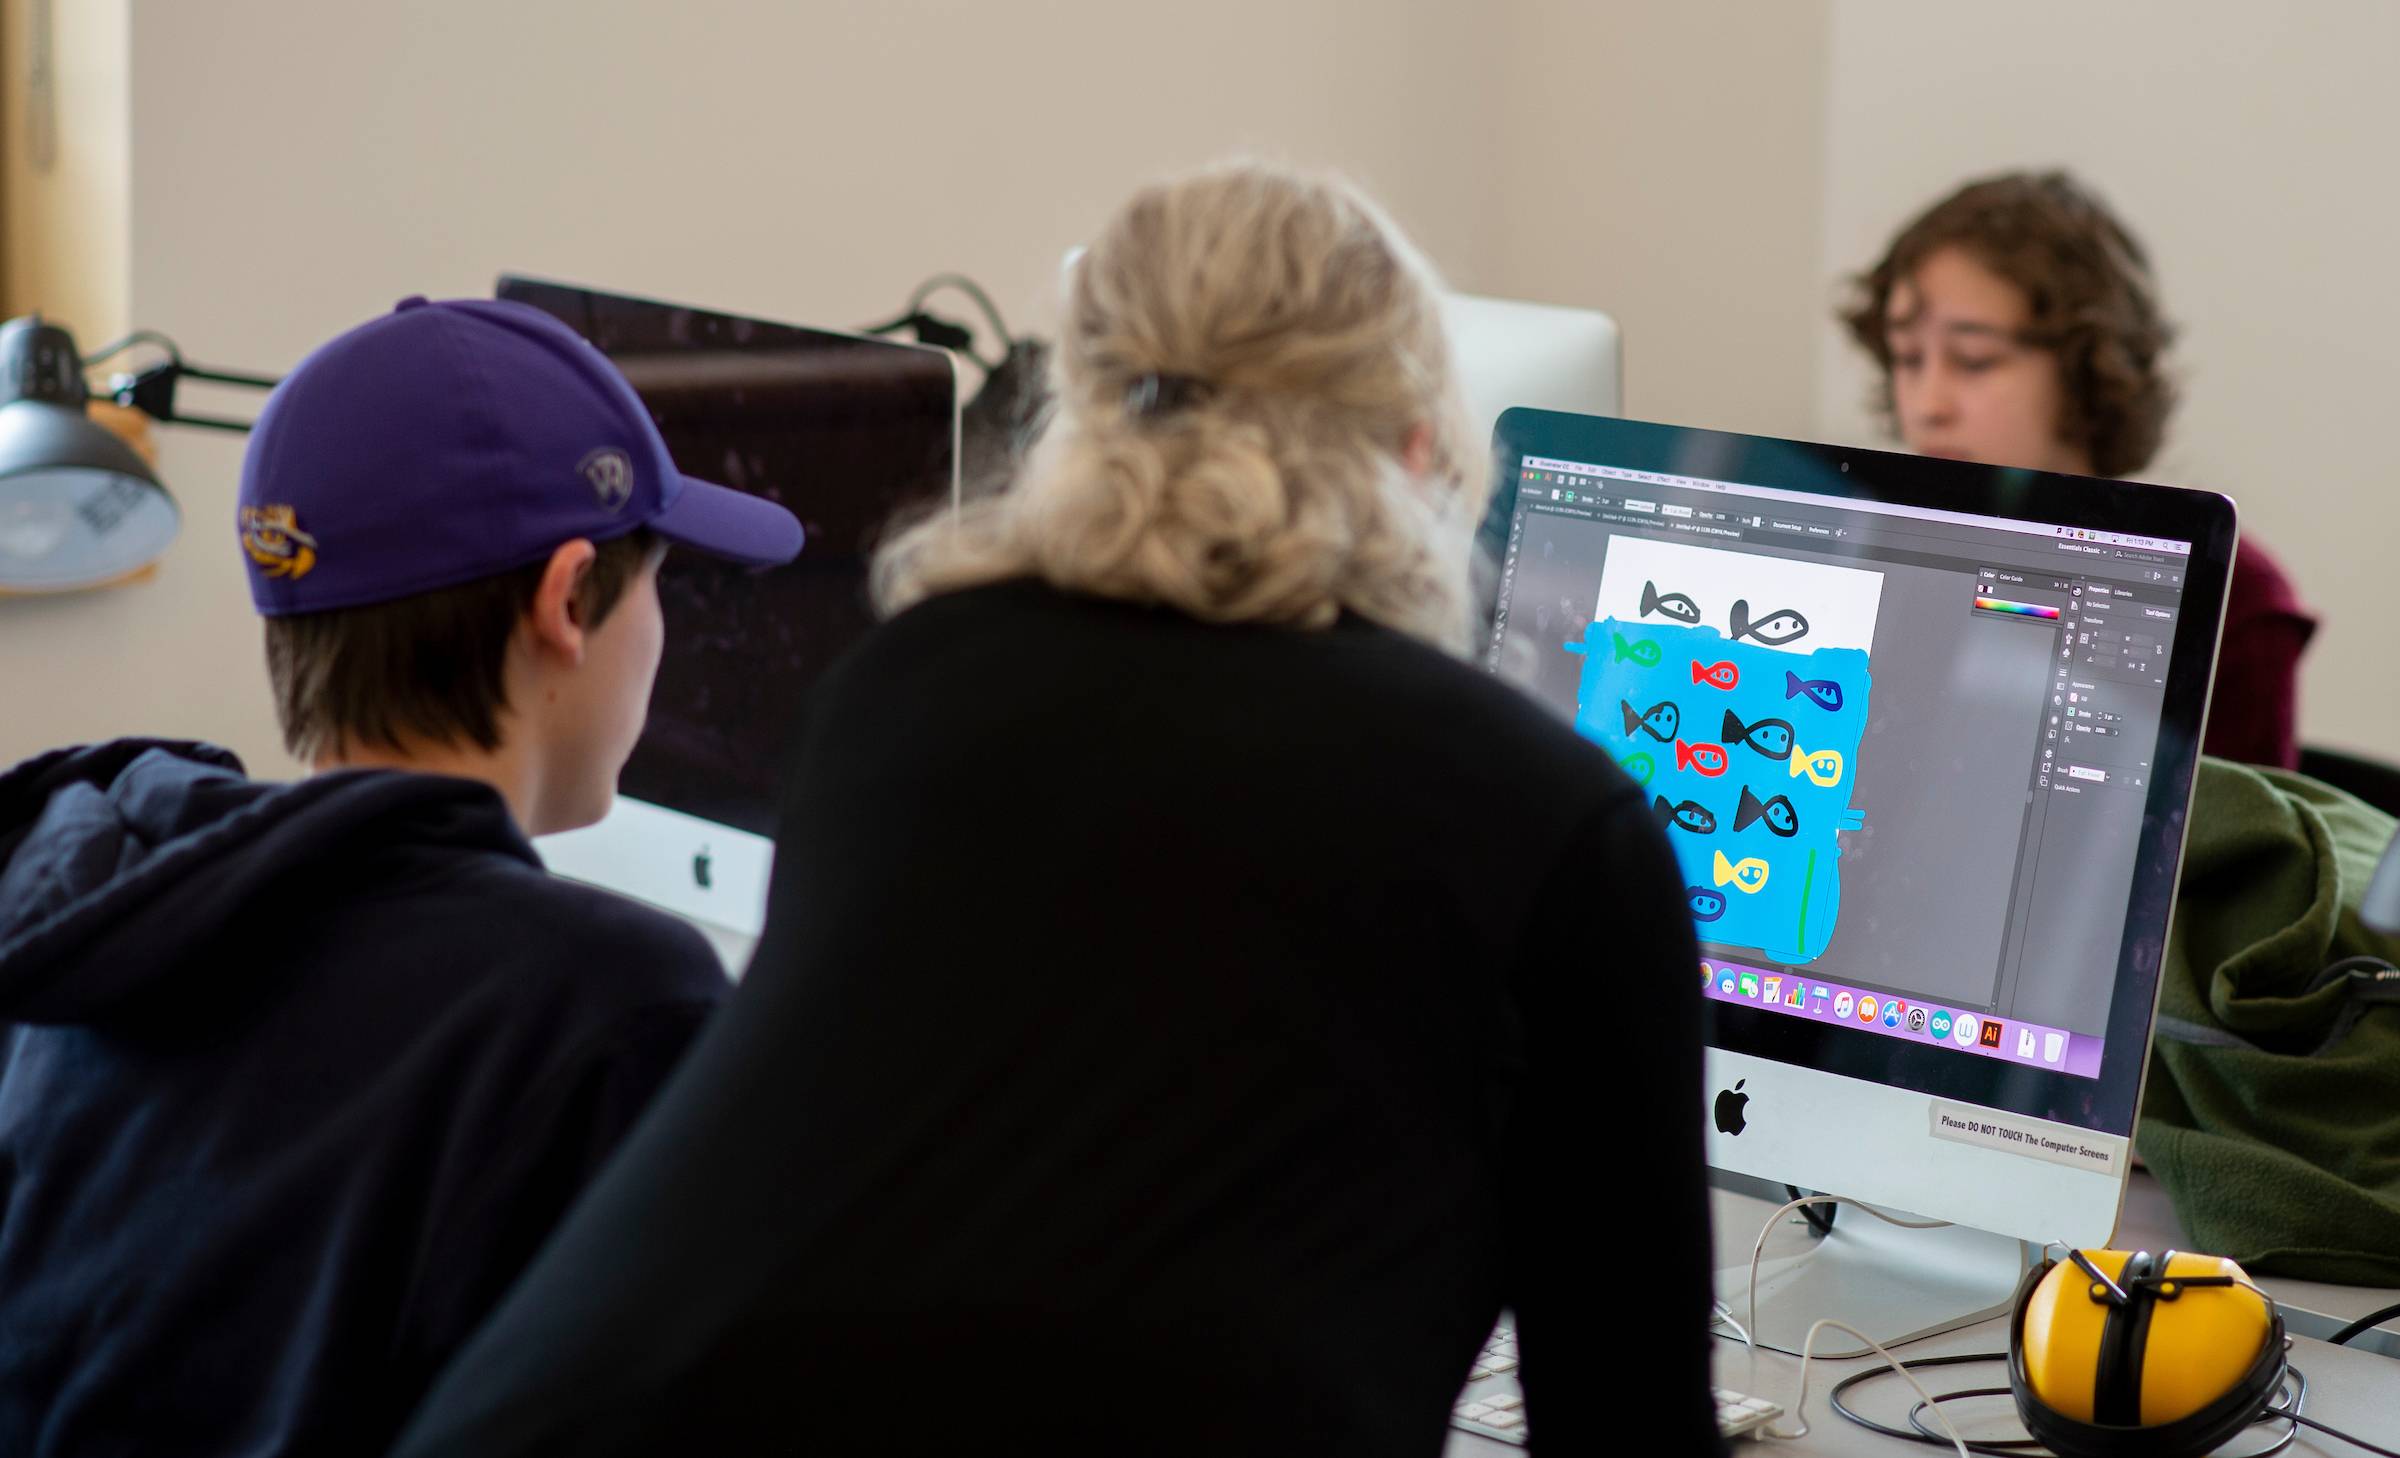
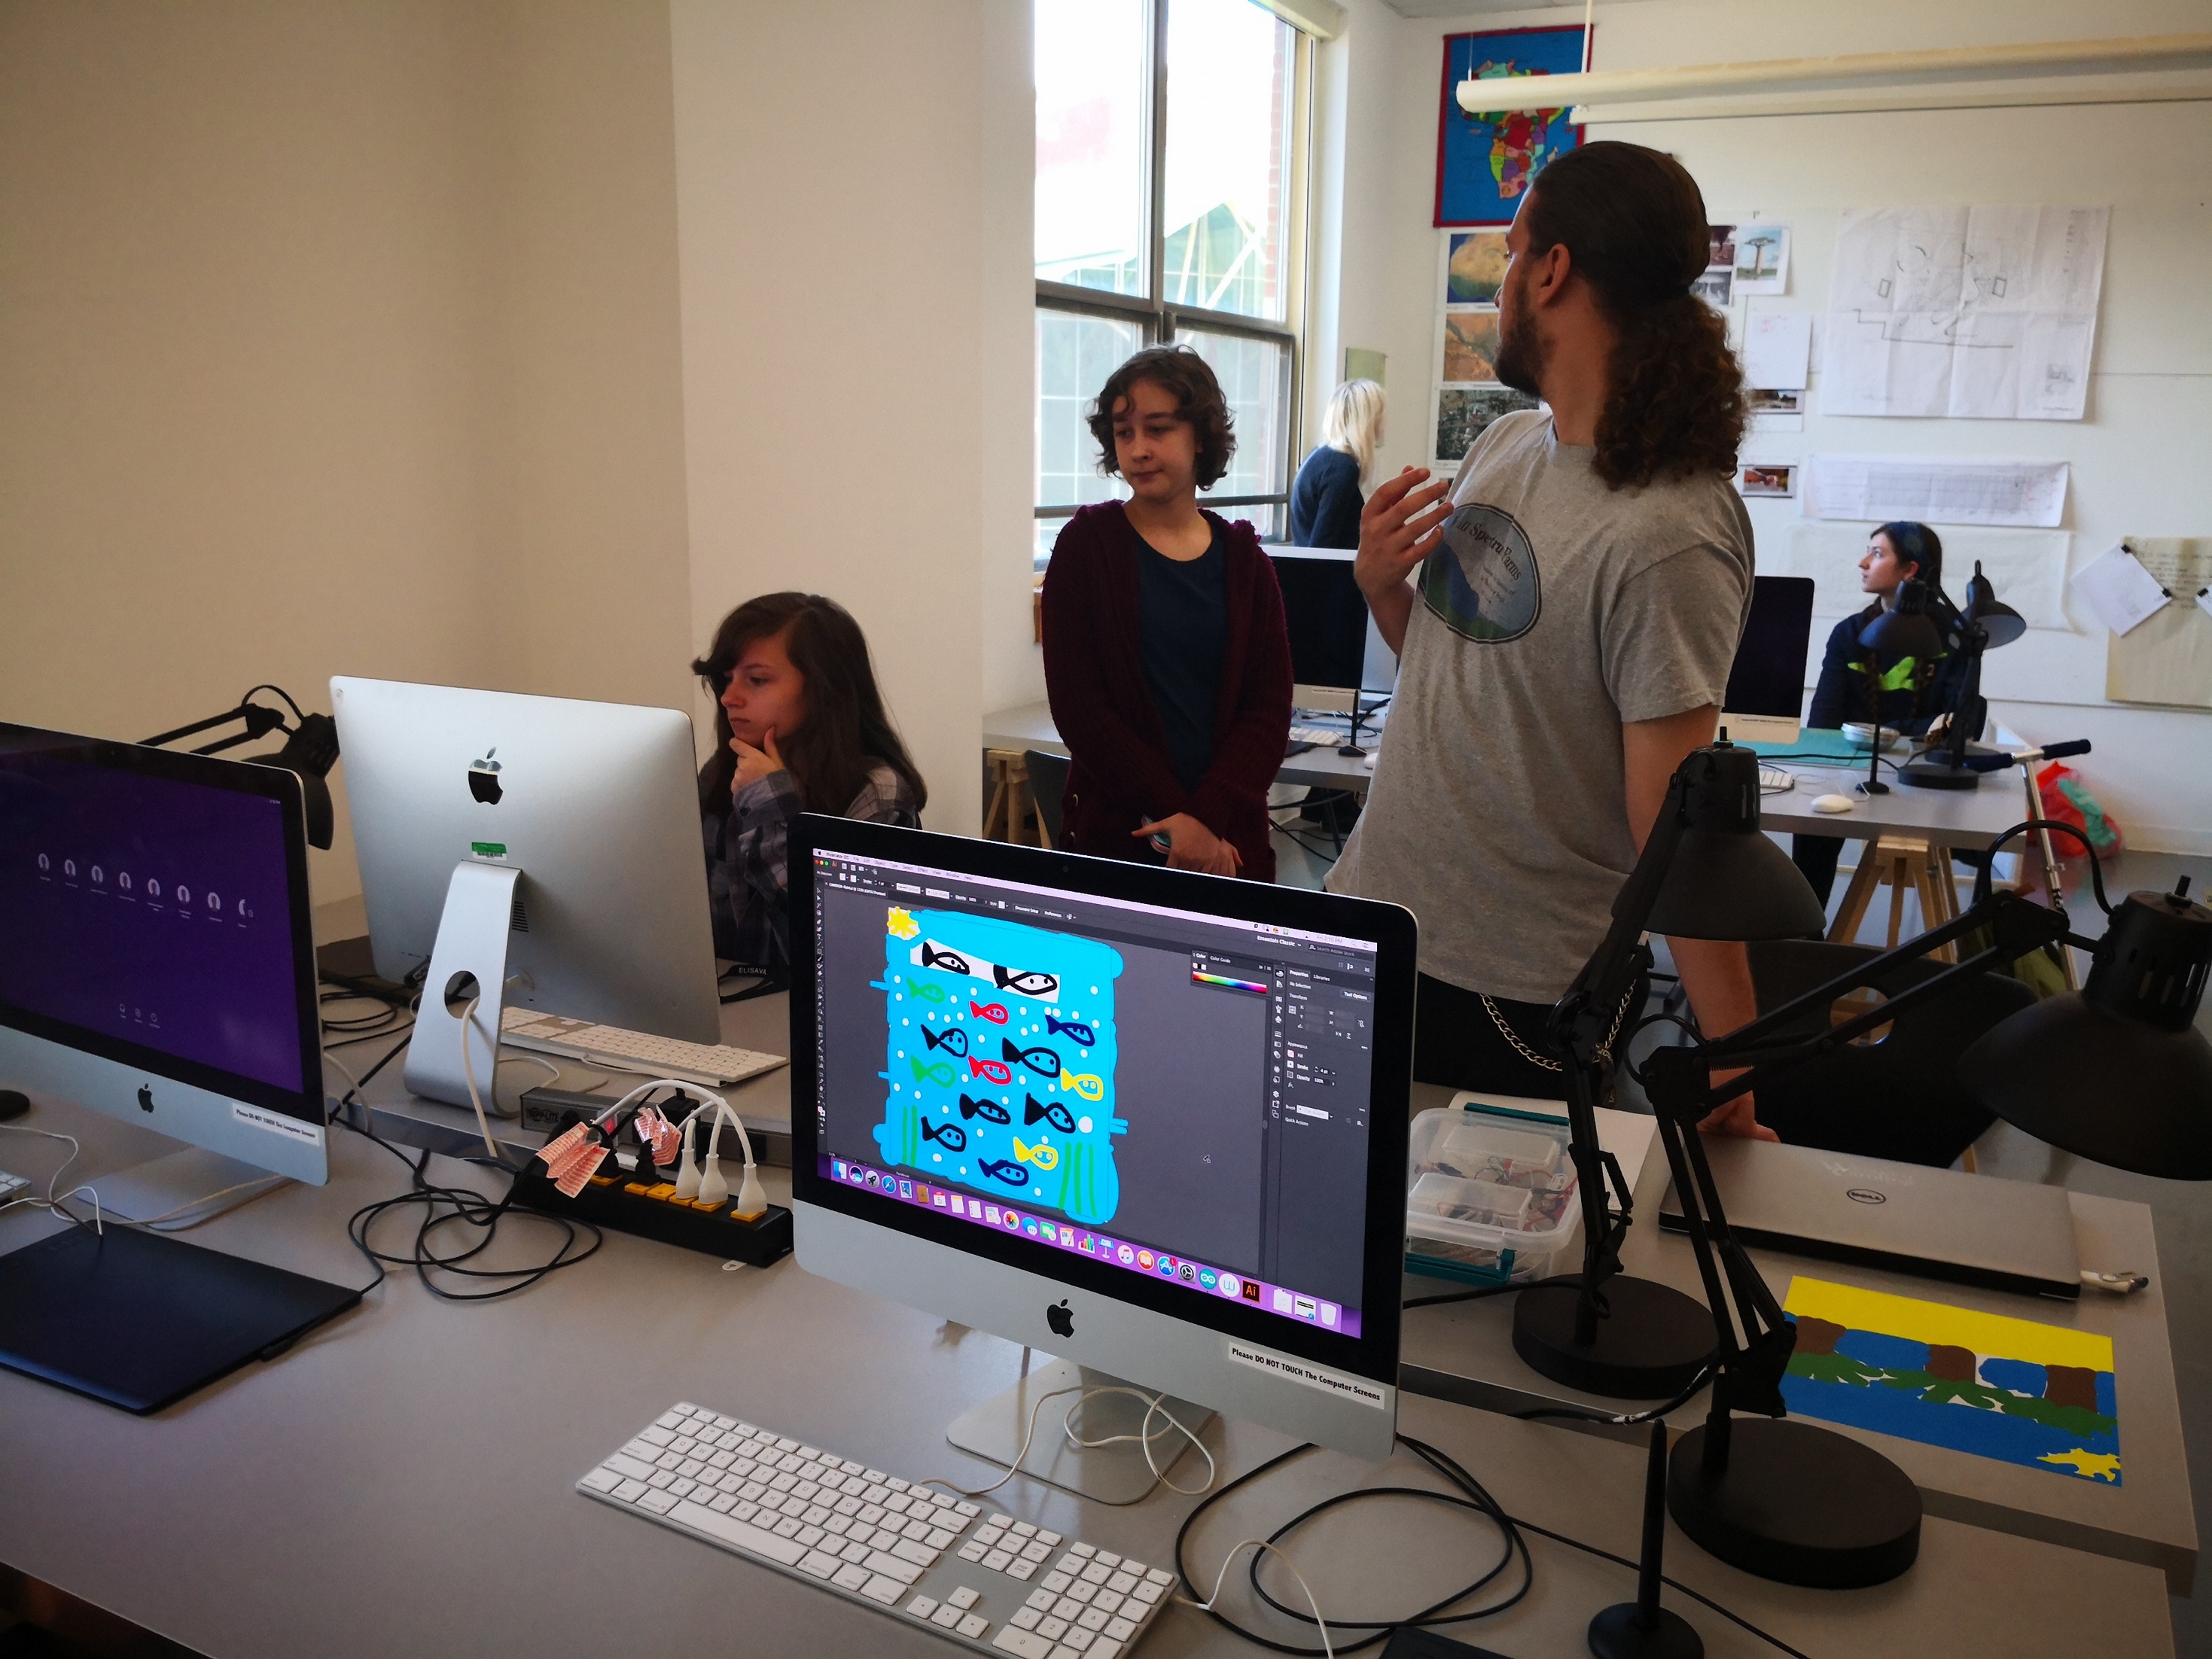
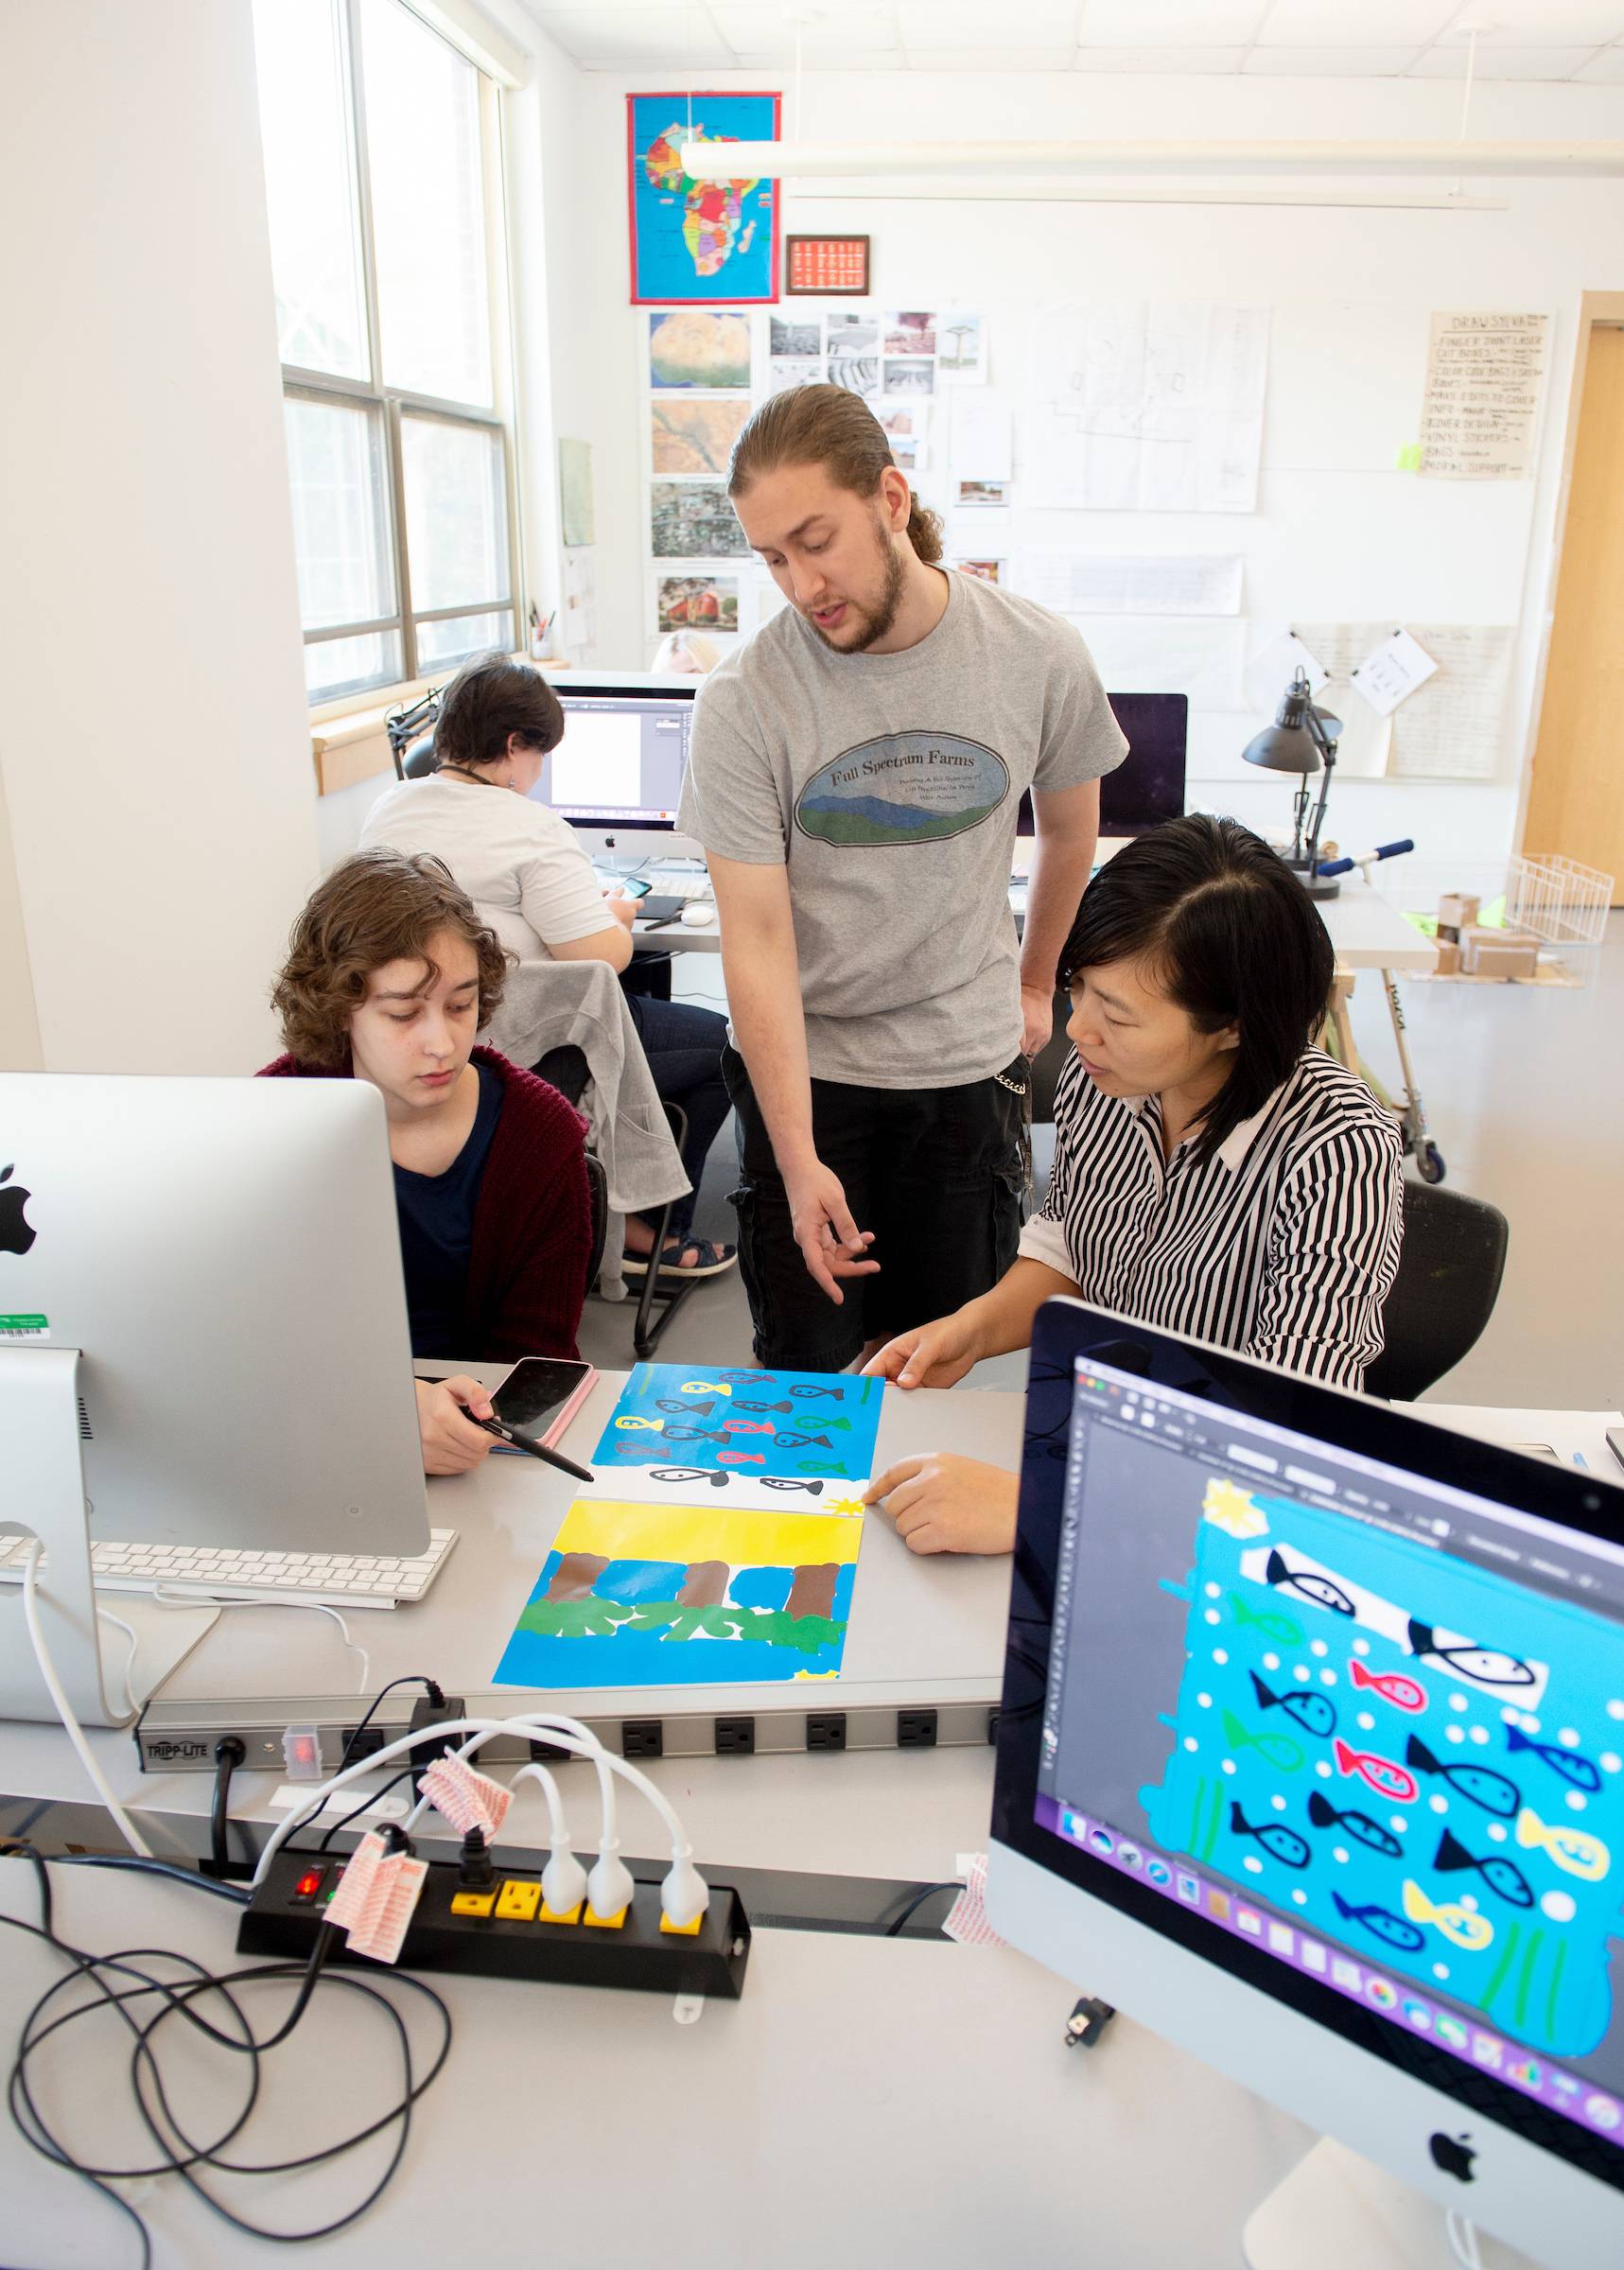
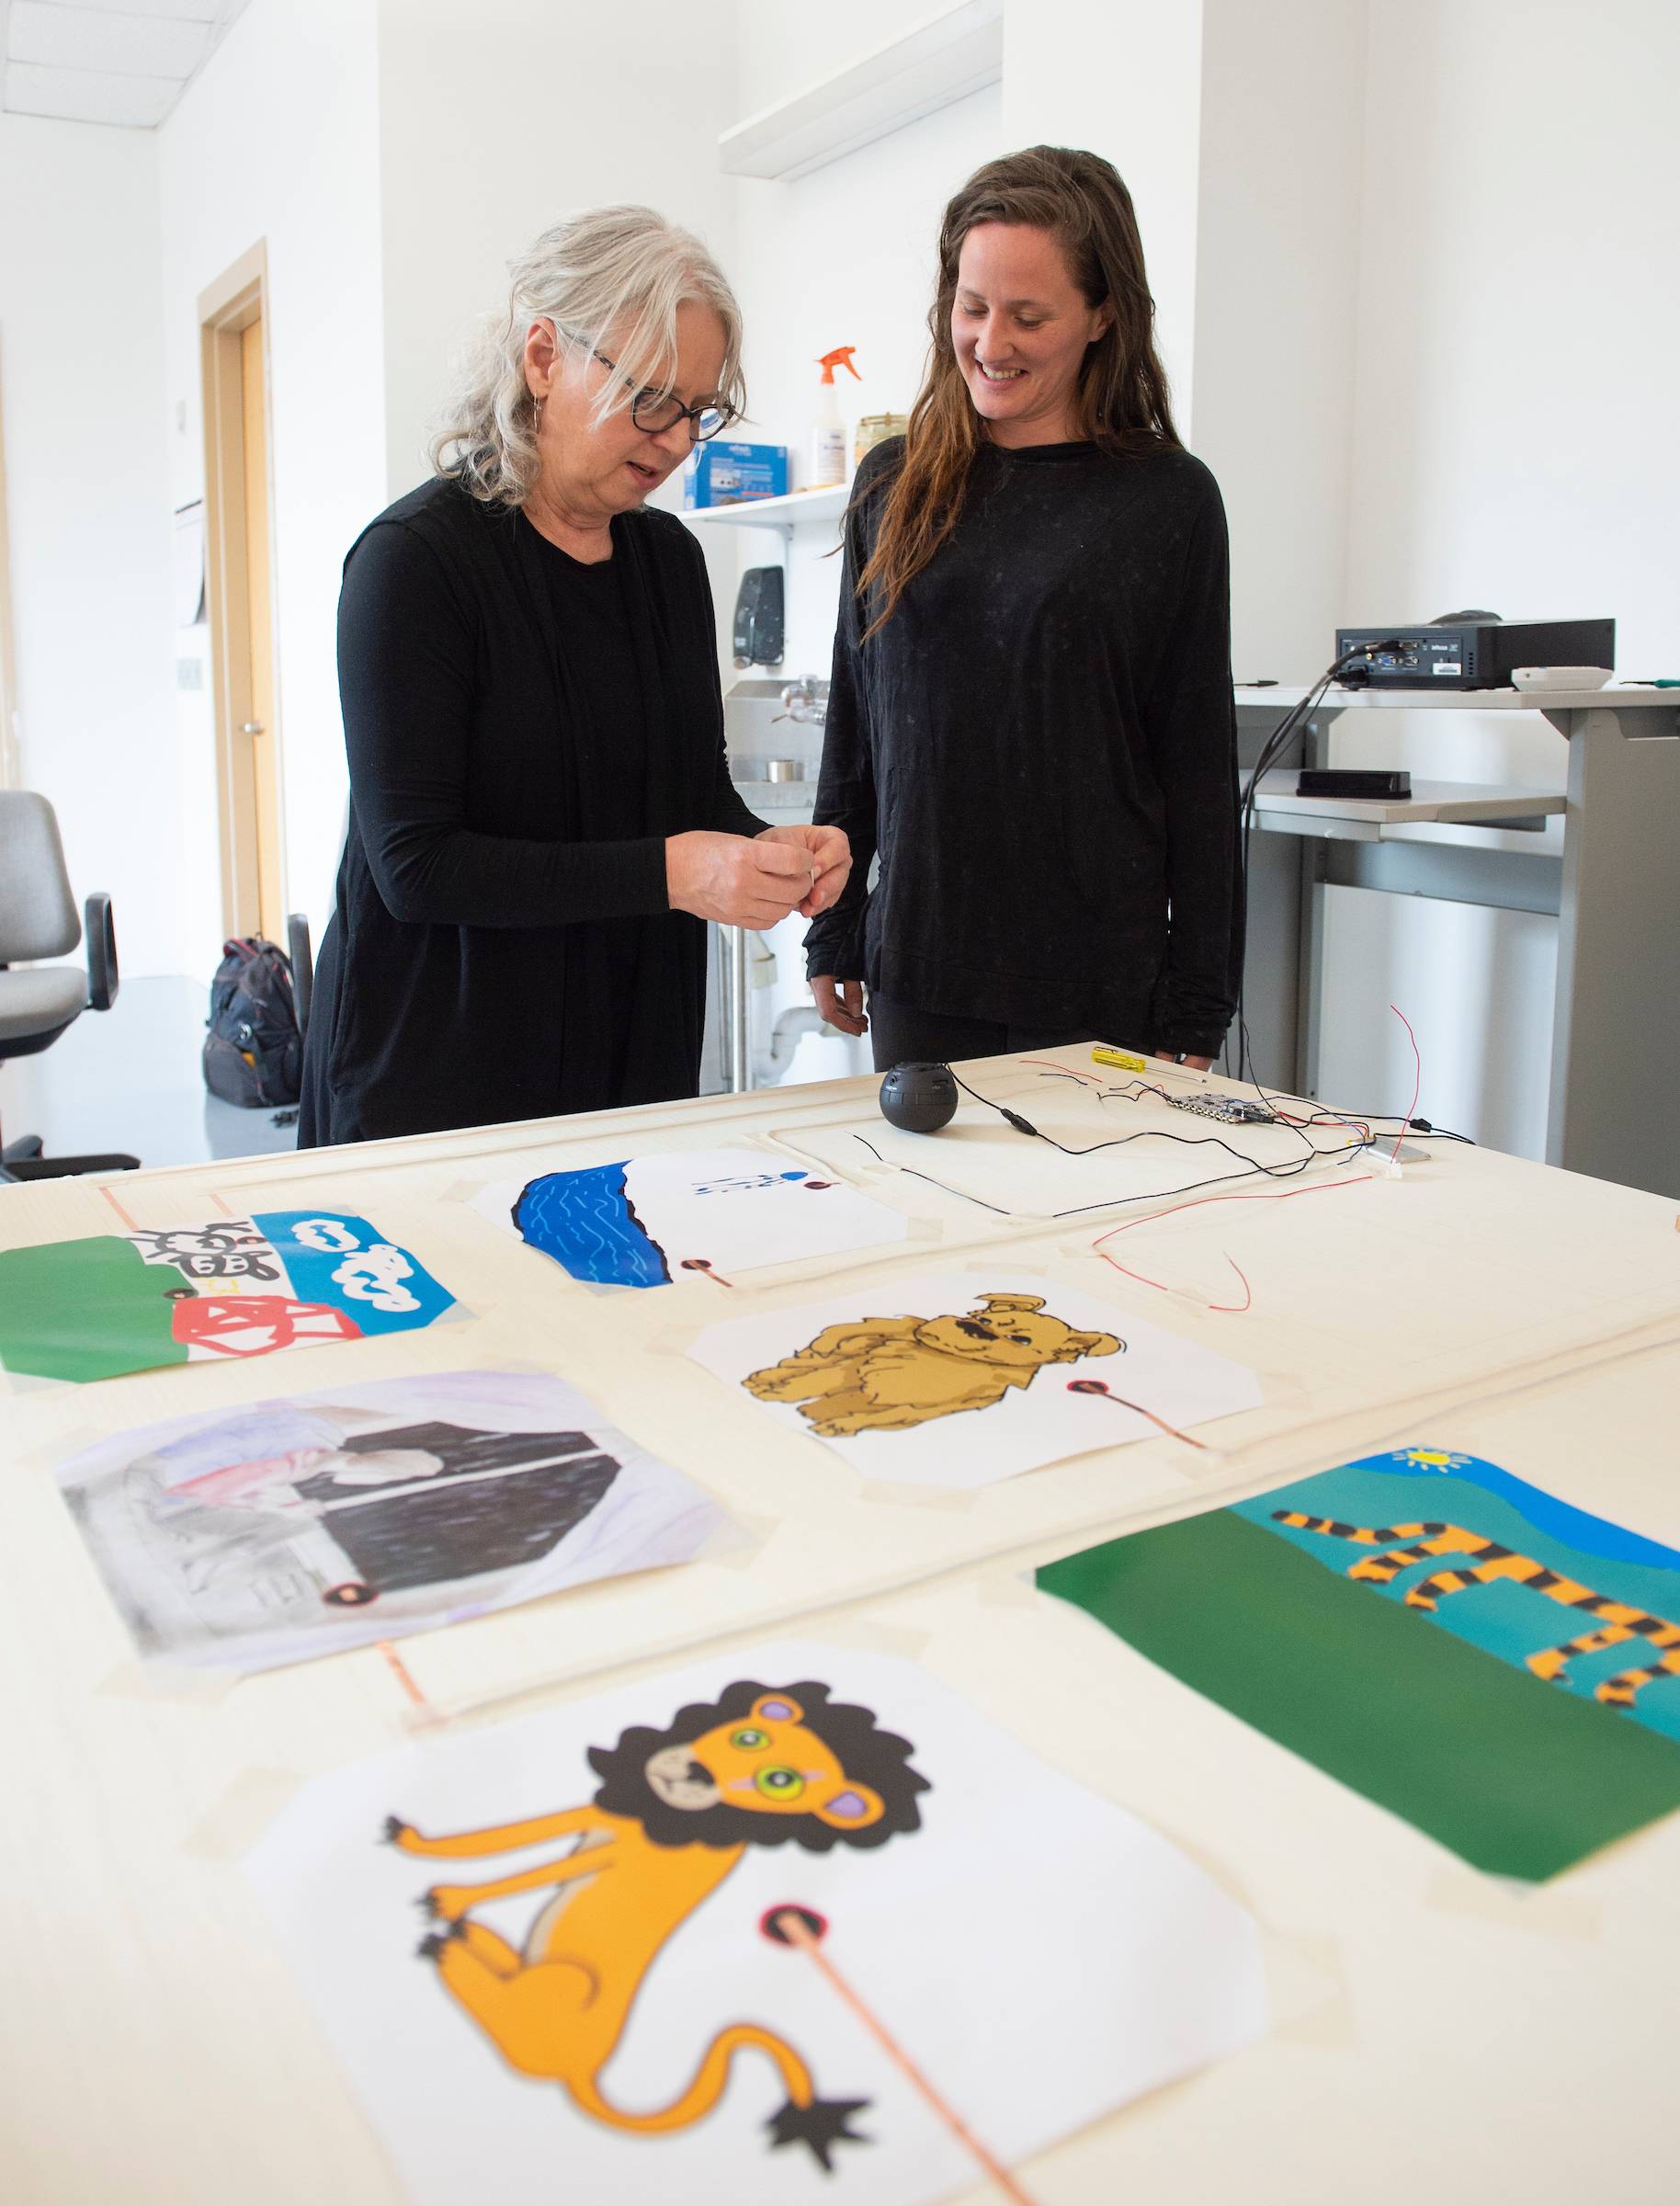
On March 22, 2019, the Farm clients were invited to WCU to draw what they would like to use in the Farm project using Illustrator and then choose a sound track to match that drawing. We intended to make their painting interactive with the viewers so that when the viewers touch an area on the painting that looks like a button, the associated sound track will play. We did a demo using a cat drawing, and the clients created many fun images and found one or two sound tracks for each drawing.
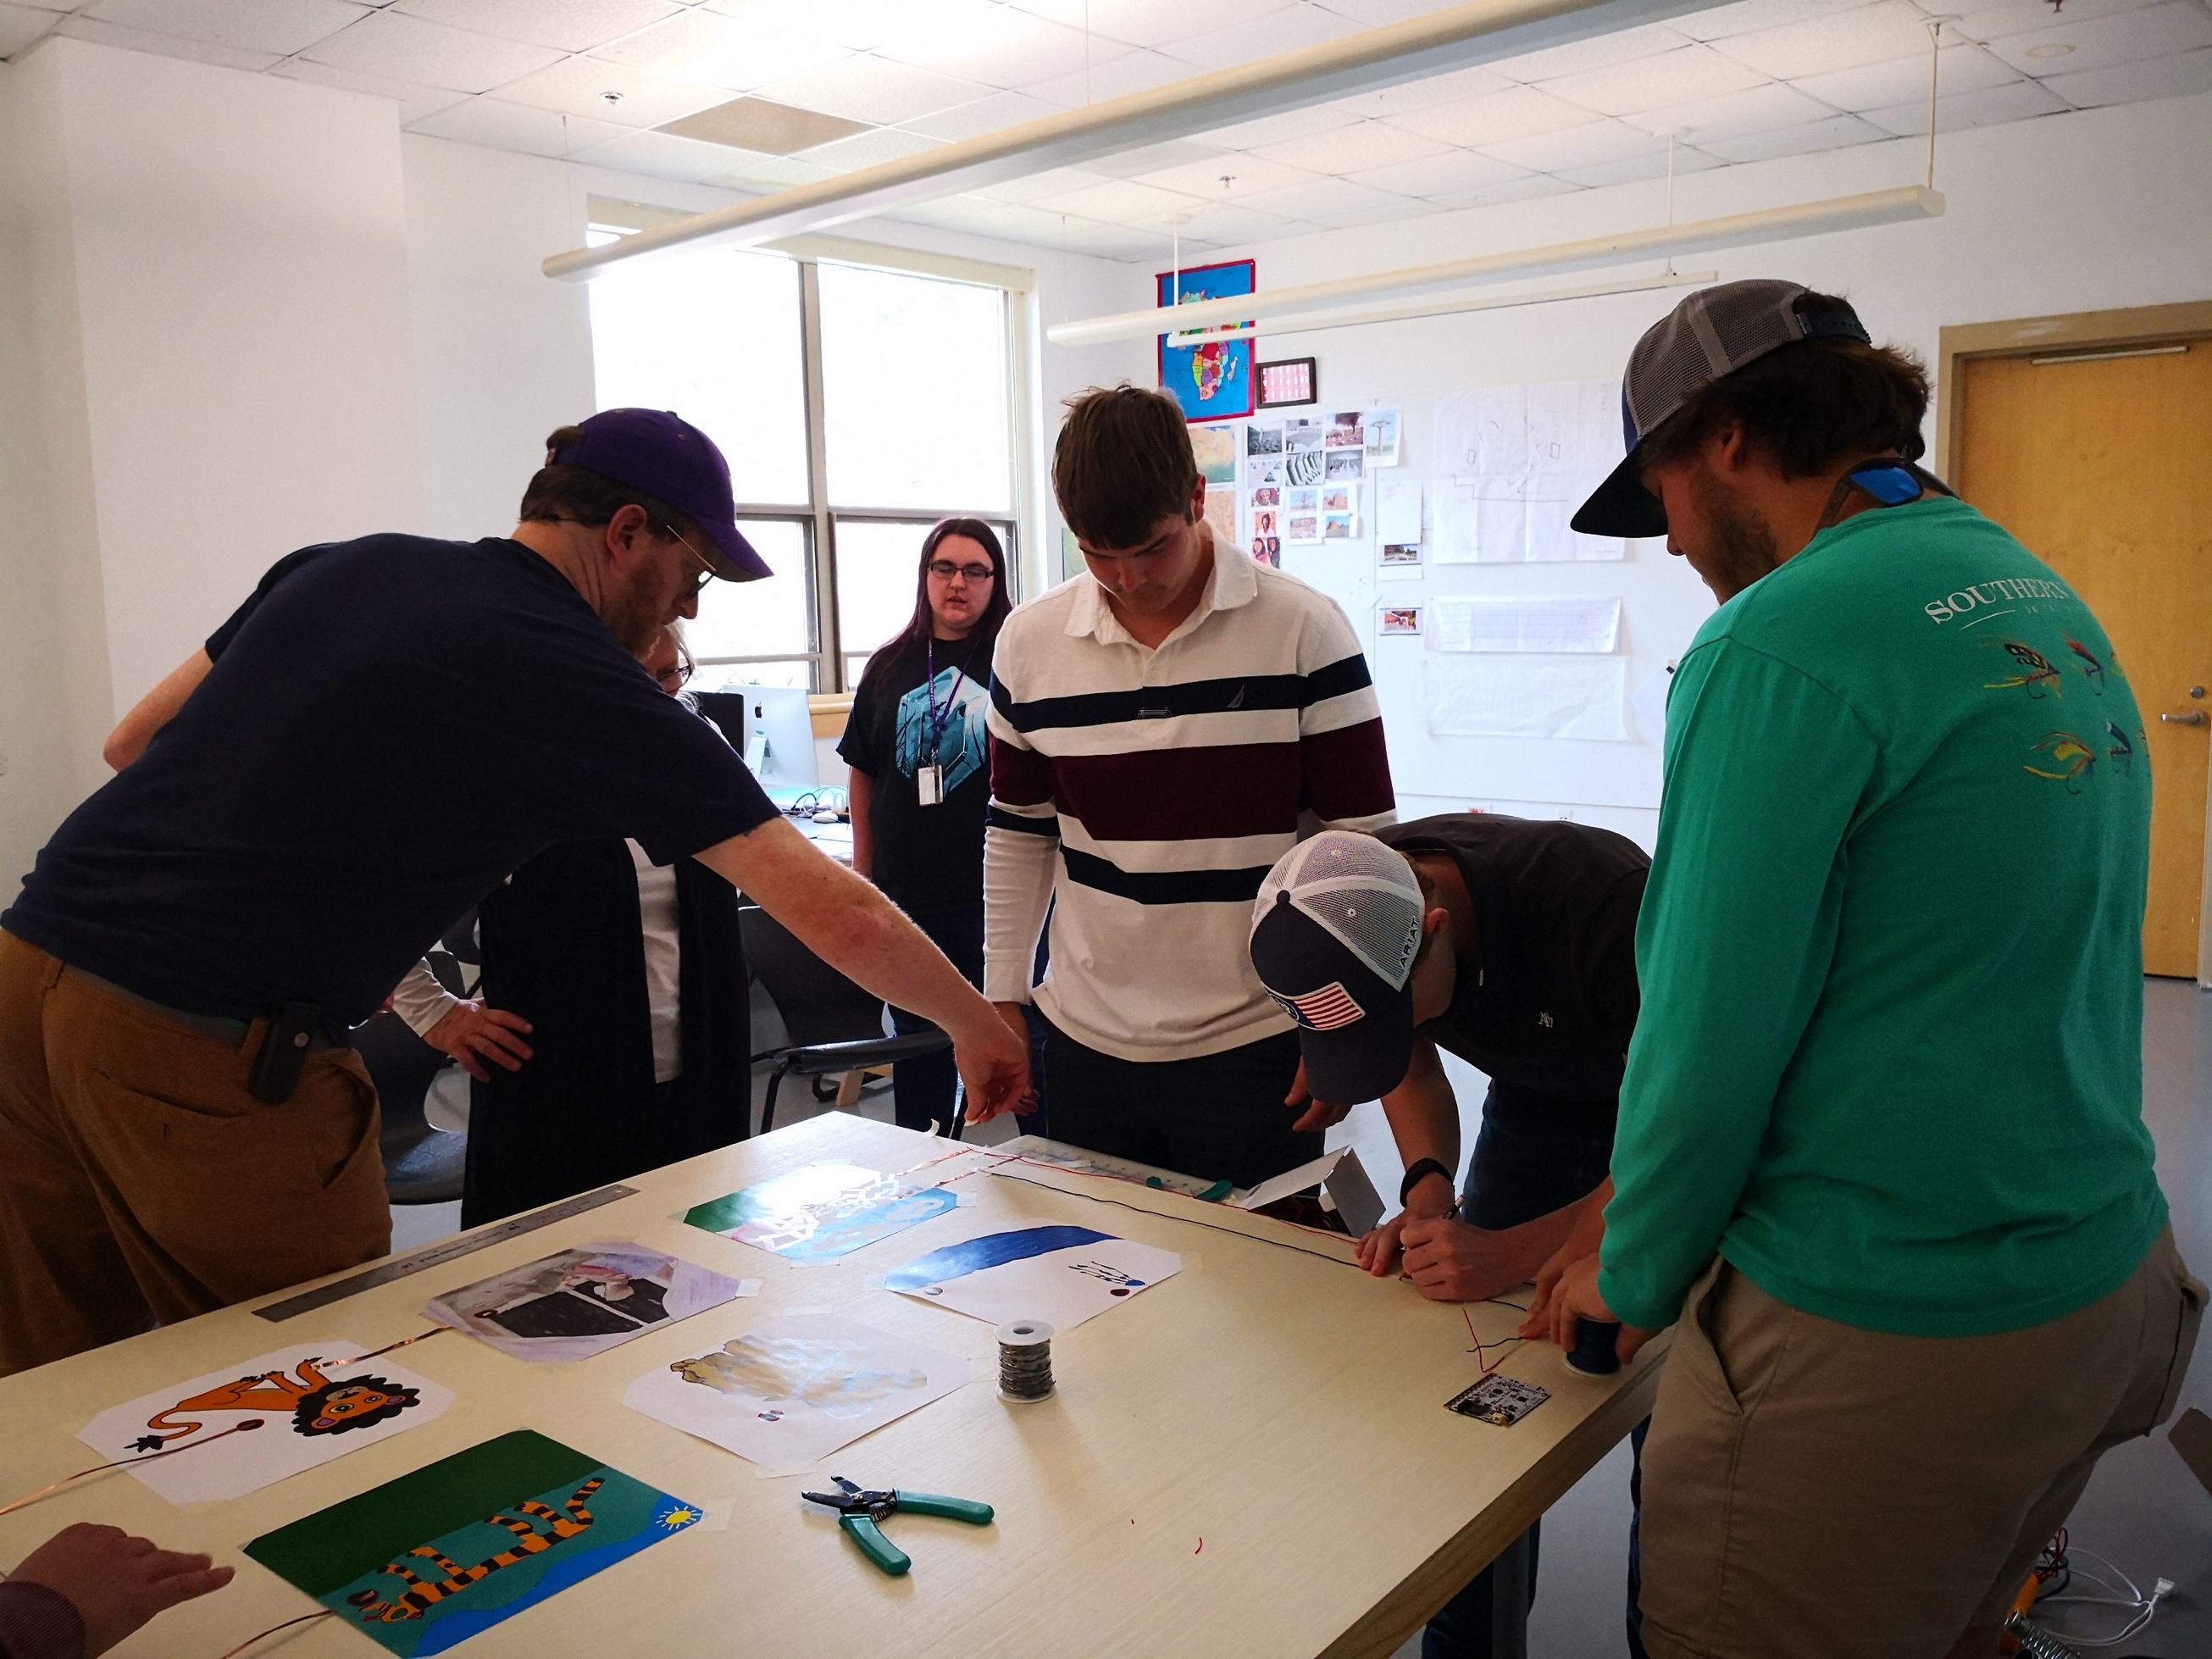
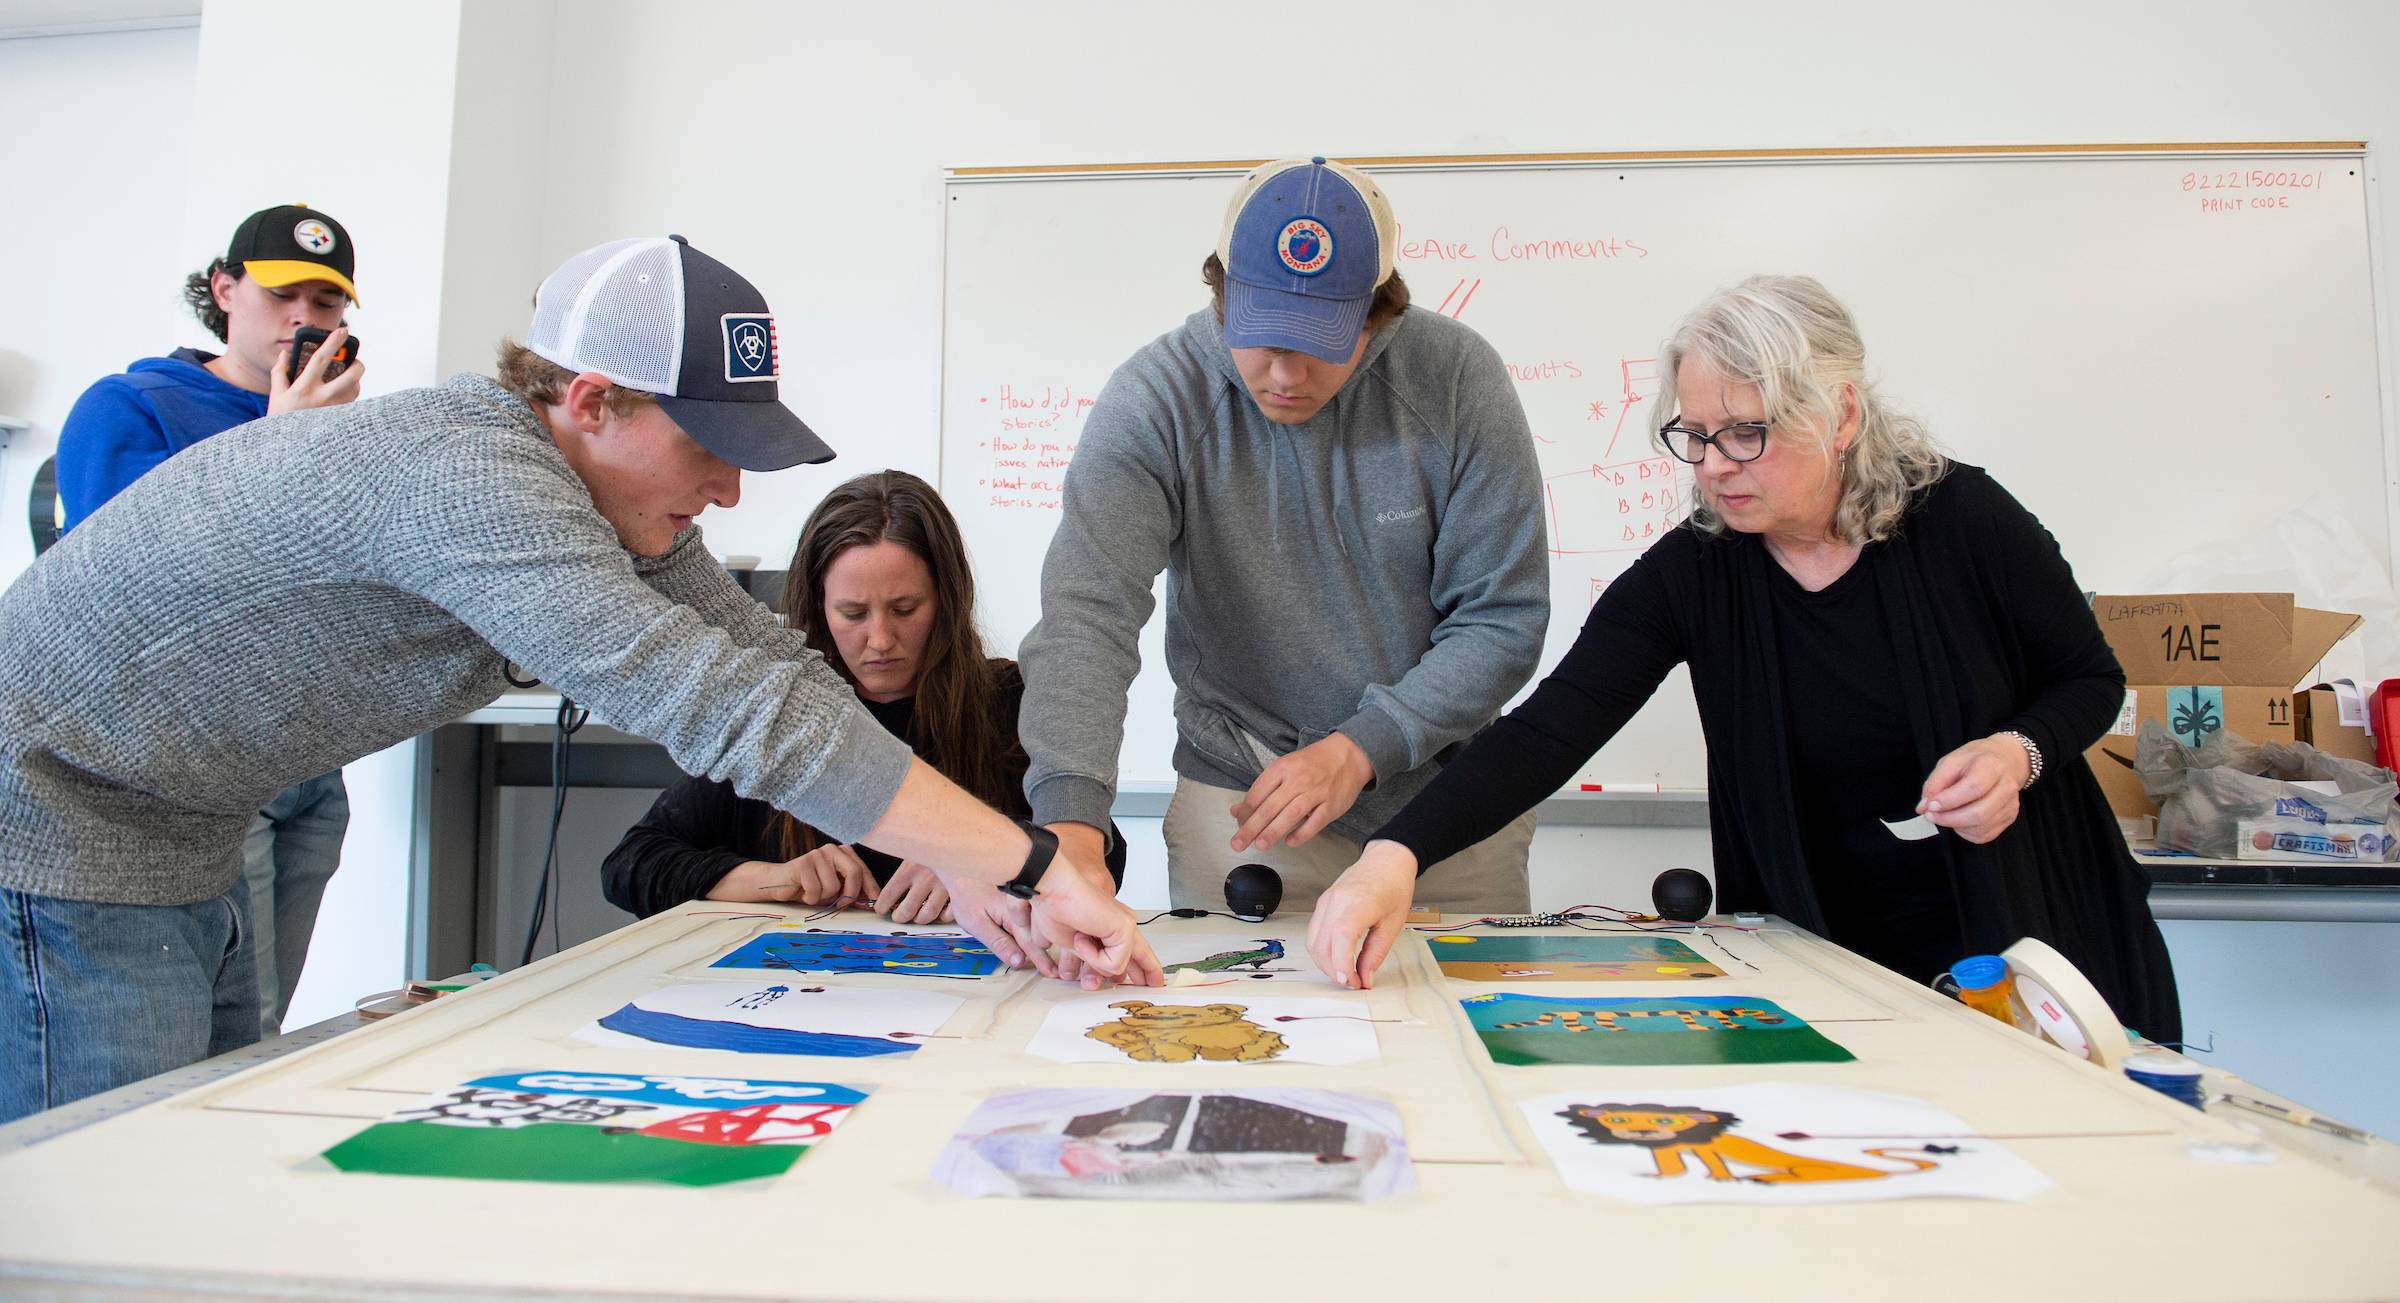
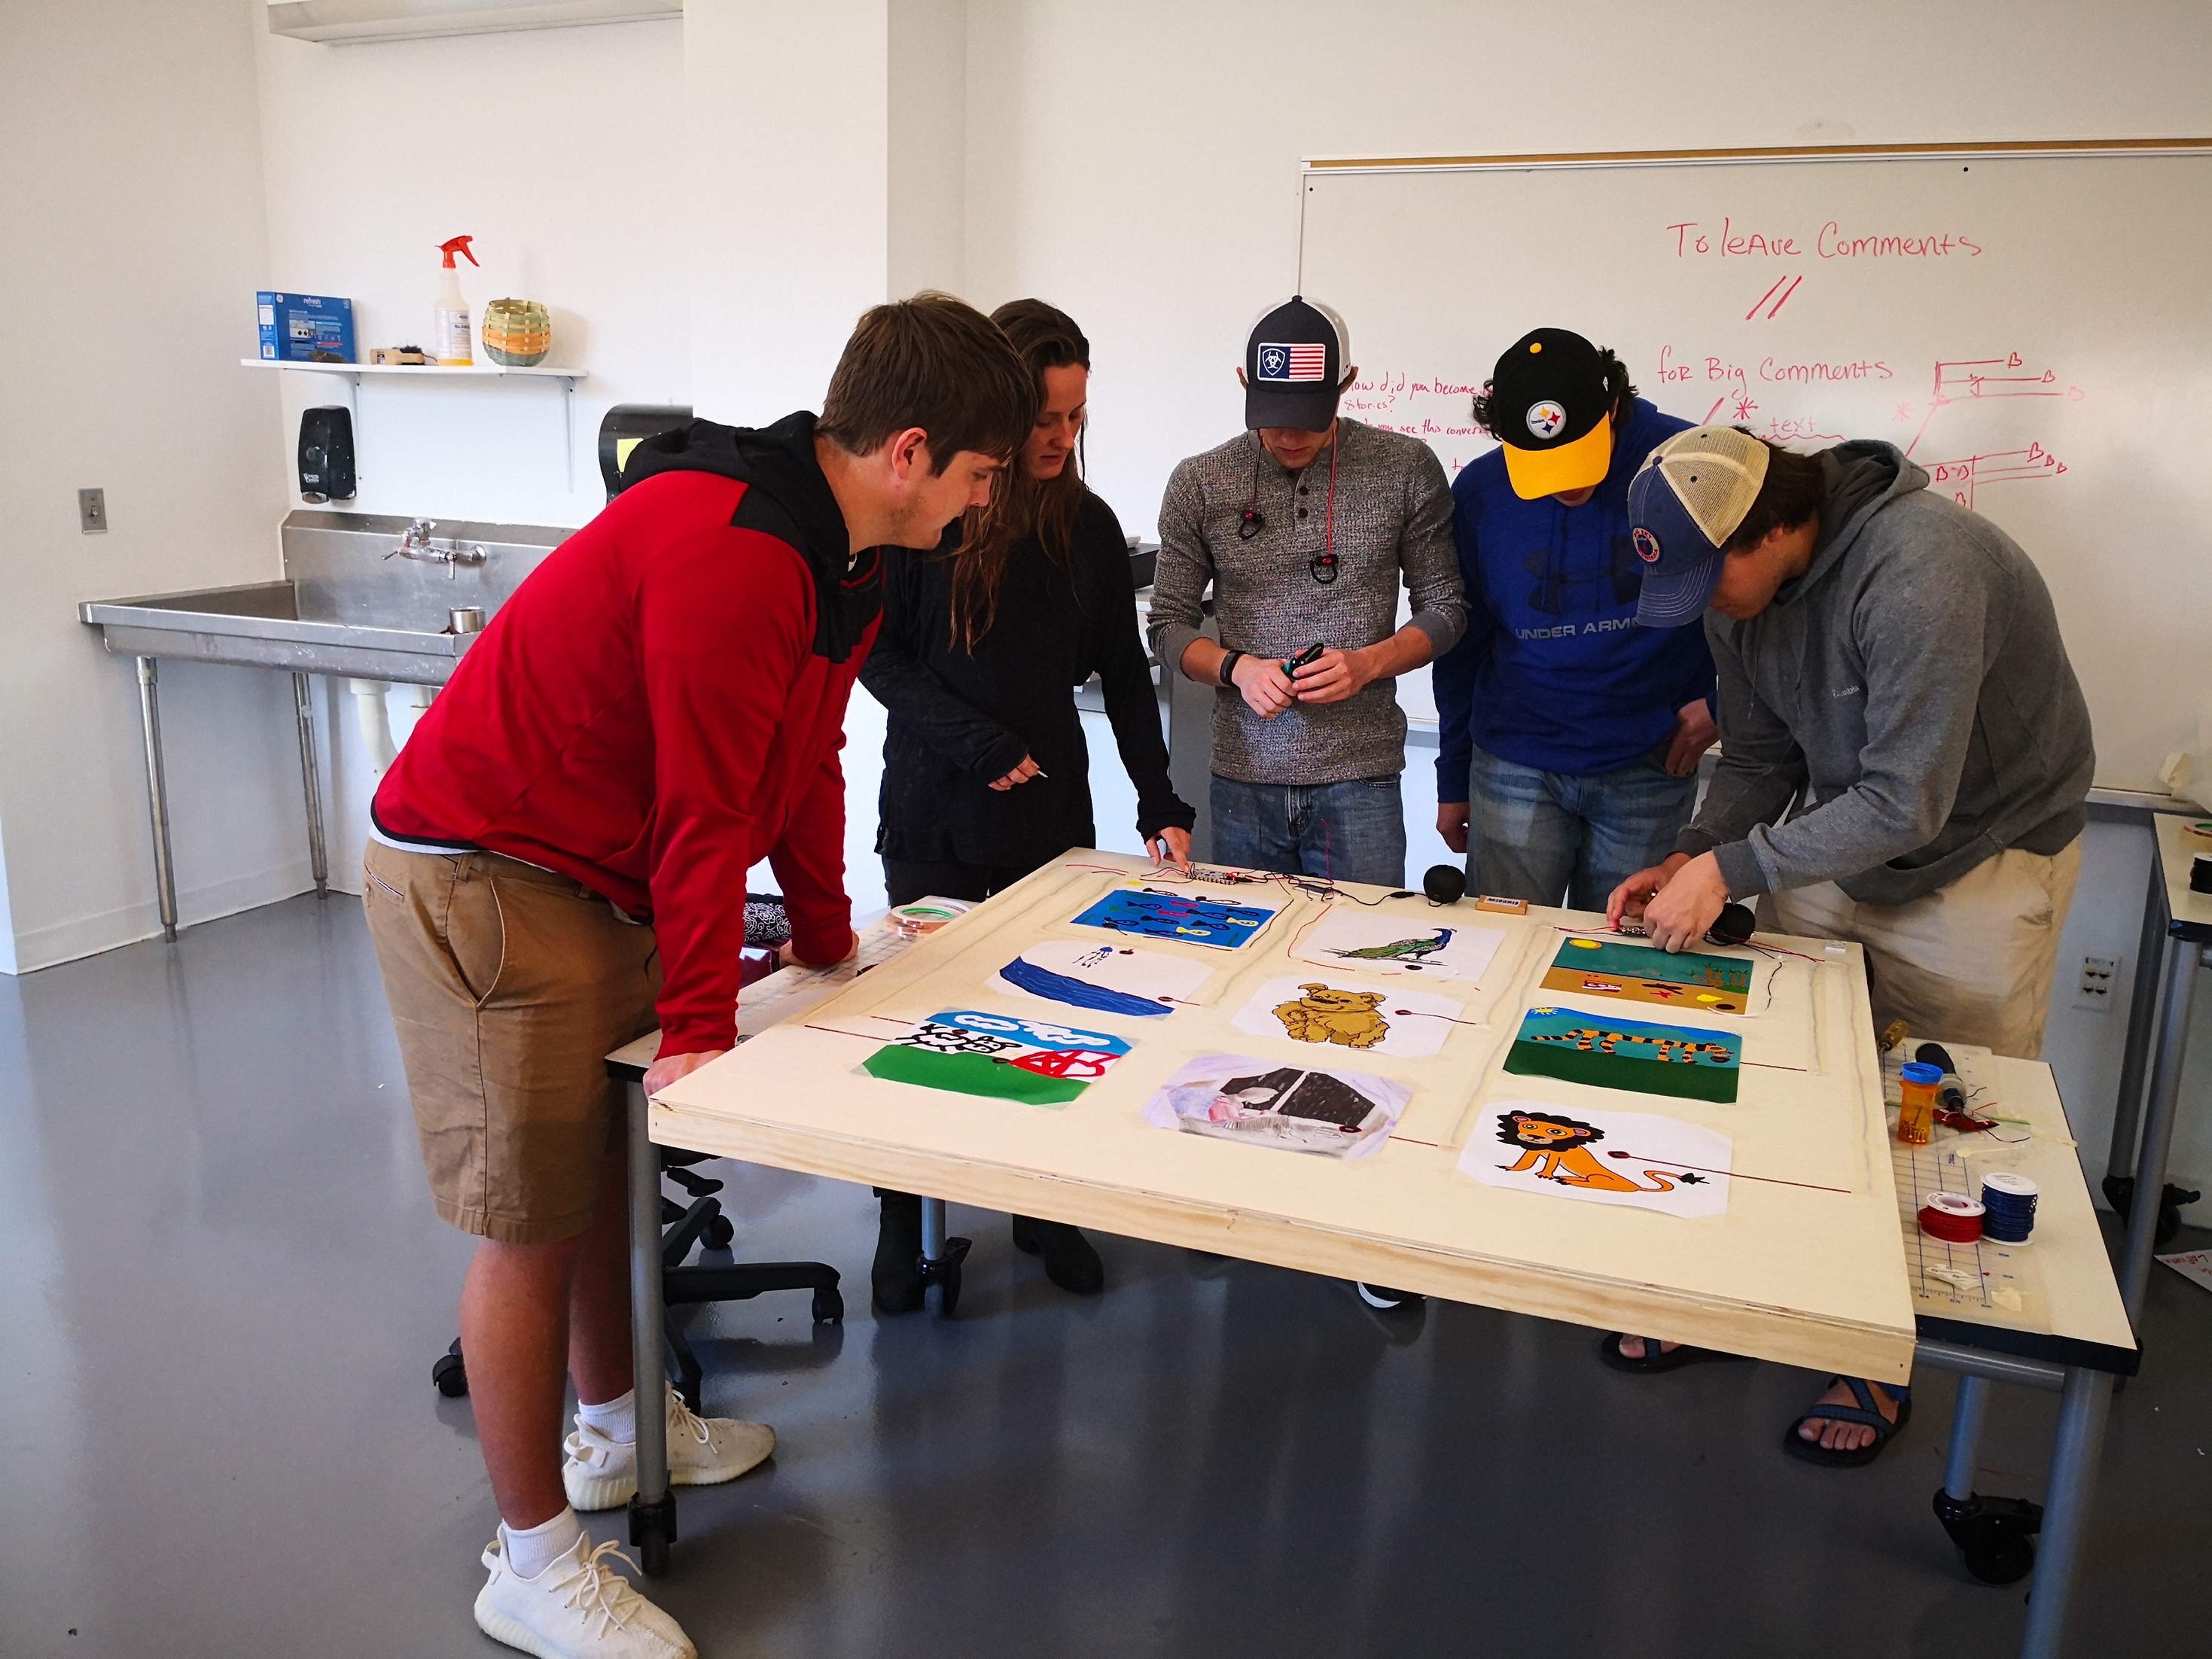
On Mar 29, 2019, the faculty and students took this Fri as a working day to mark grids on the wood board, experiment with wiring options, and adjust the sound tracks from multiple copyright-free sources to be at similar volume. The project gradually came into shape.

Project Wrapup
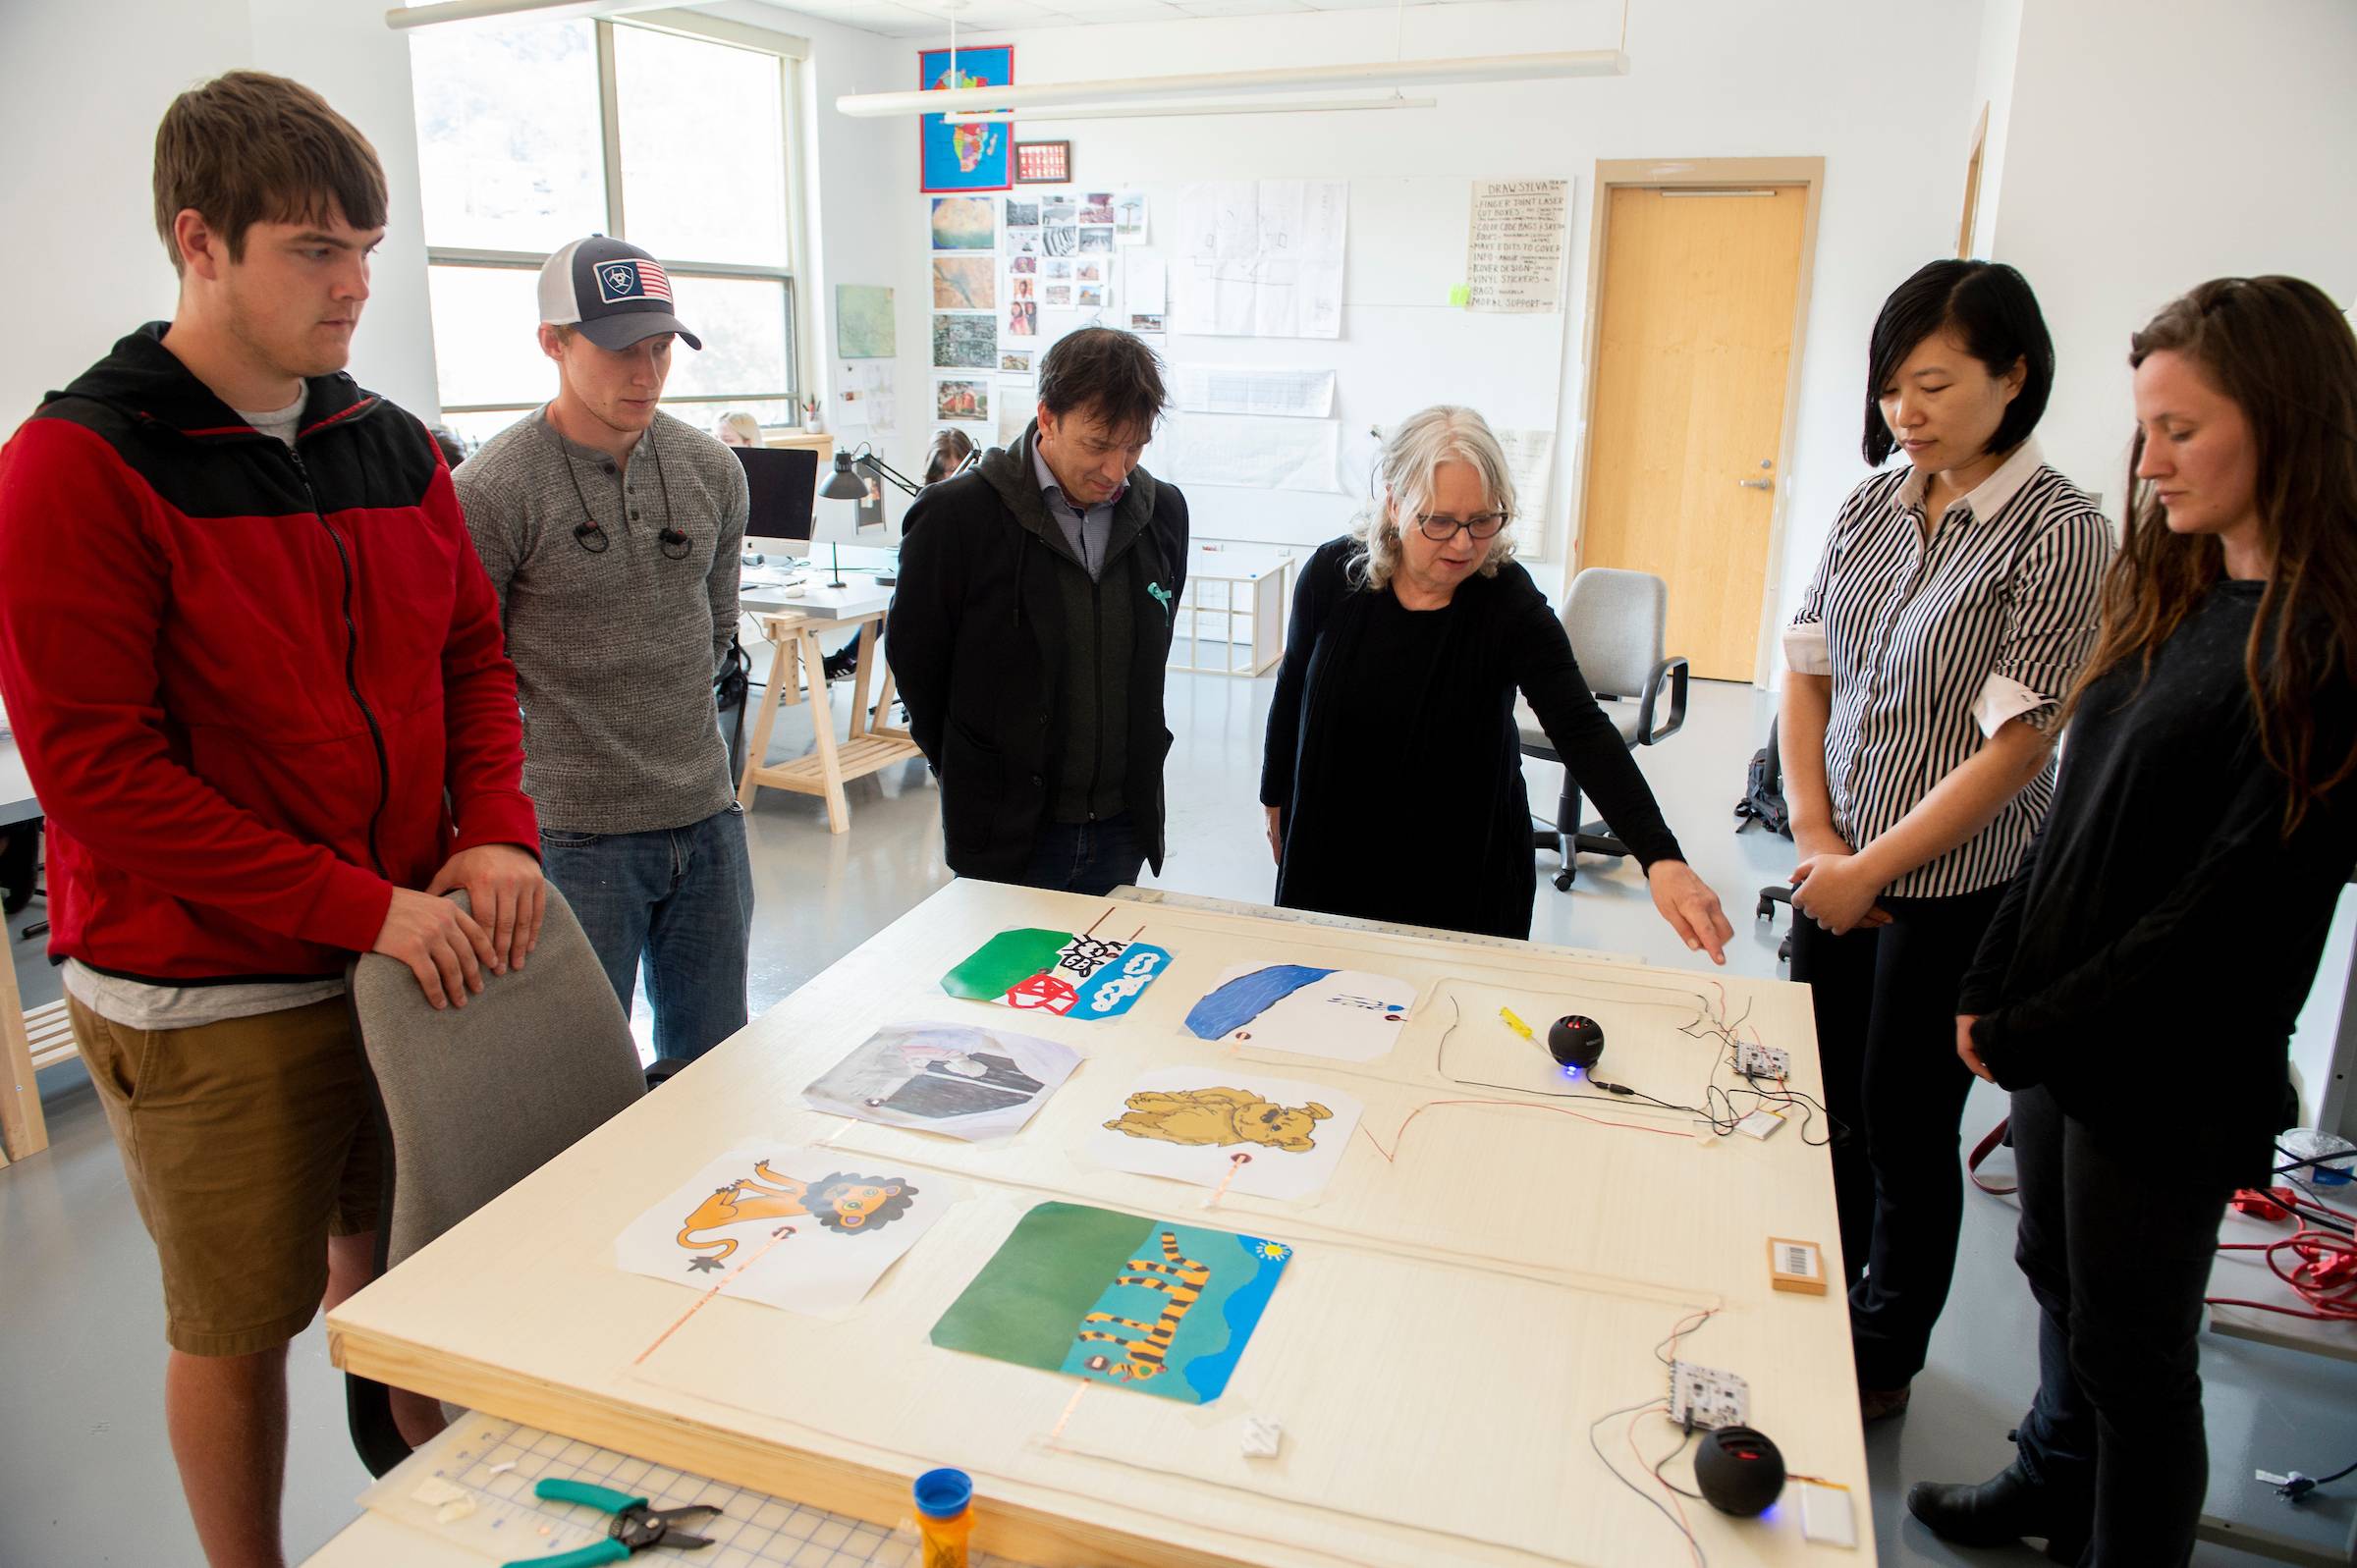
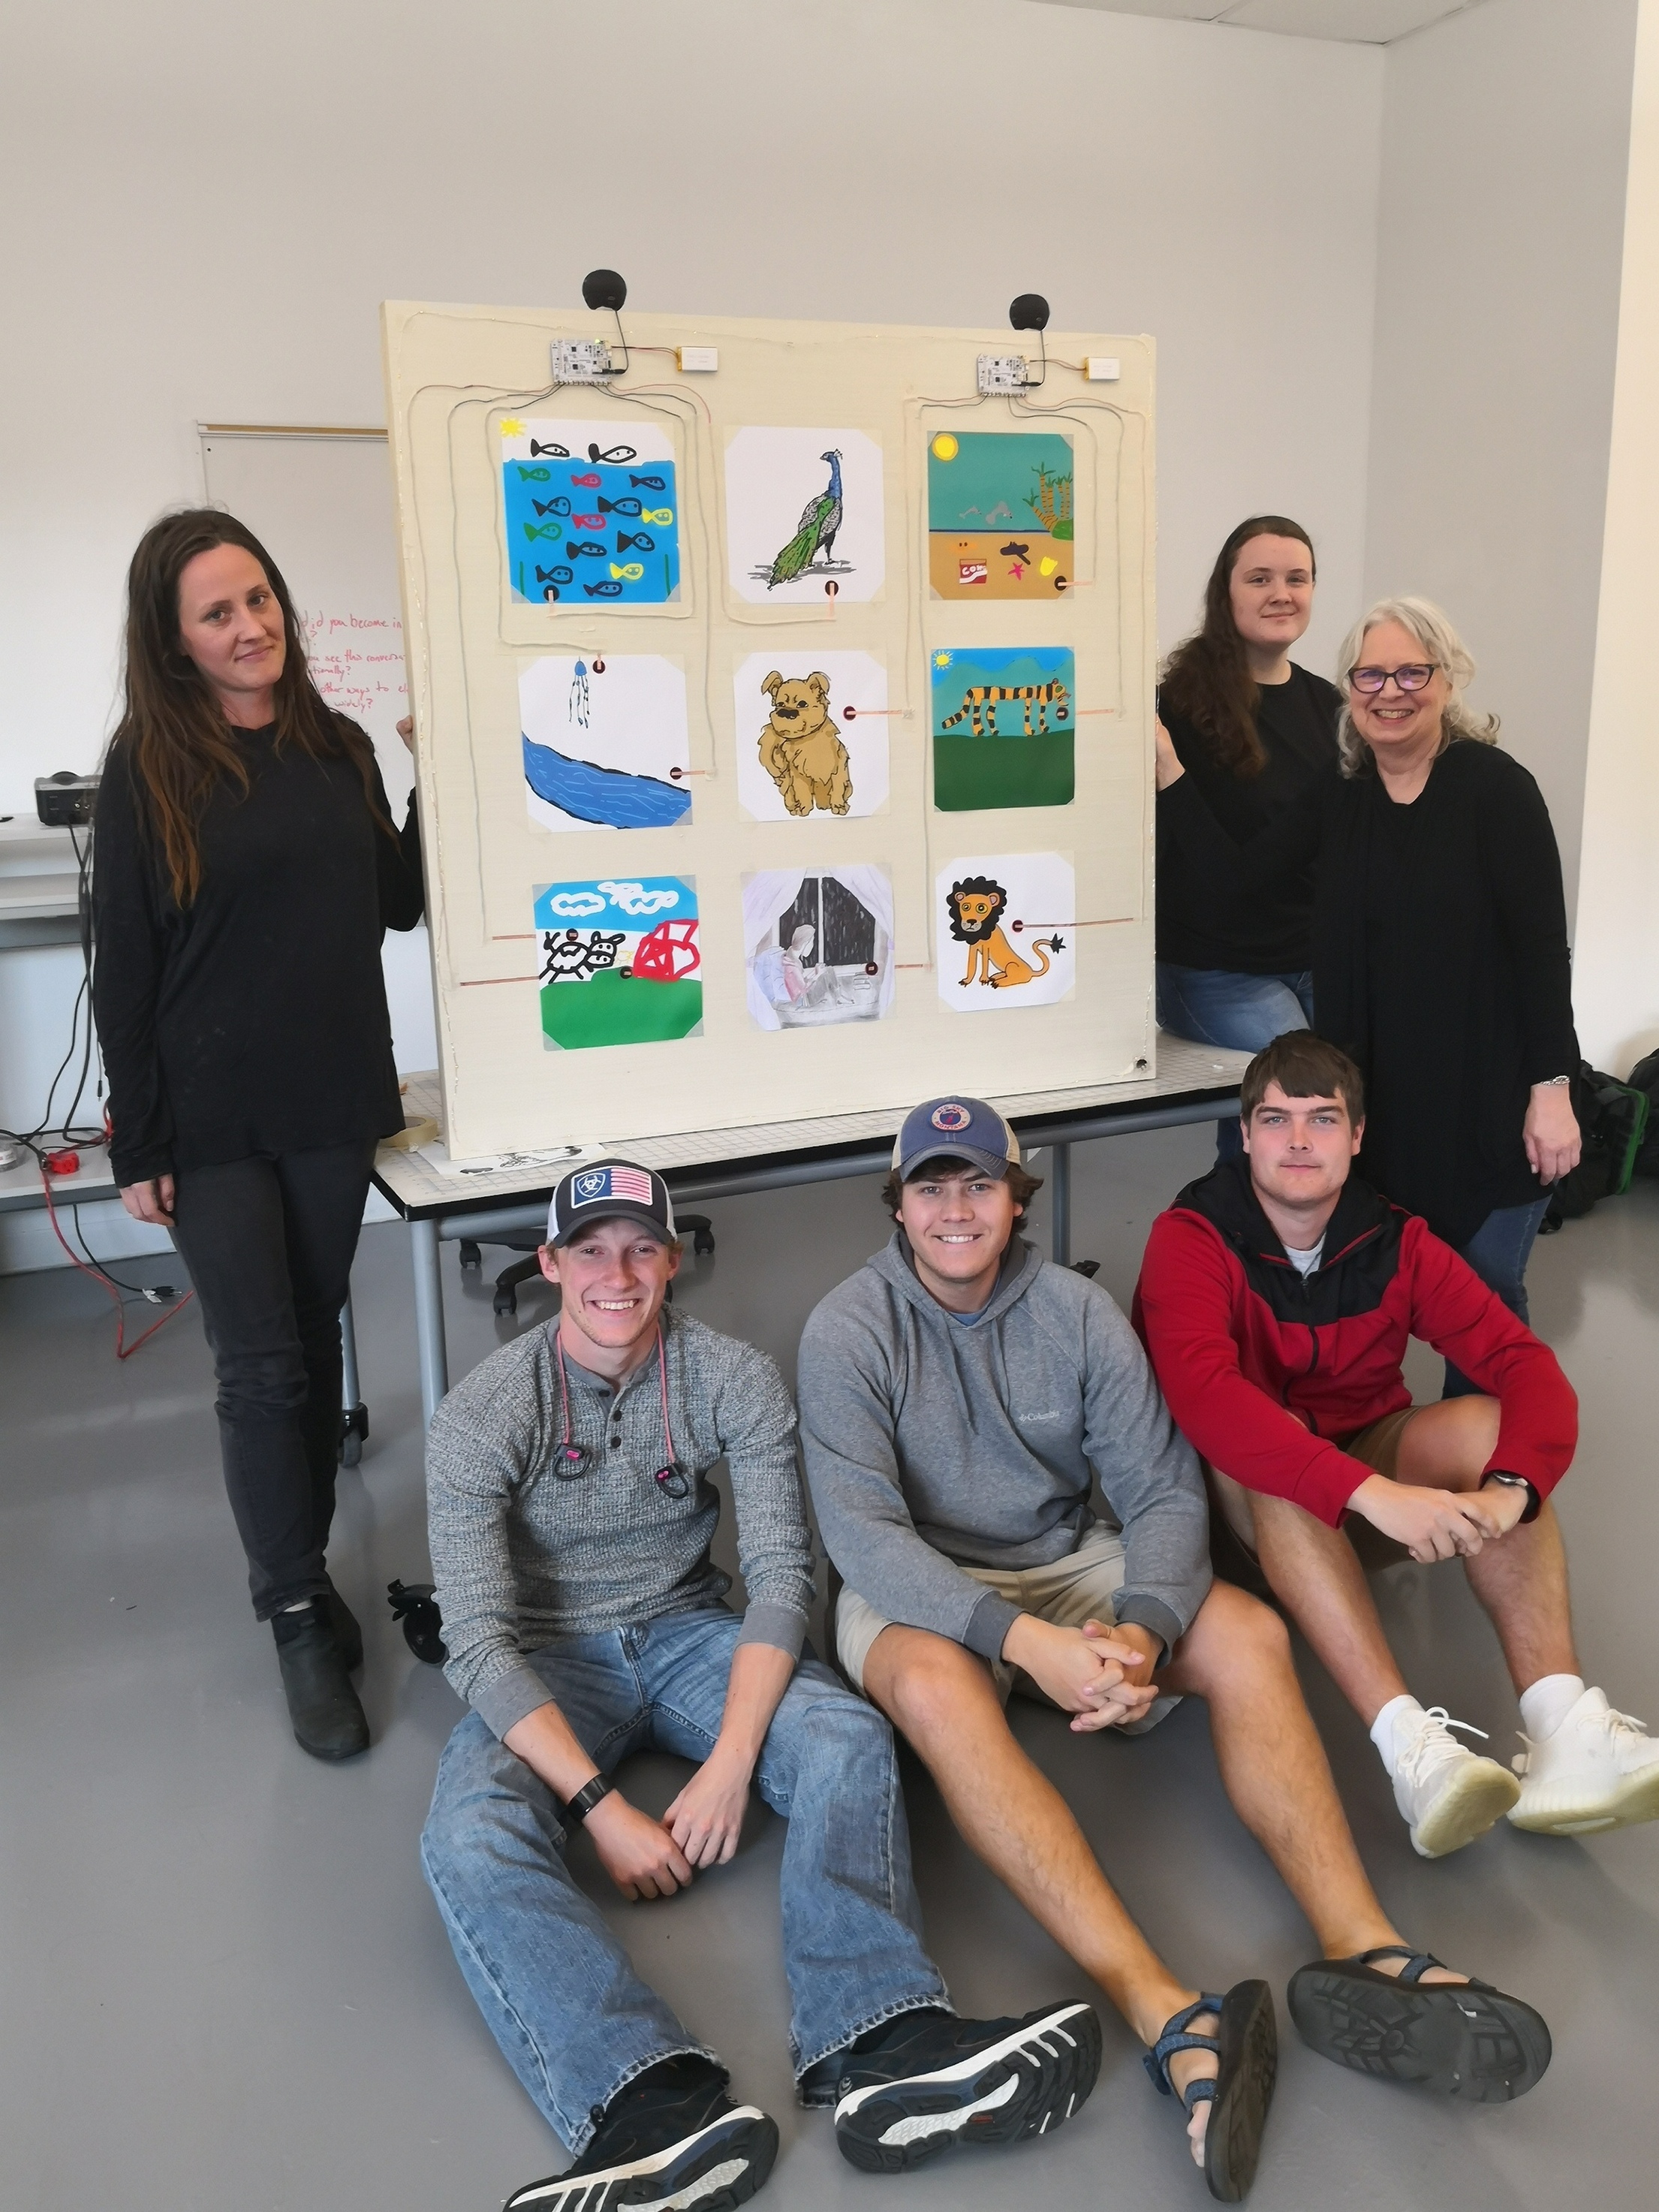
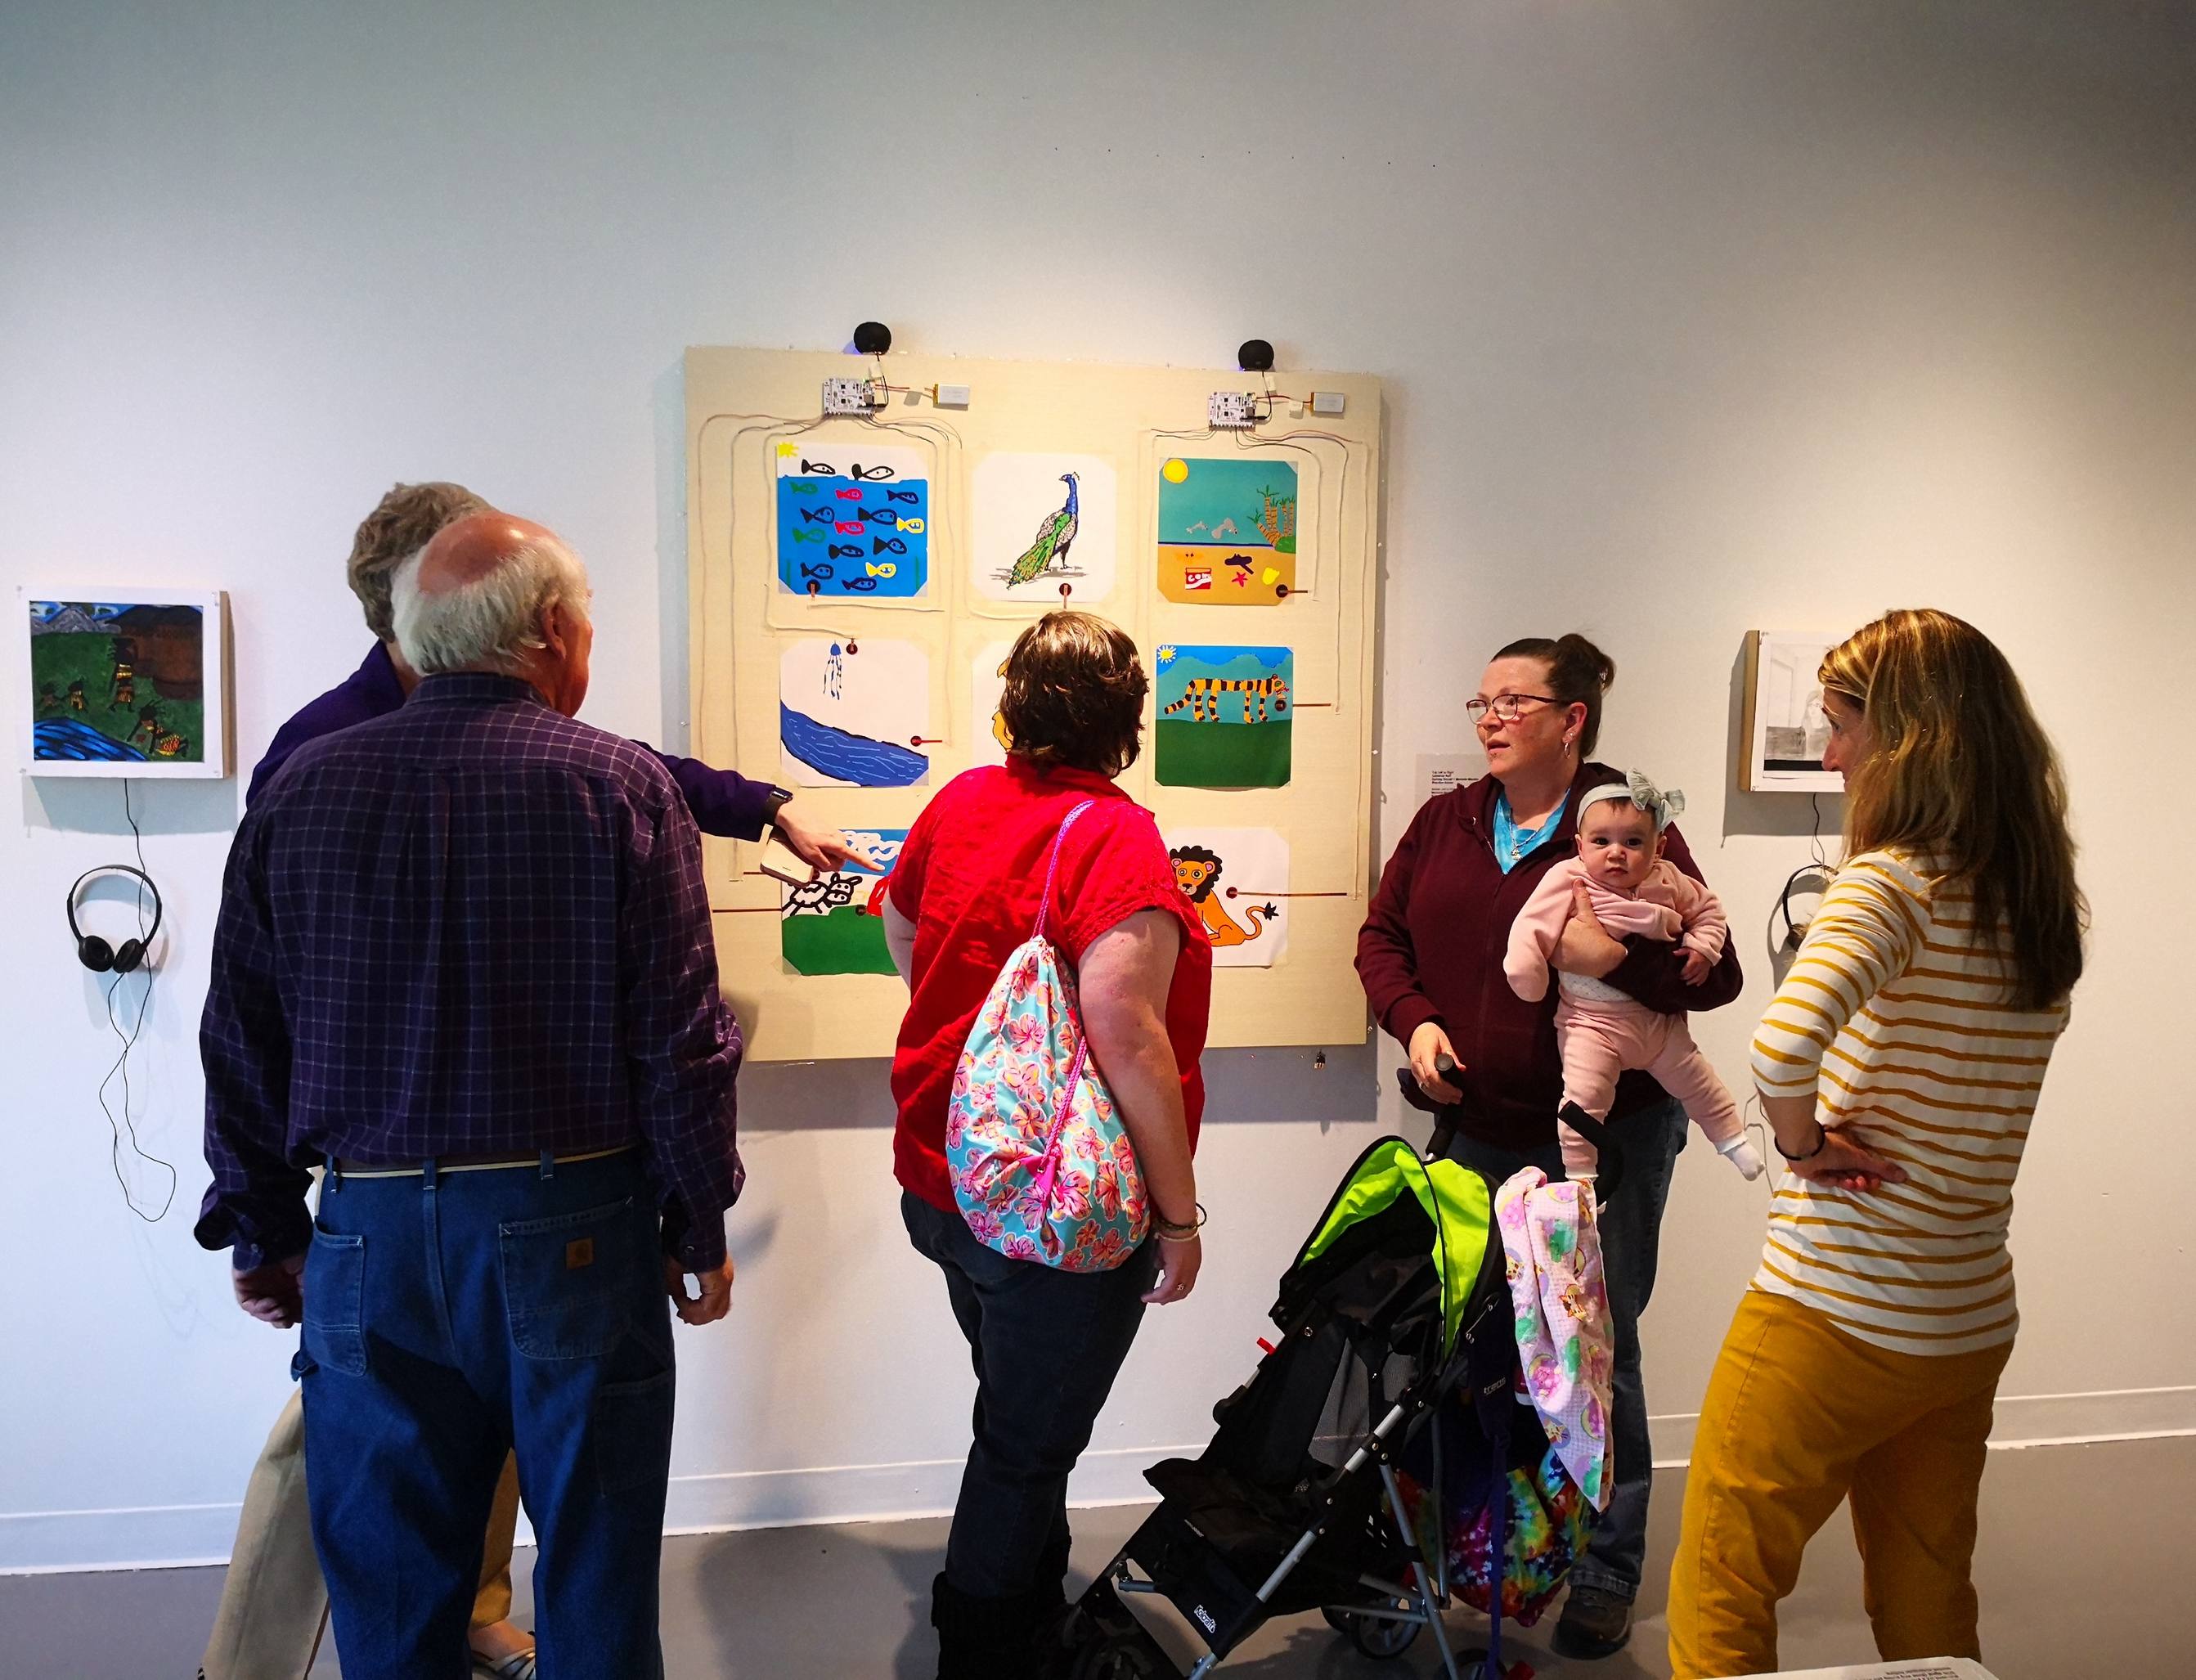
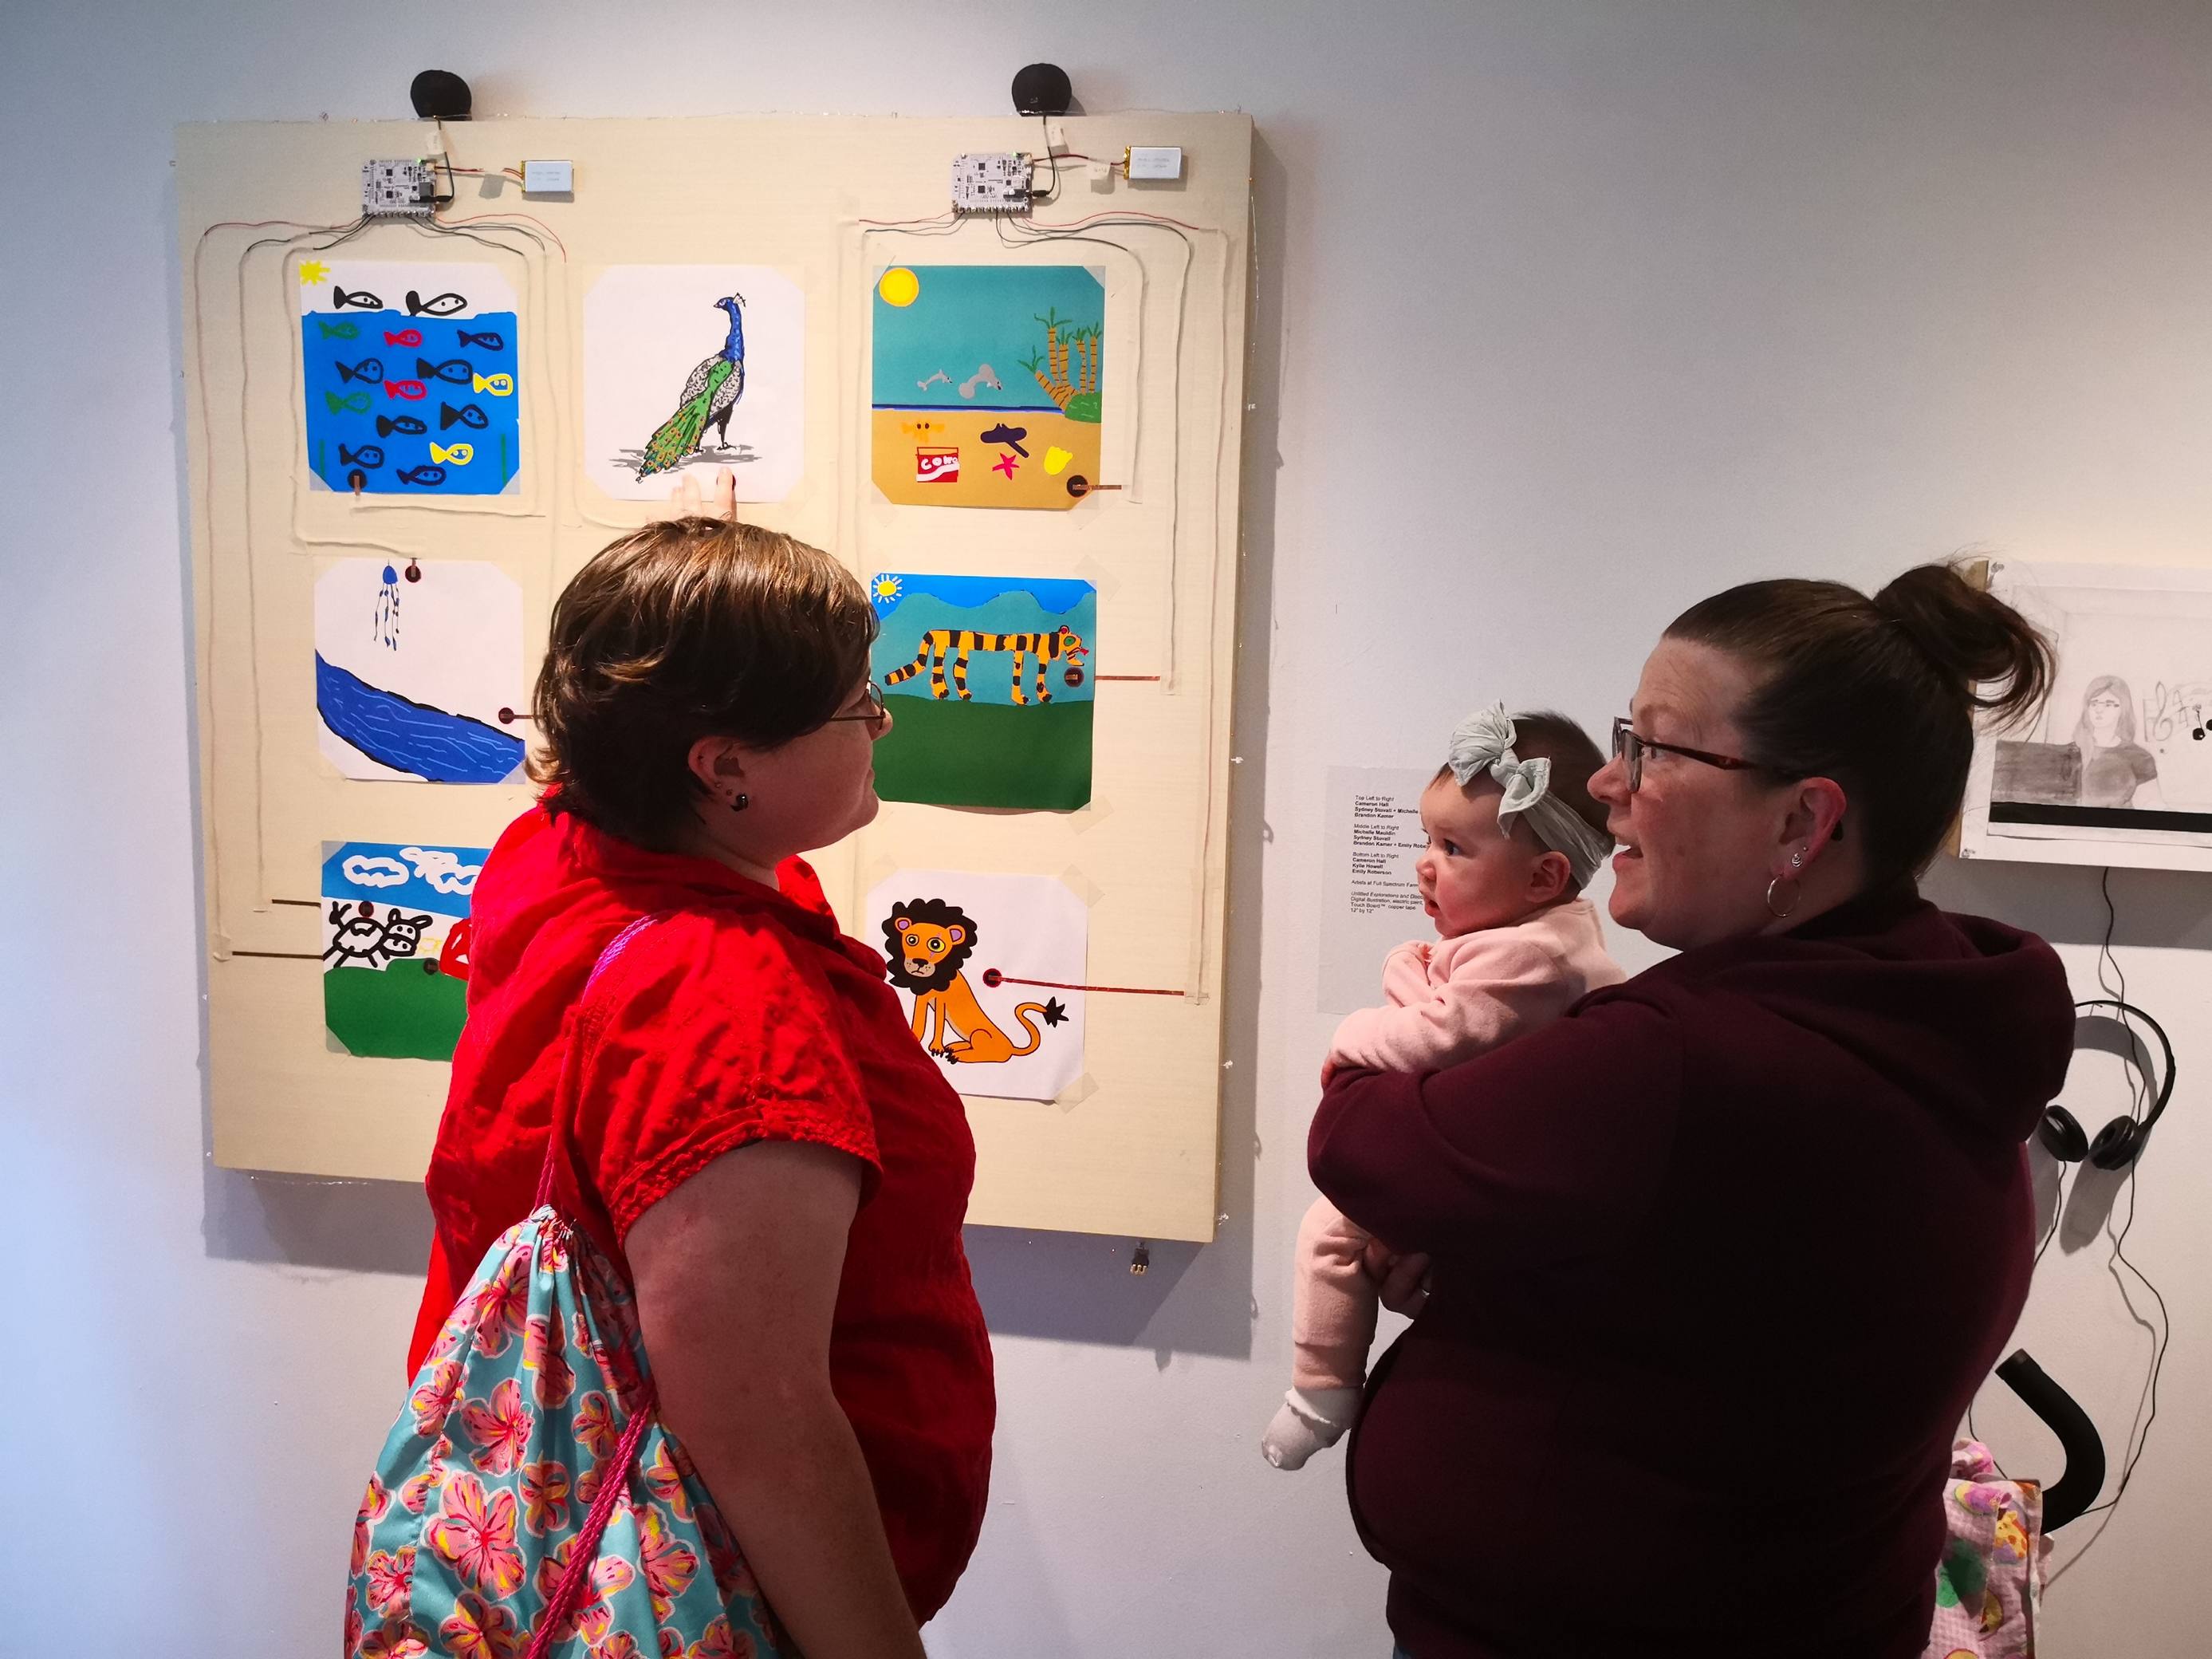
On Apr 5, 2019, the Farm clients came back to campus and watched how the project was being built. We talked about some challenges such as that the copper tapes may interfere with each other when two strips of copper tape are too close by, so we chose to use the insulated wires. The wire was hard to be stretched straight and we thought of using the electric tape to secure them. However, the electric tape peeled off after a day or two. The clients agreed with us to use the masking tape to secure the wires, which worked well. Also, an ENGR 493 student proposed to use nuts and bolts to fasten the wires to the electrodes on the Touch Board without using solder to obtain secure but removable connection. This process has been a journey of experimentation. The clients made several more paintings in this meeting, out of which, three paintings from the client teams were chosen to be added onto the project board, and the rest of the paintings were printed and given to the clients for them to keep. Note that the bottom center painting was submitted by a client who missed the earlier session, so she painted it on paper at home, and we scanned it and edited in the space to paint the touch button, and then printed the revision and painted the touch button using the conductive paint.


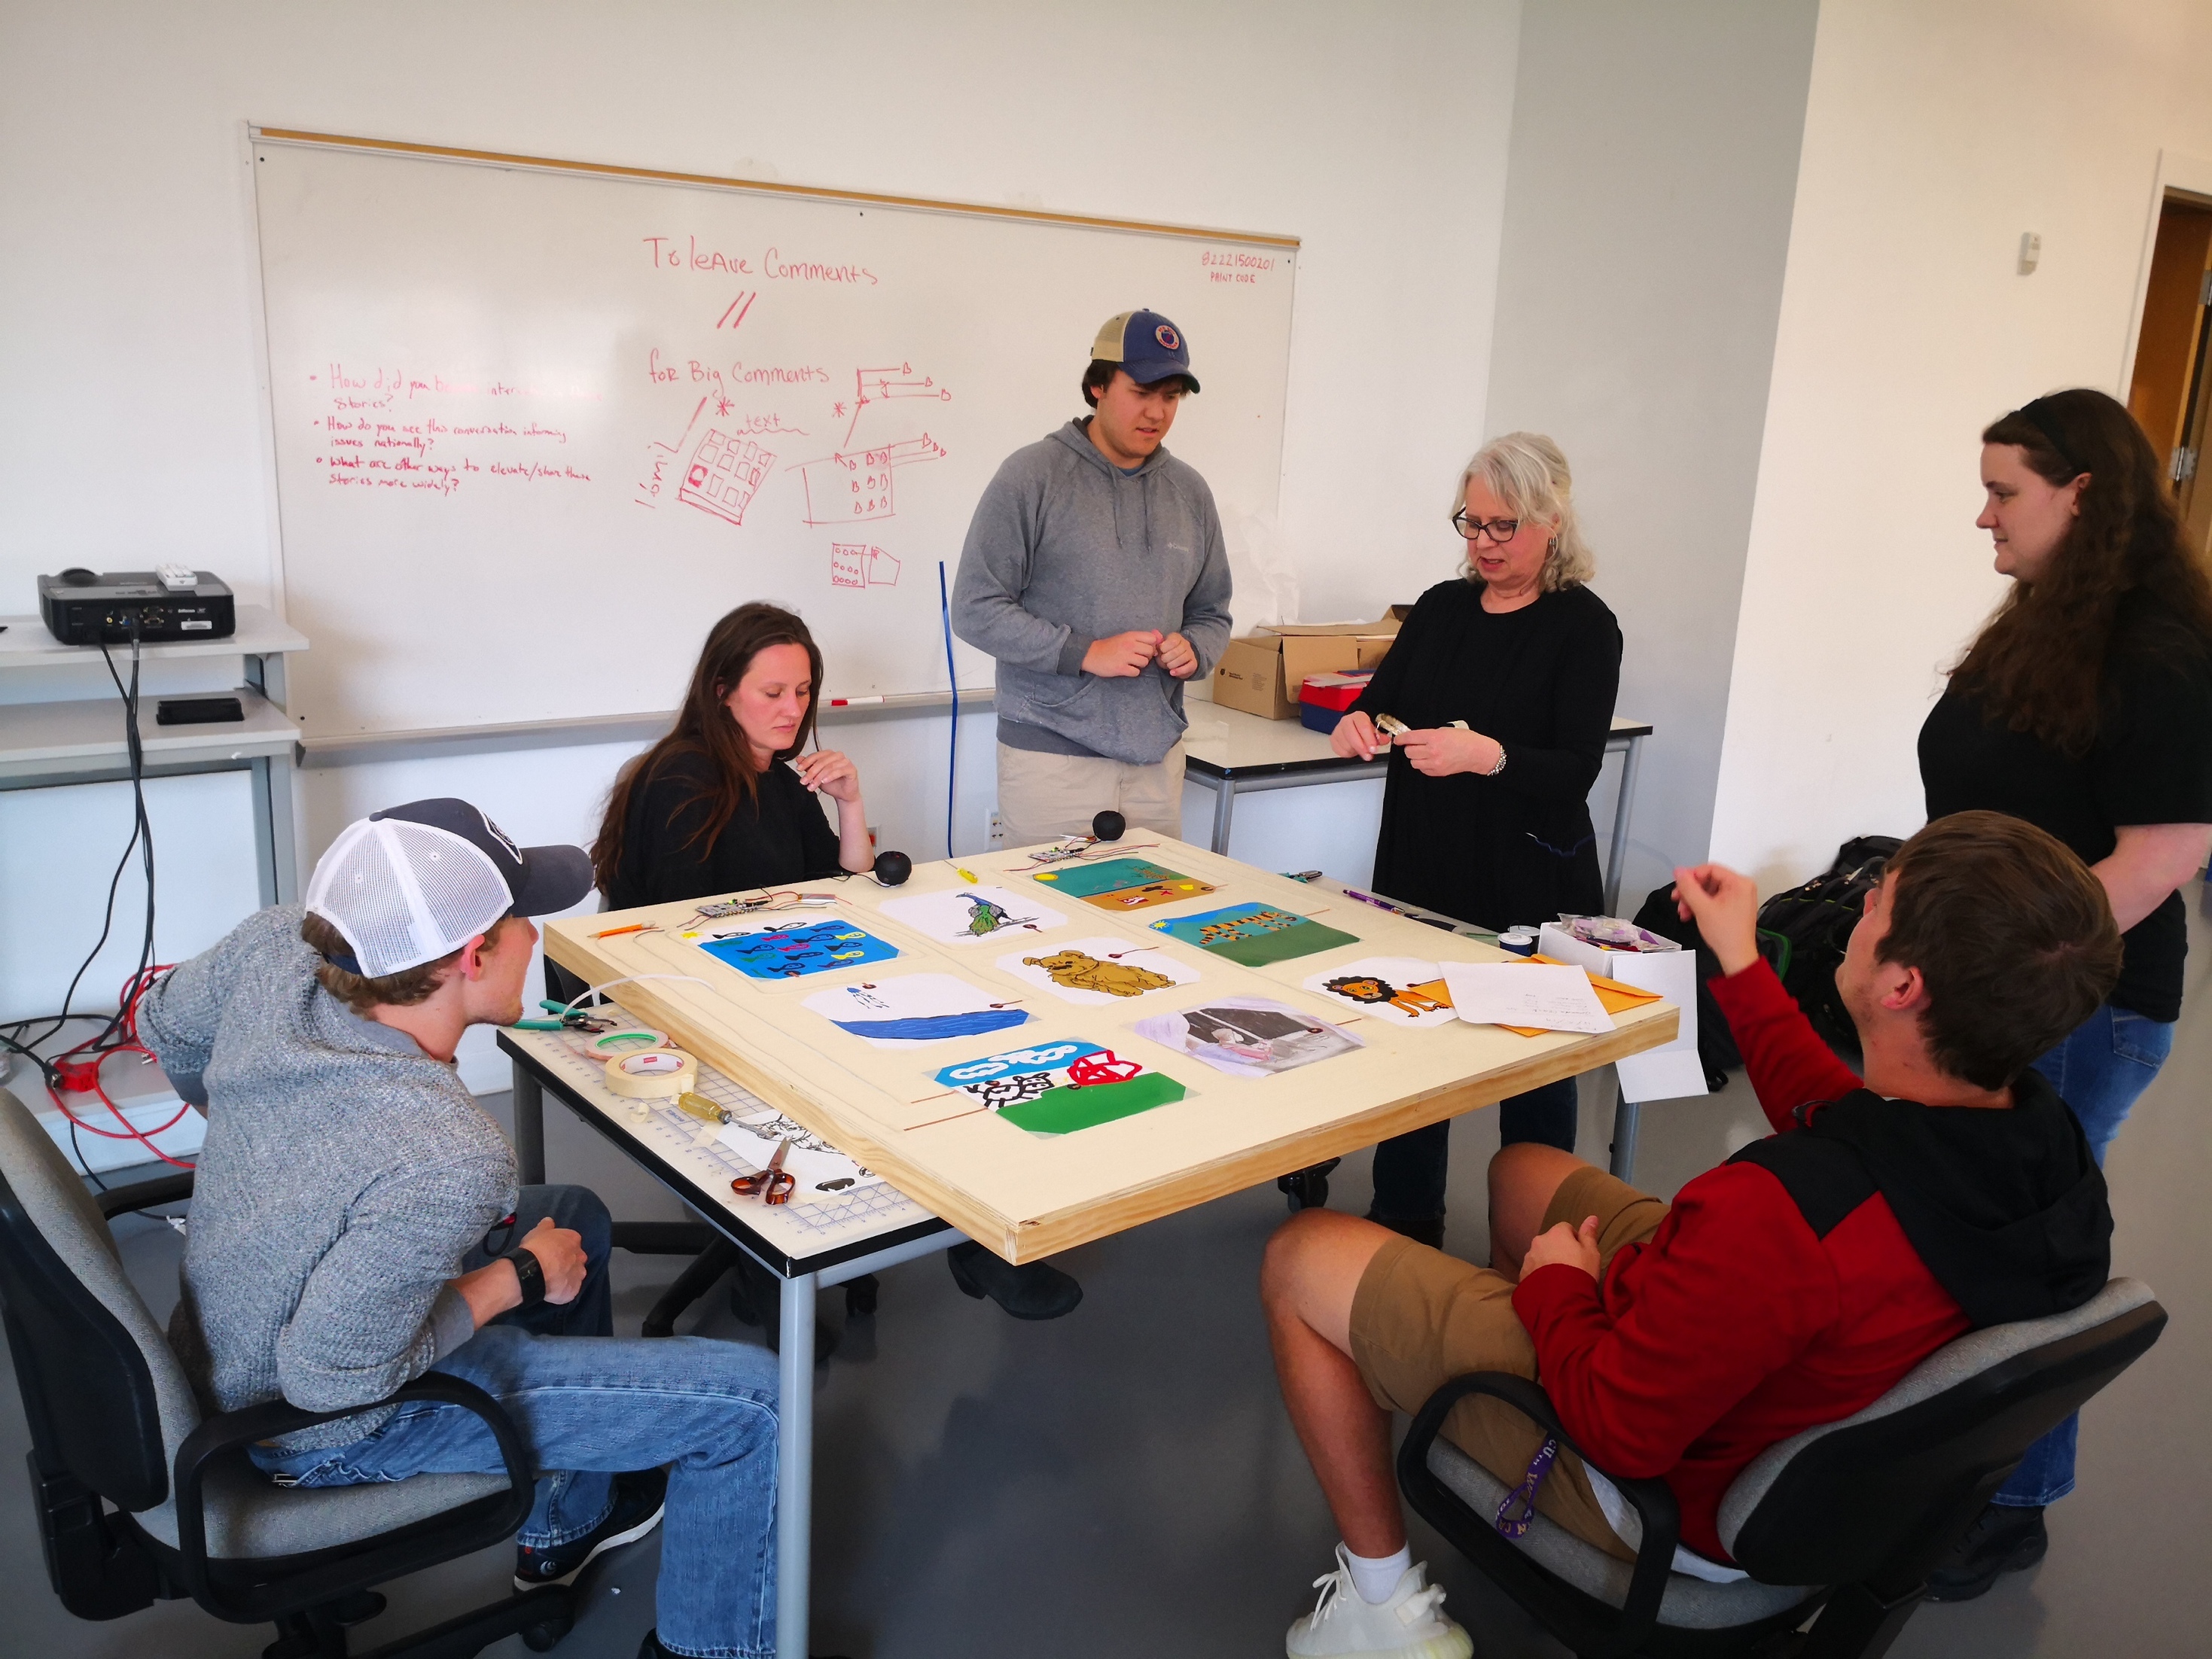
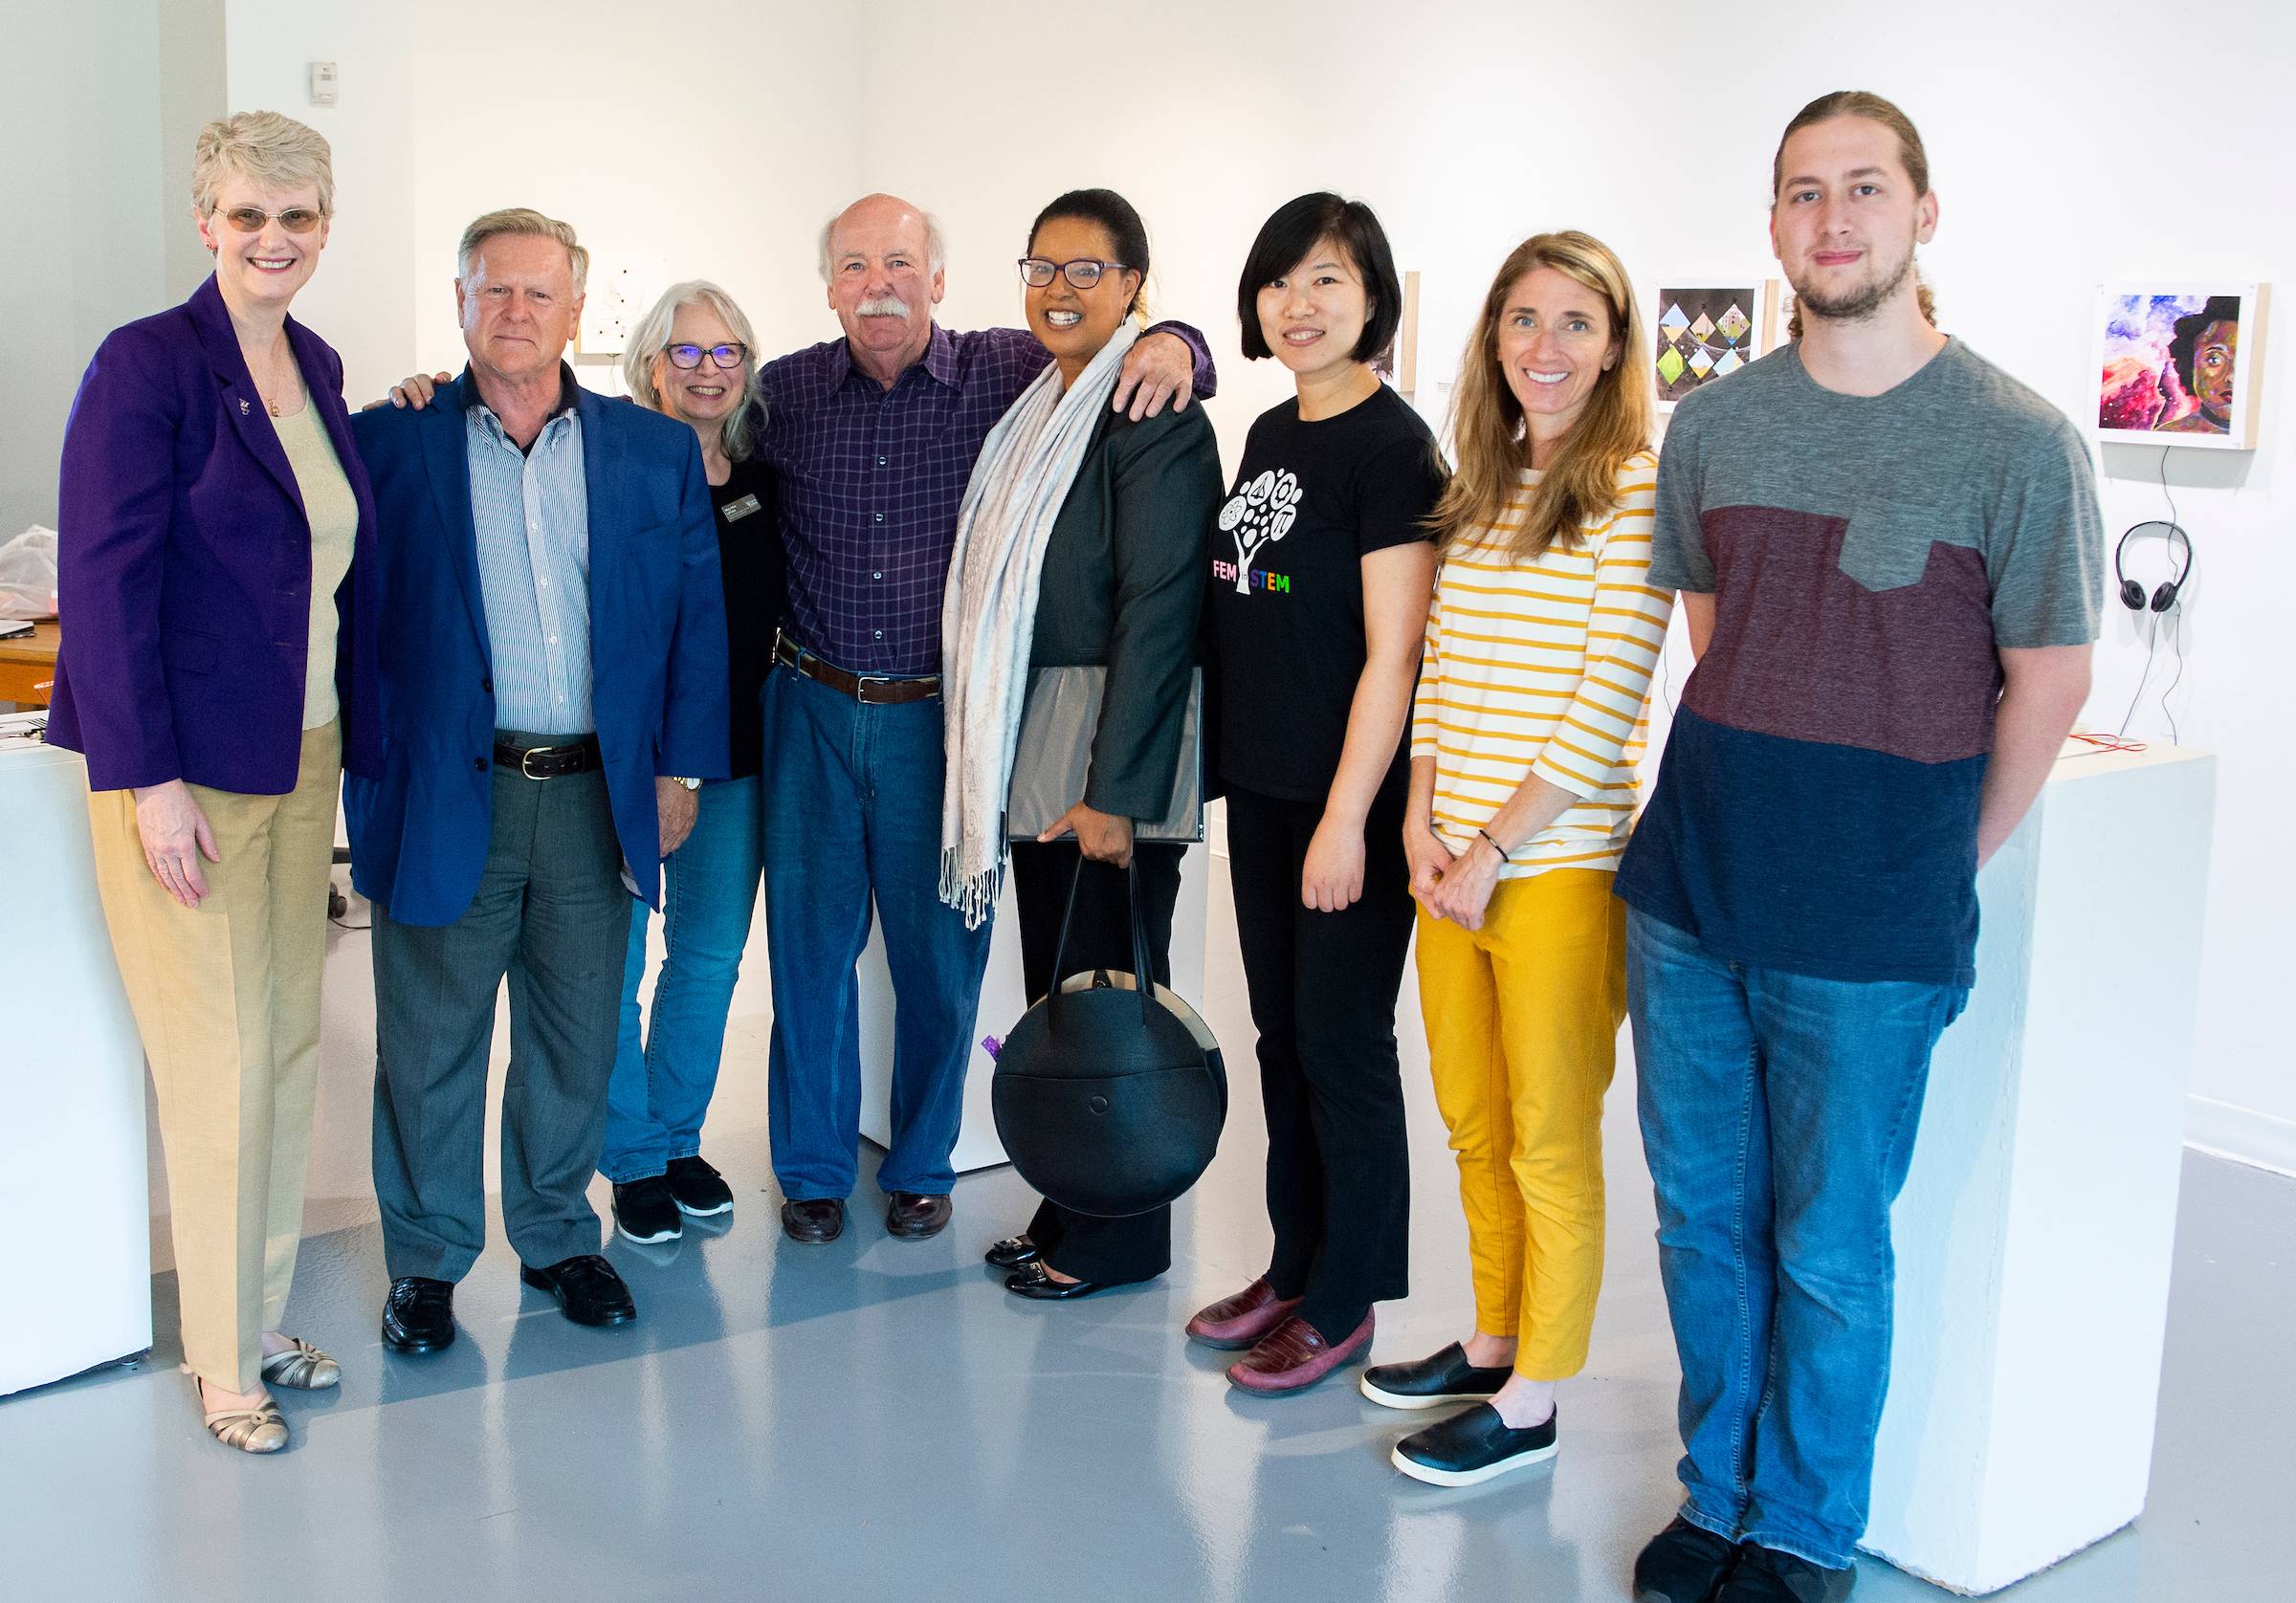
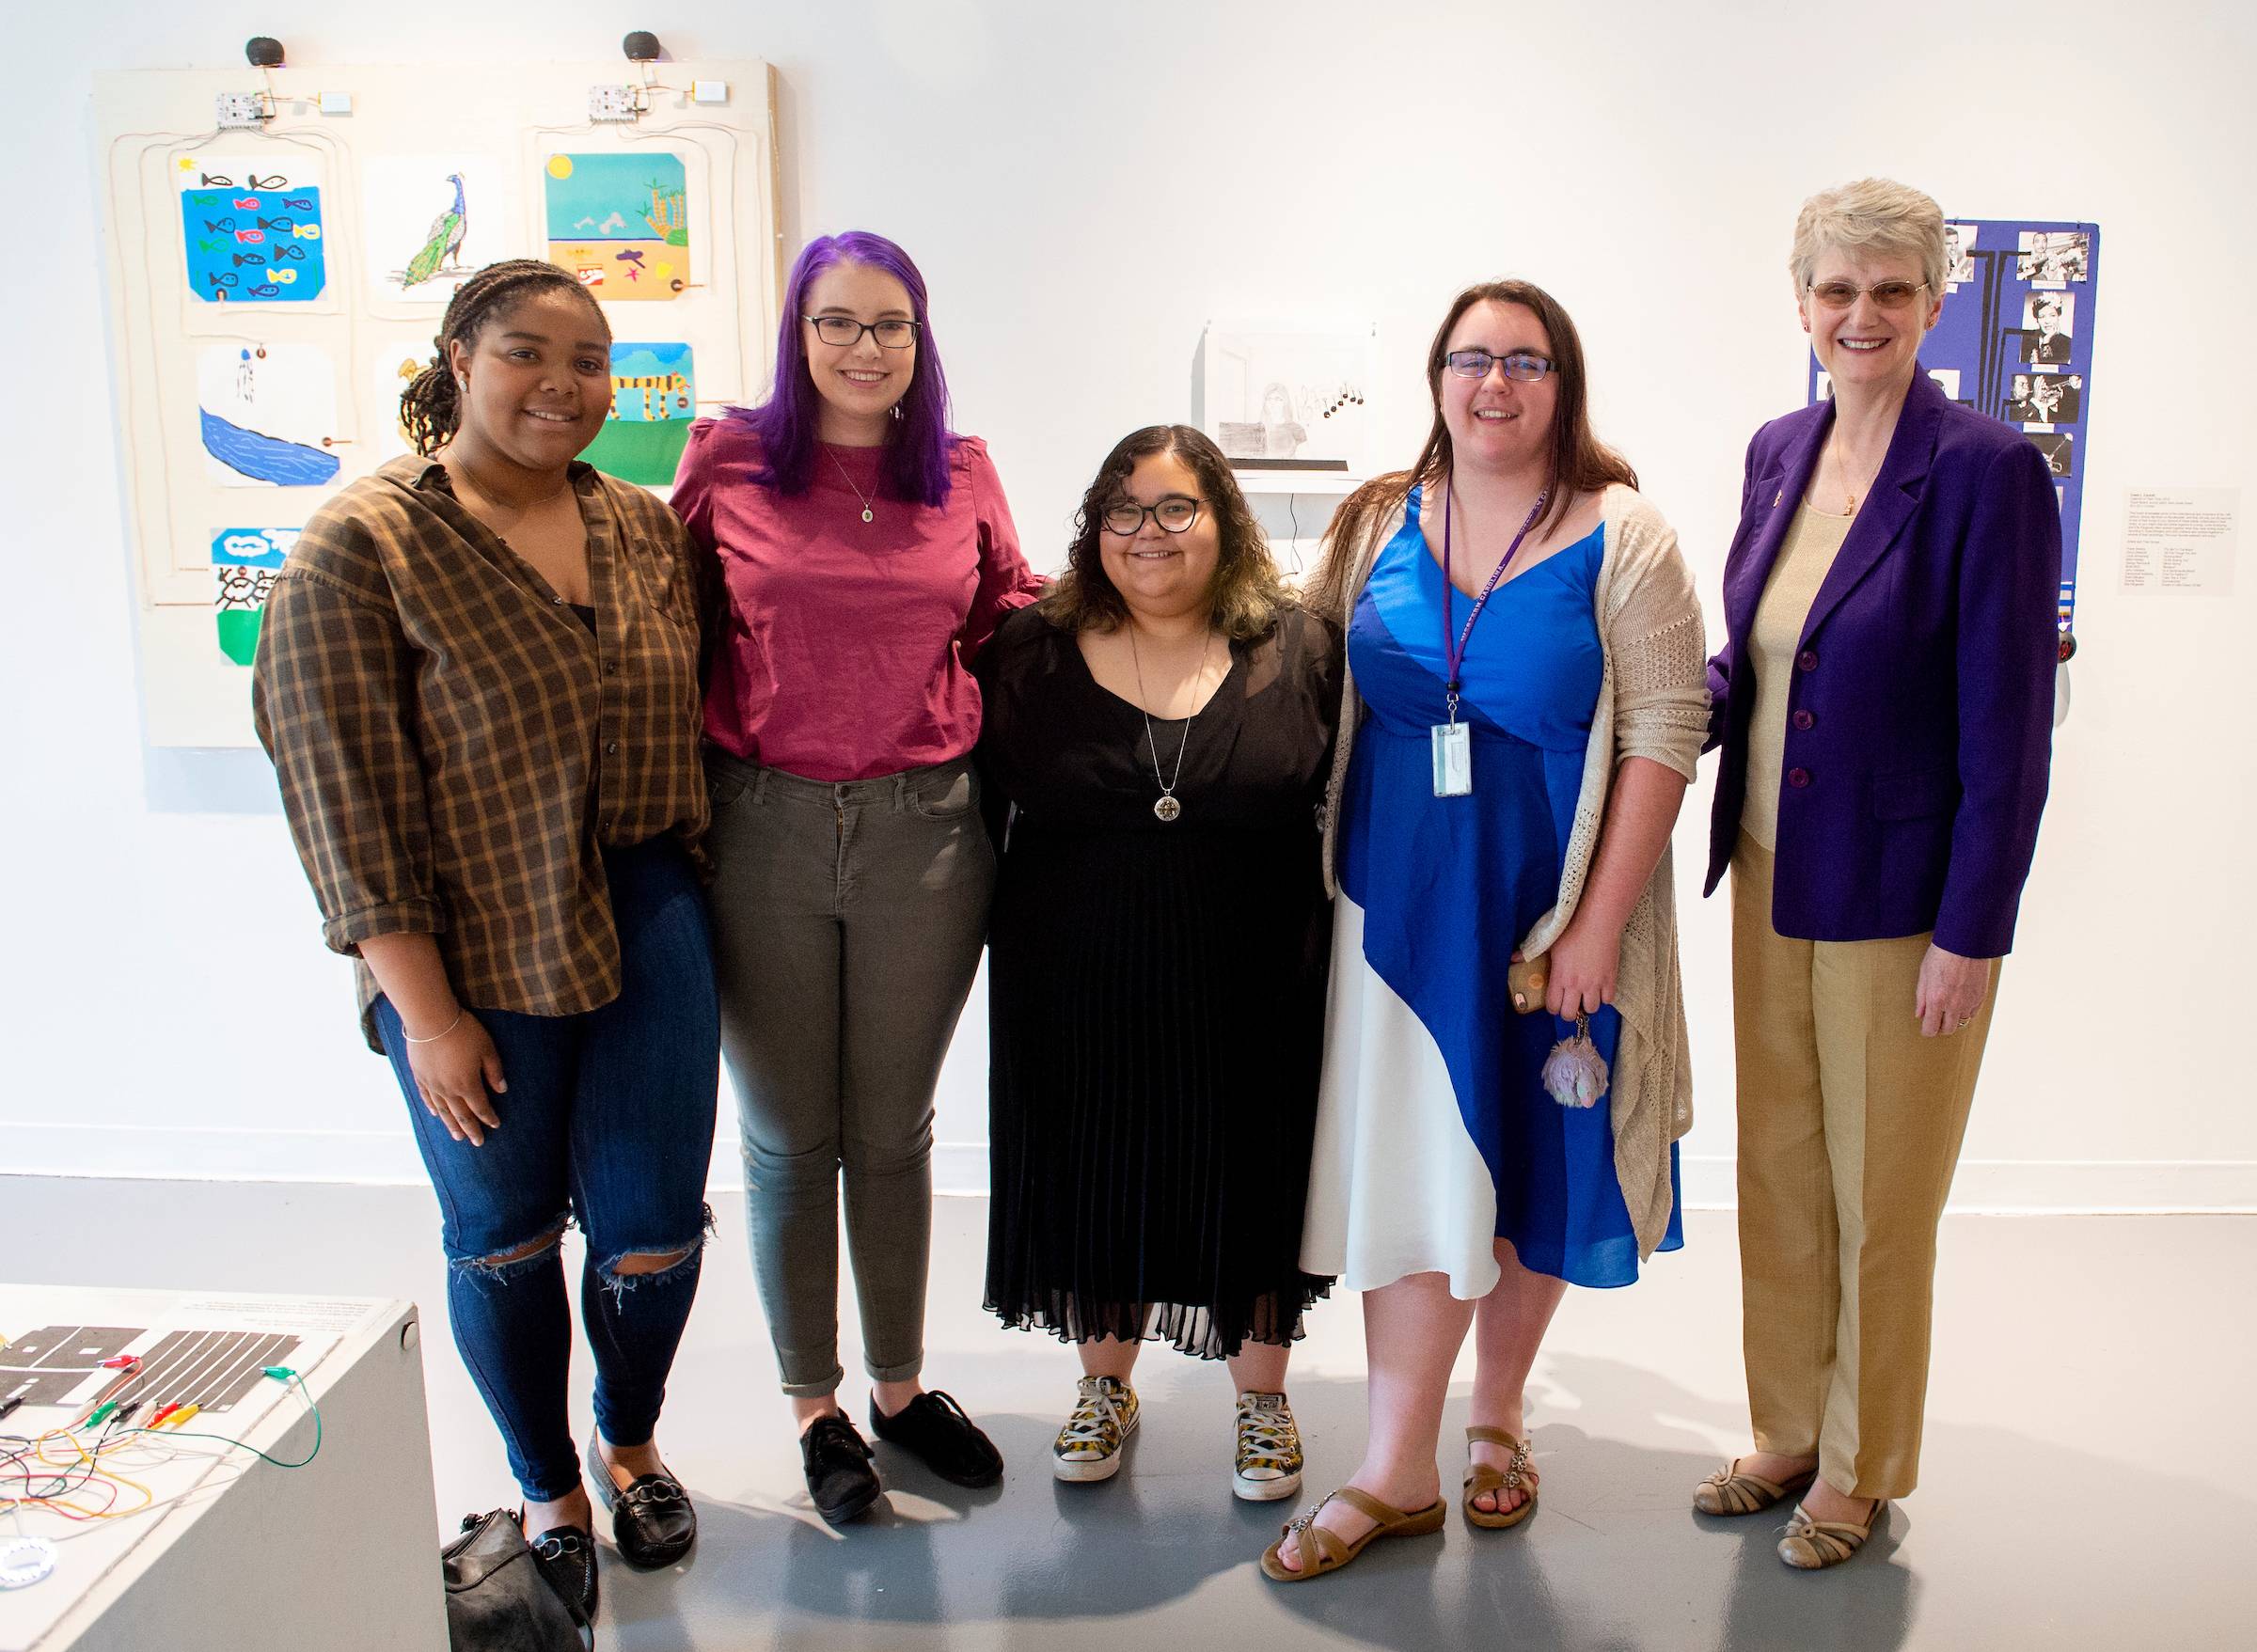
We finished it! Everyone’s efforts are sincerely appreciated!
There were many students who have helped to wrap up the project, besides the ones shown in the photo below. One of them had to travel on that Fri and a few others couldn’t stay till the last minute due to their other commitments, so not the entire team was in the photo.
Some paintings involve two sound tracks, and there are spare touch electrodes on the Touch boards that could allow even more sound tracks. For demonstration purpose, only one sound track per painting is presented below.
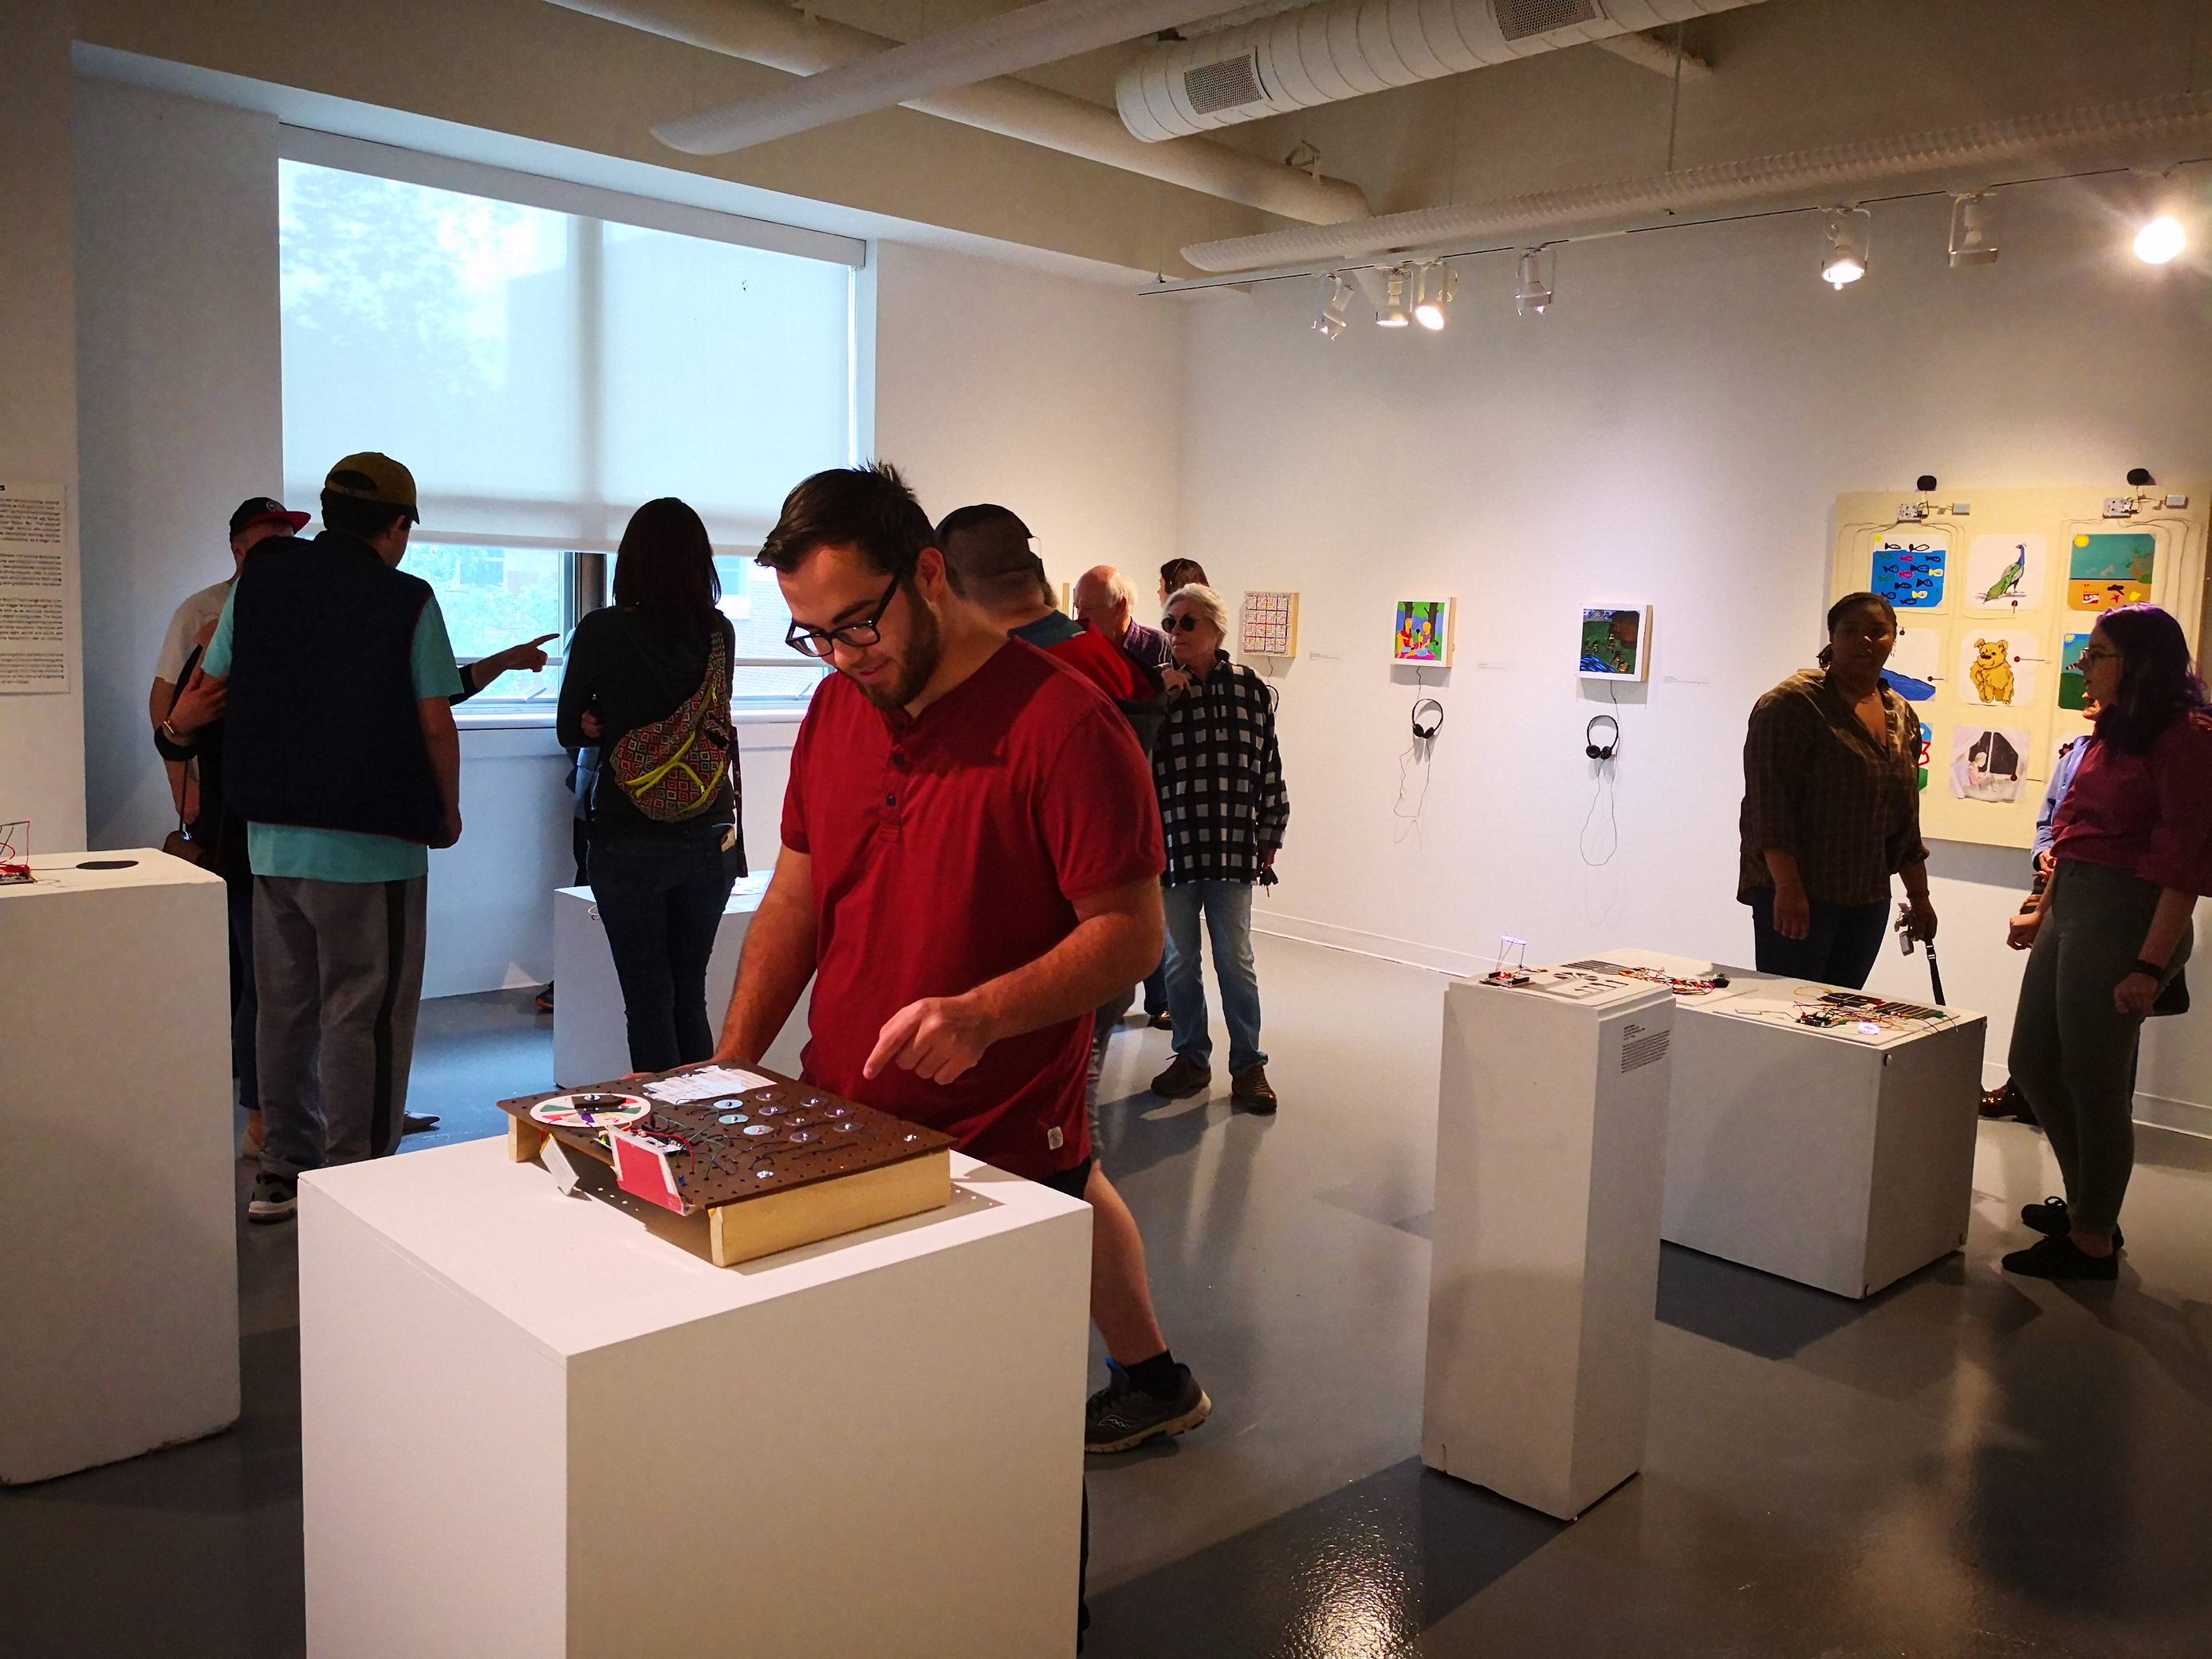
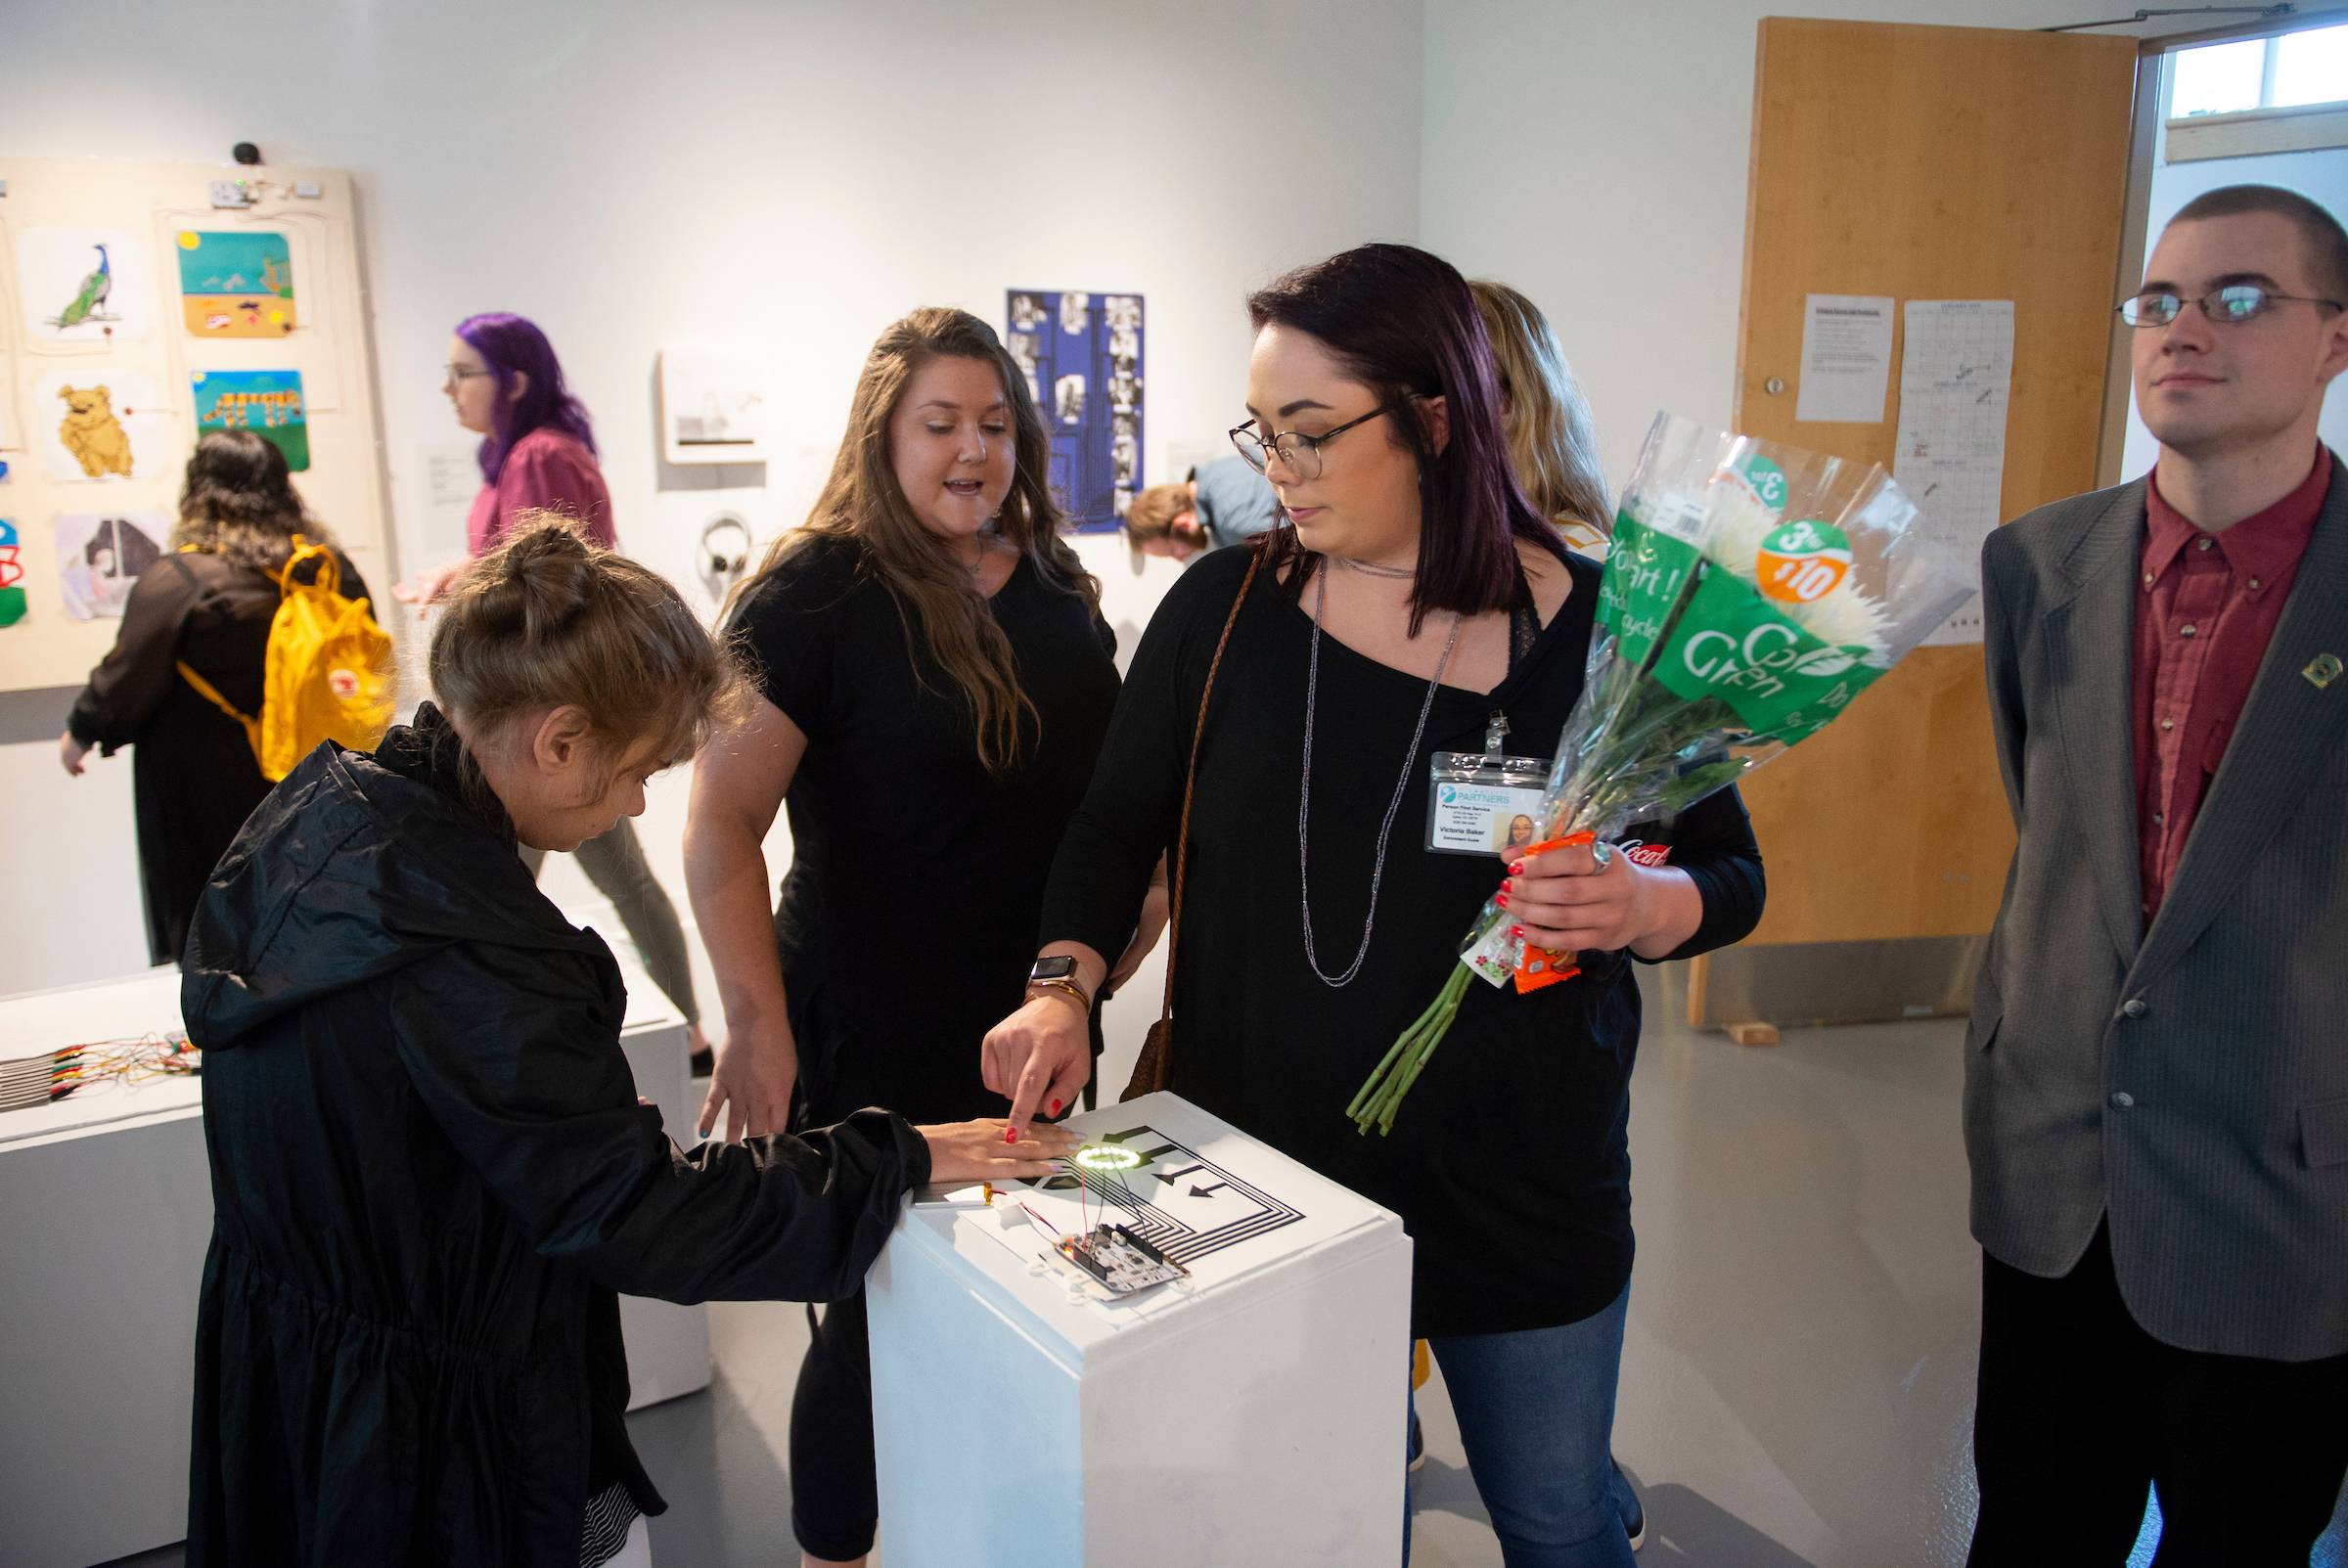
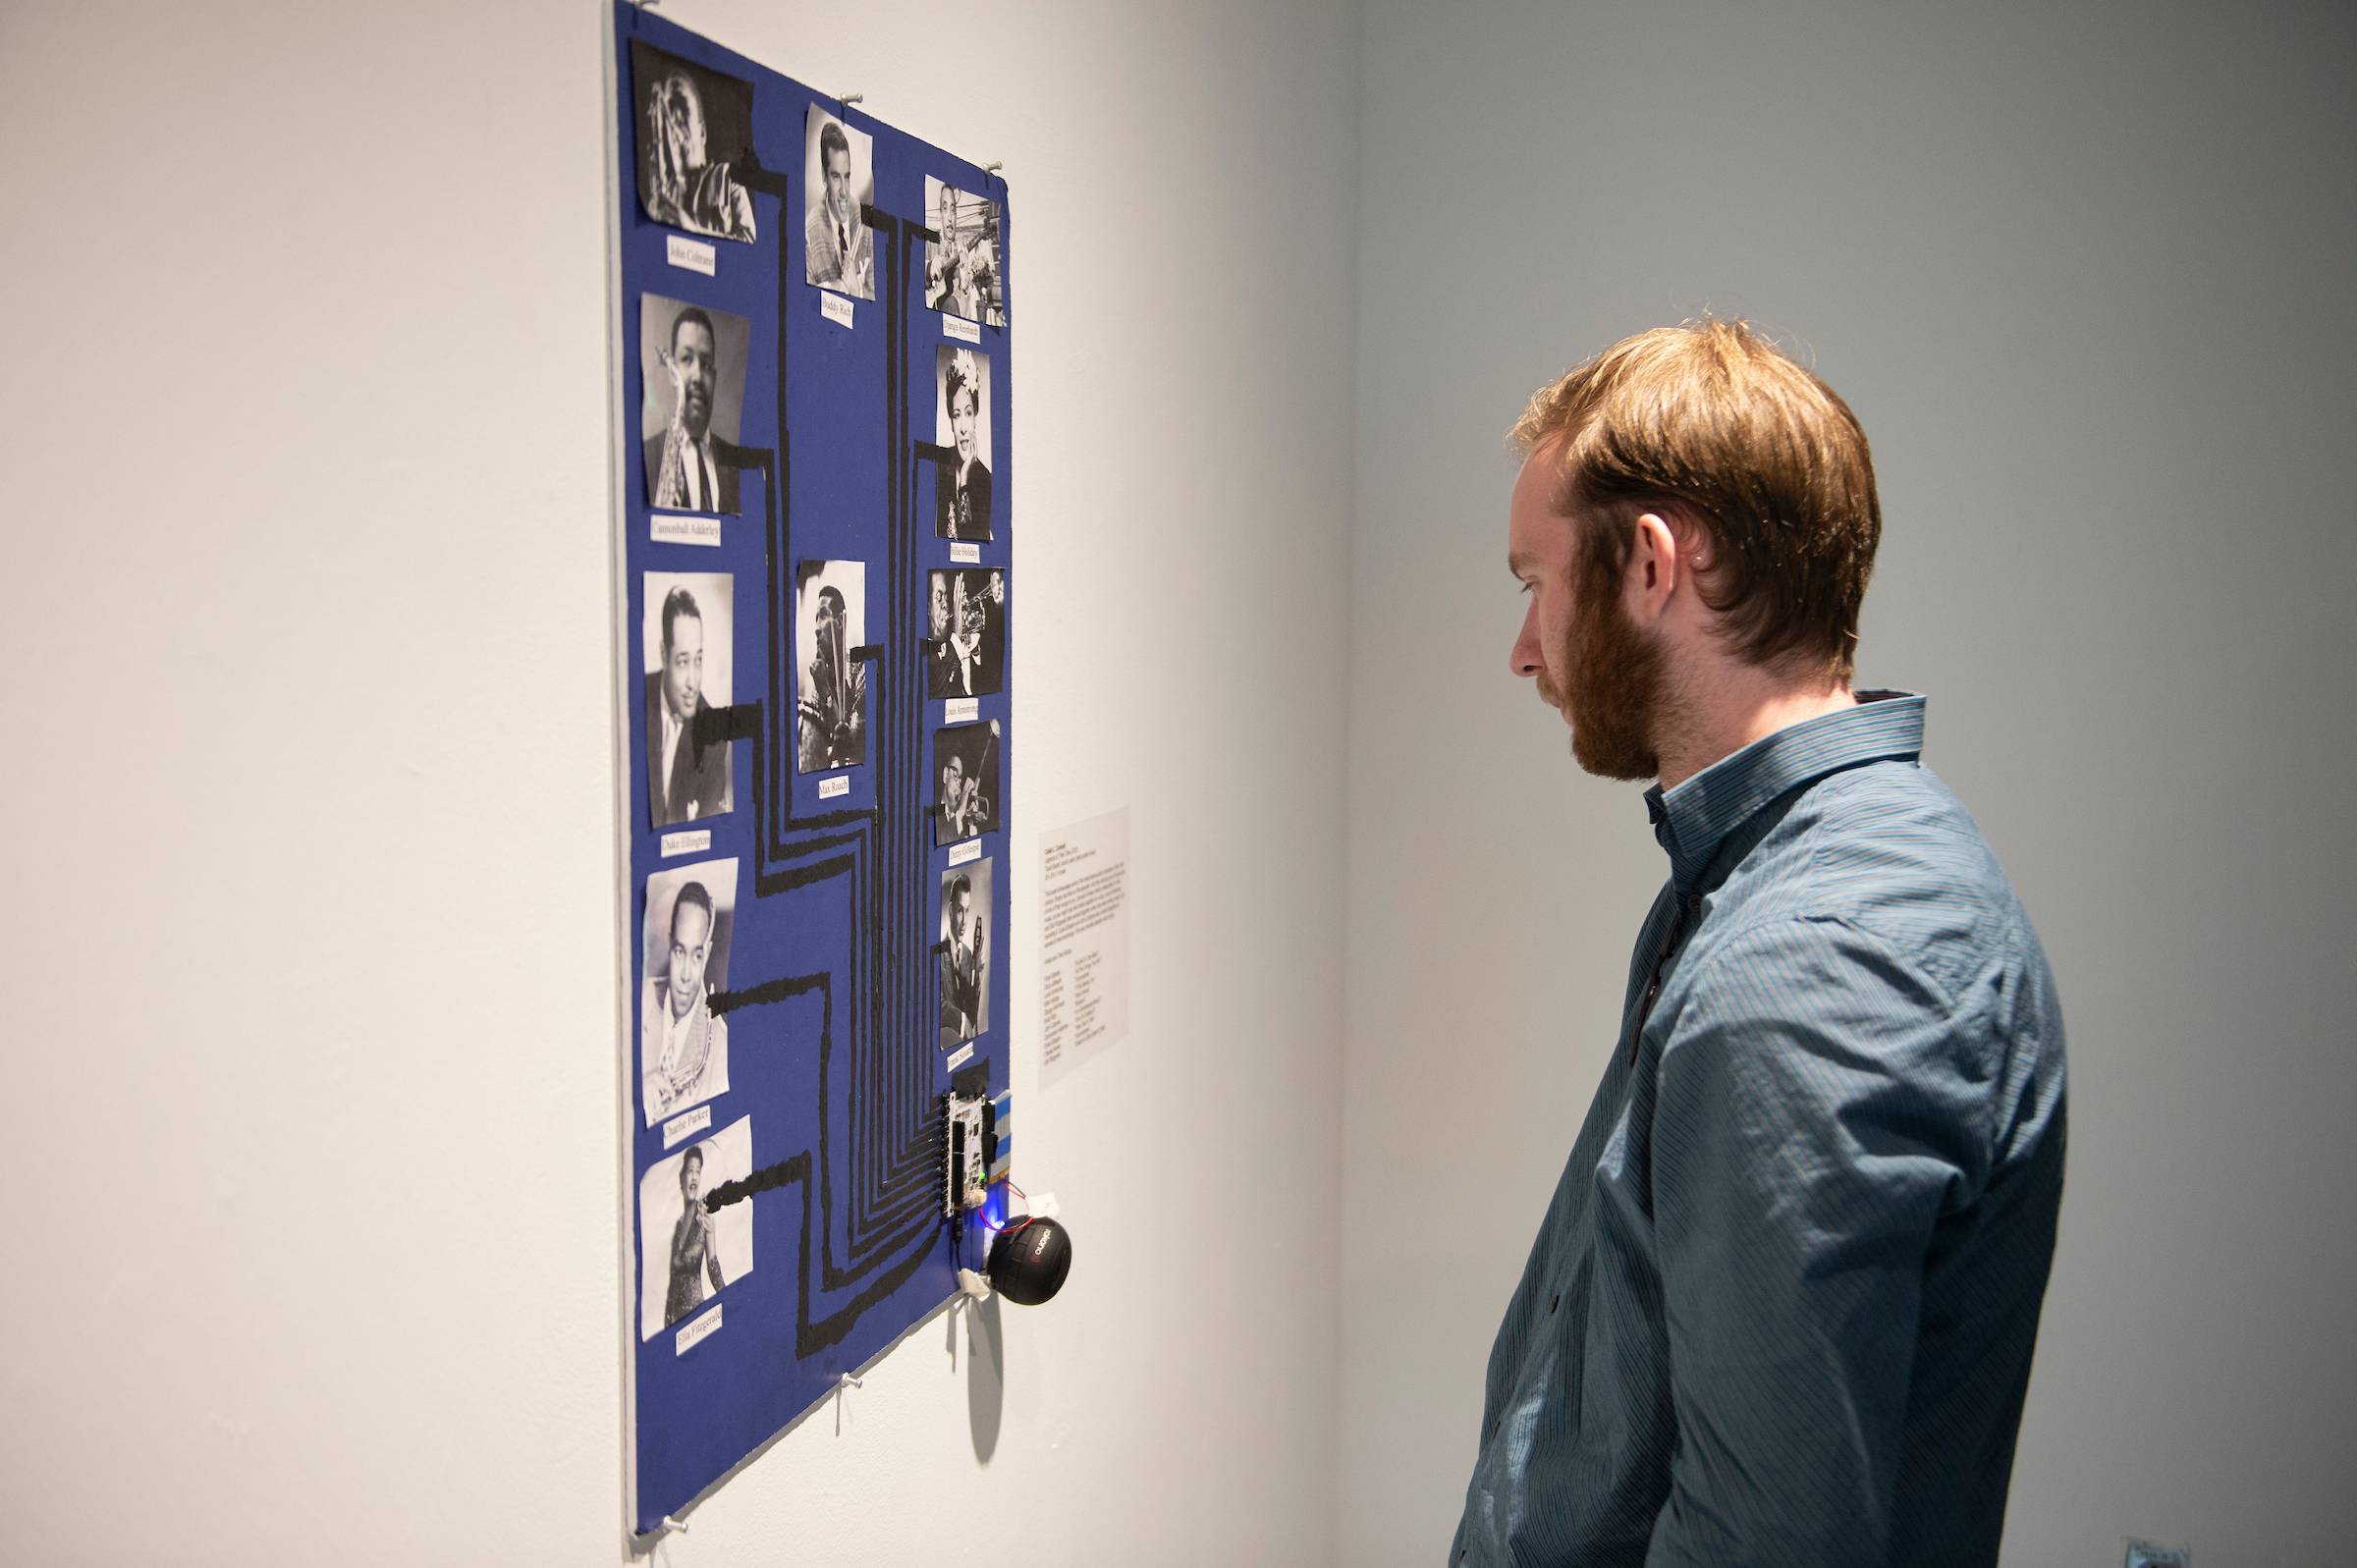
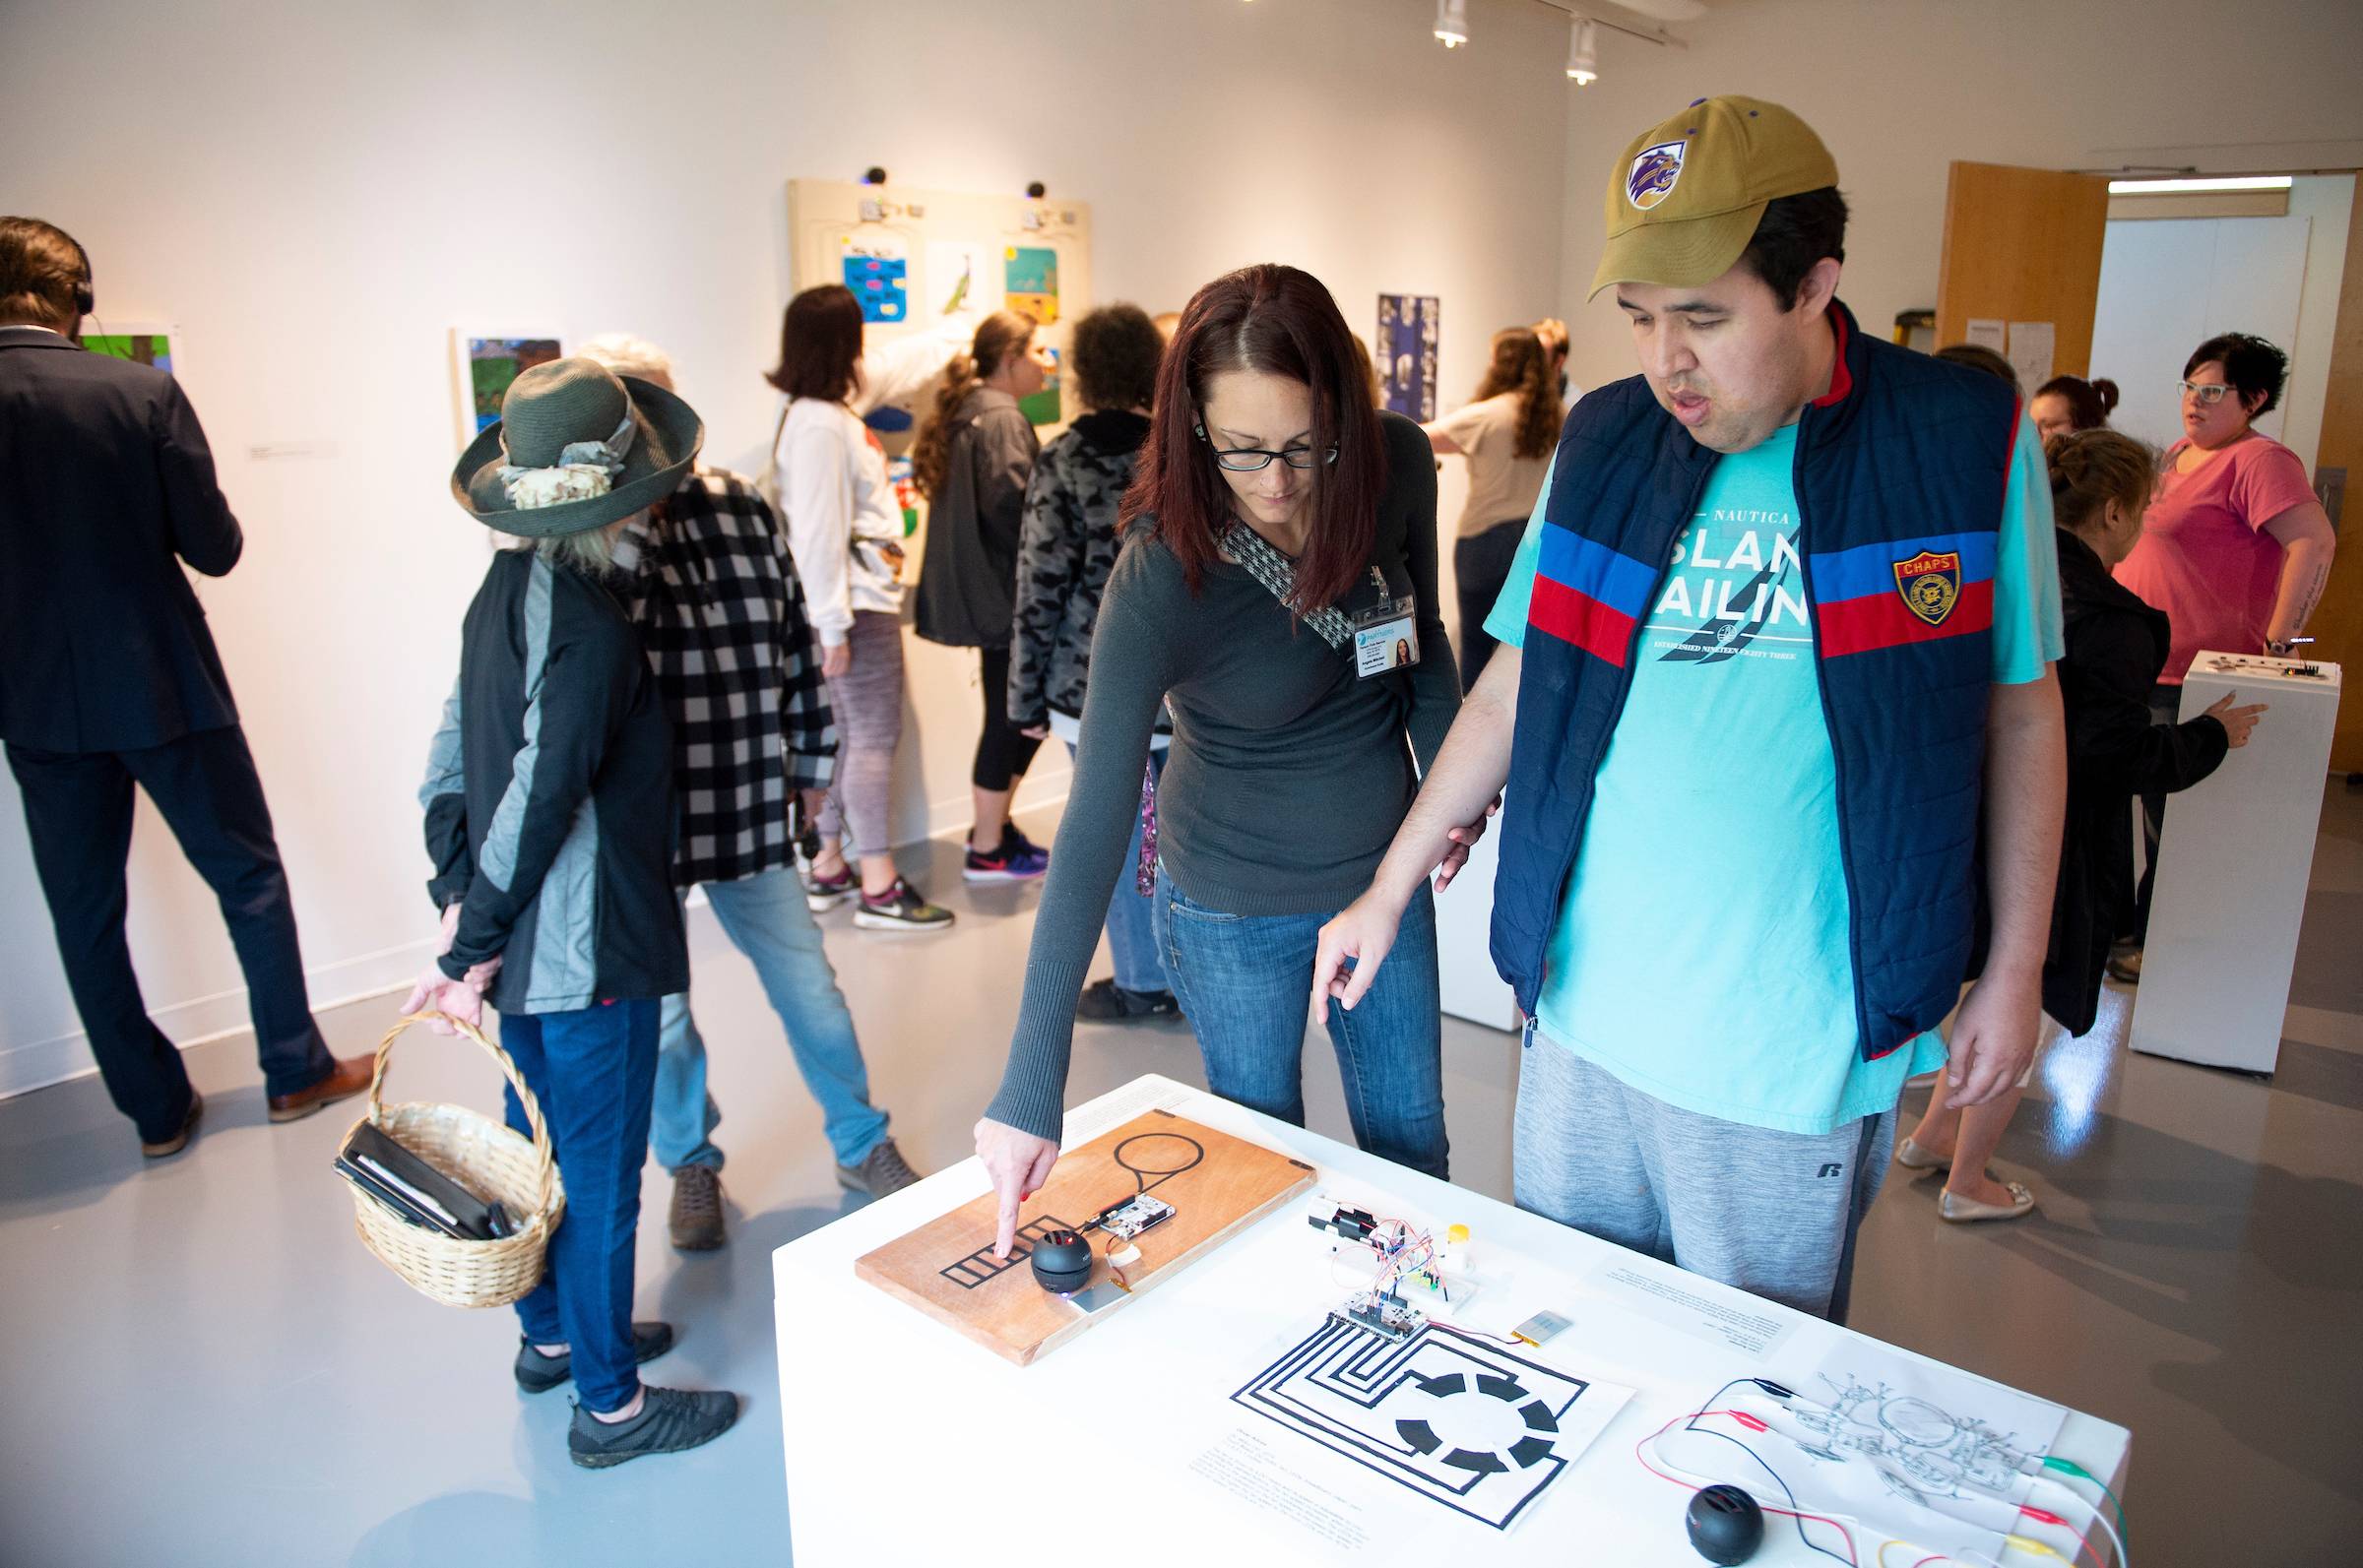
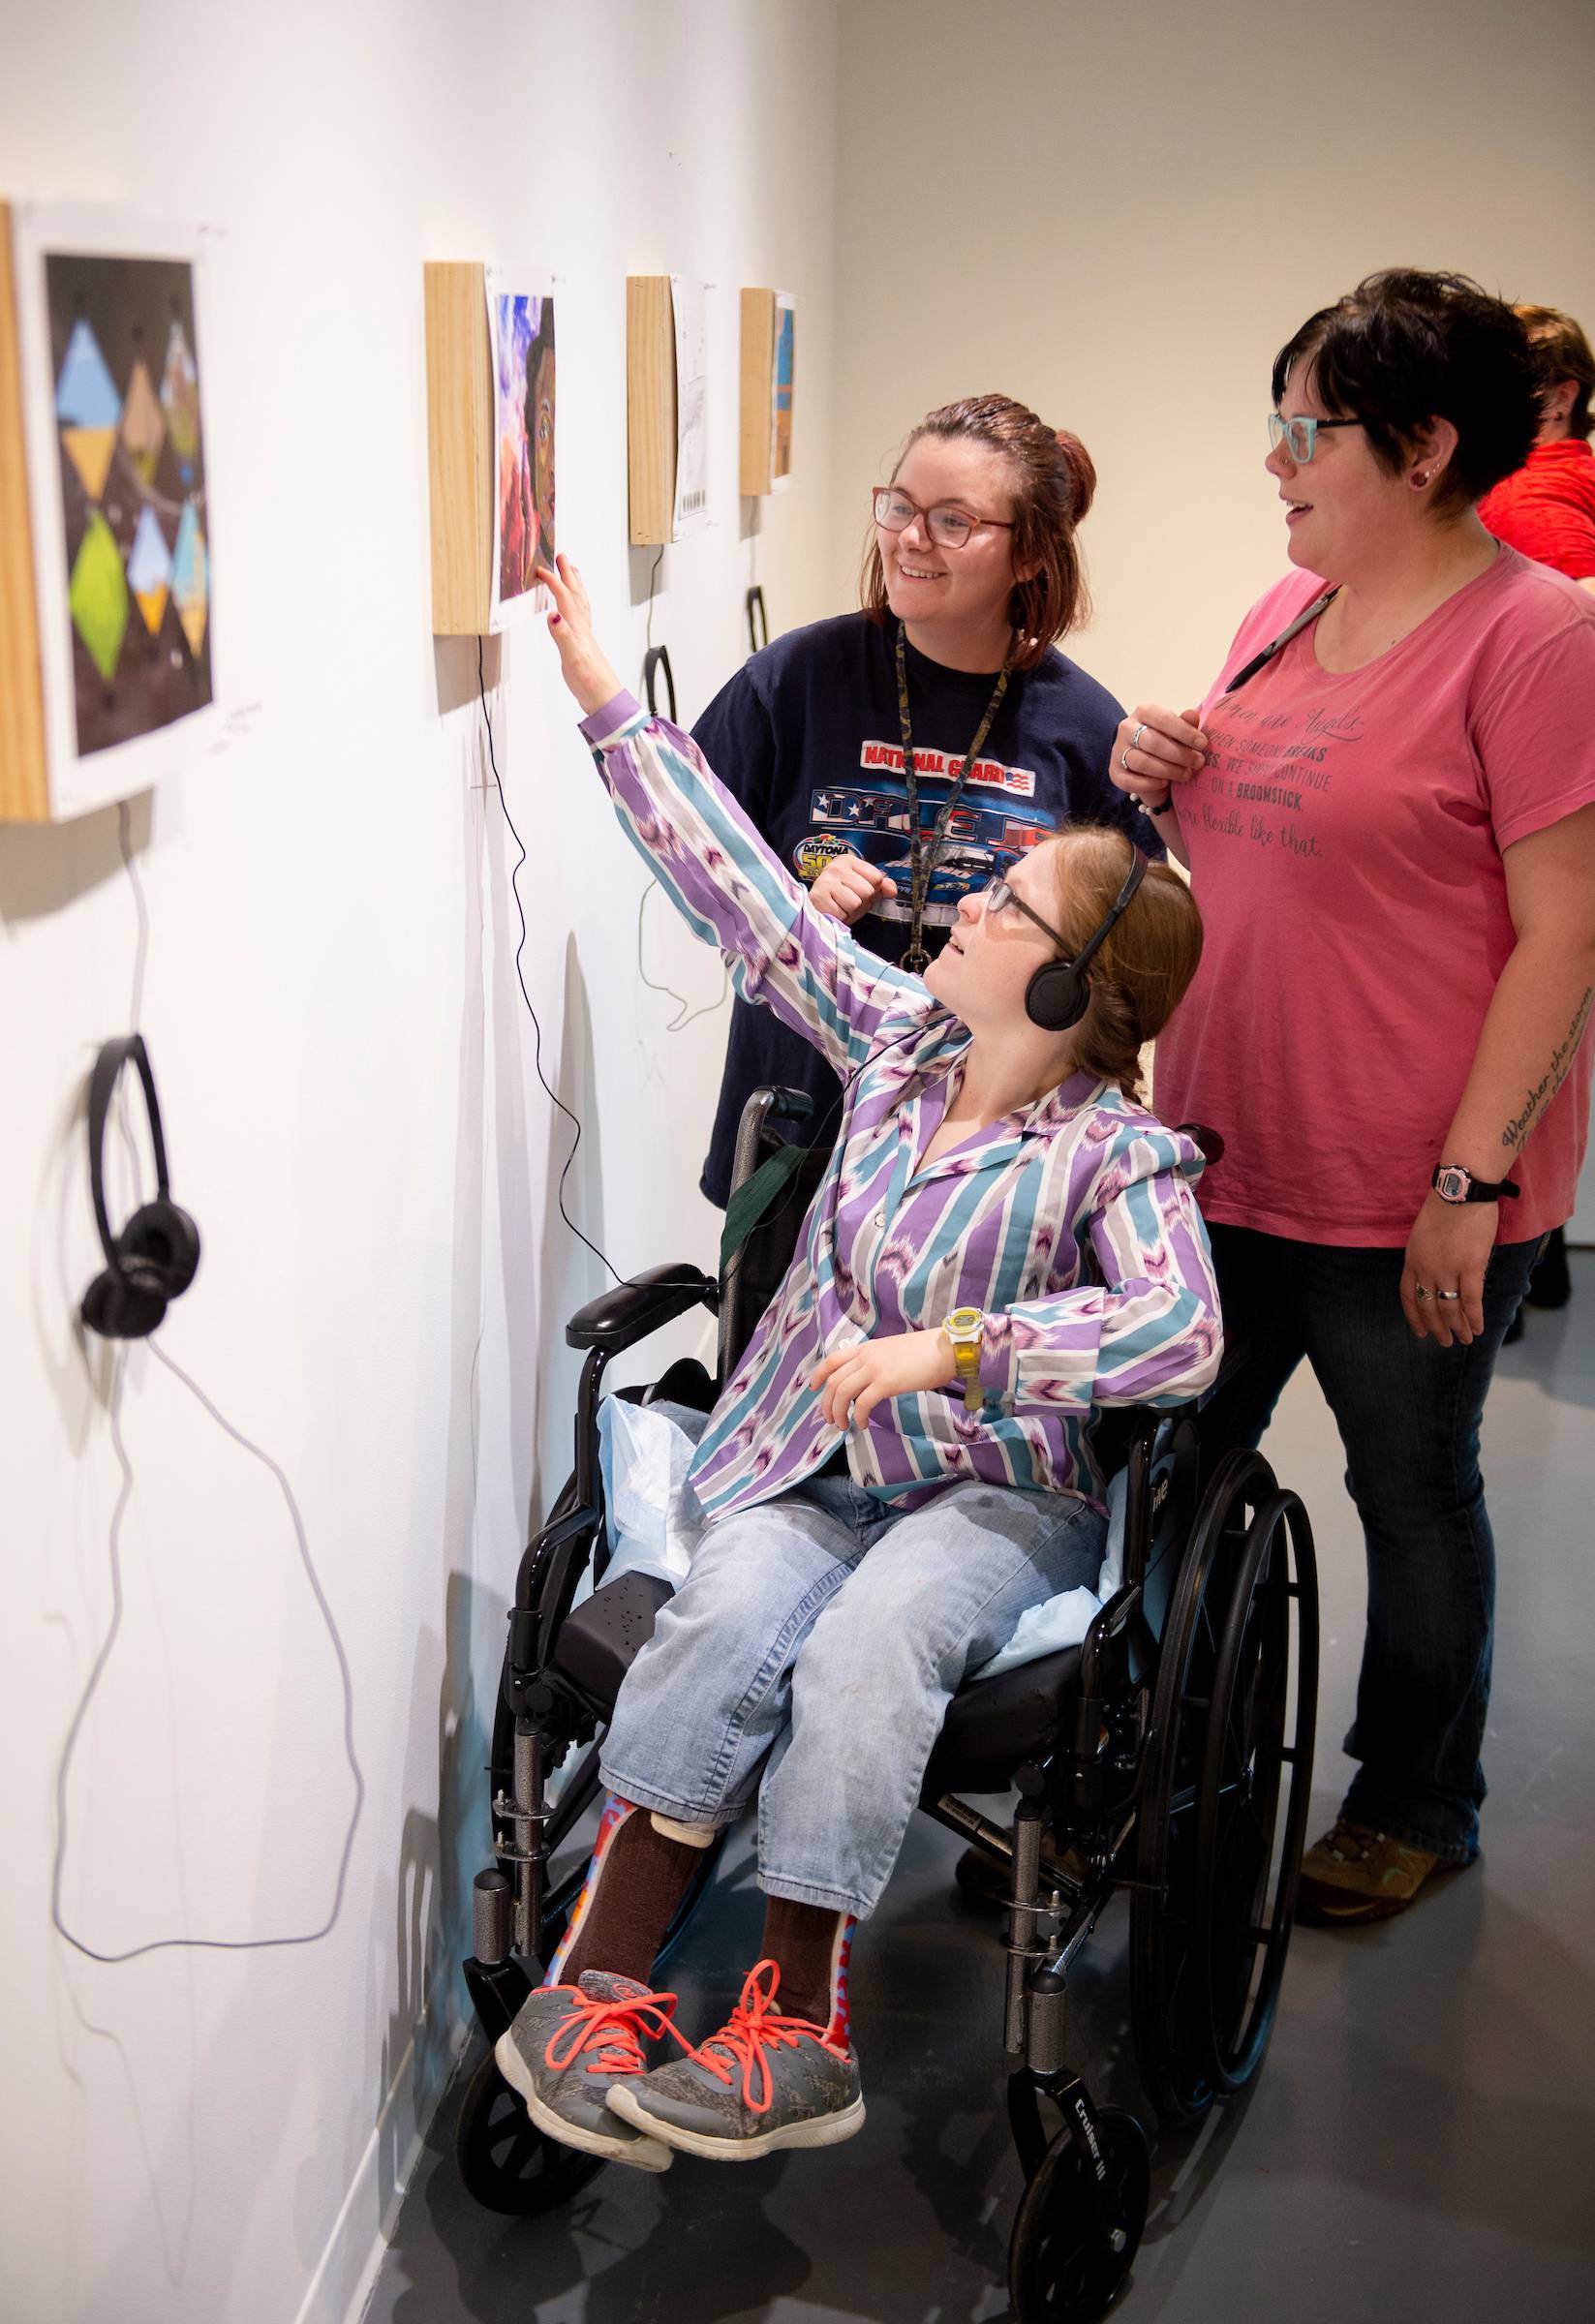
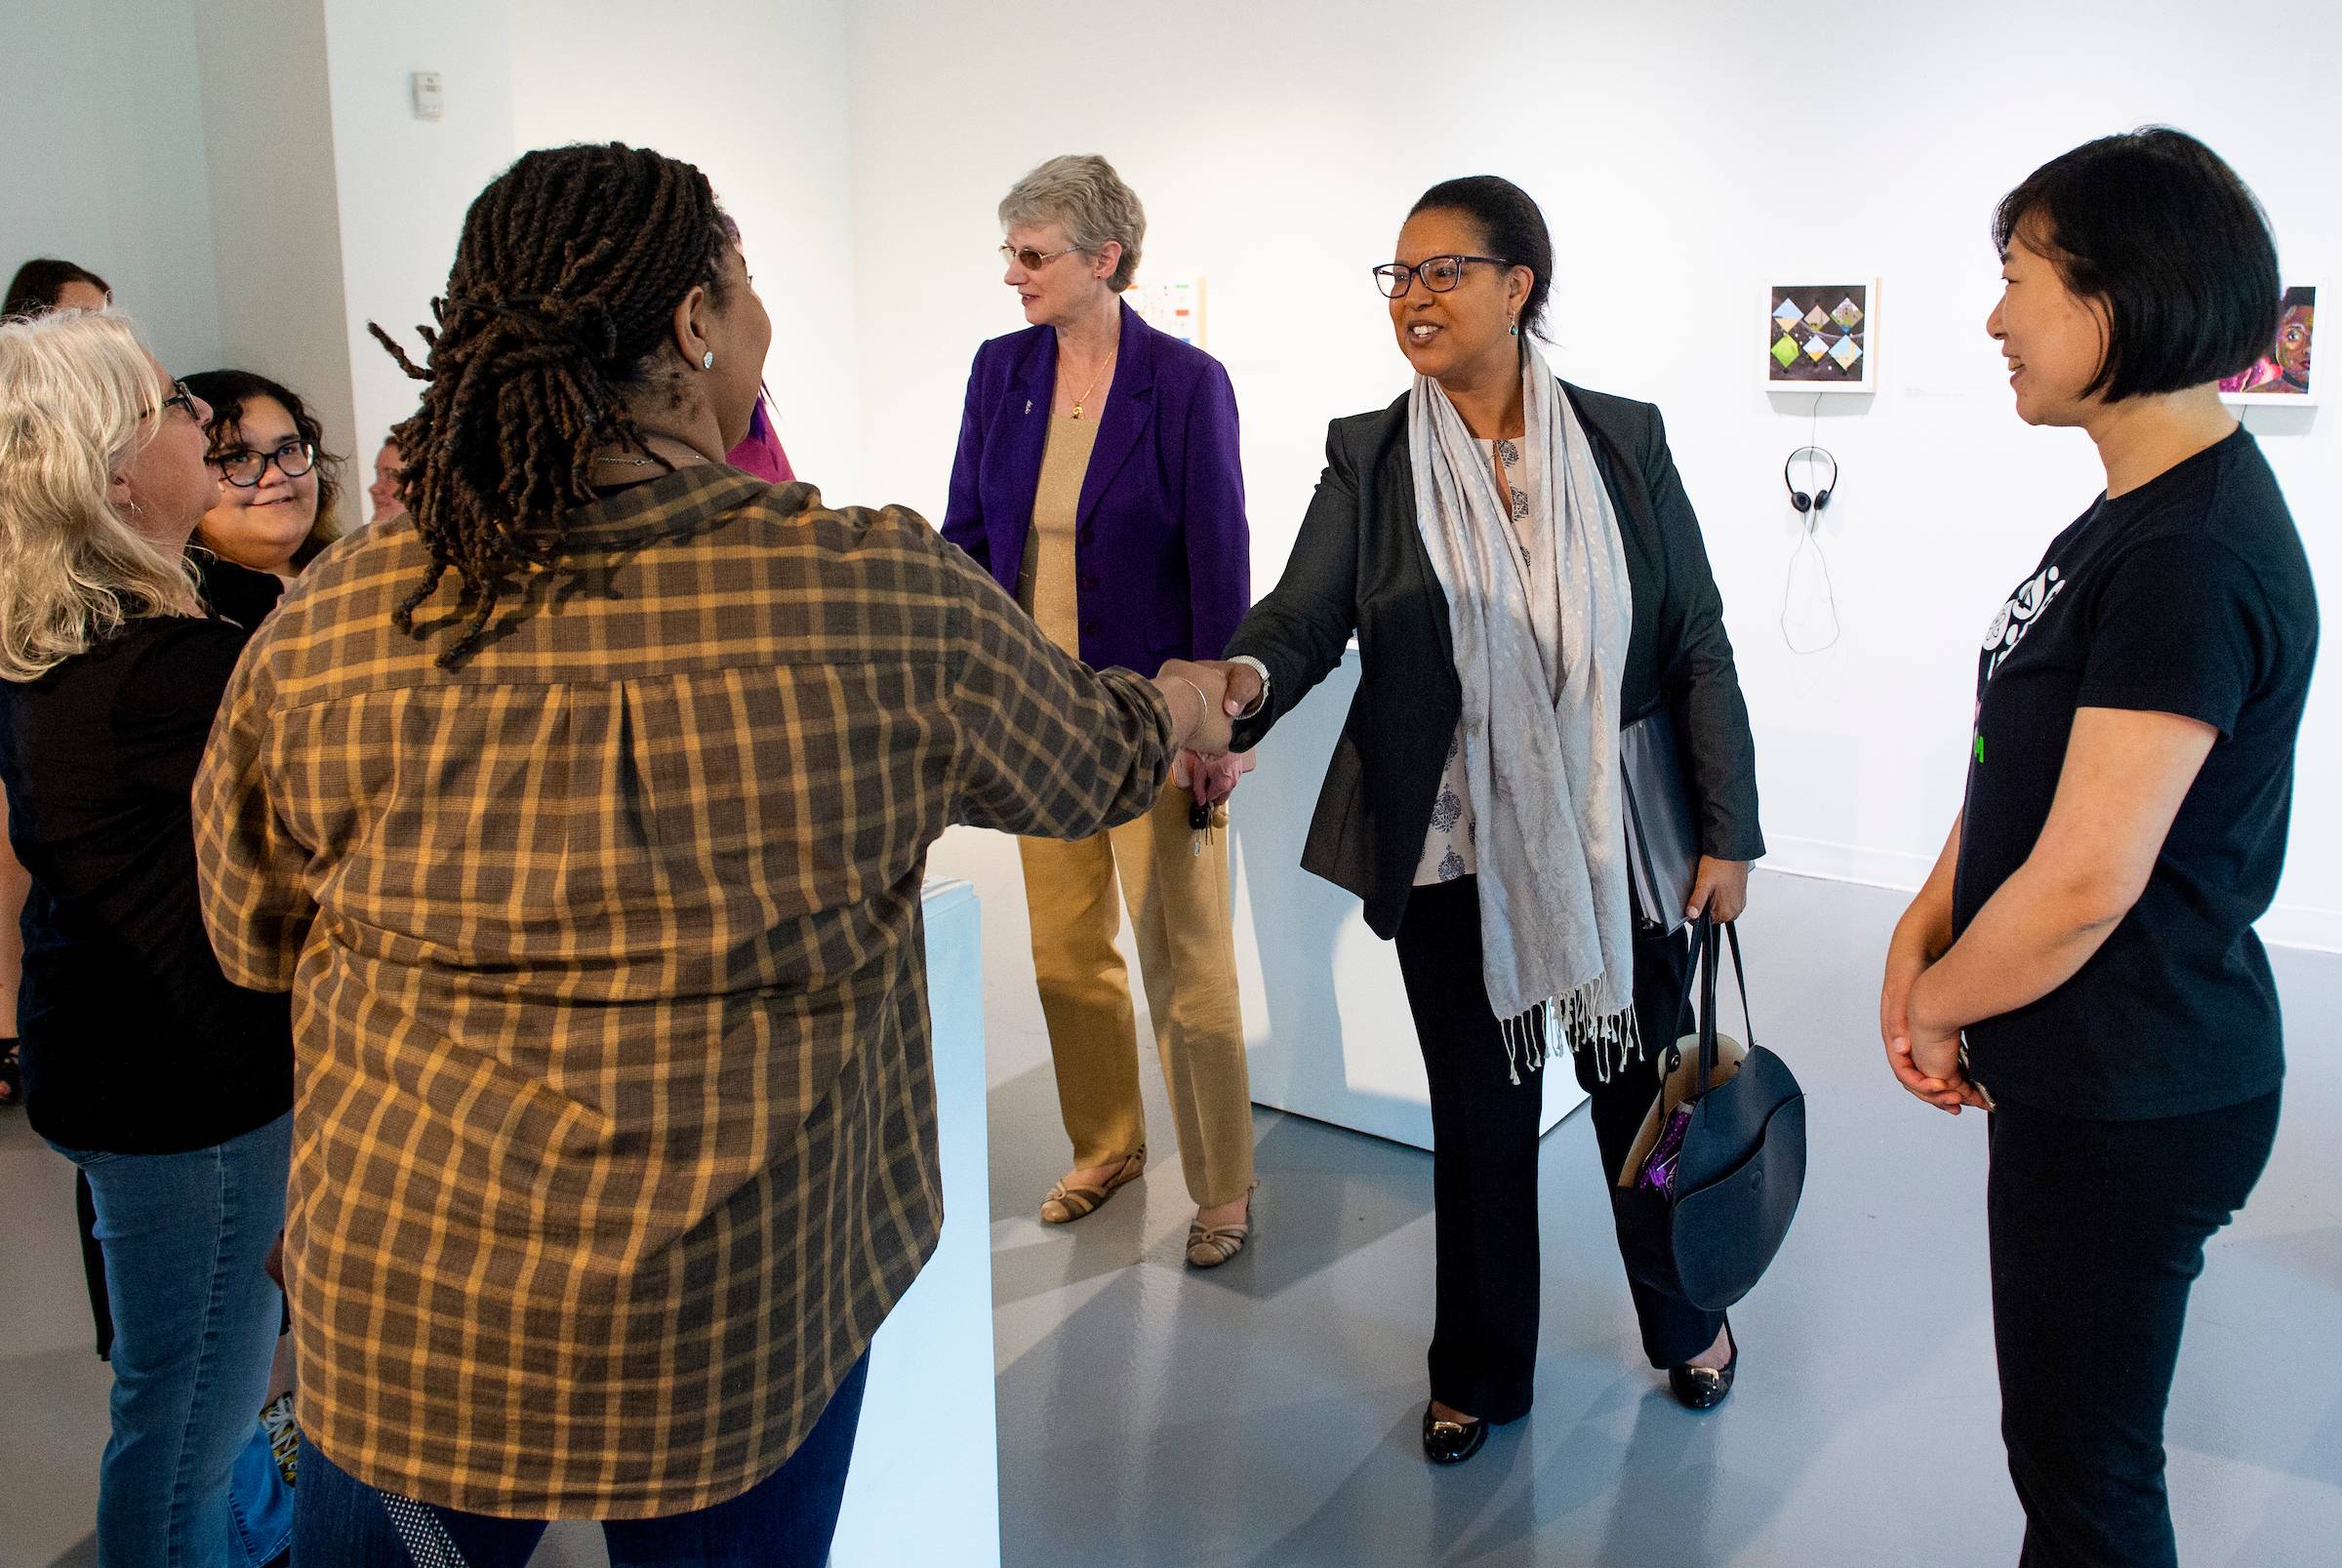
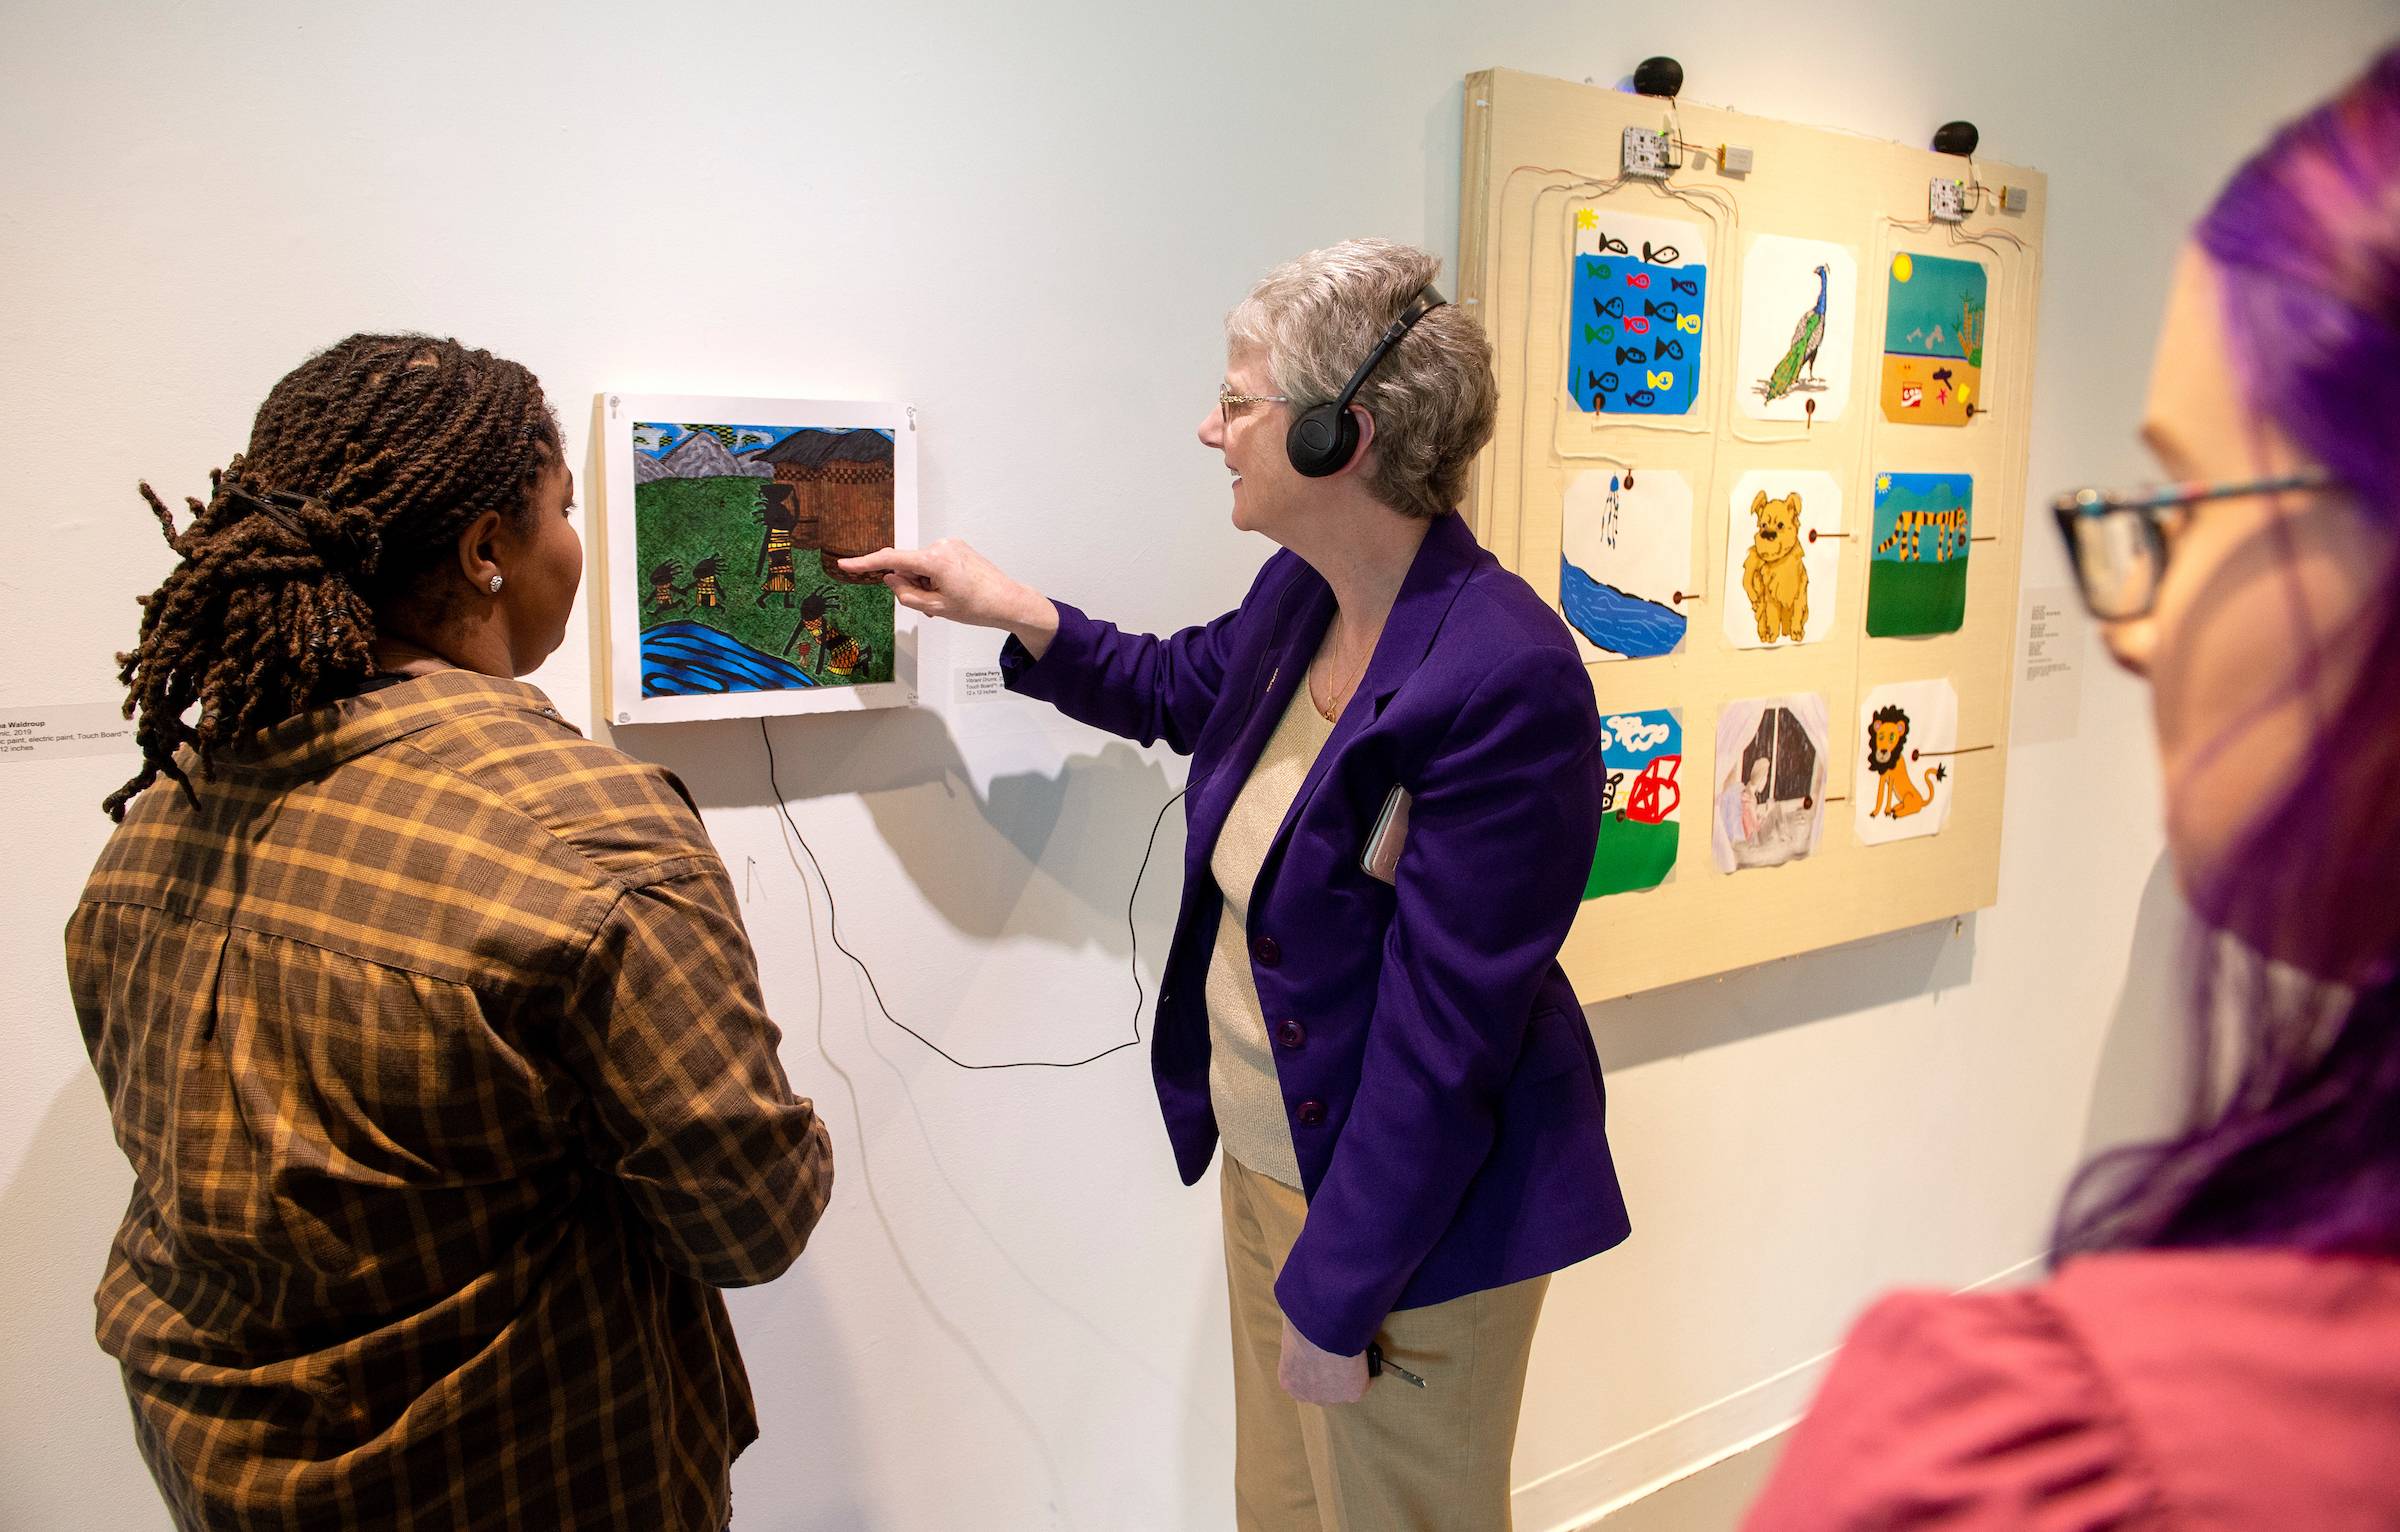
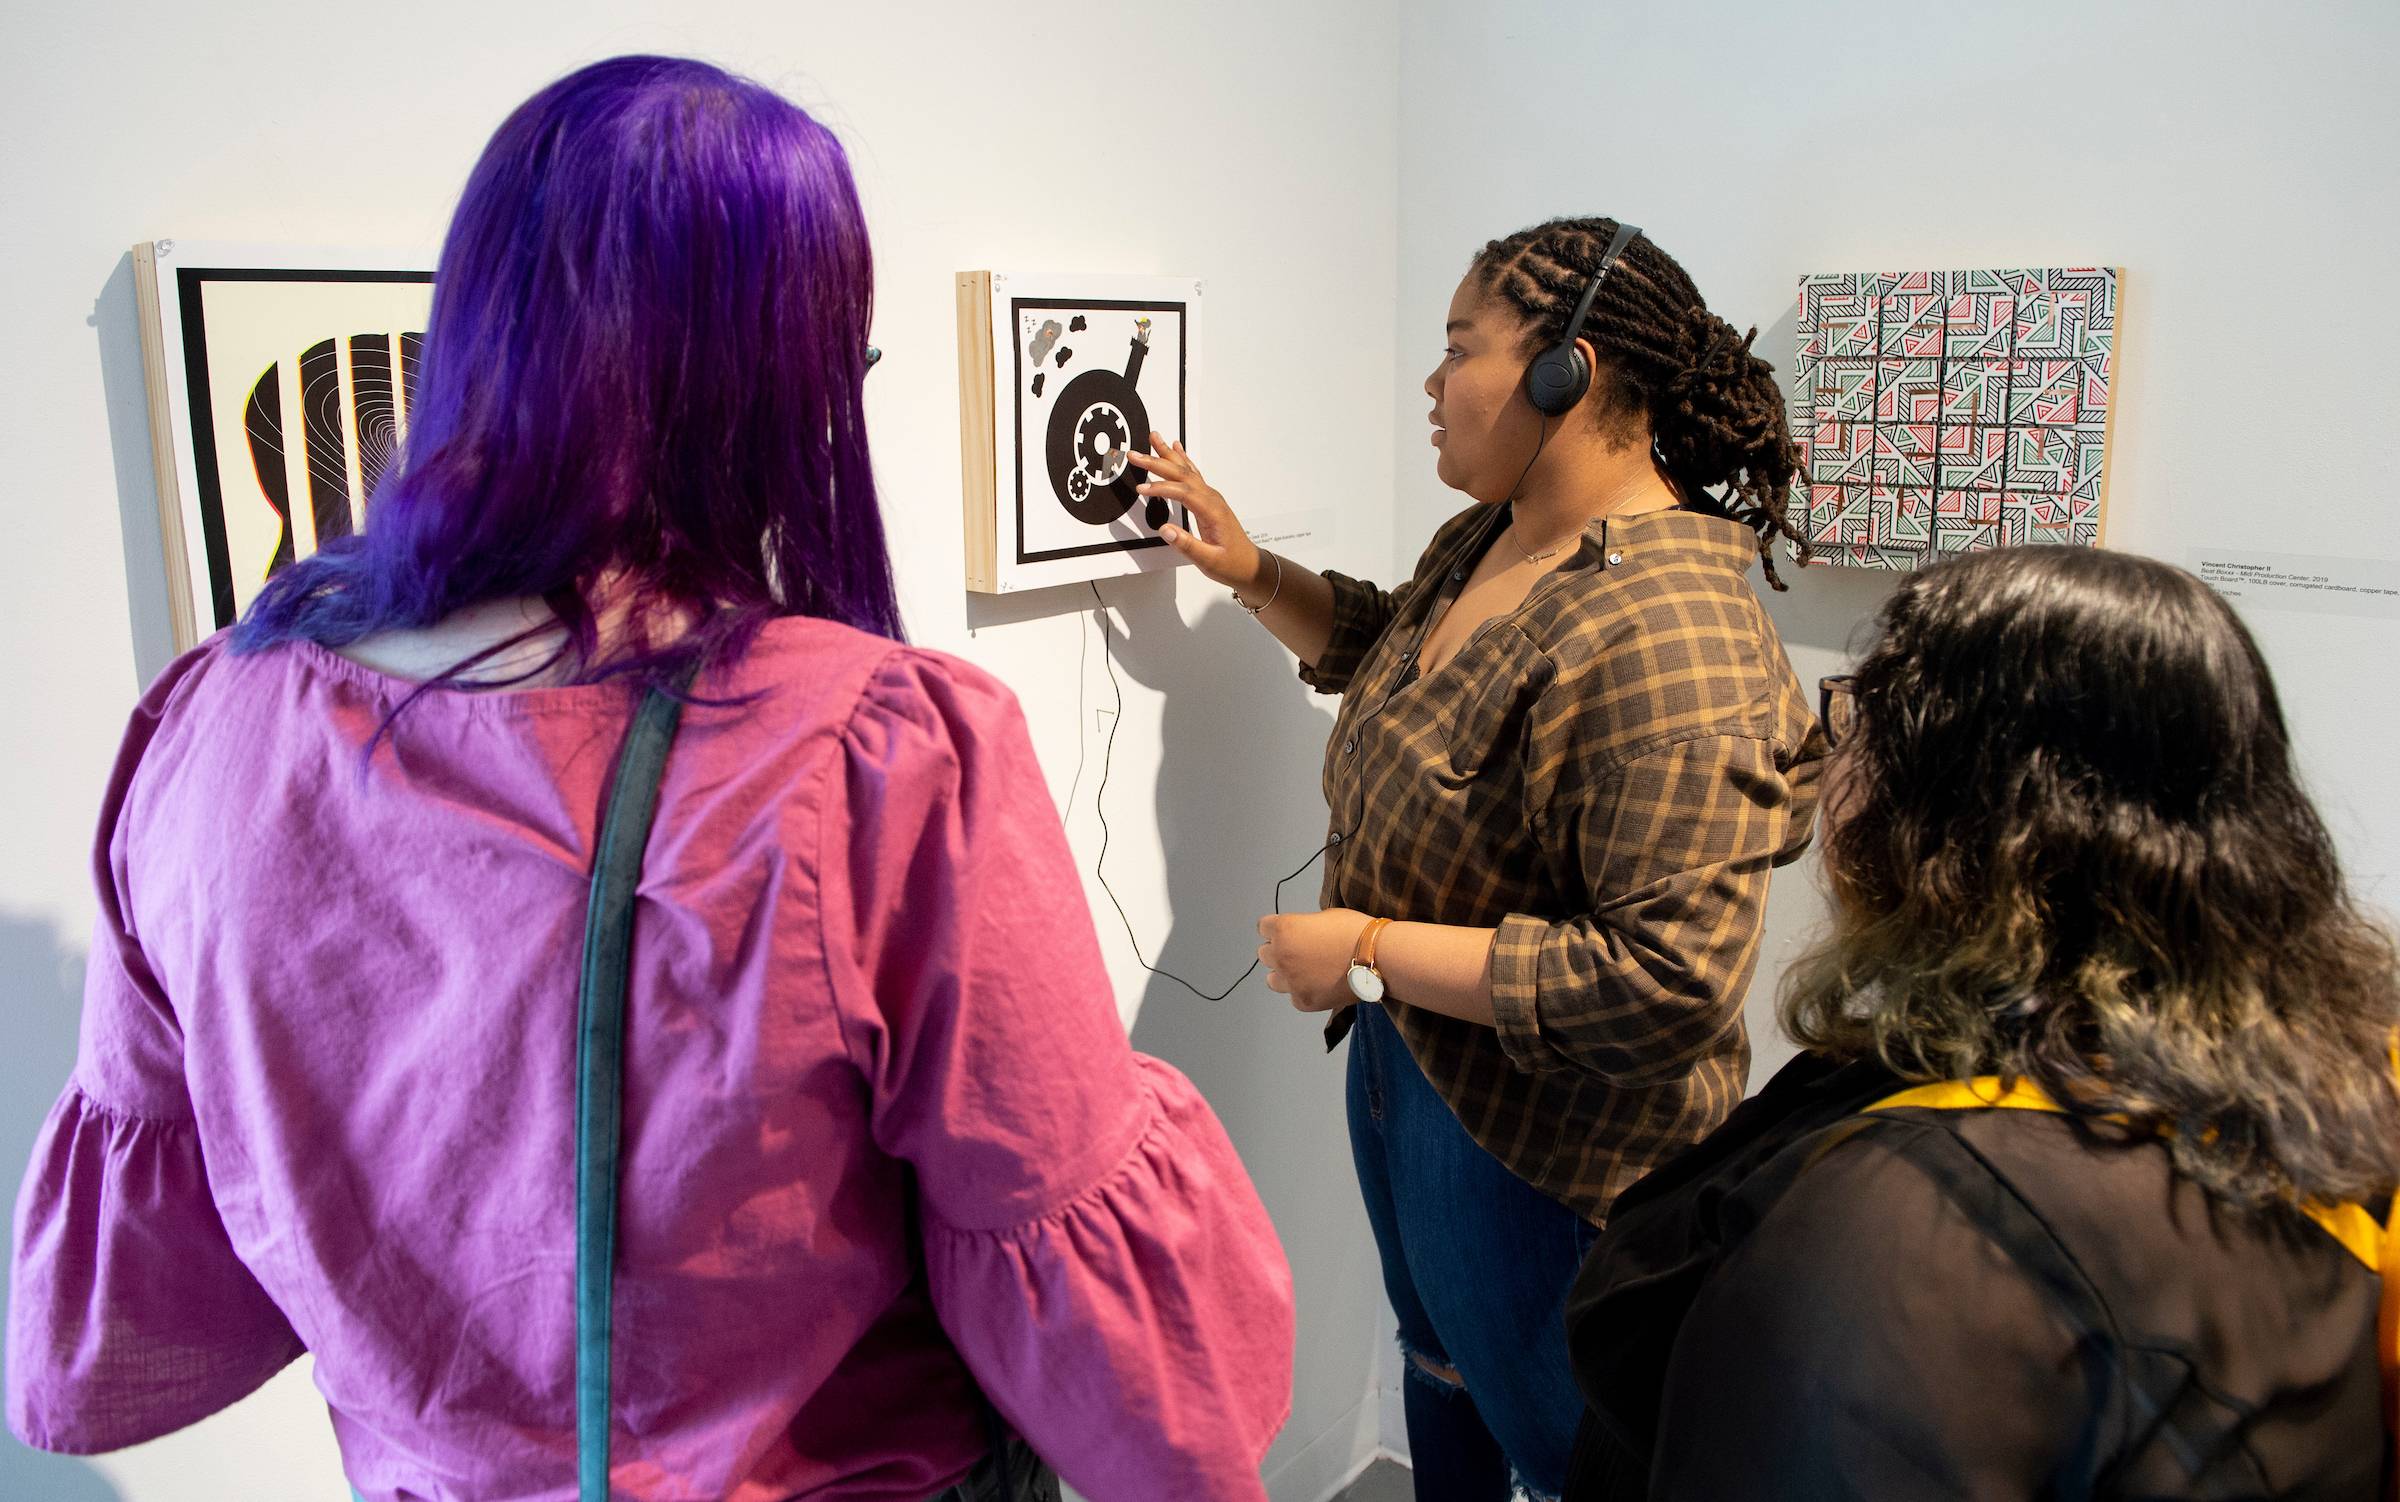
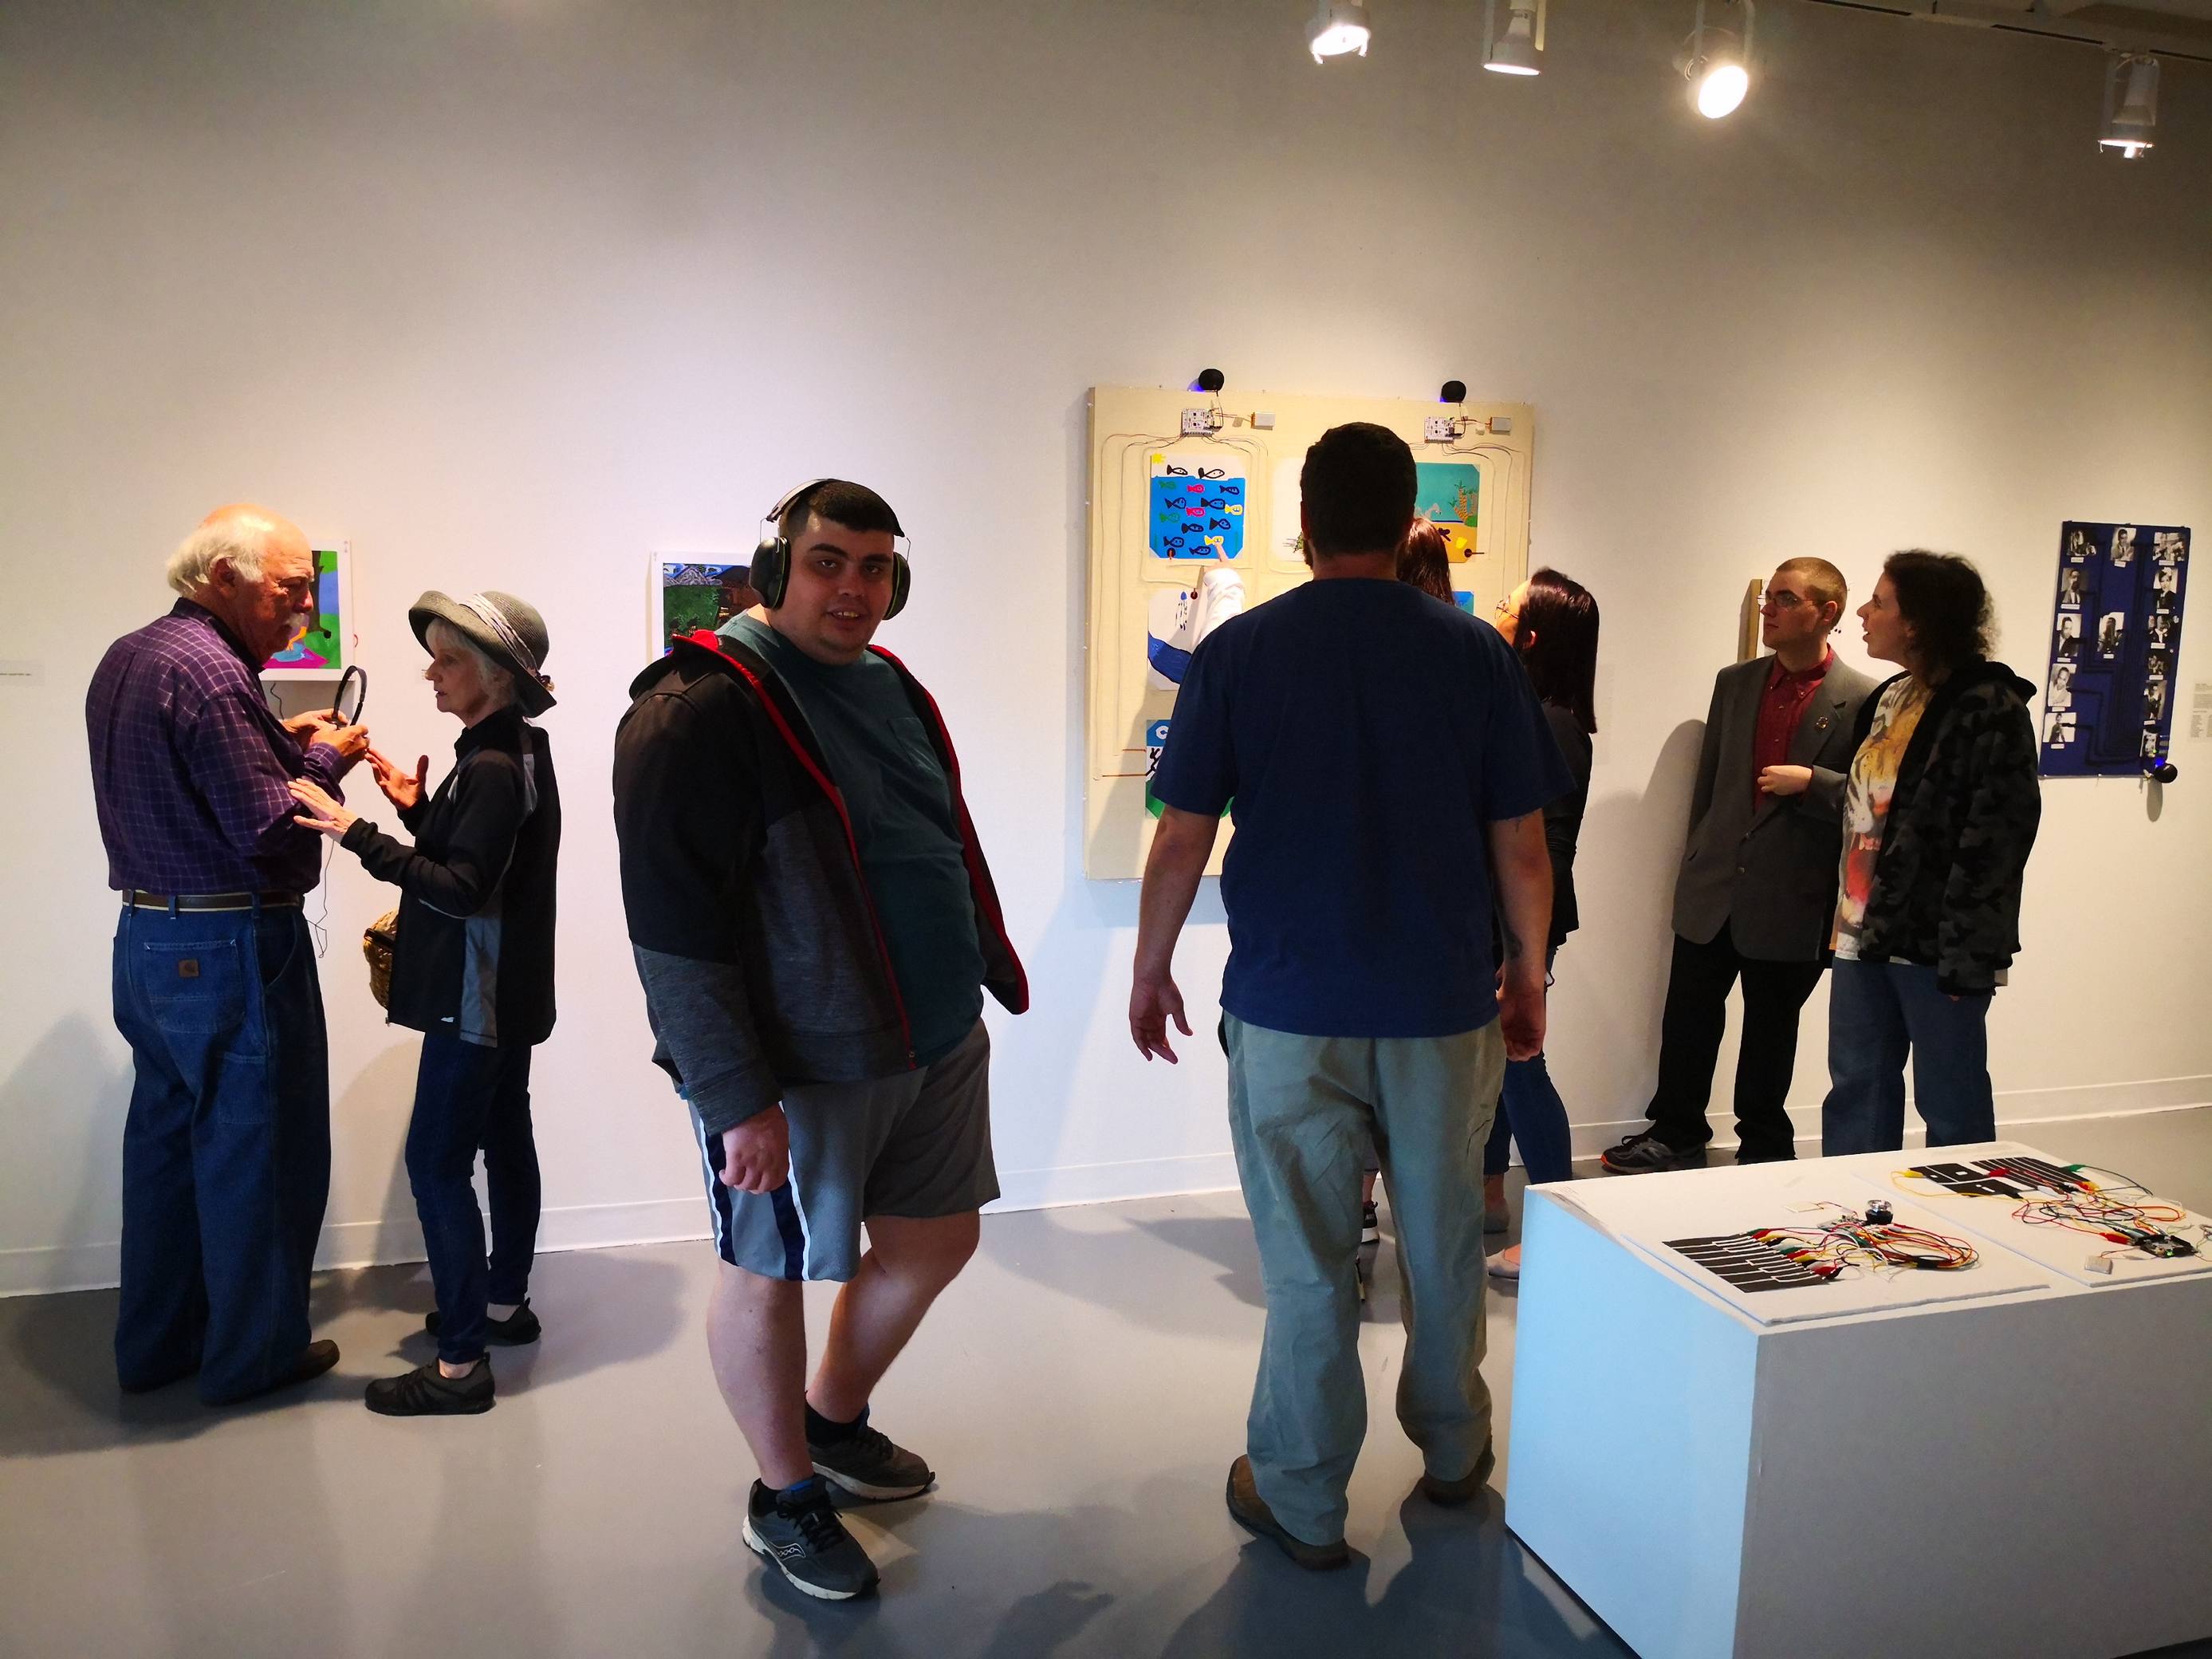
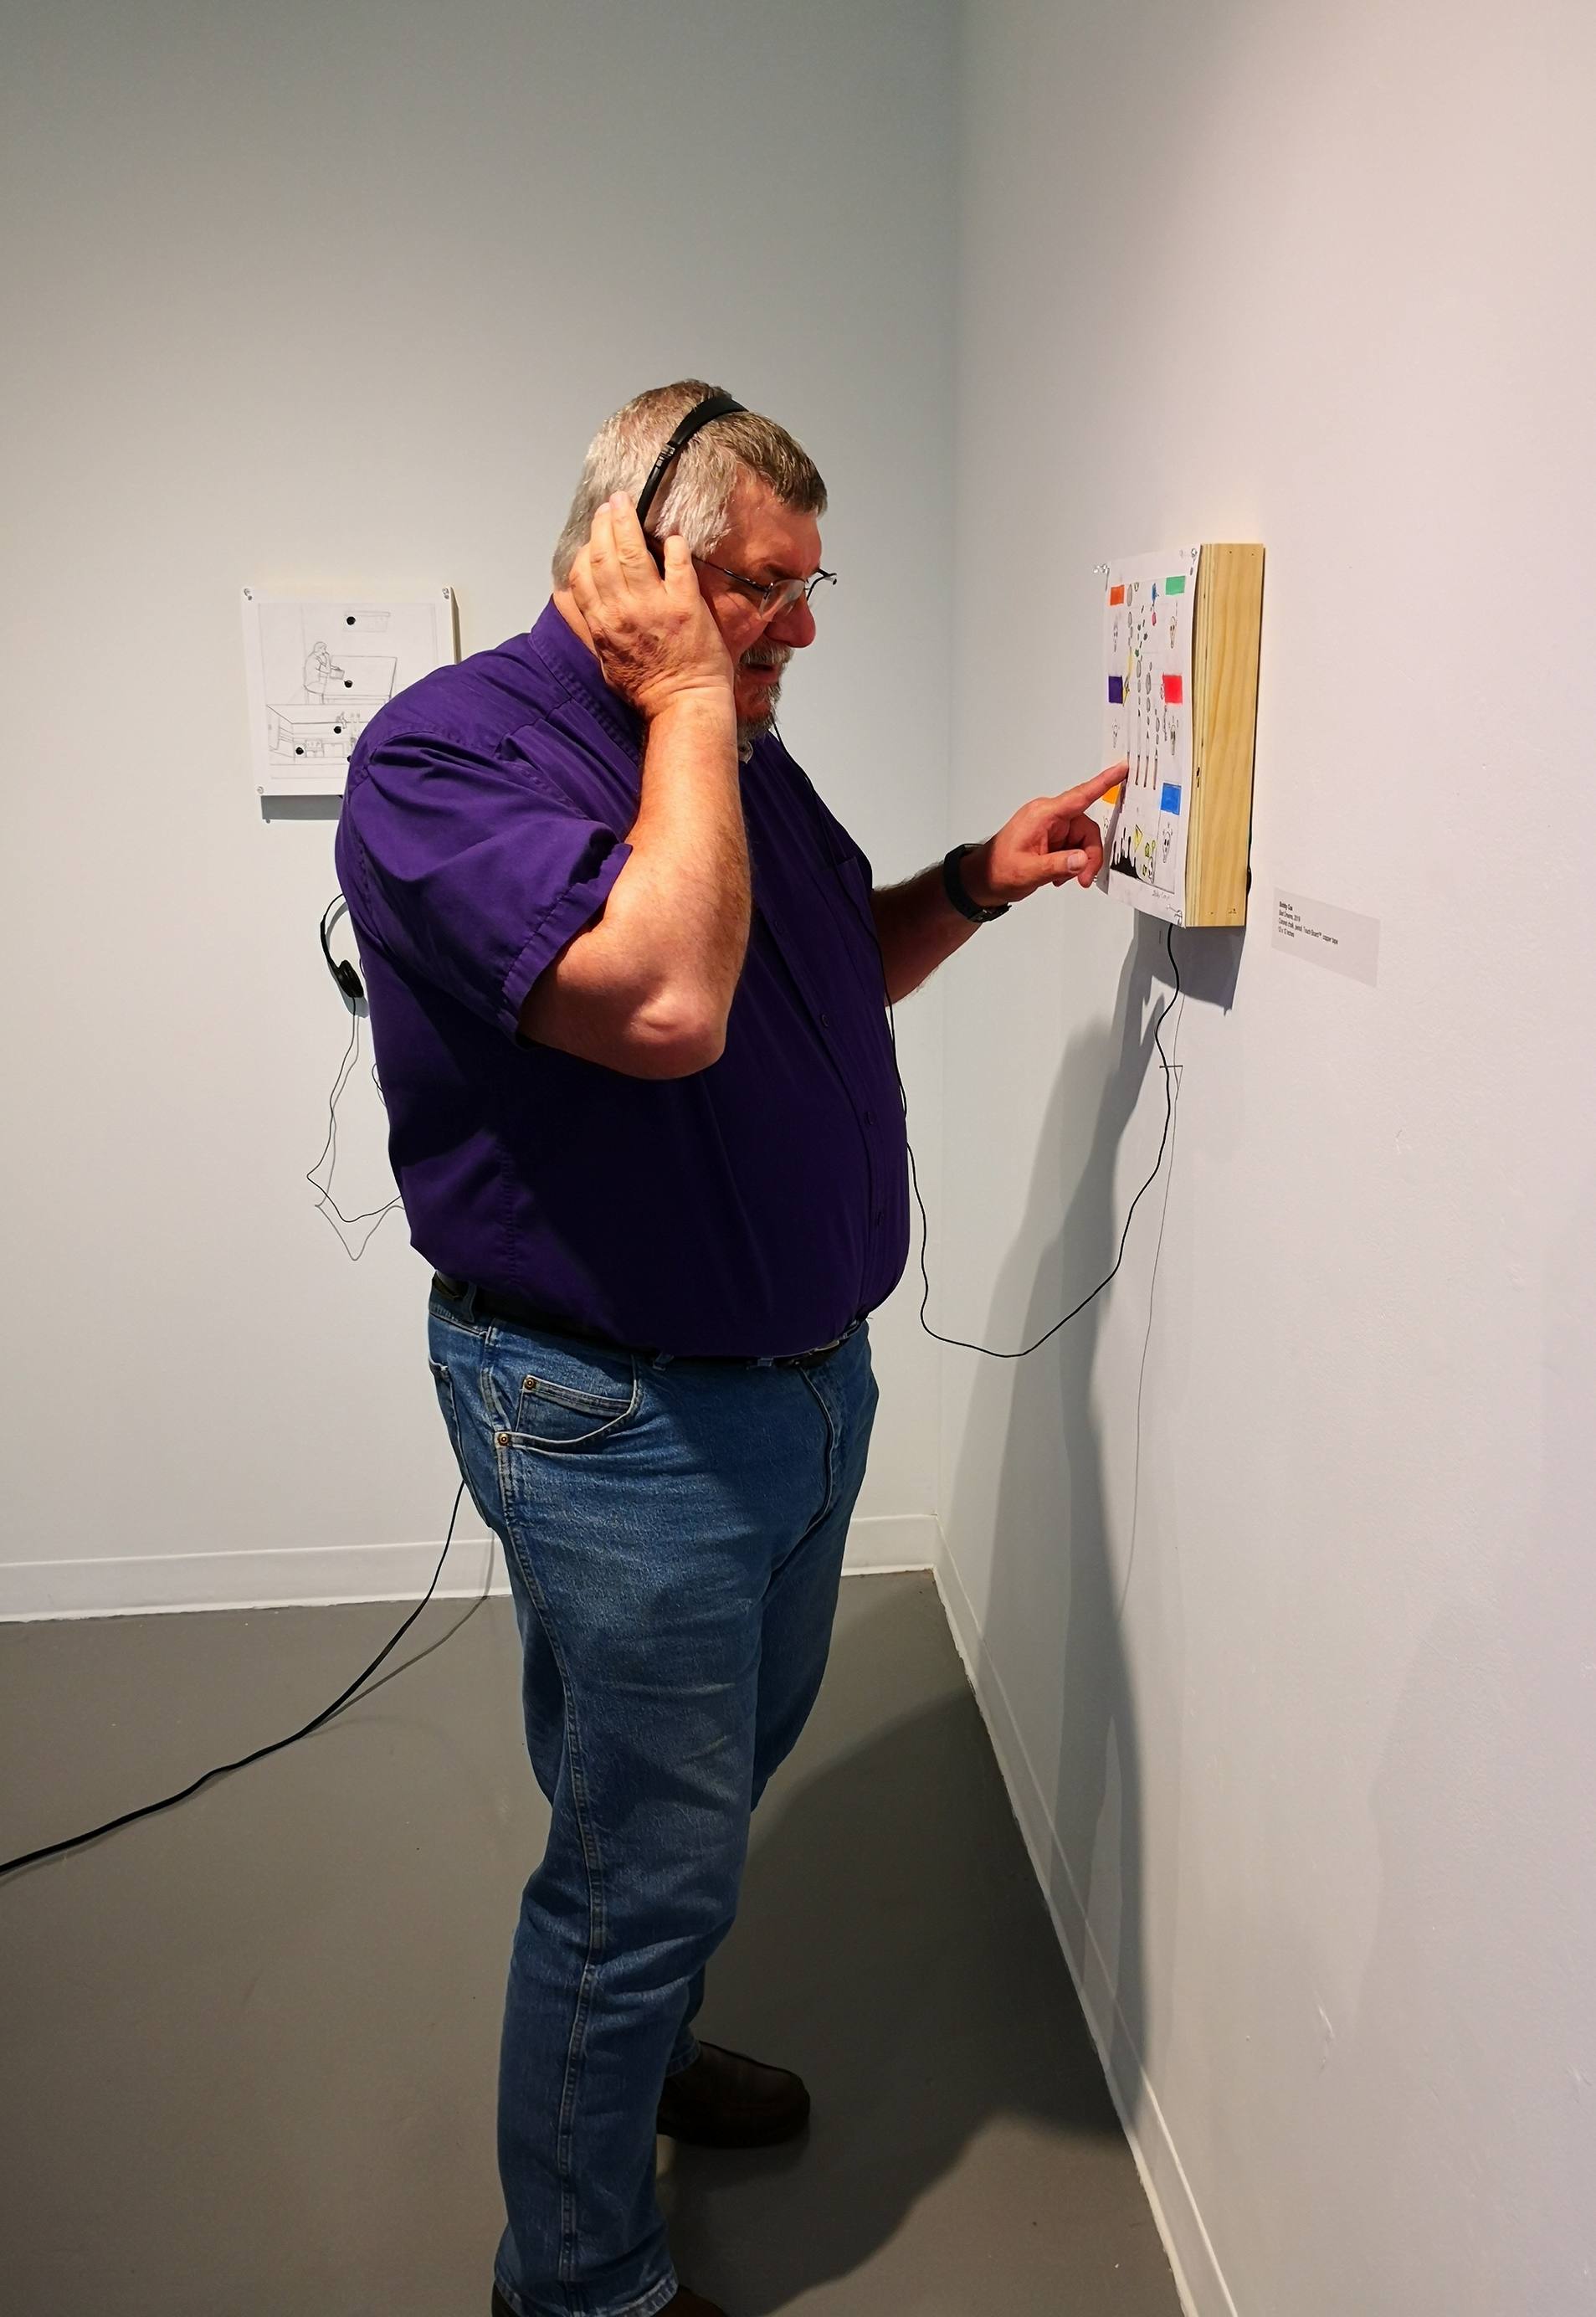
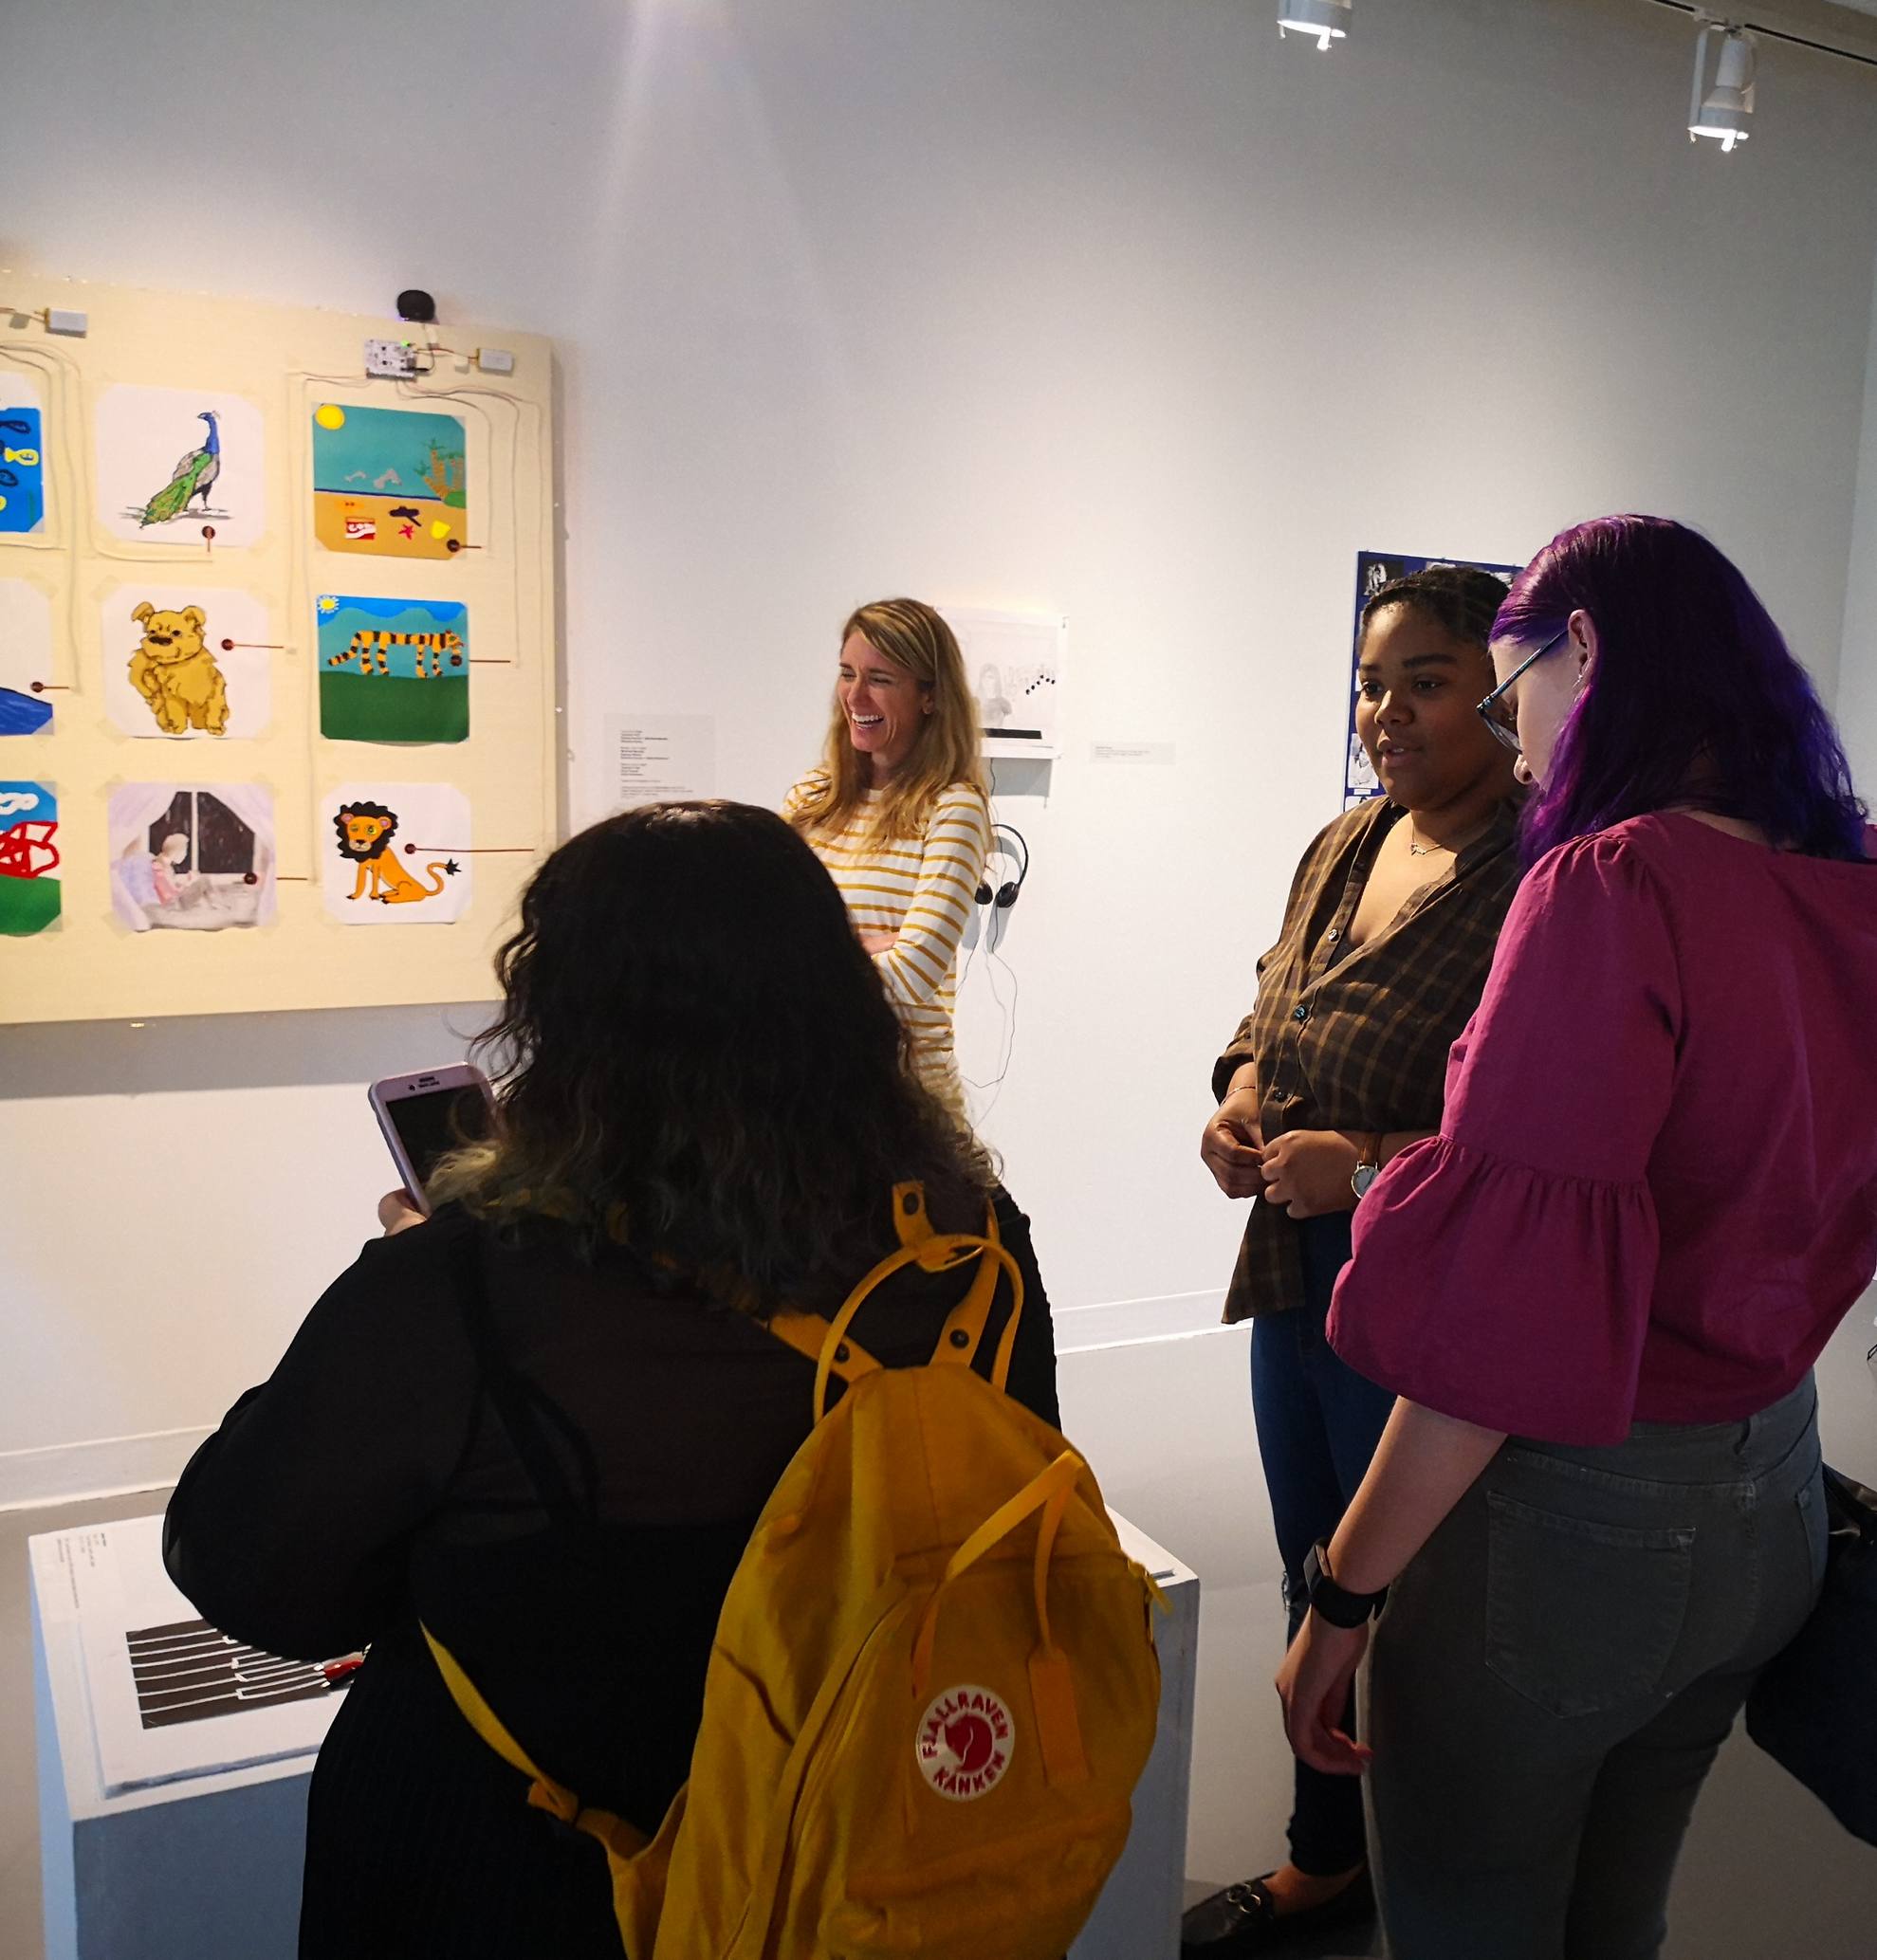
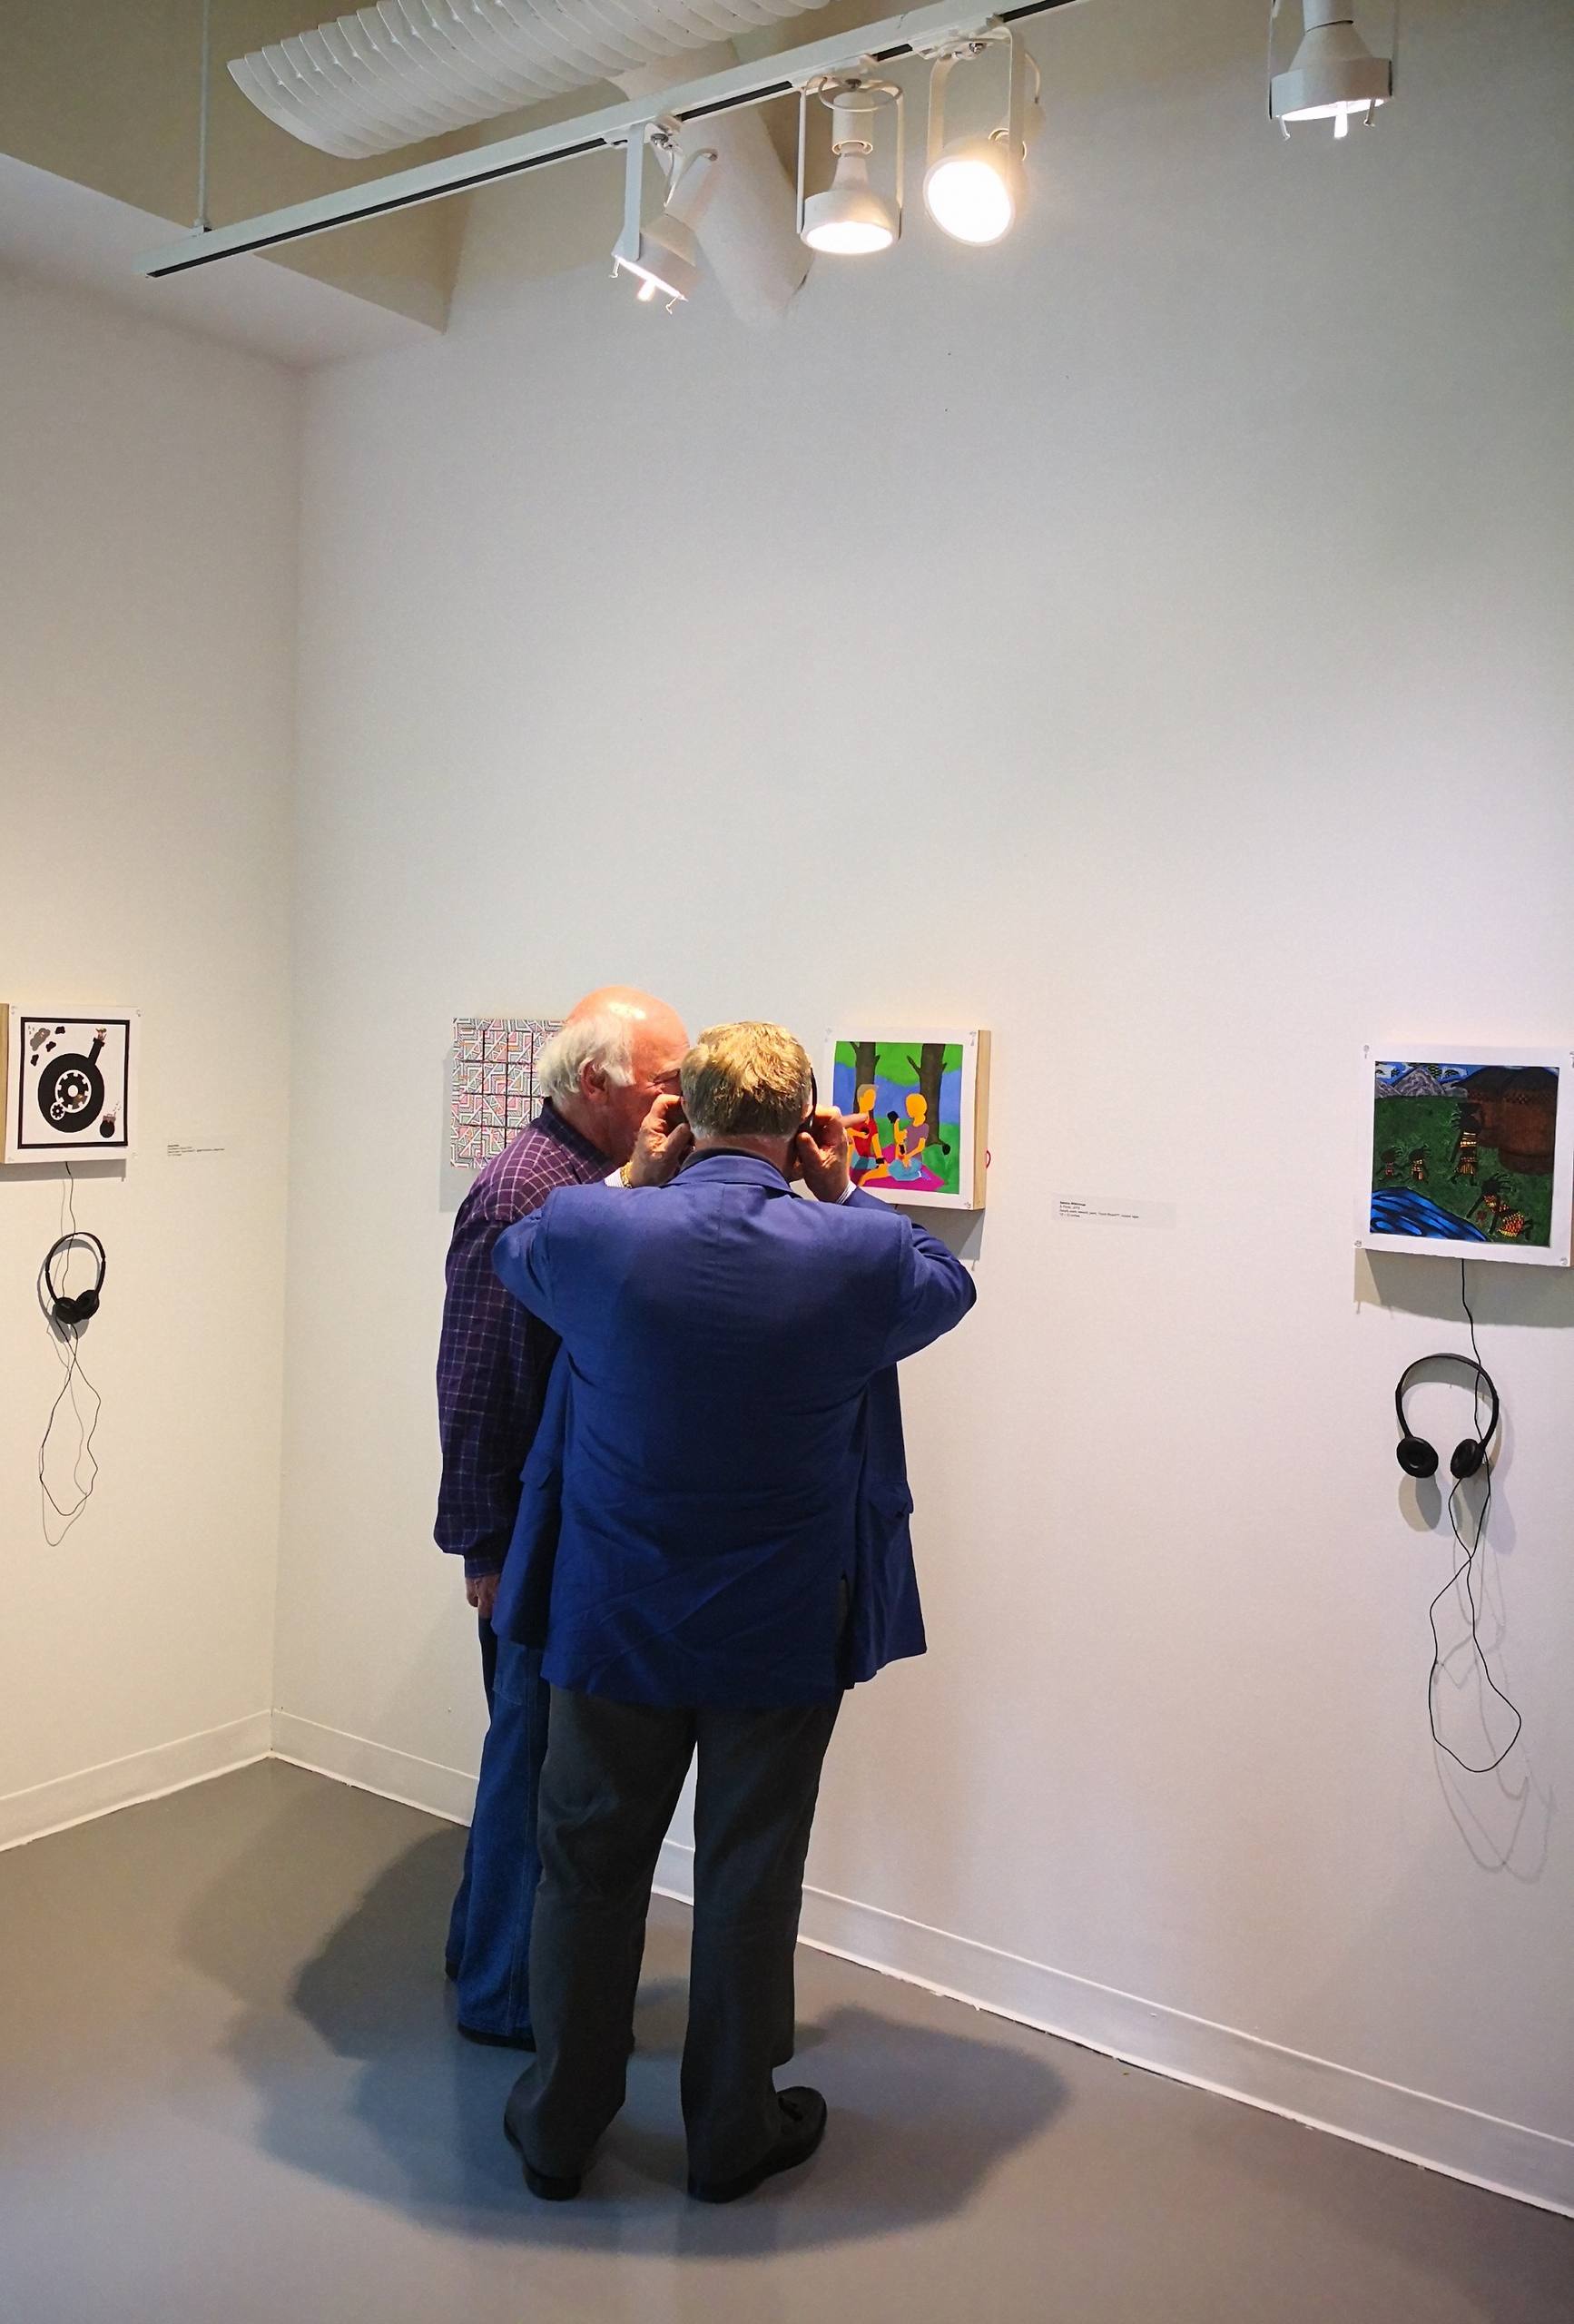
"Connections" Exhibit
The Farm project is intended to show how things work, so all the wiring and connections are bared in view, and the masking tapes are used to secure the paintings or wiring for reusability. The clients have learned some skills and they could update this project to replace the paintings and sound tracks on their own later.
The exhibit also include the course projects from ENGR 493 and ART 132.
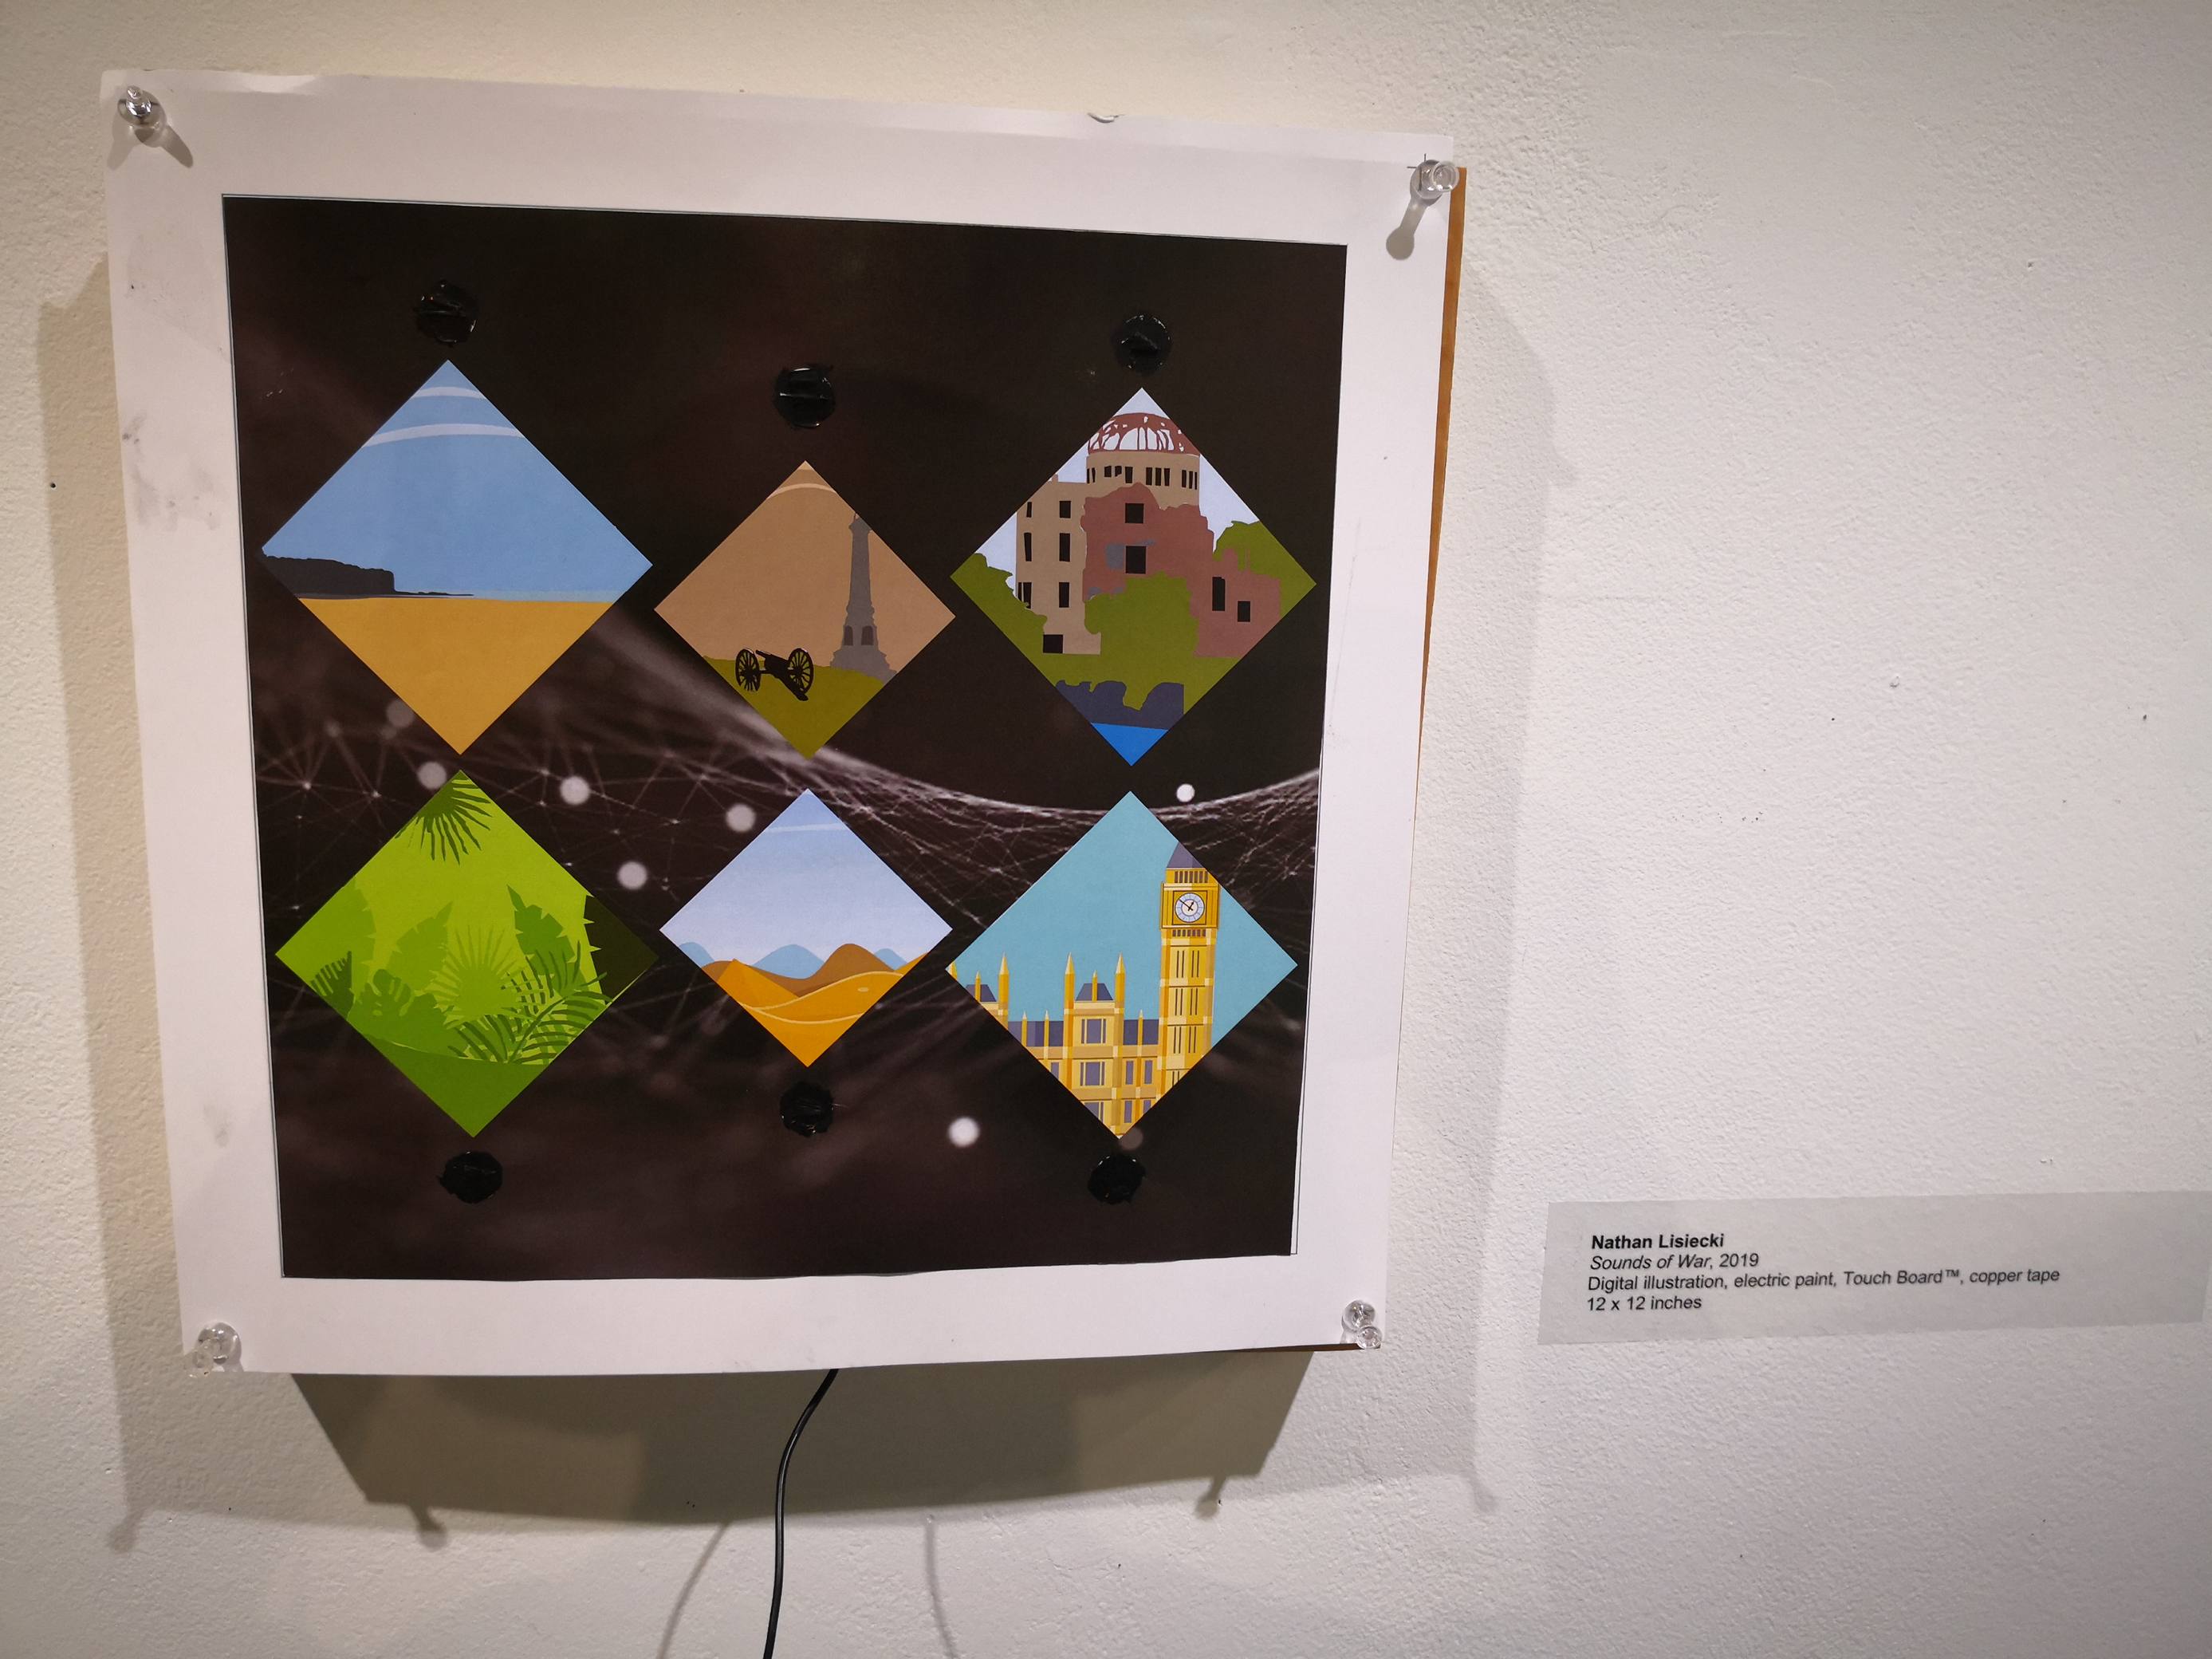
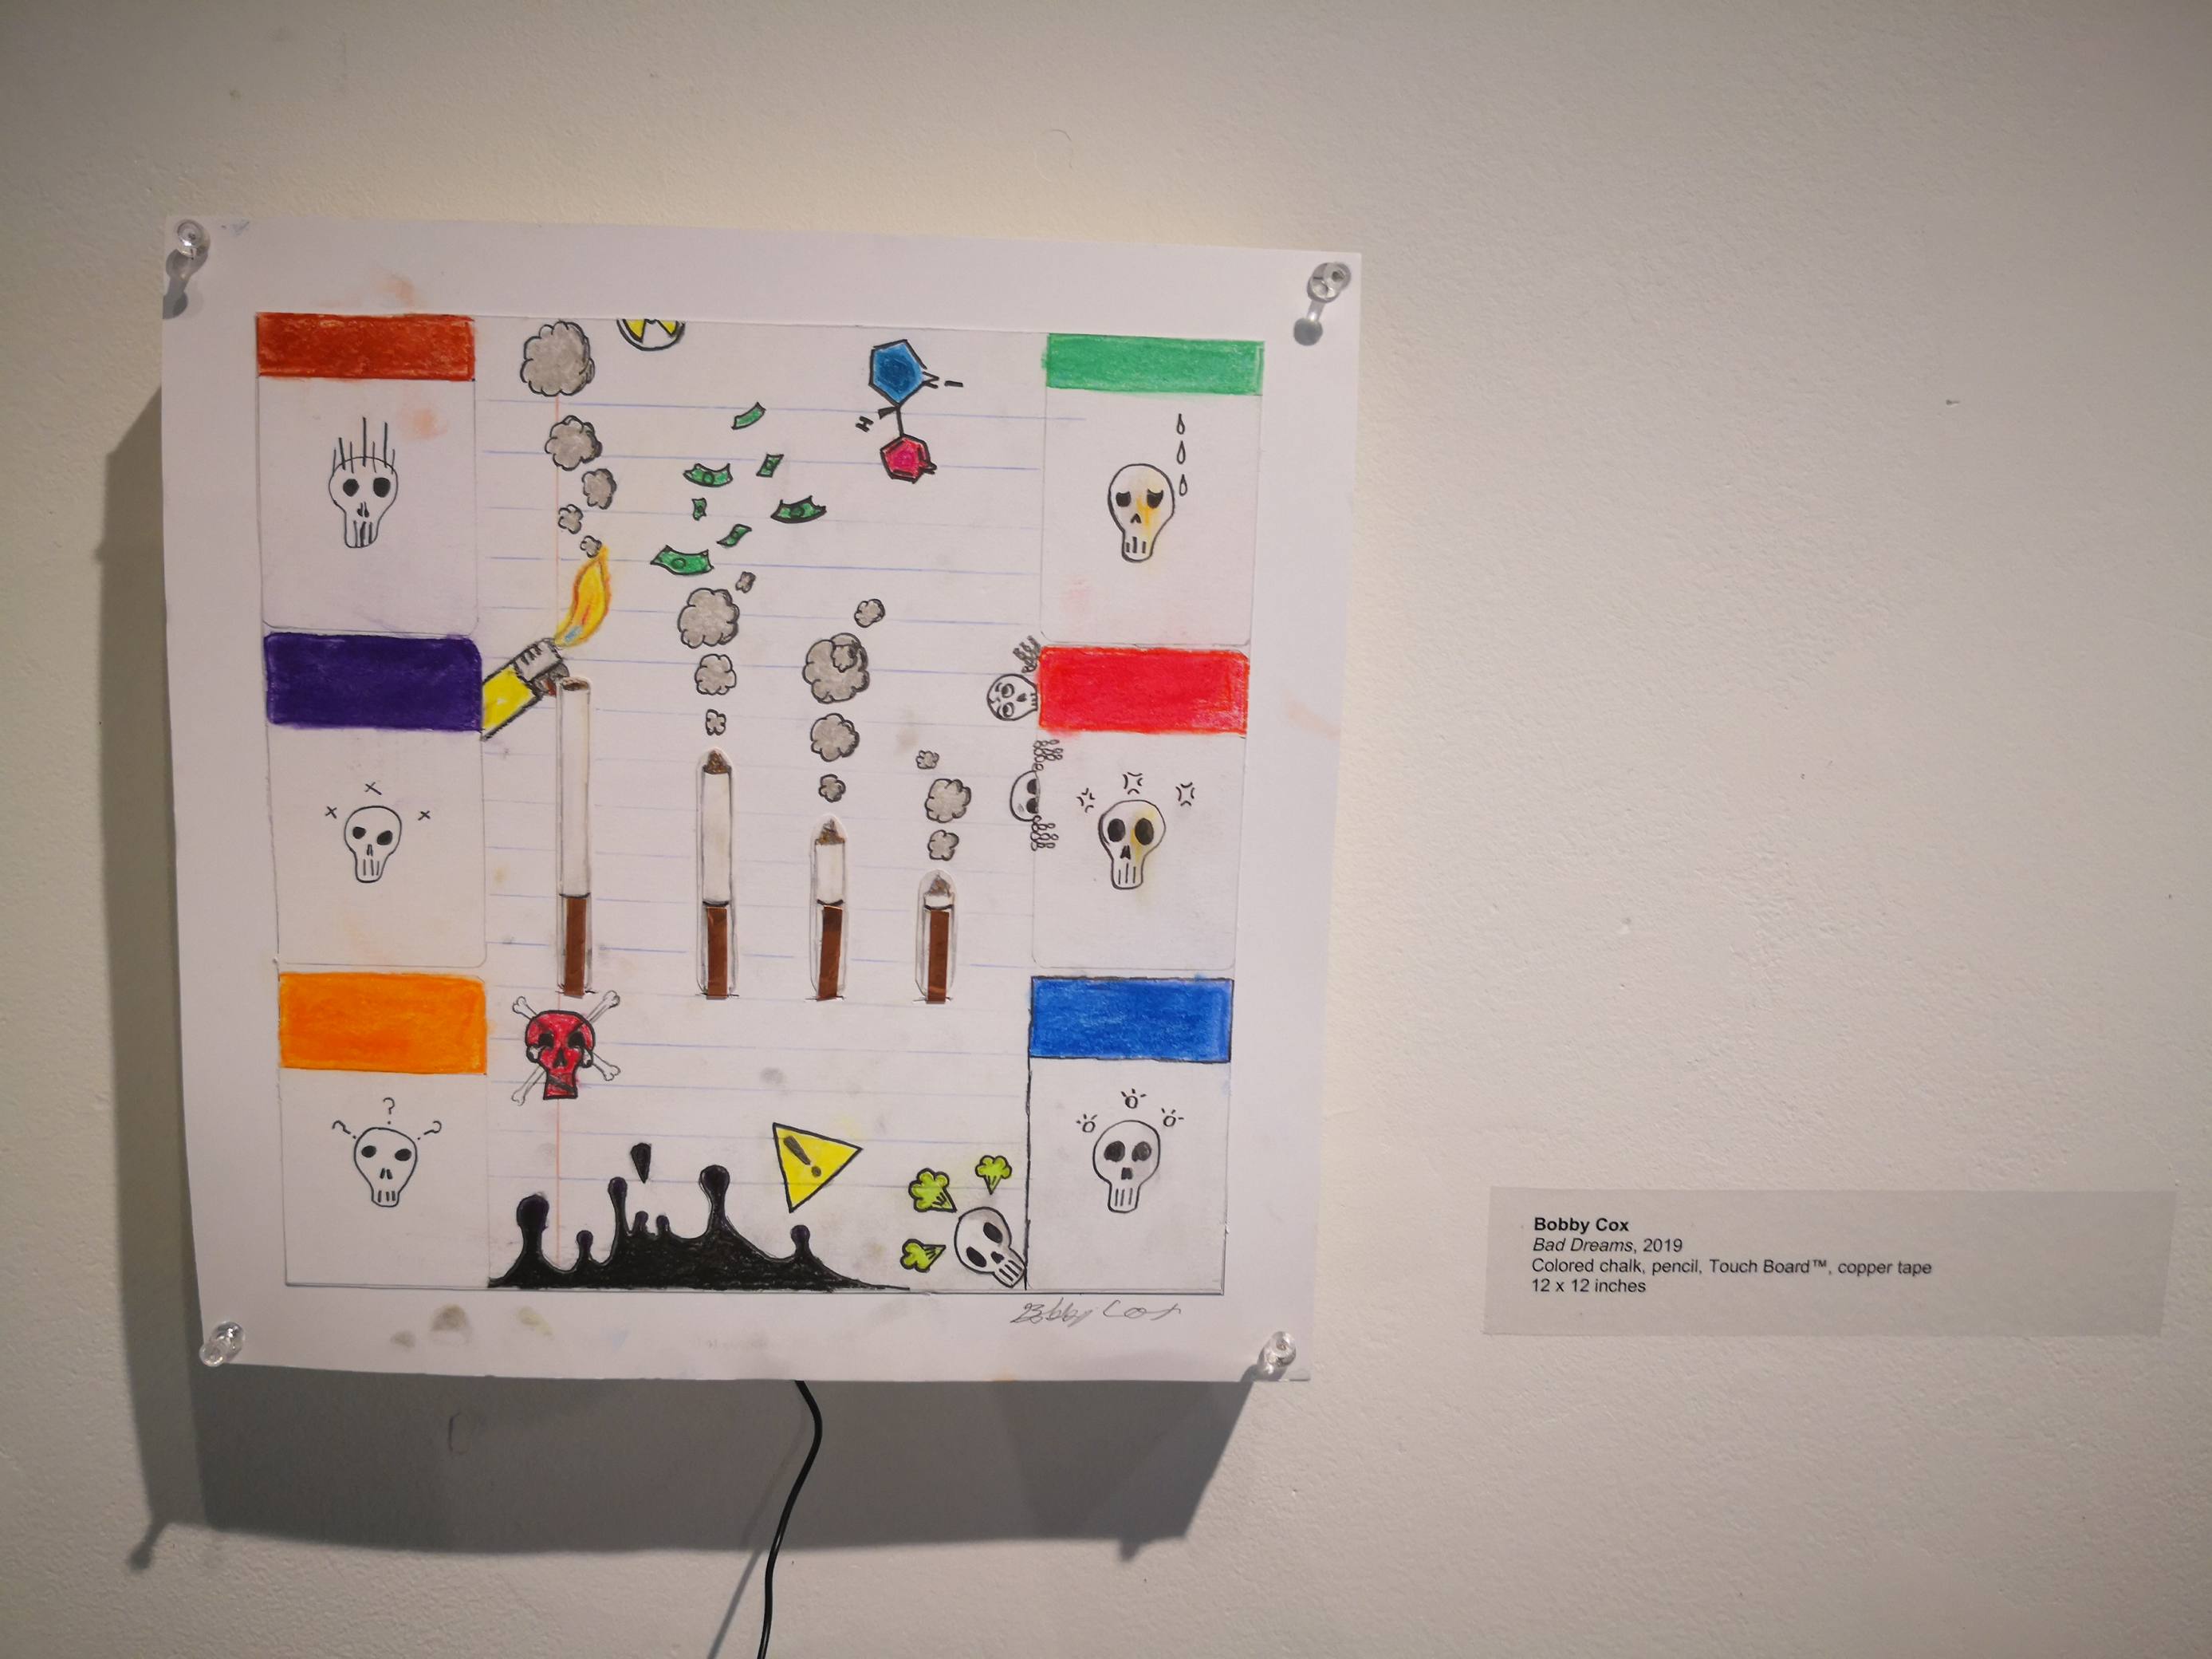
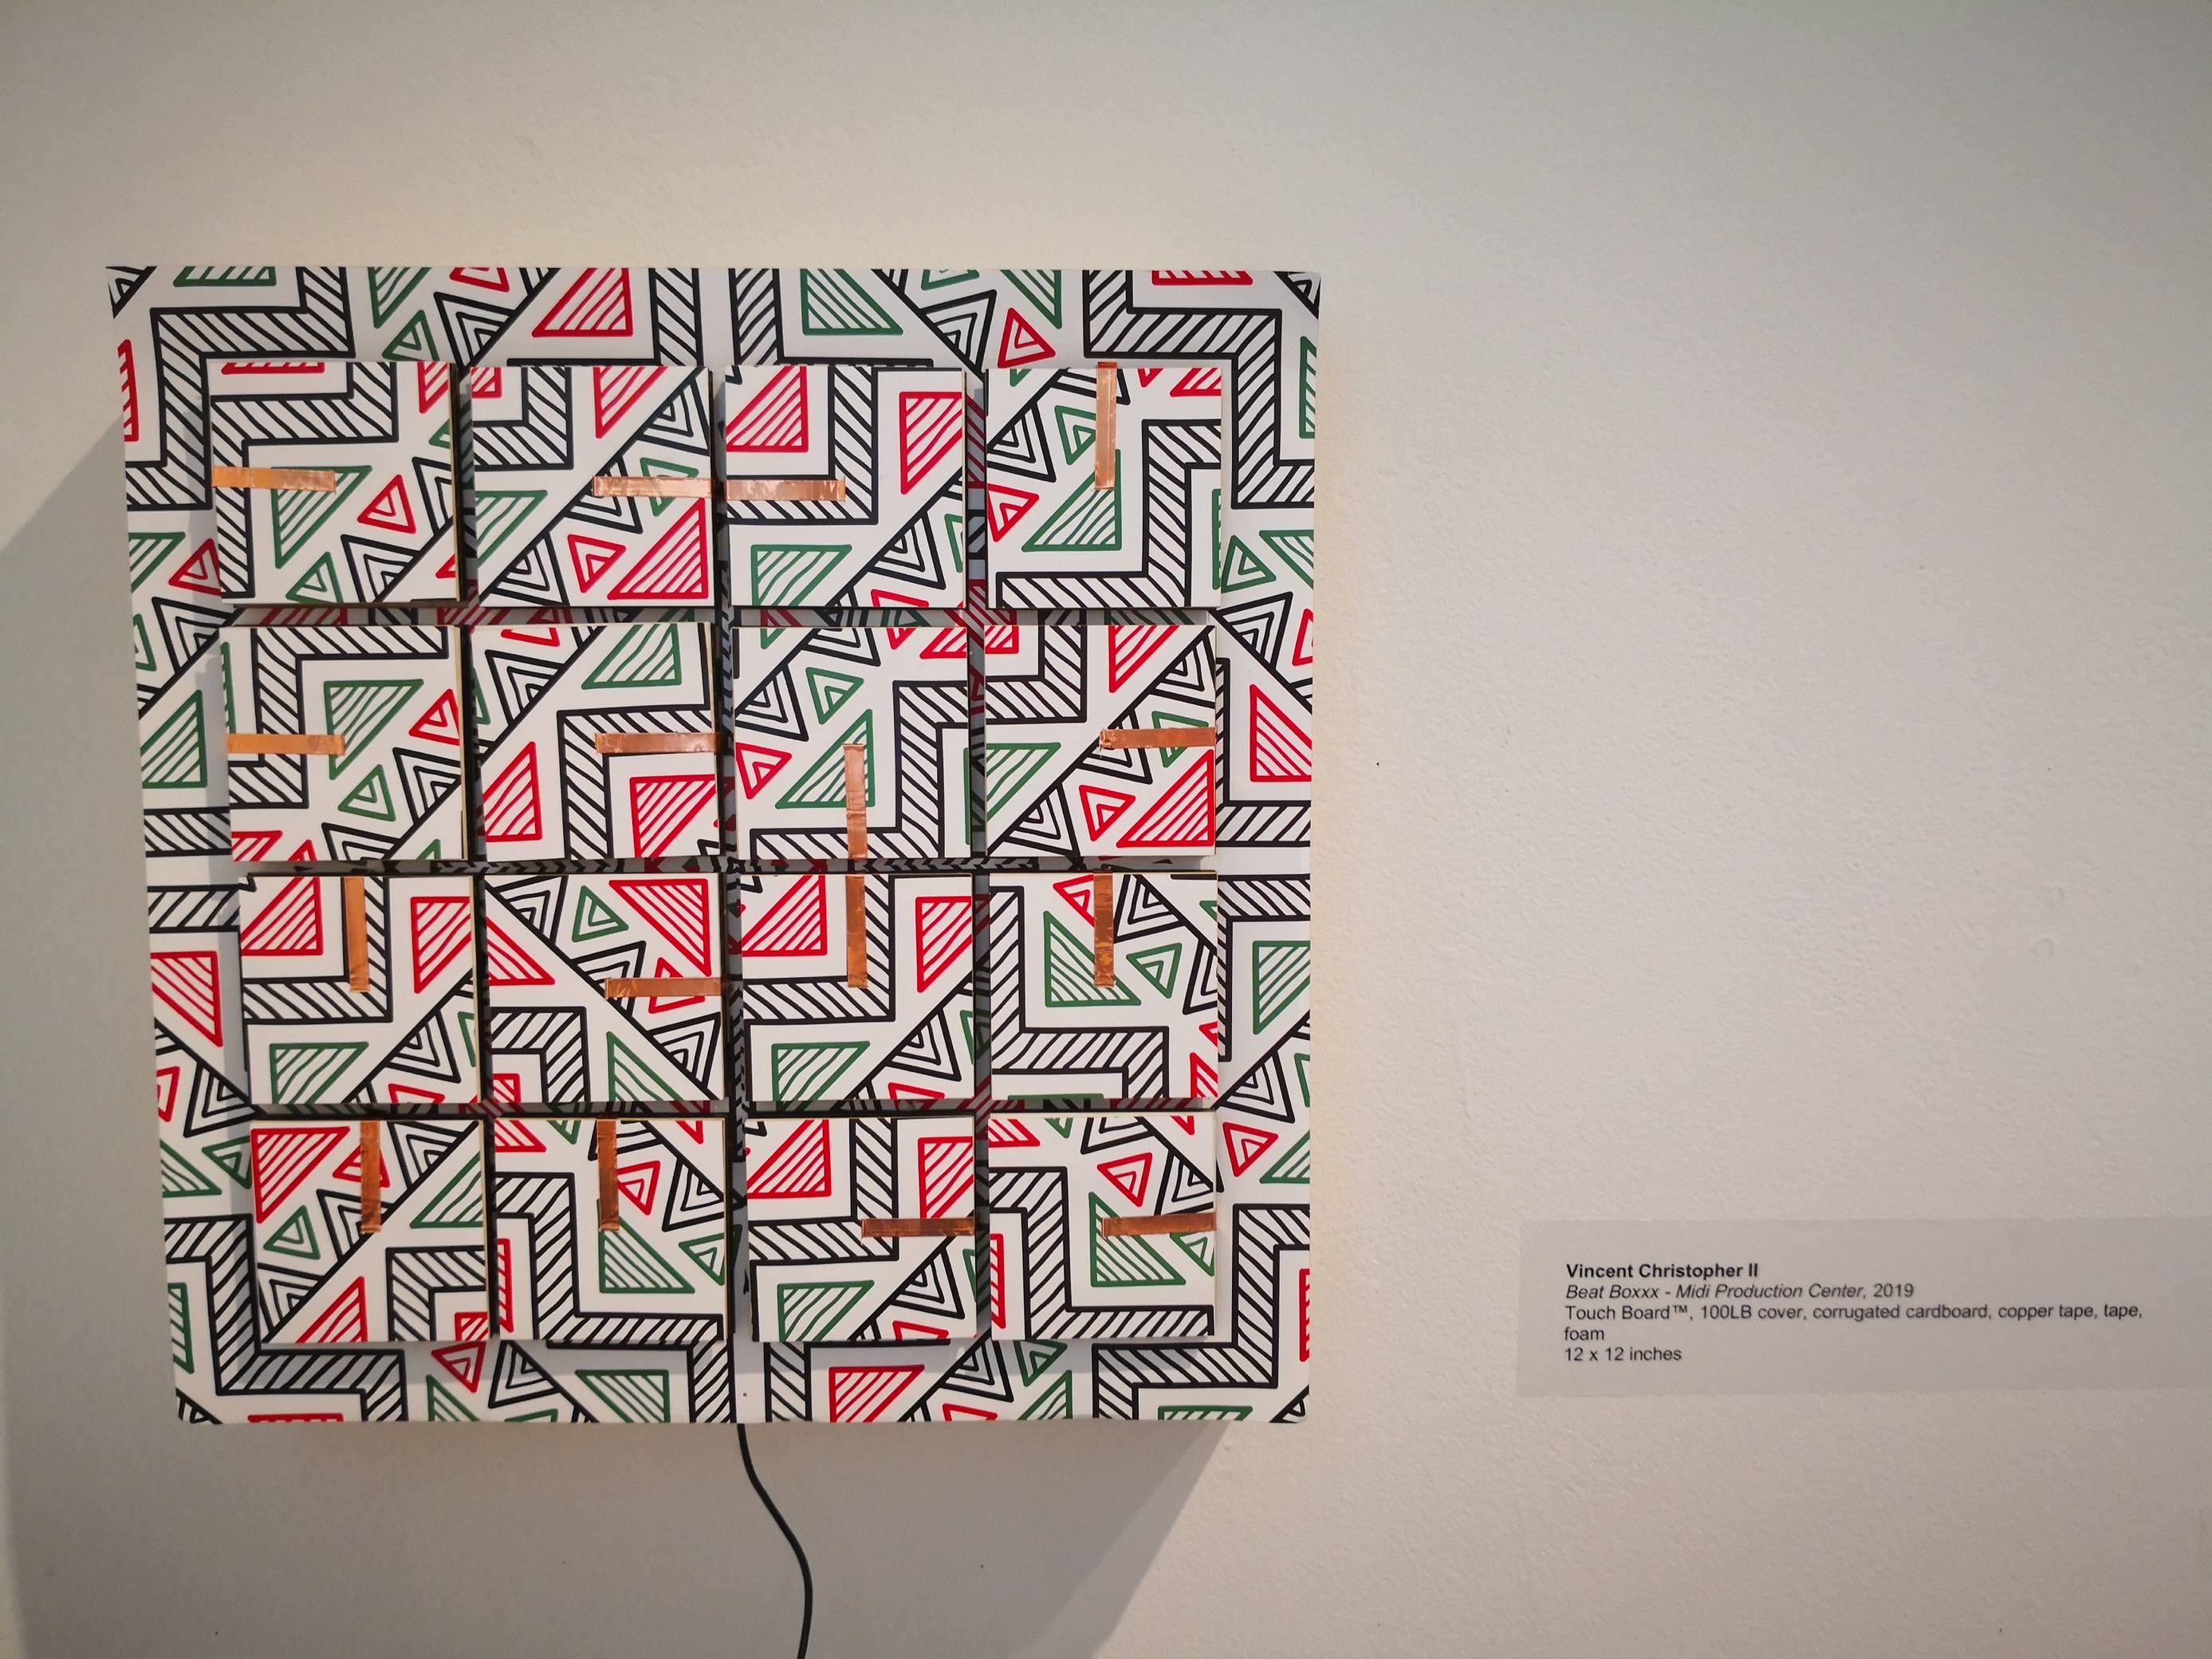
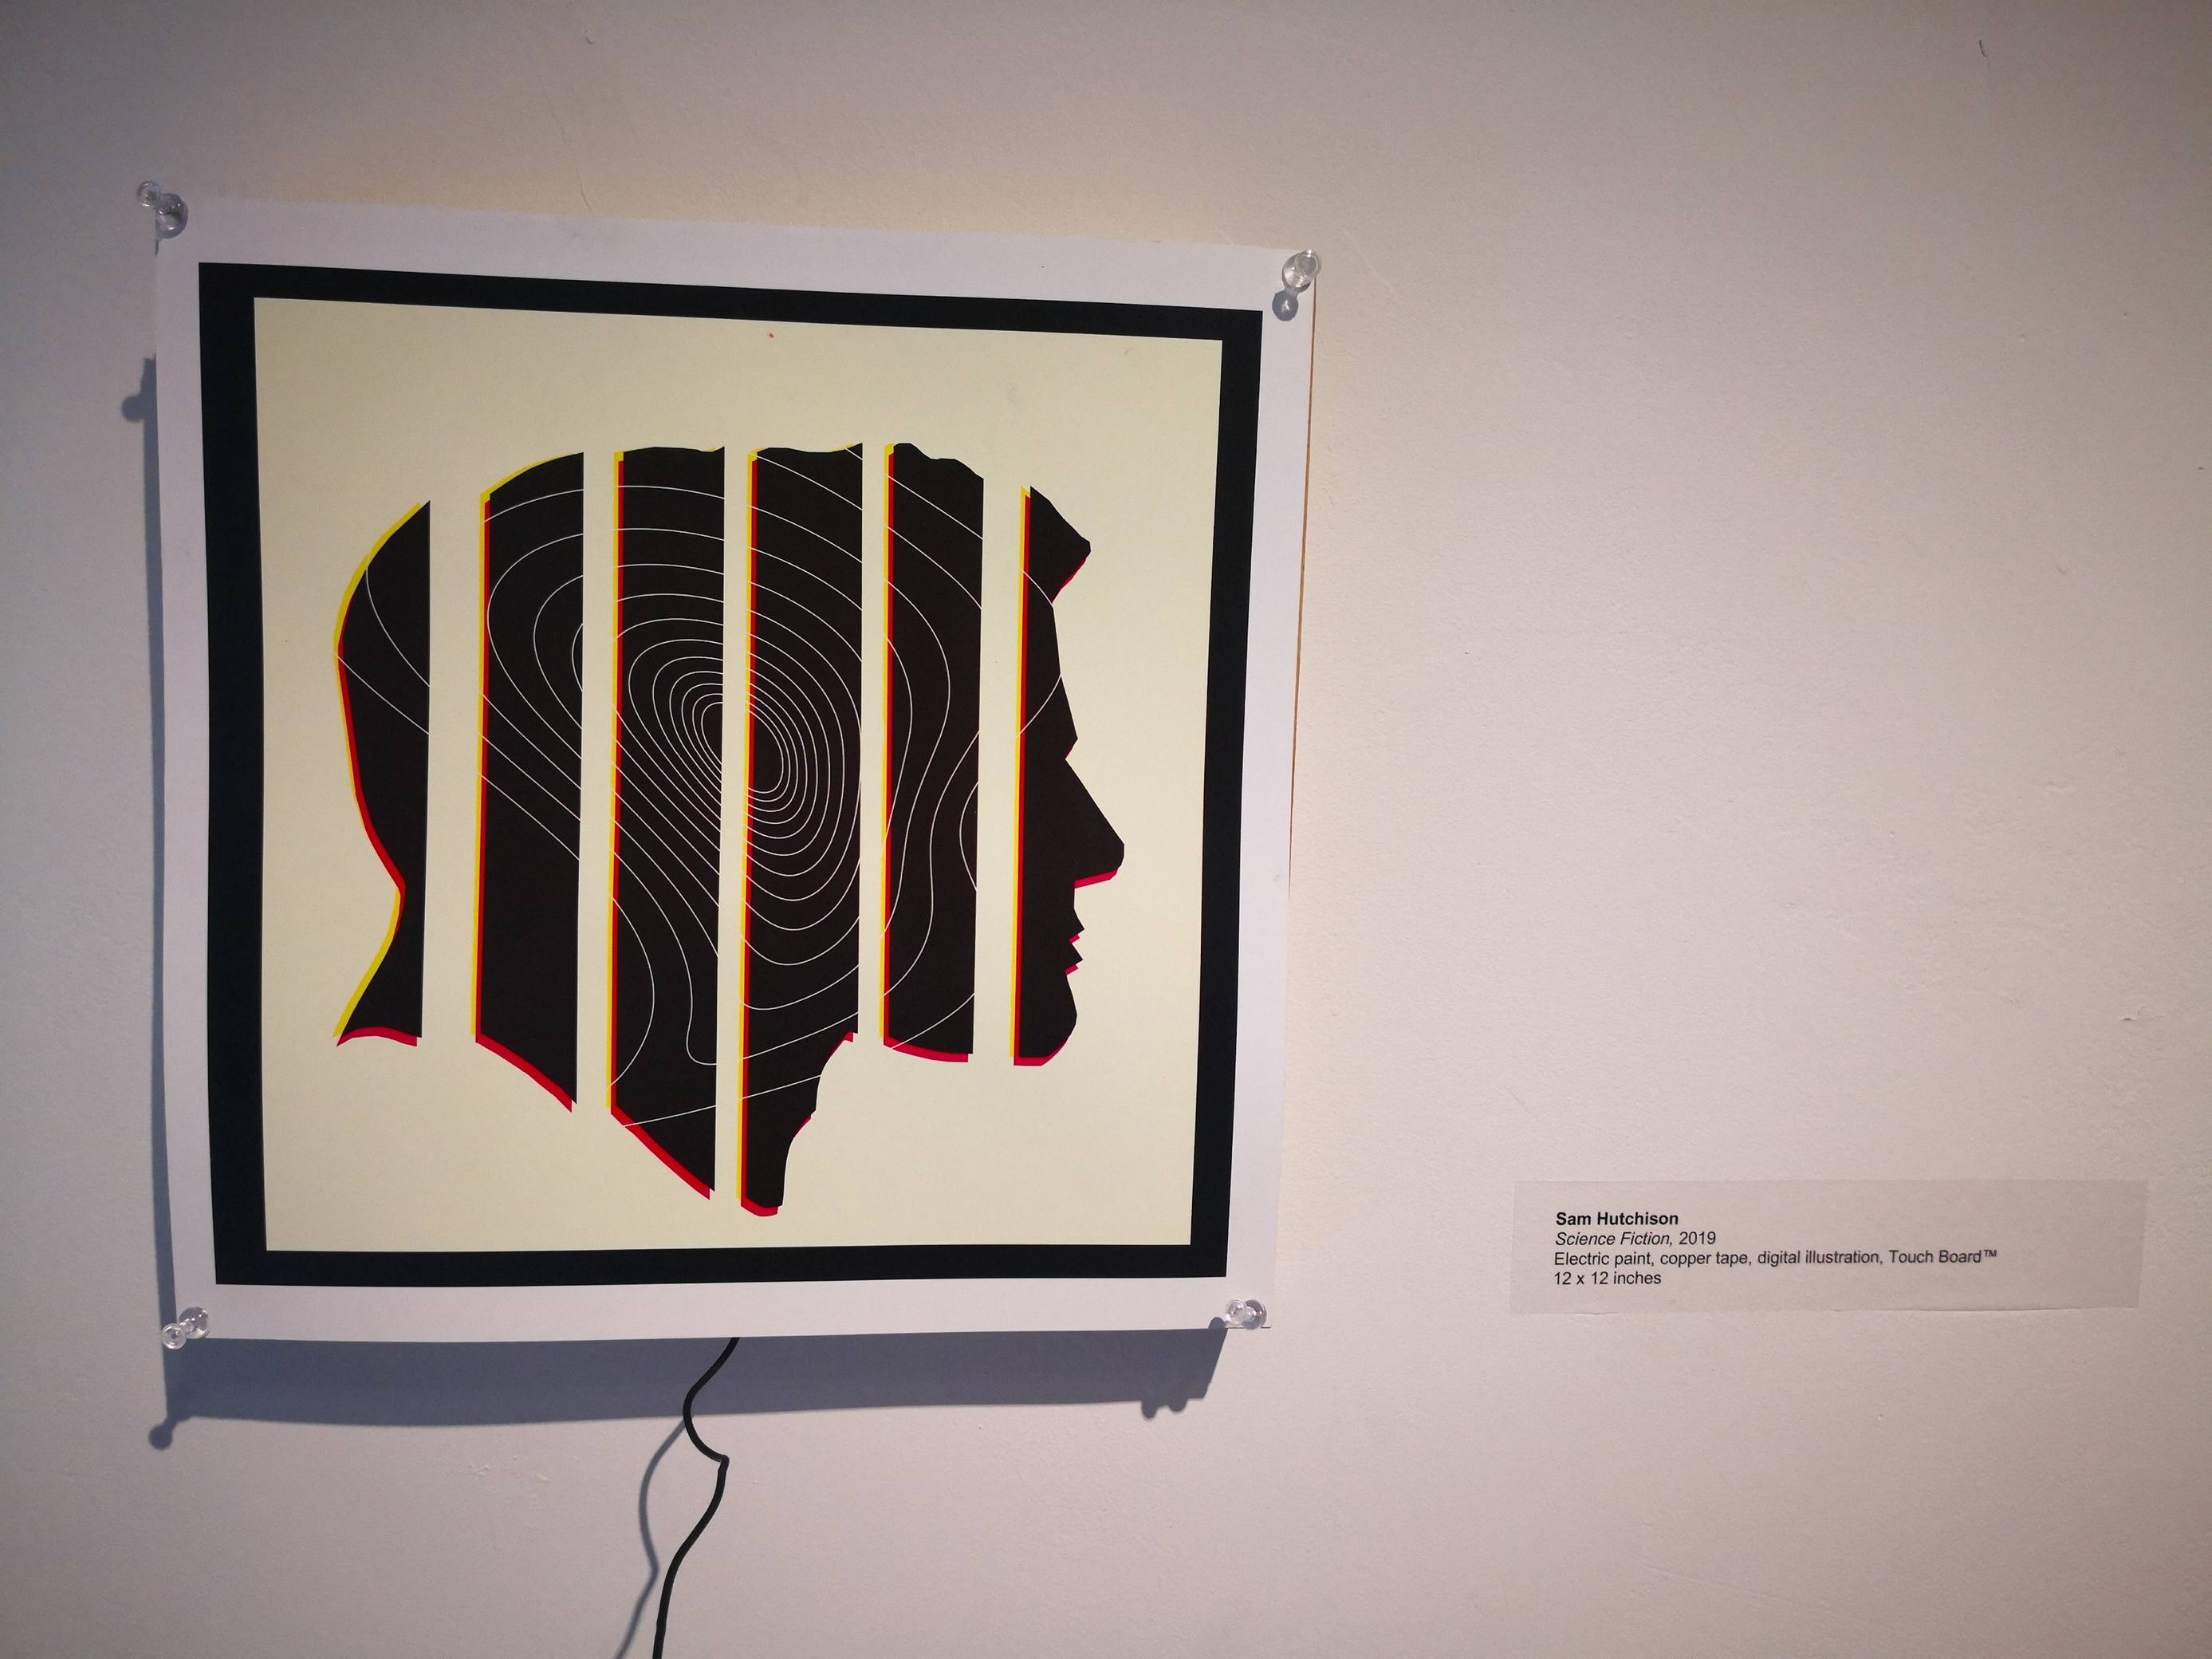
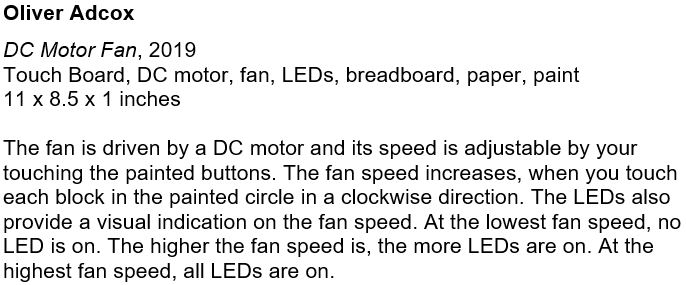
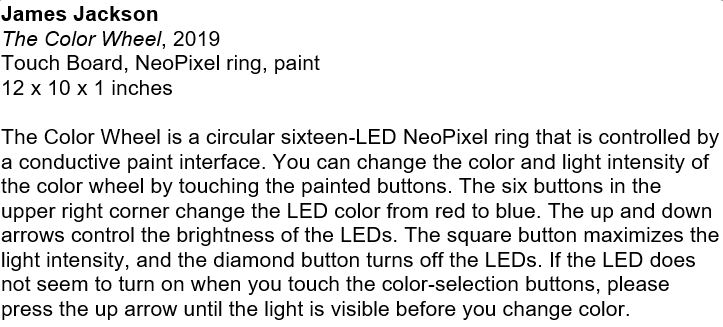
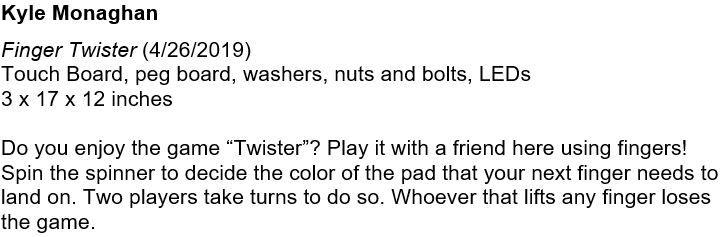
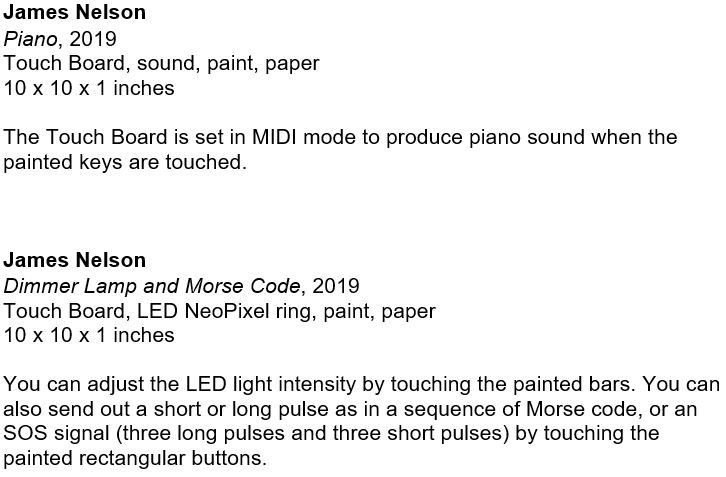
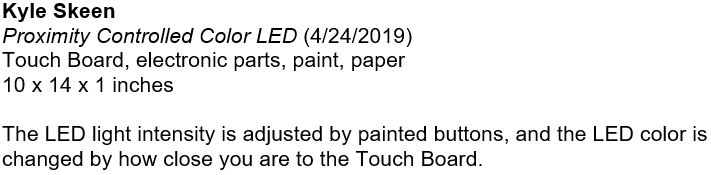
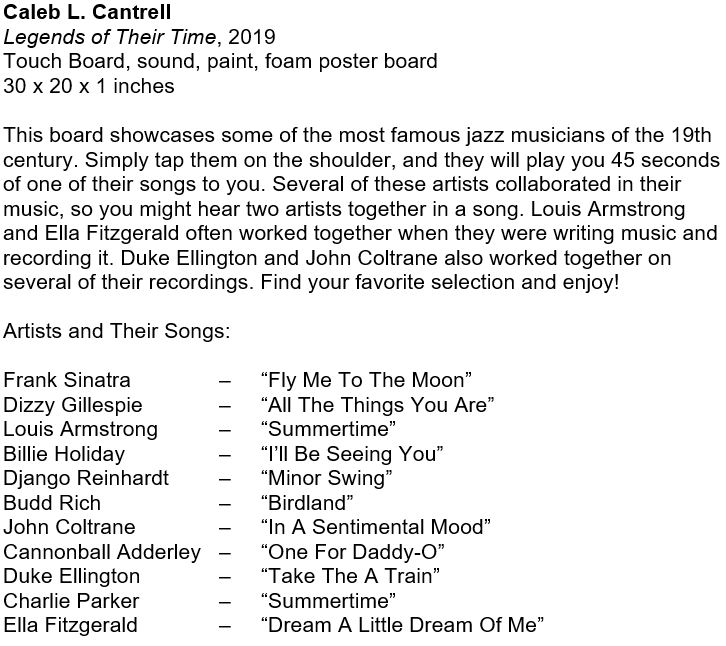
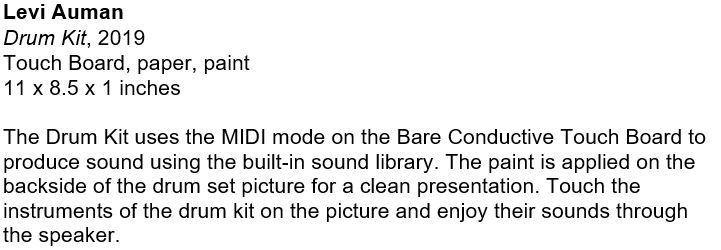
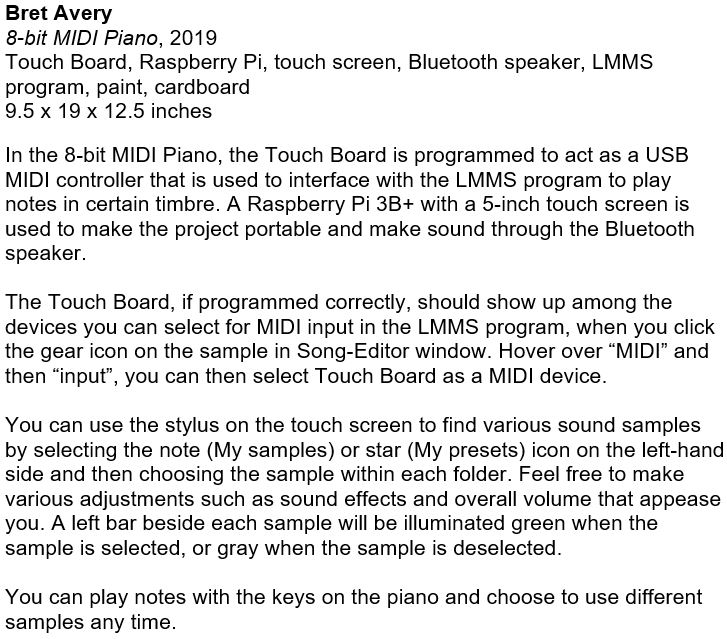
- The ENGR 493 projects demonstrate the potential of Touch Boards in a much wider realm of interaction and actuation beyond touch and sound.
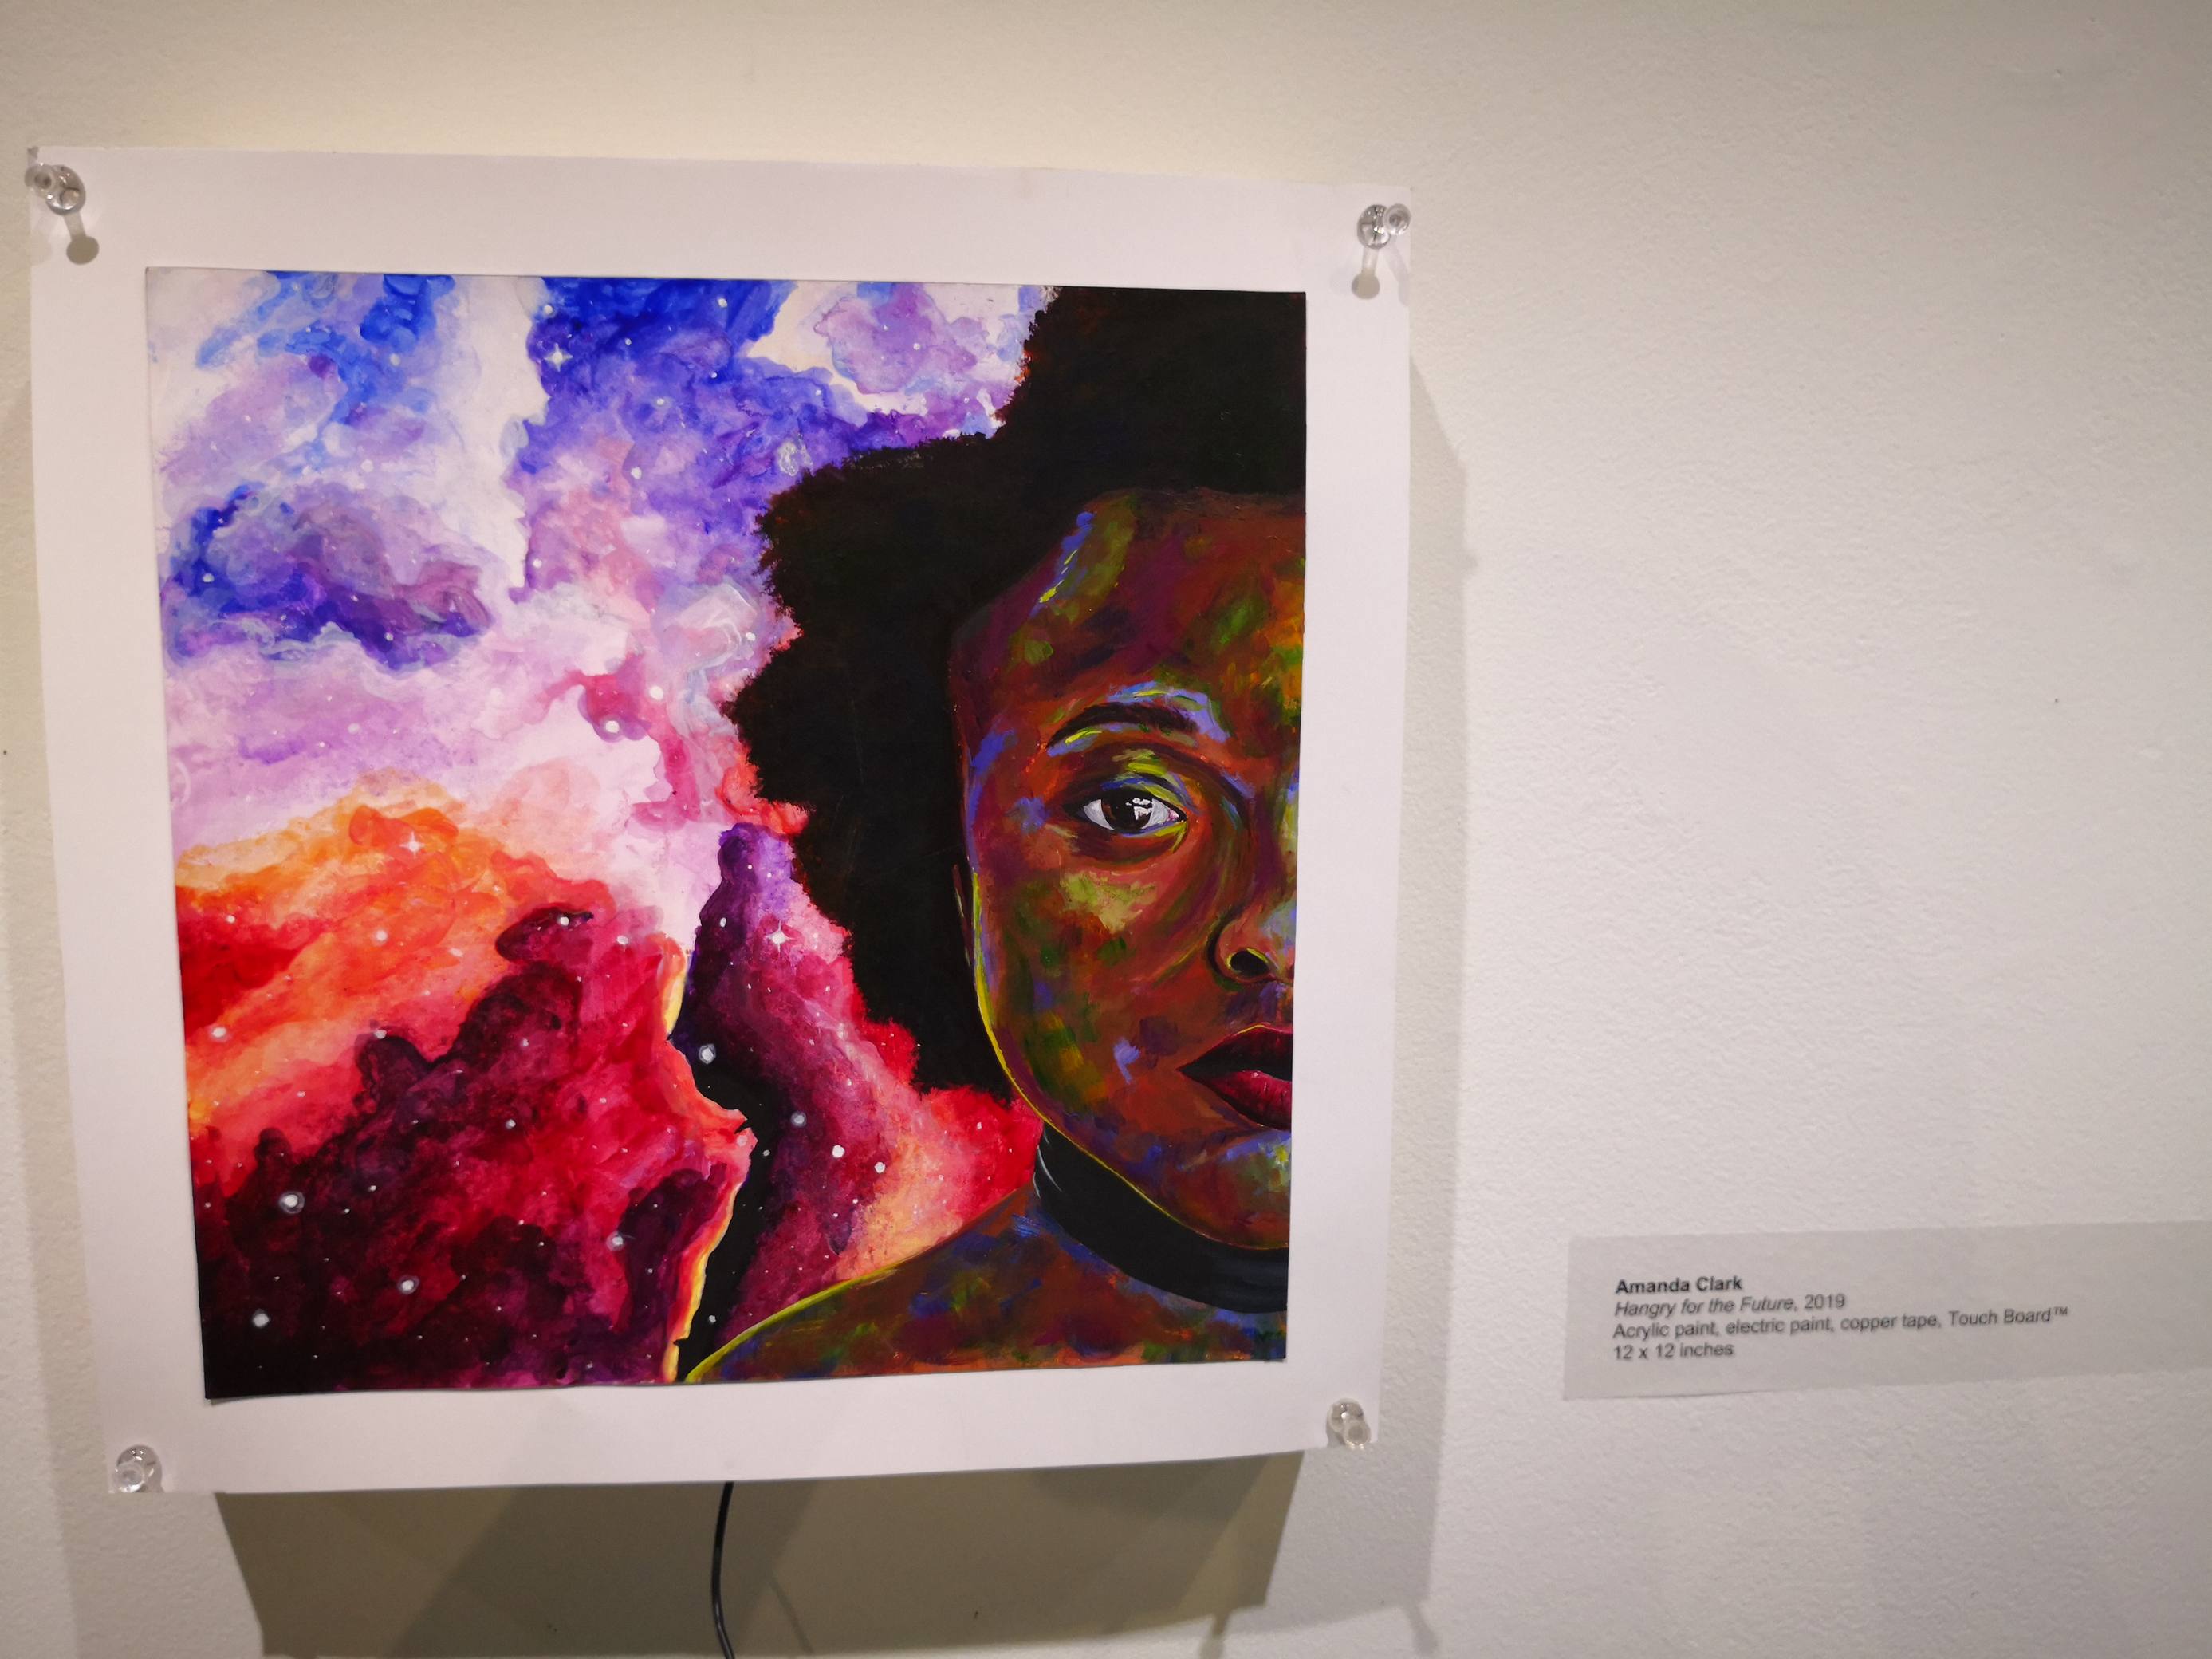
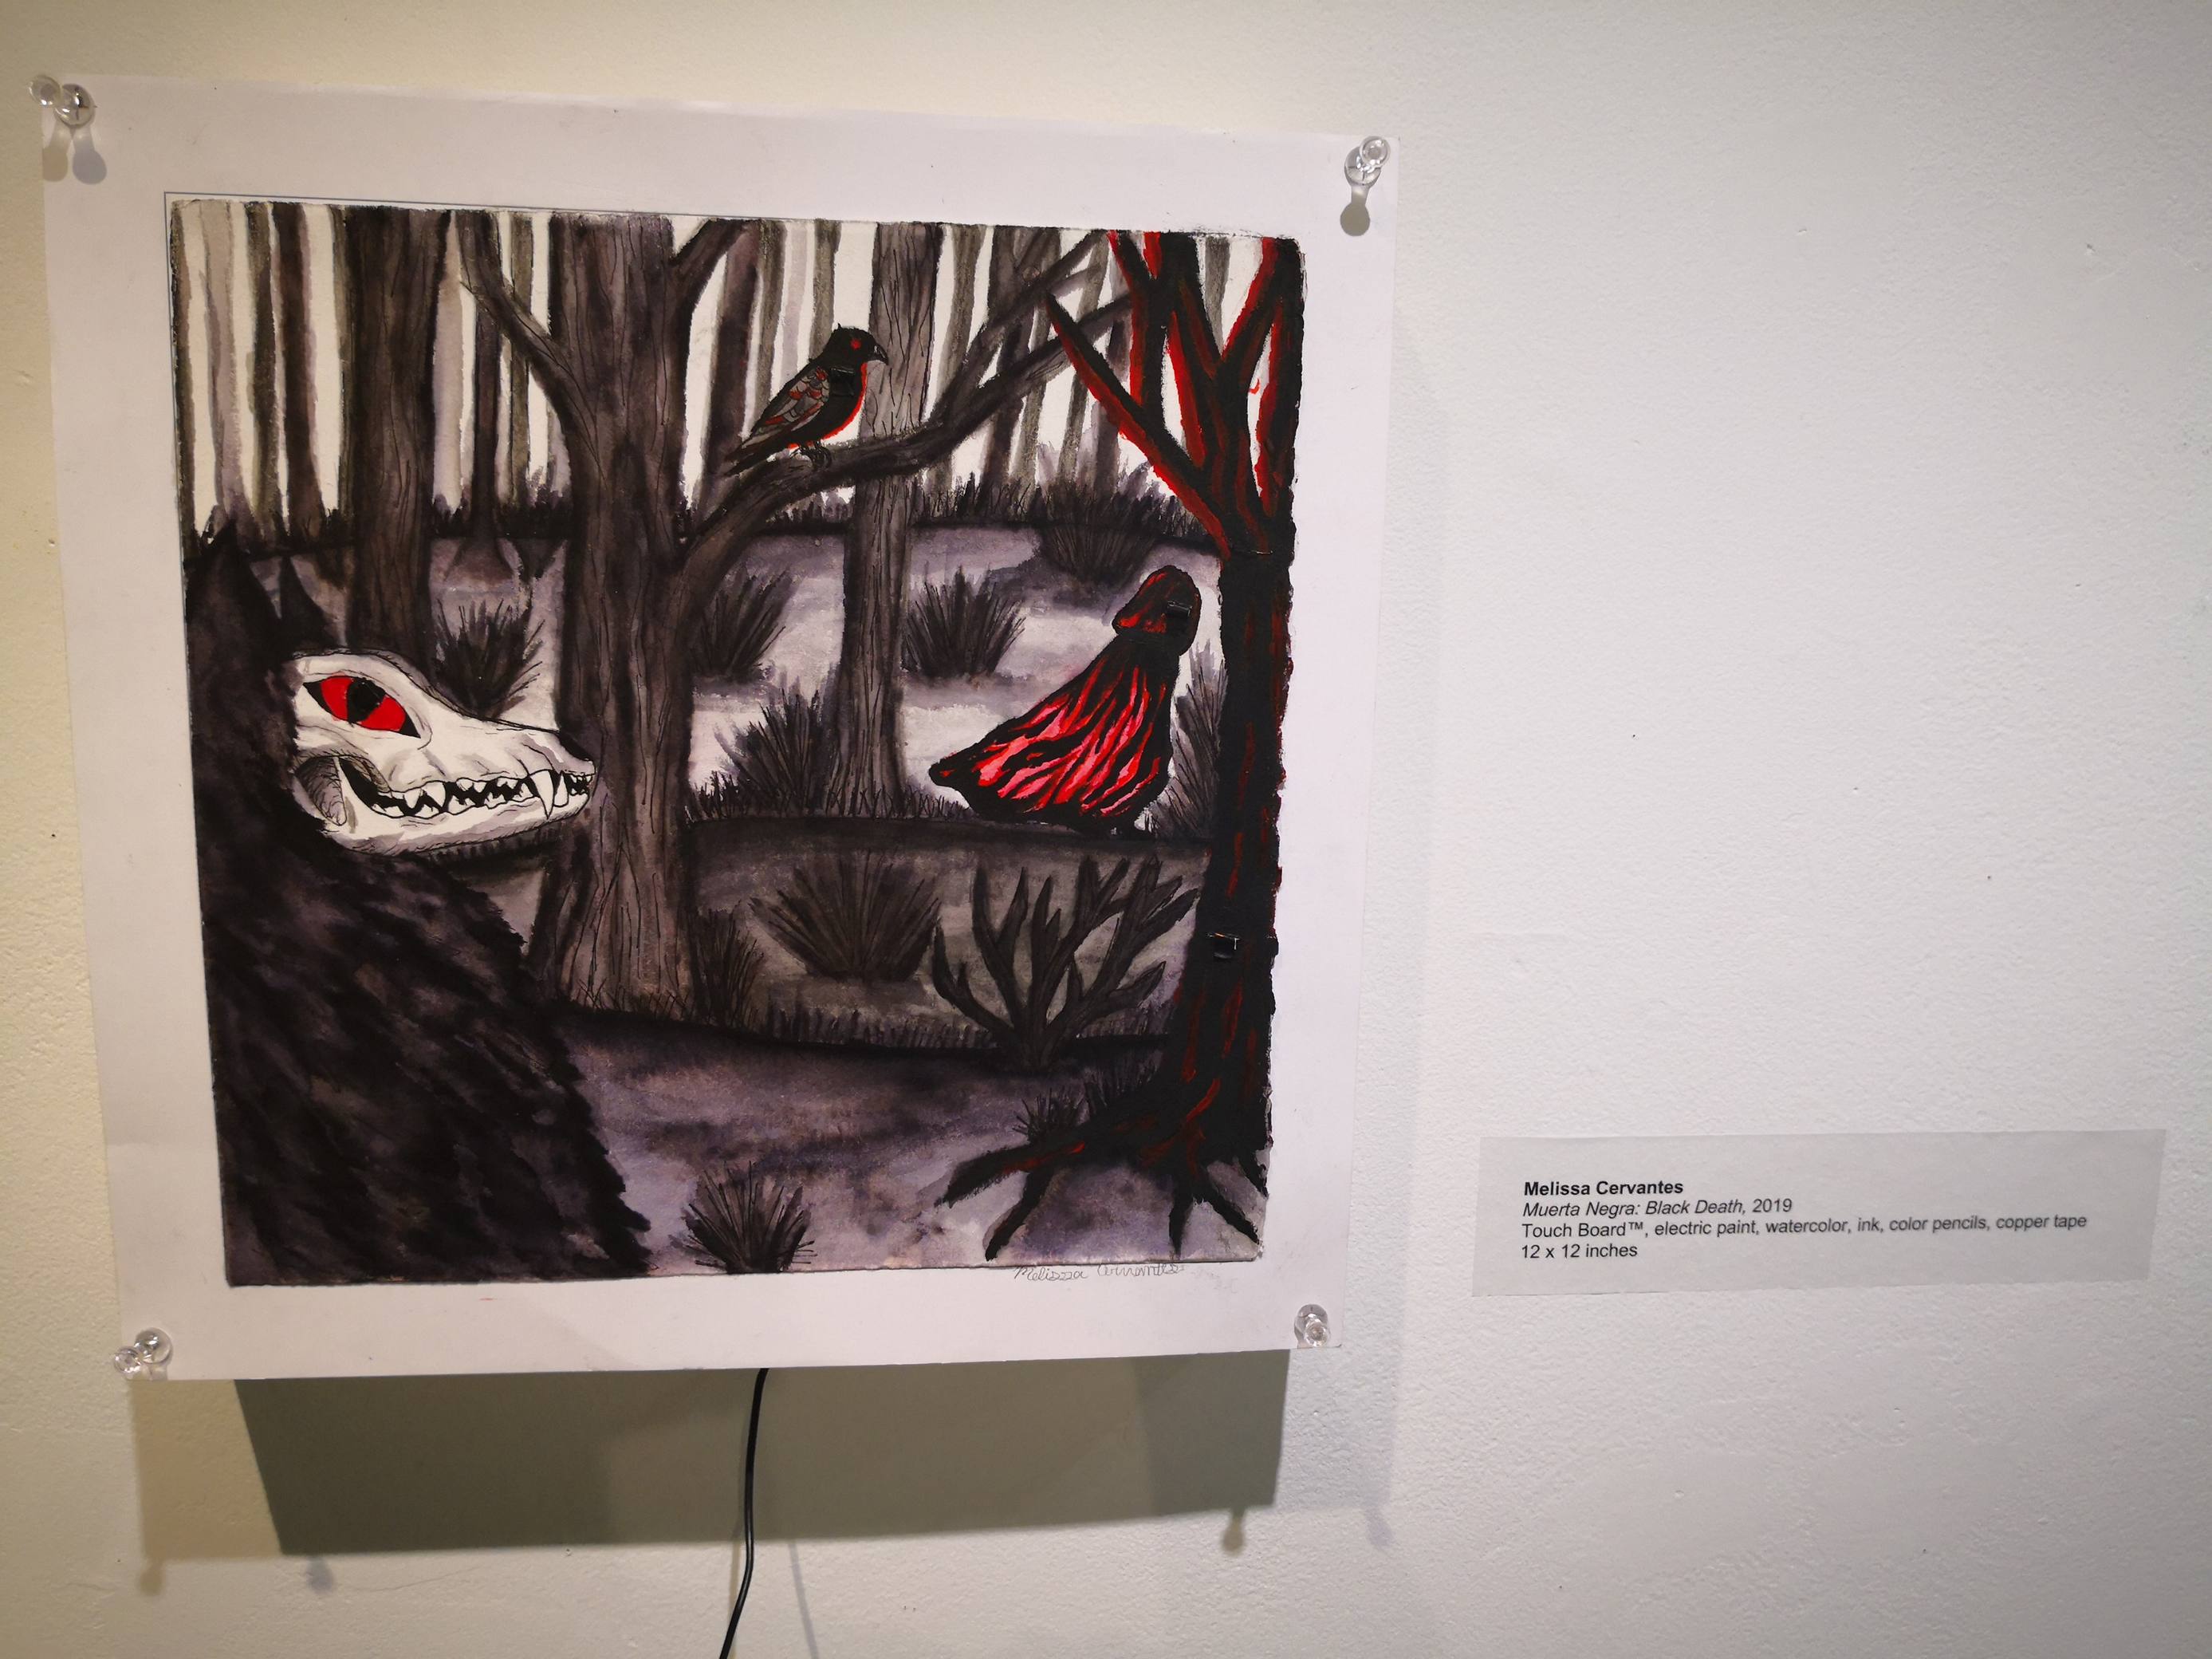
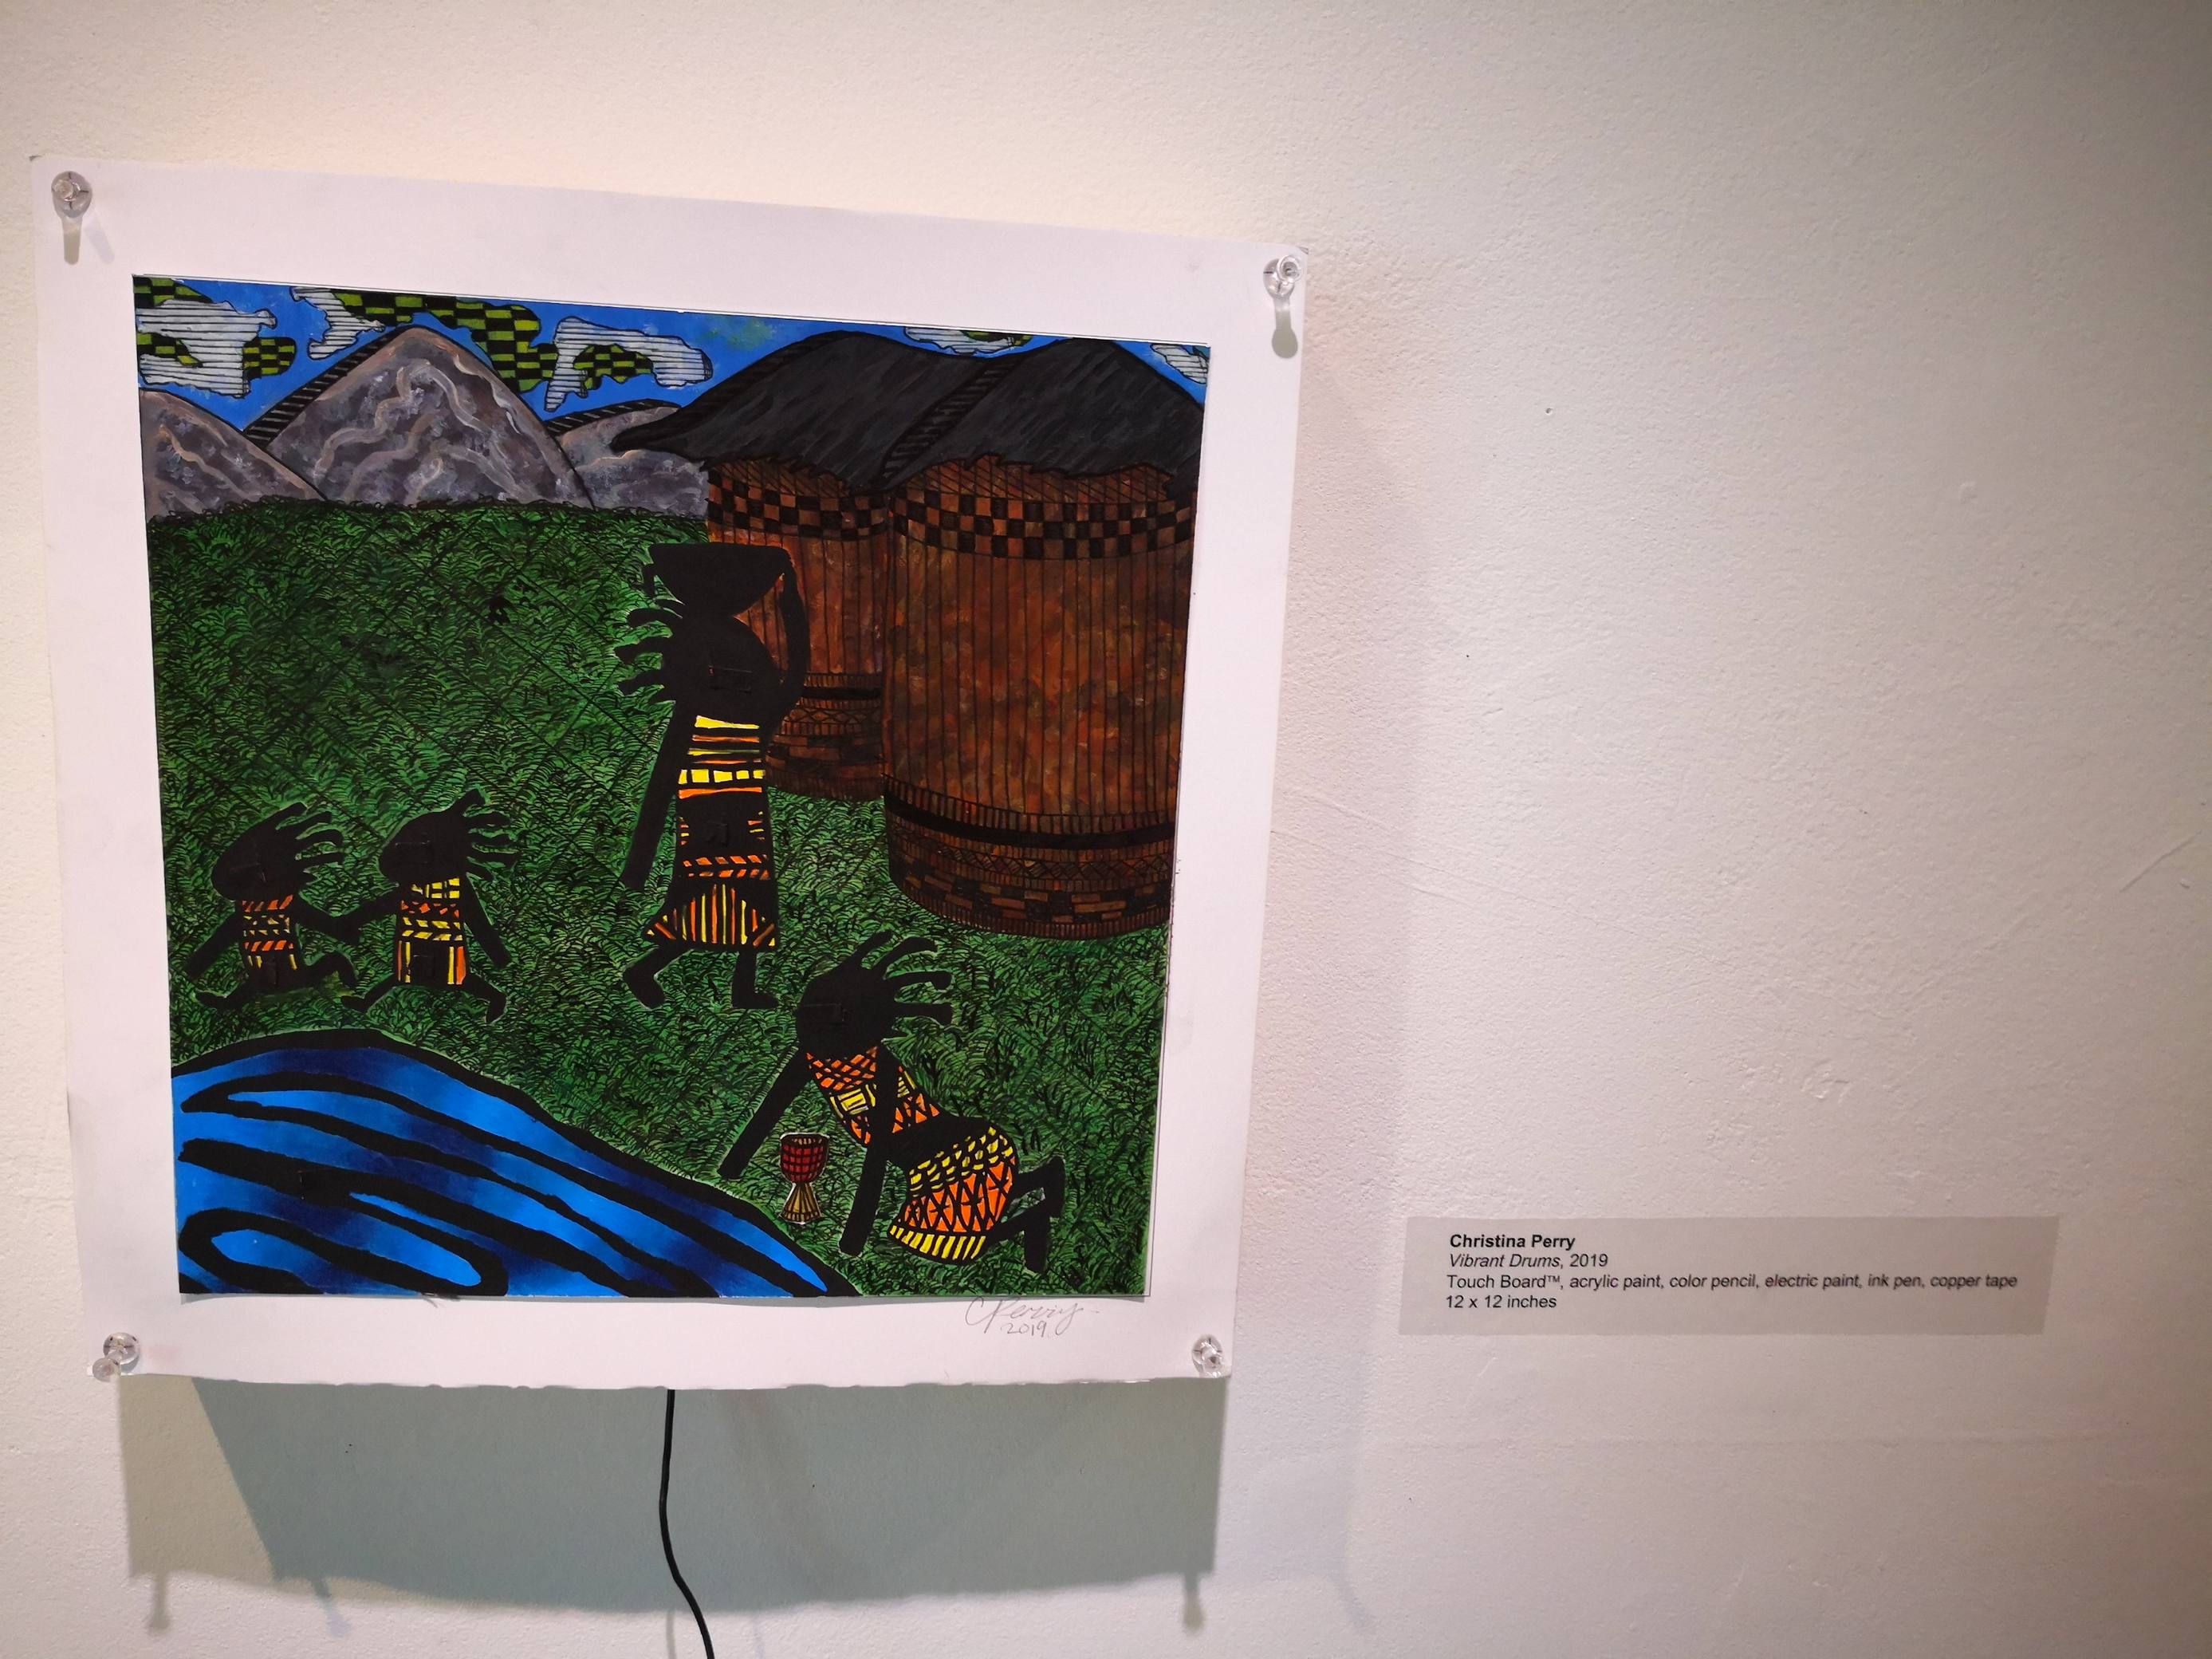
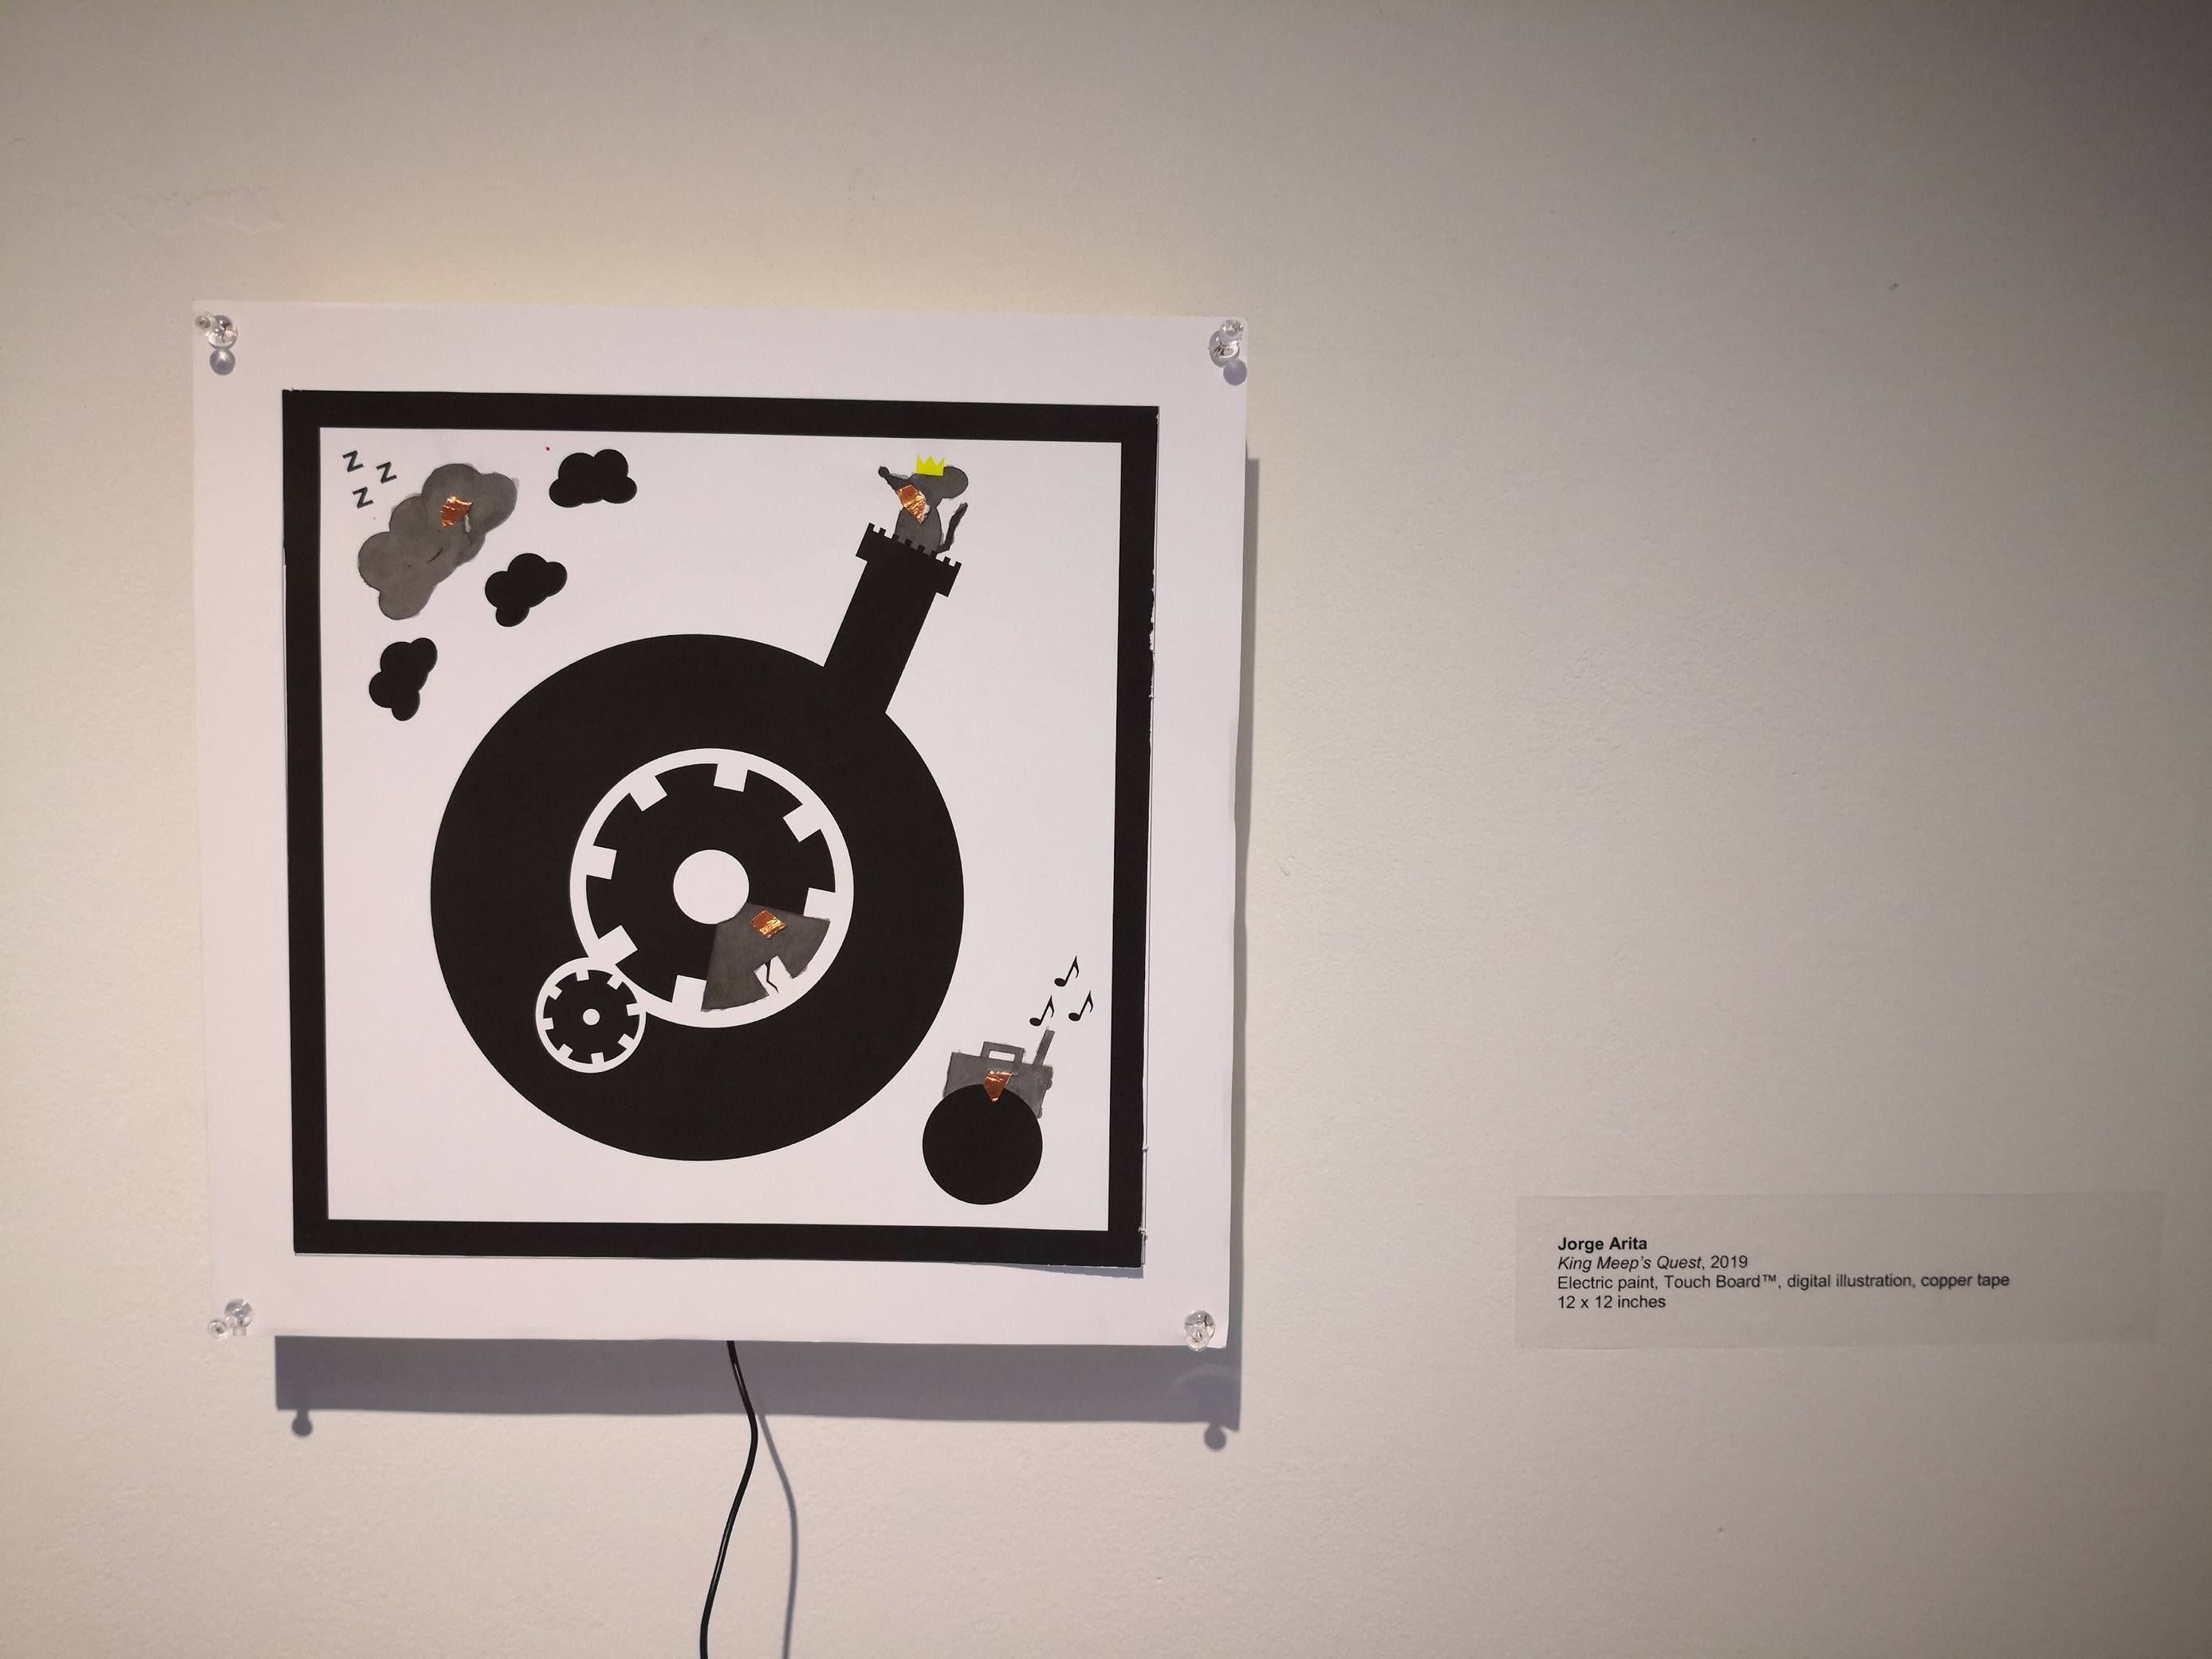
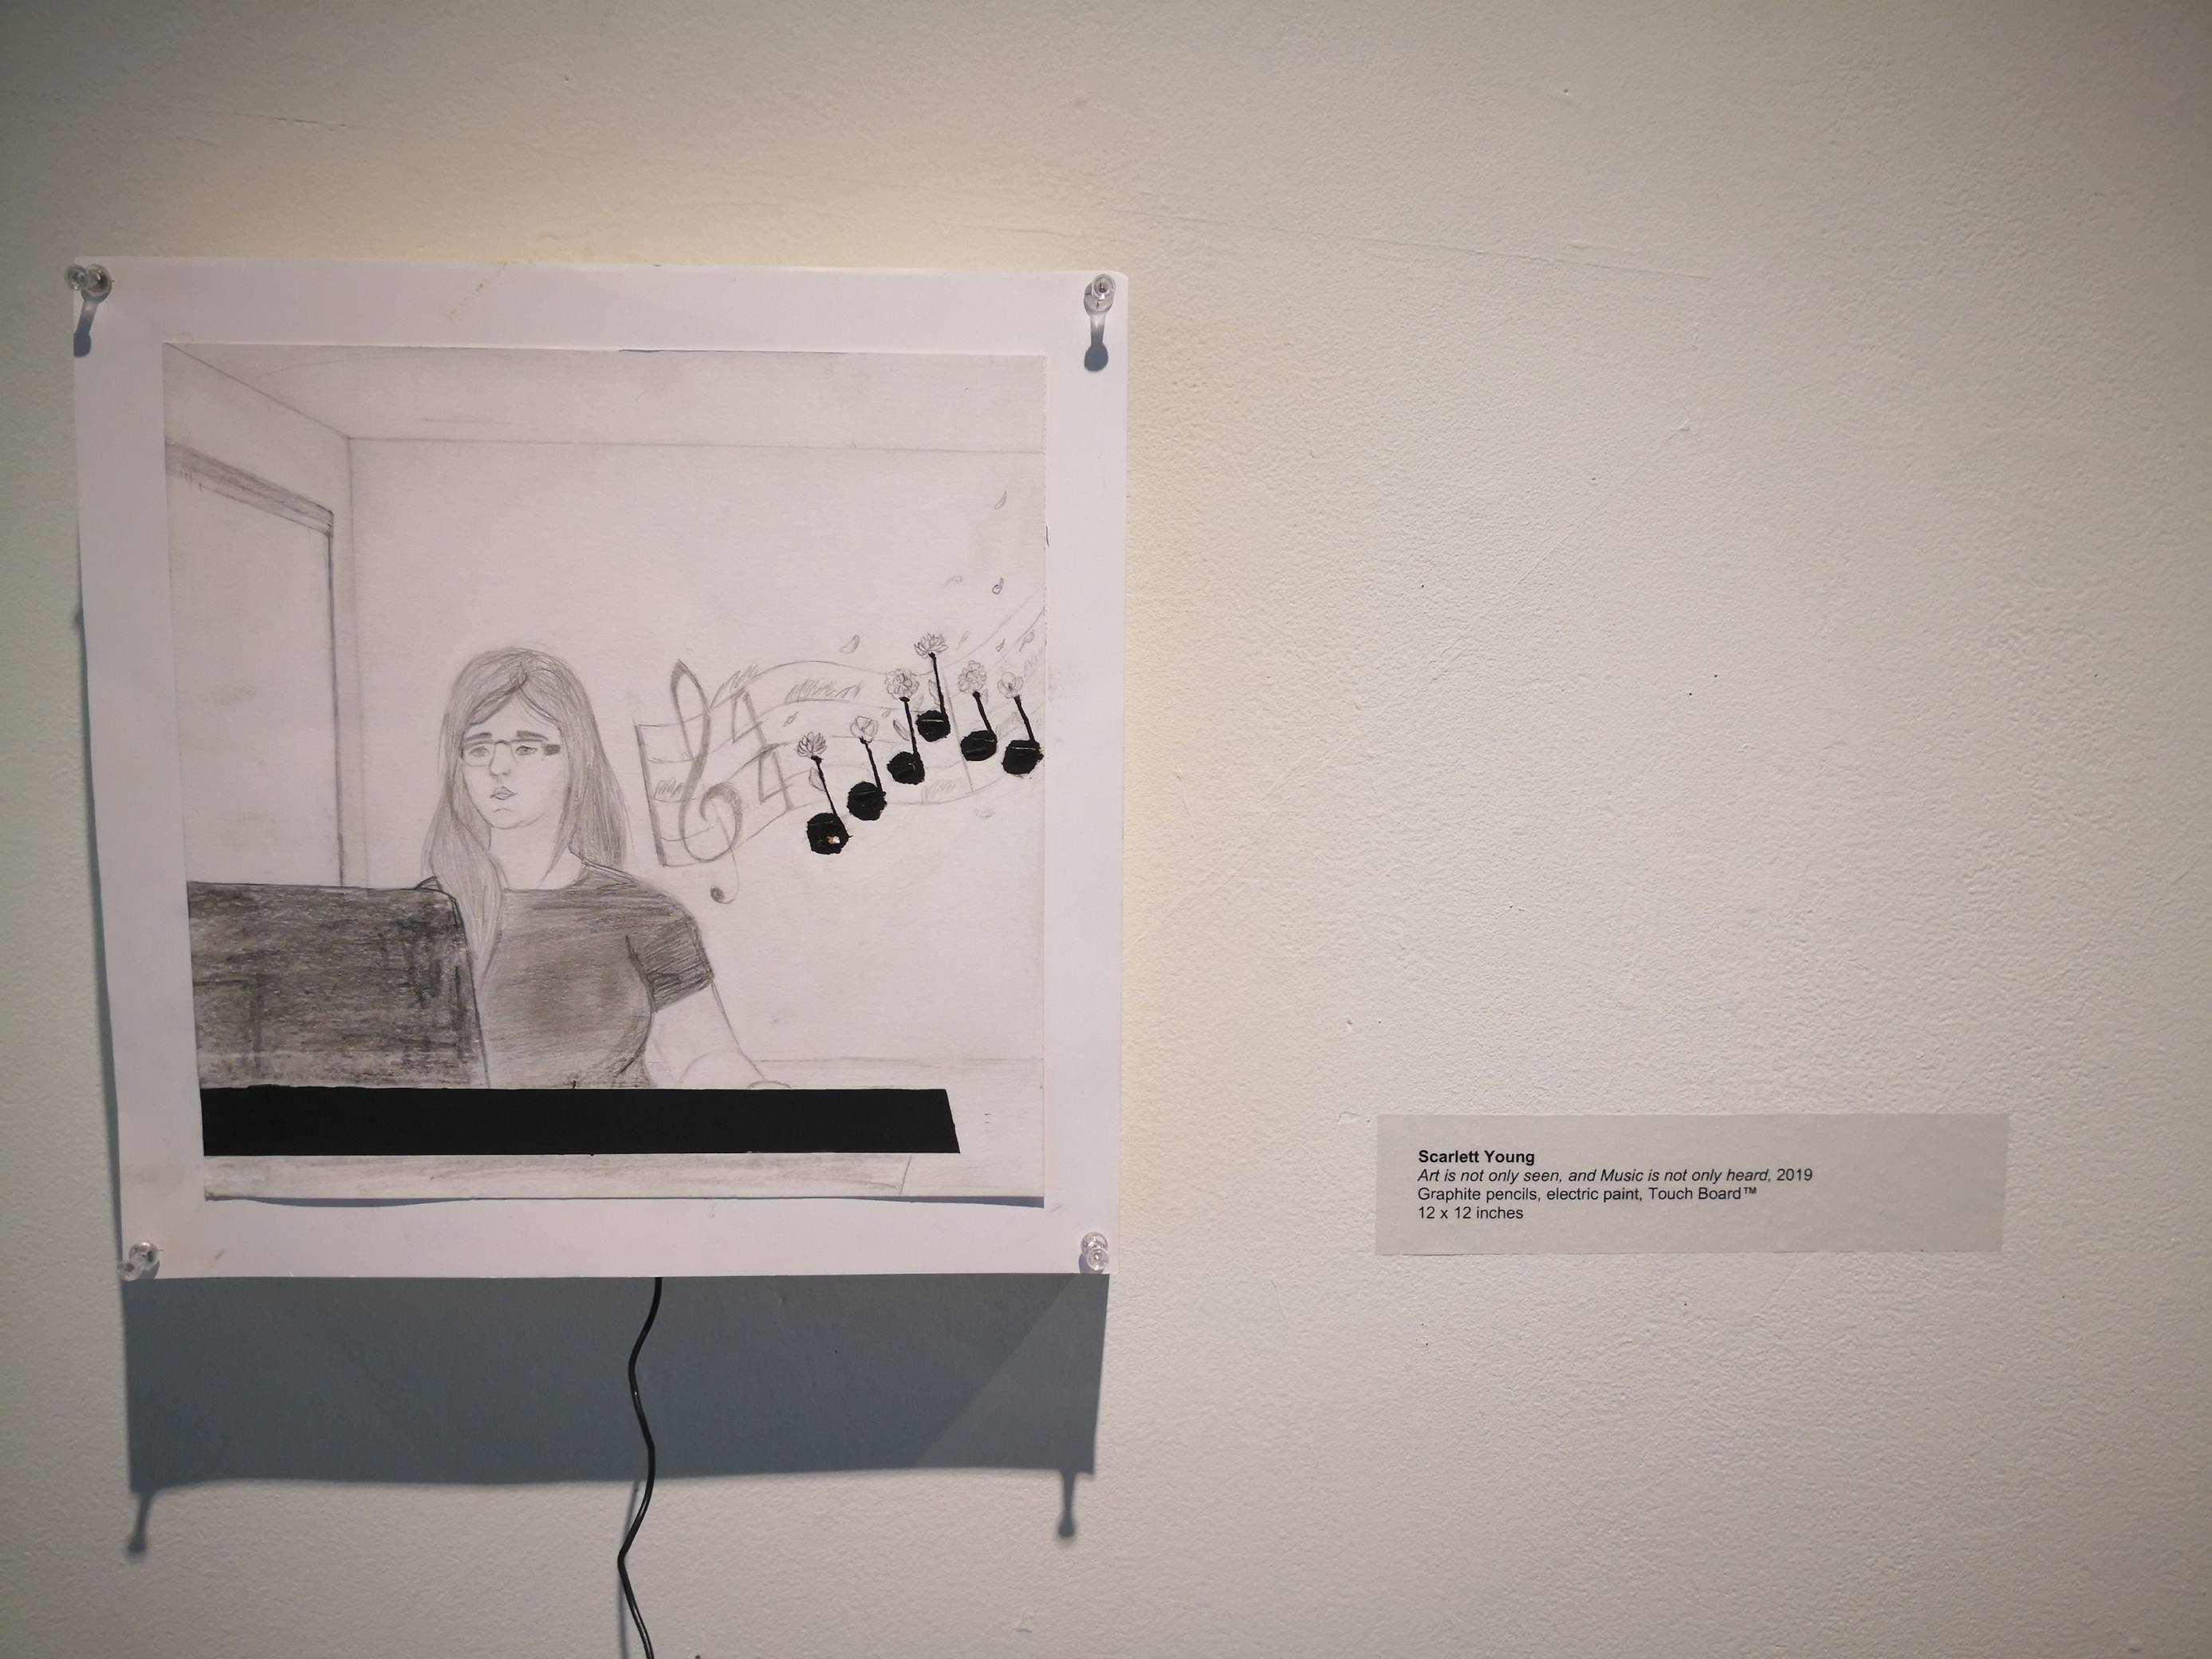
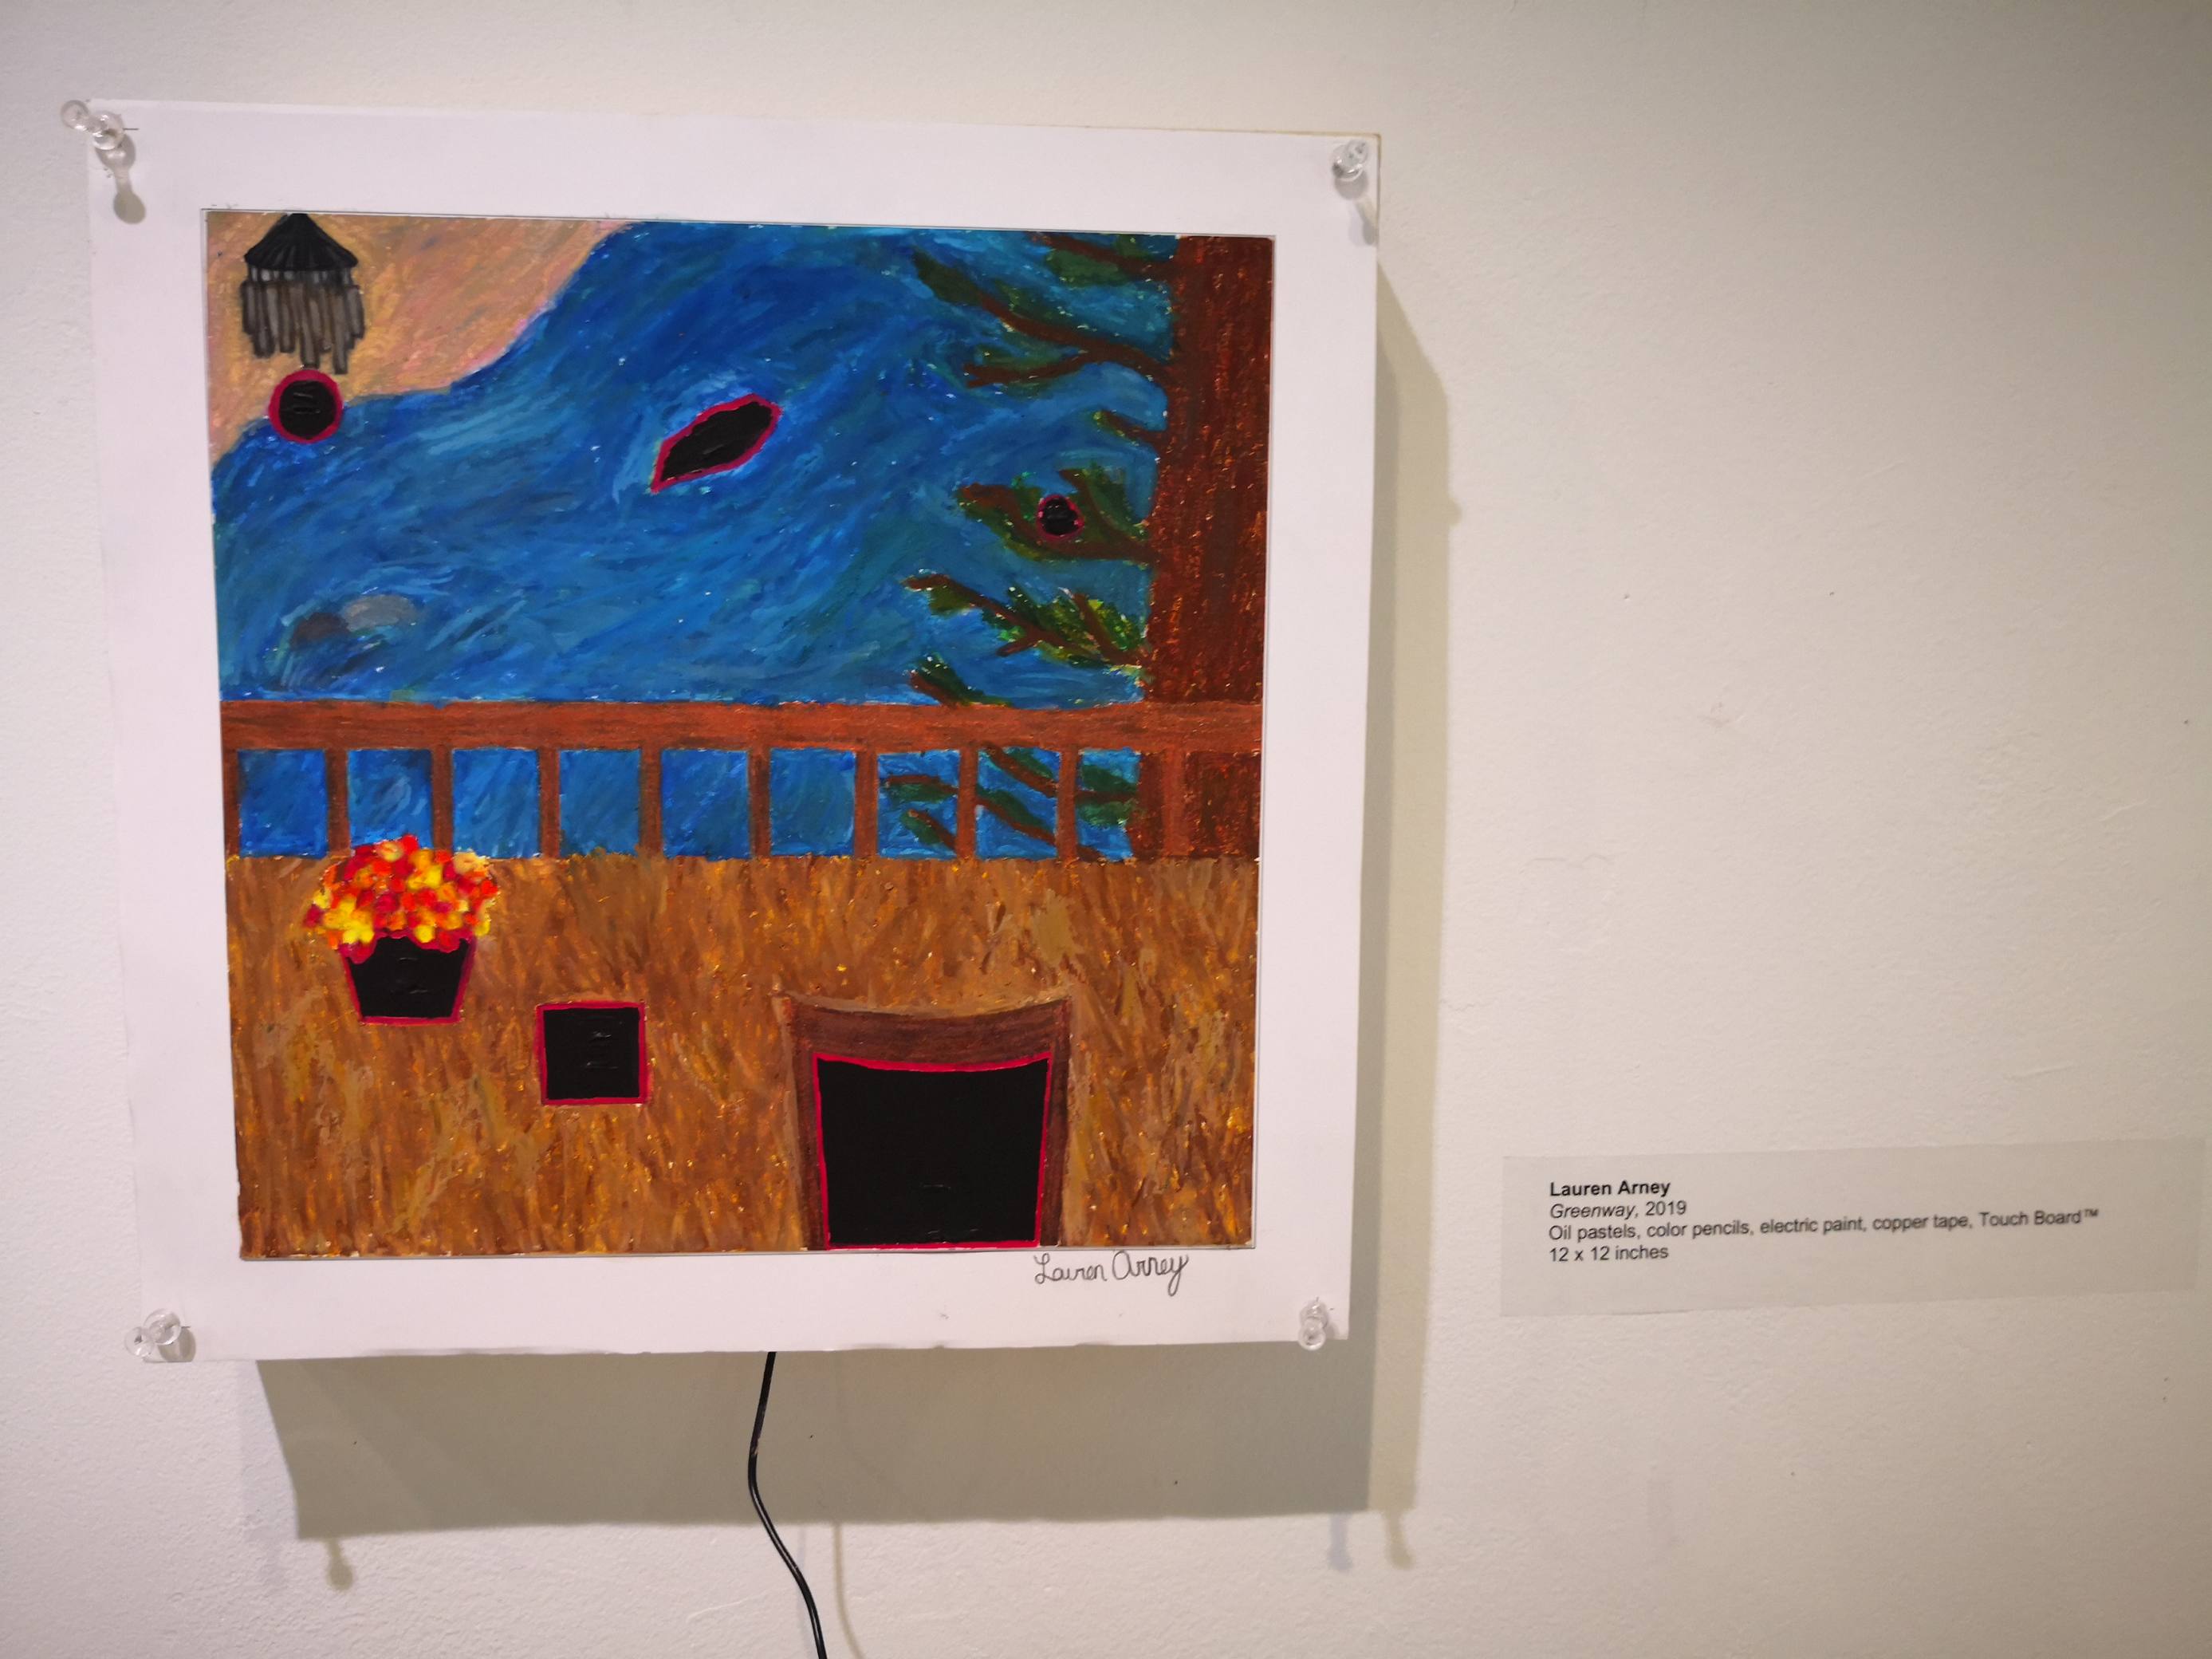
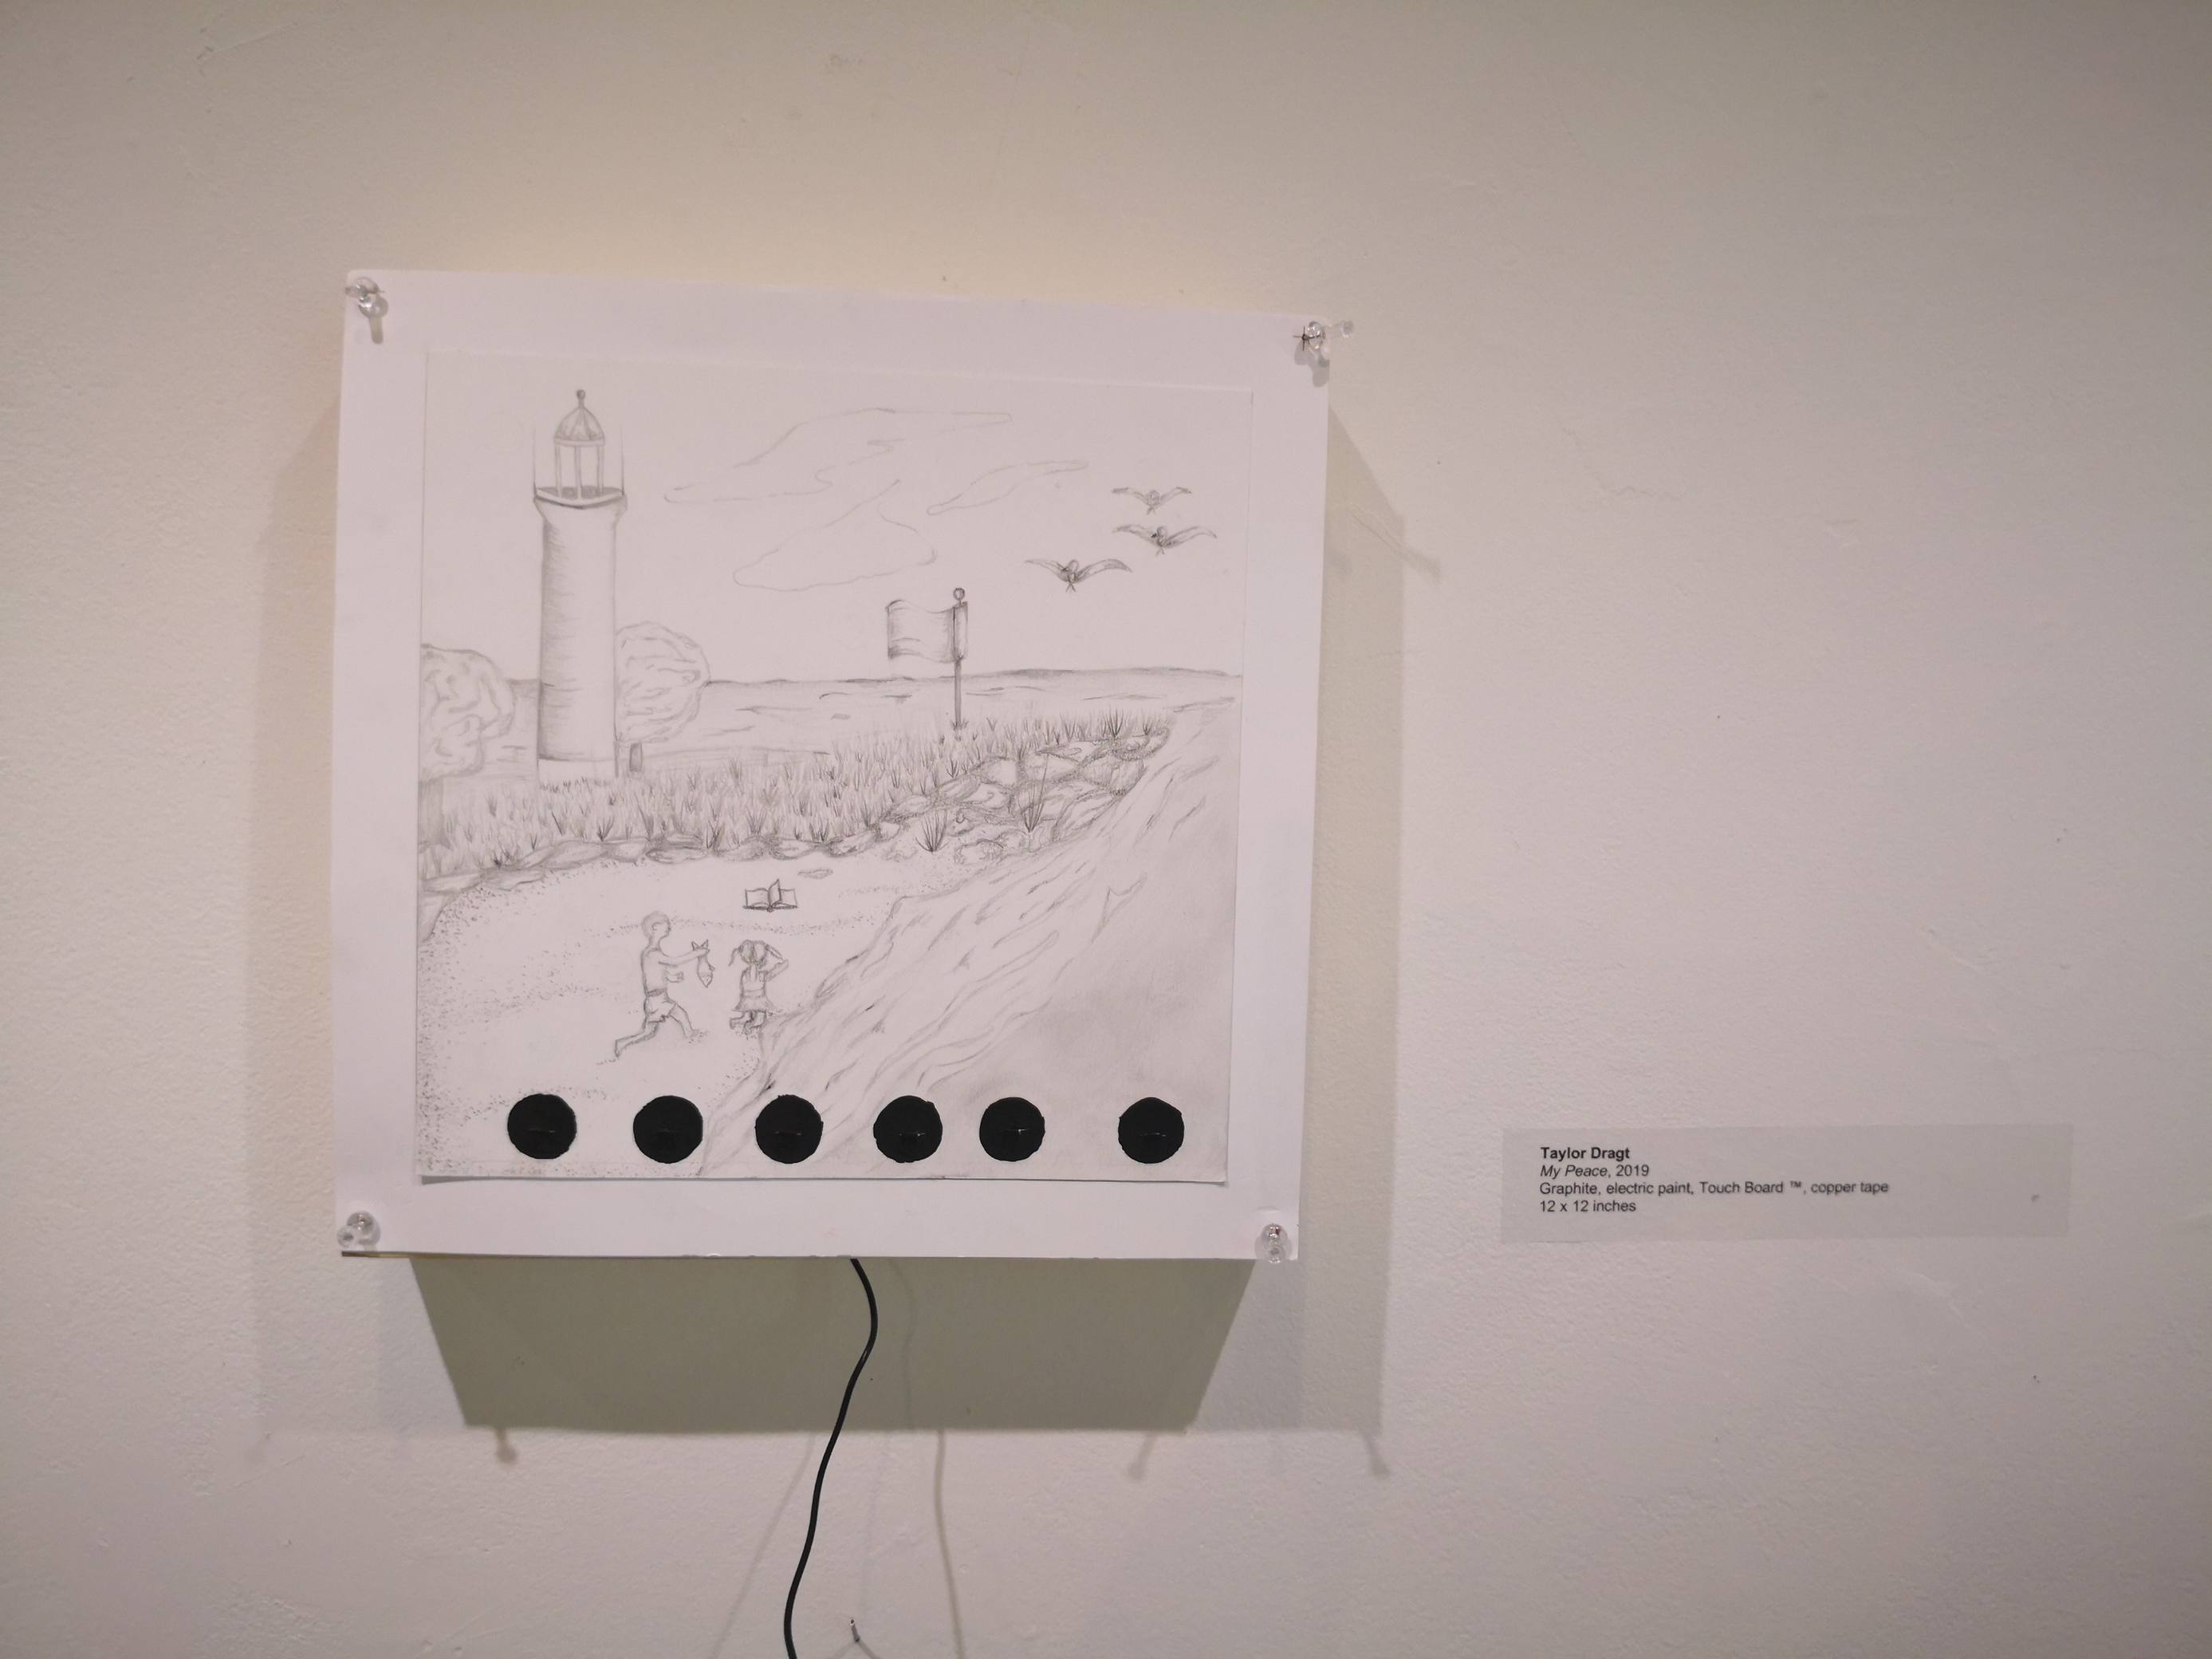
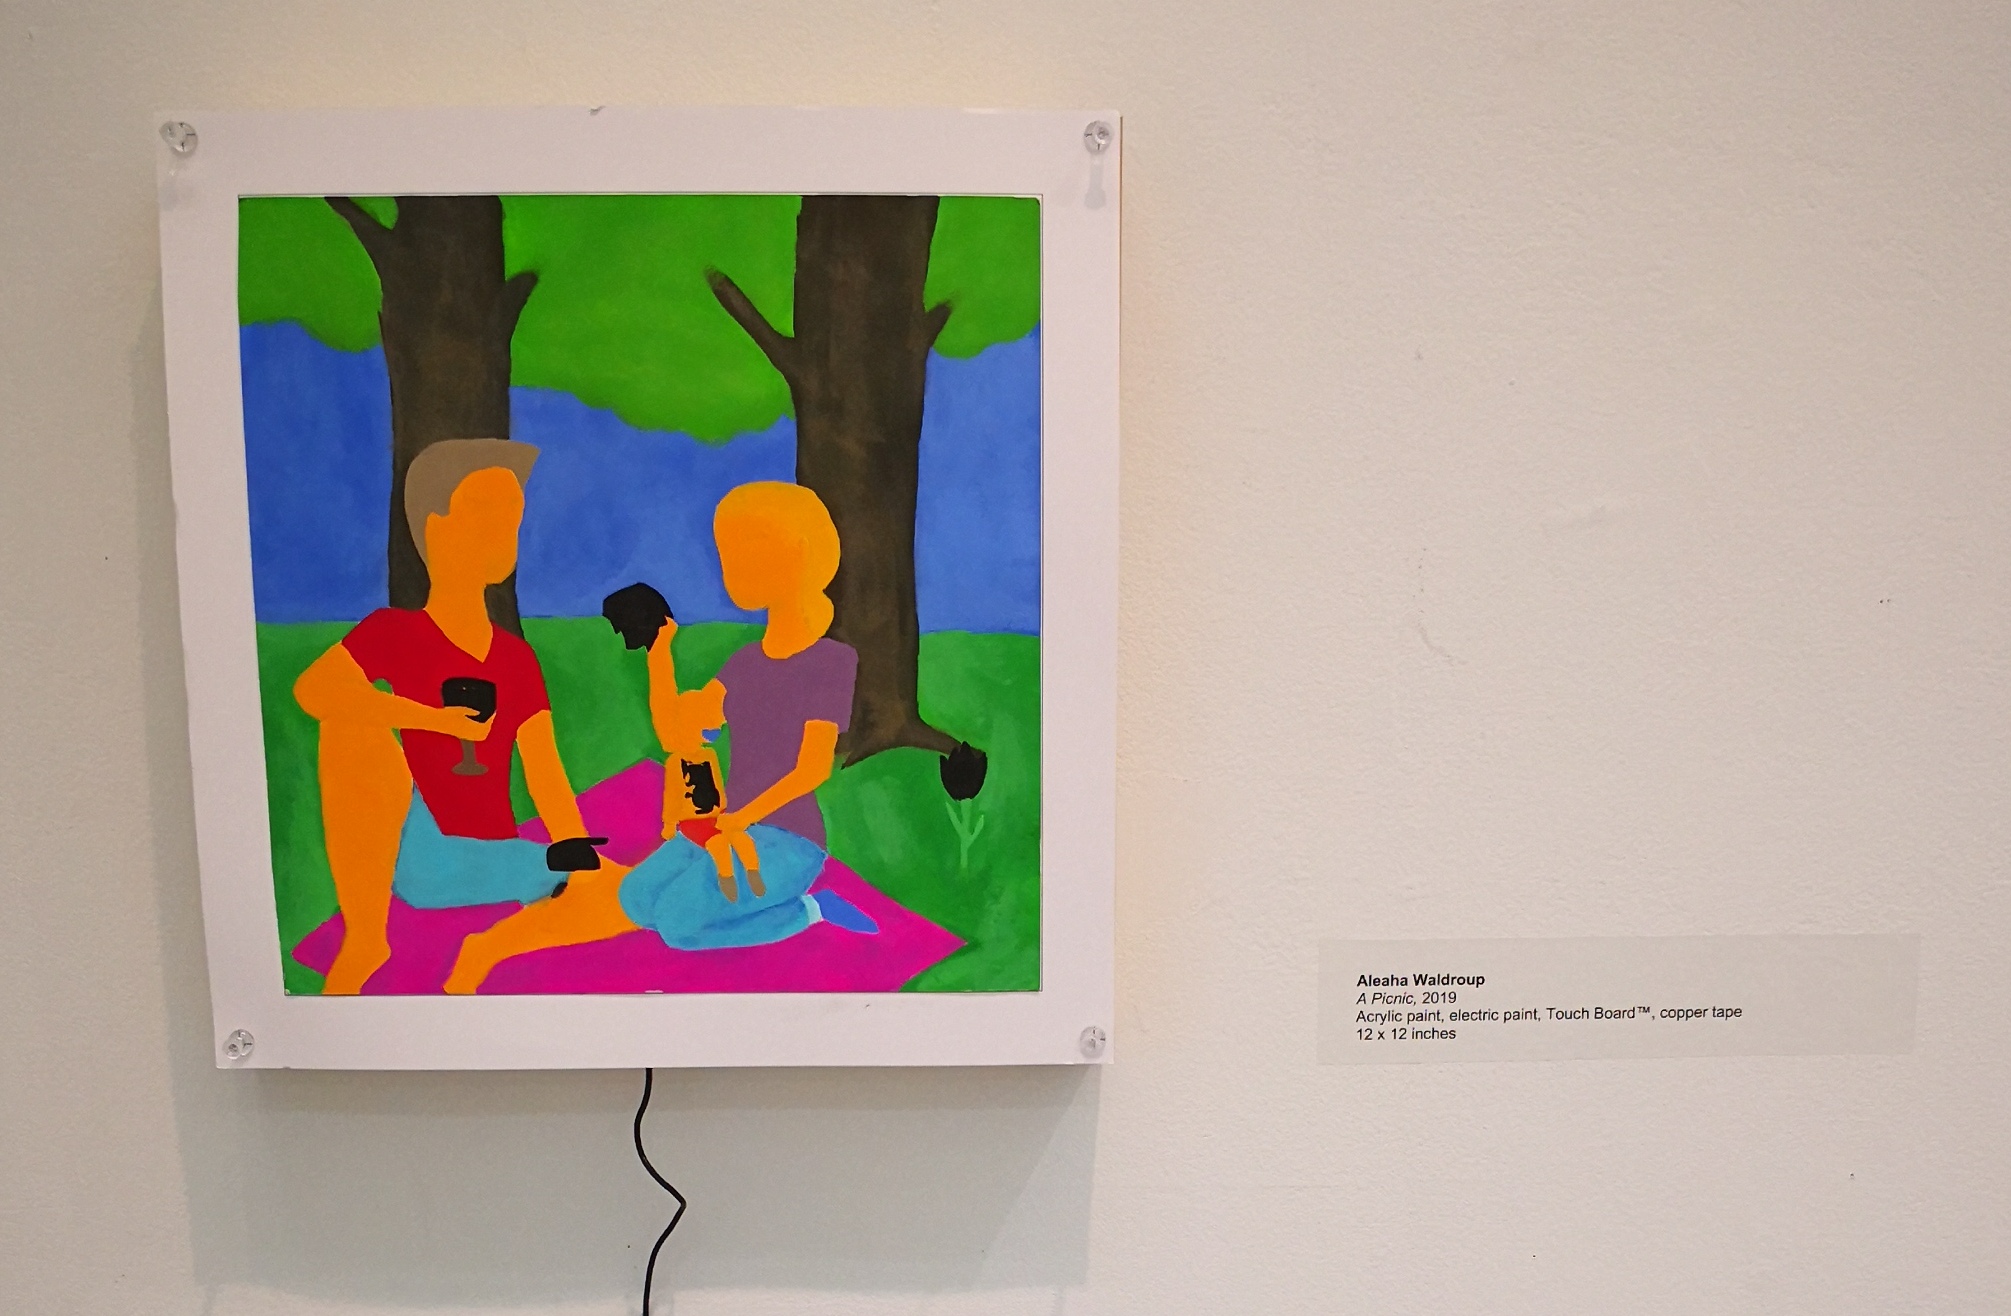
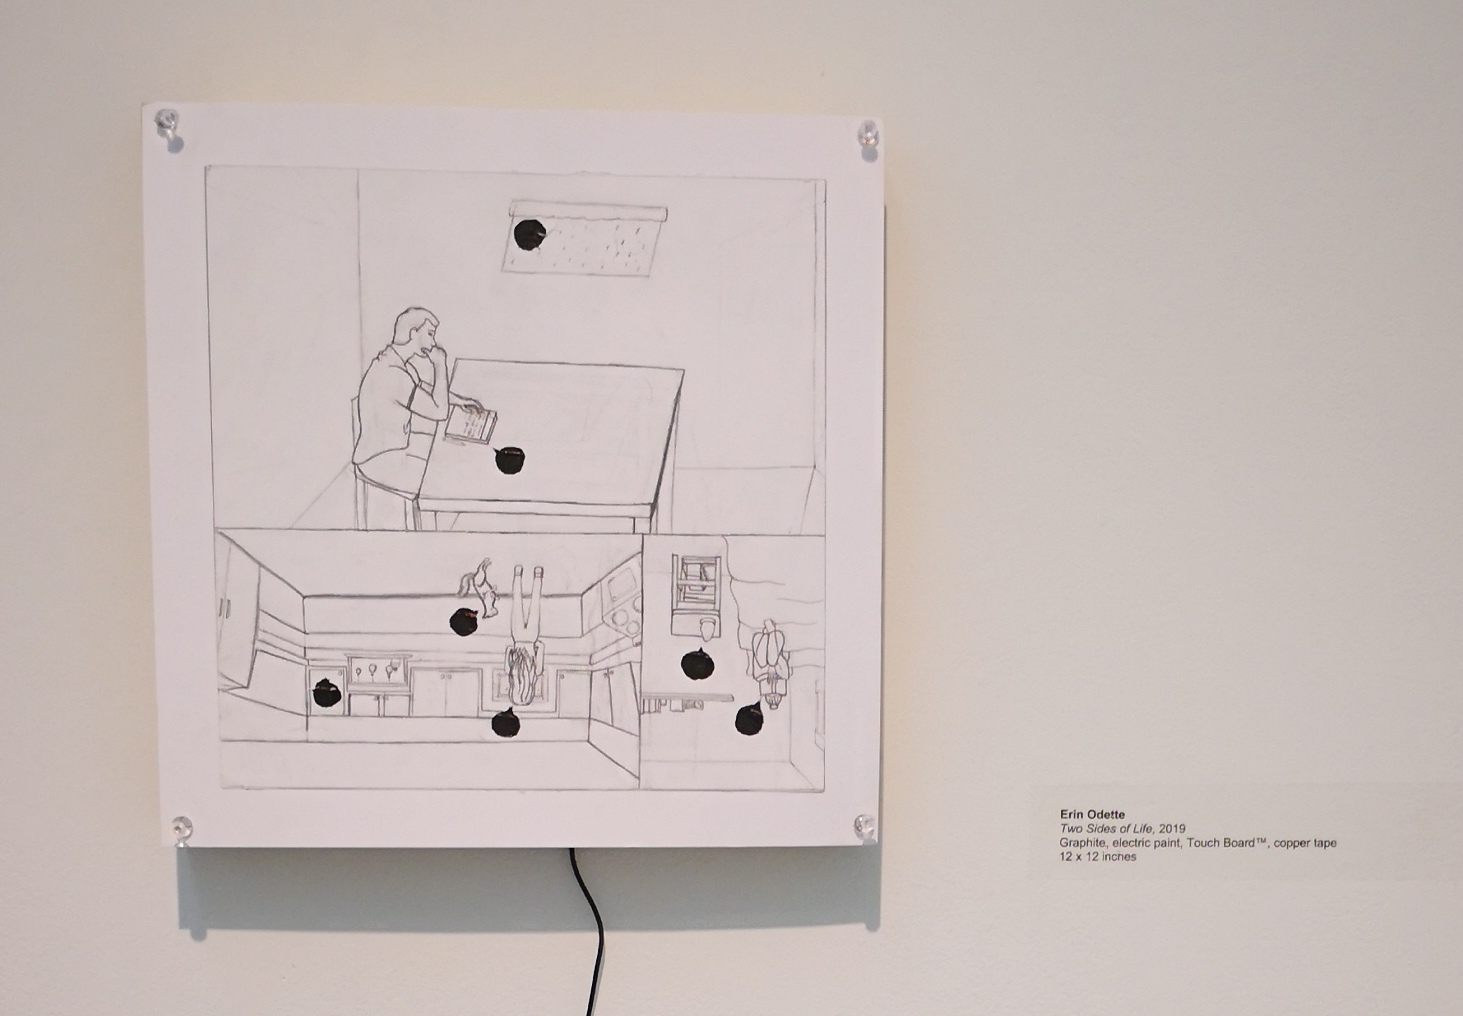
- The ART 132 projects create aesthetic paintings that respond to touch while all the working behind it is hidden behind the wood frame.

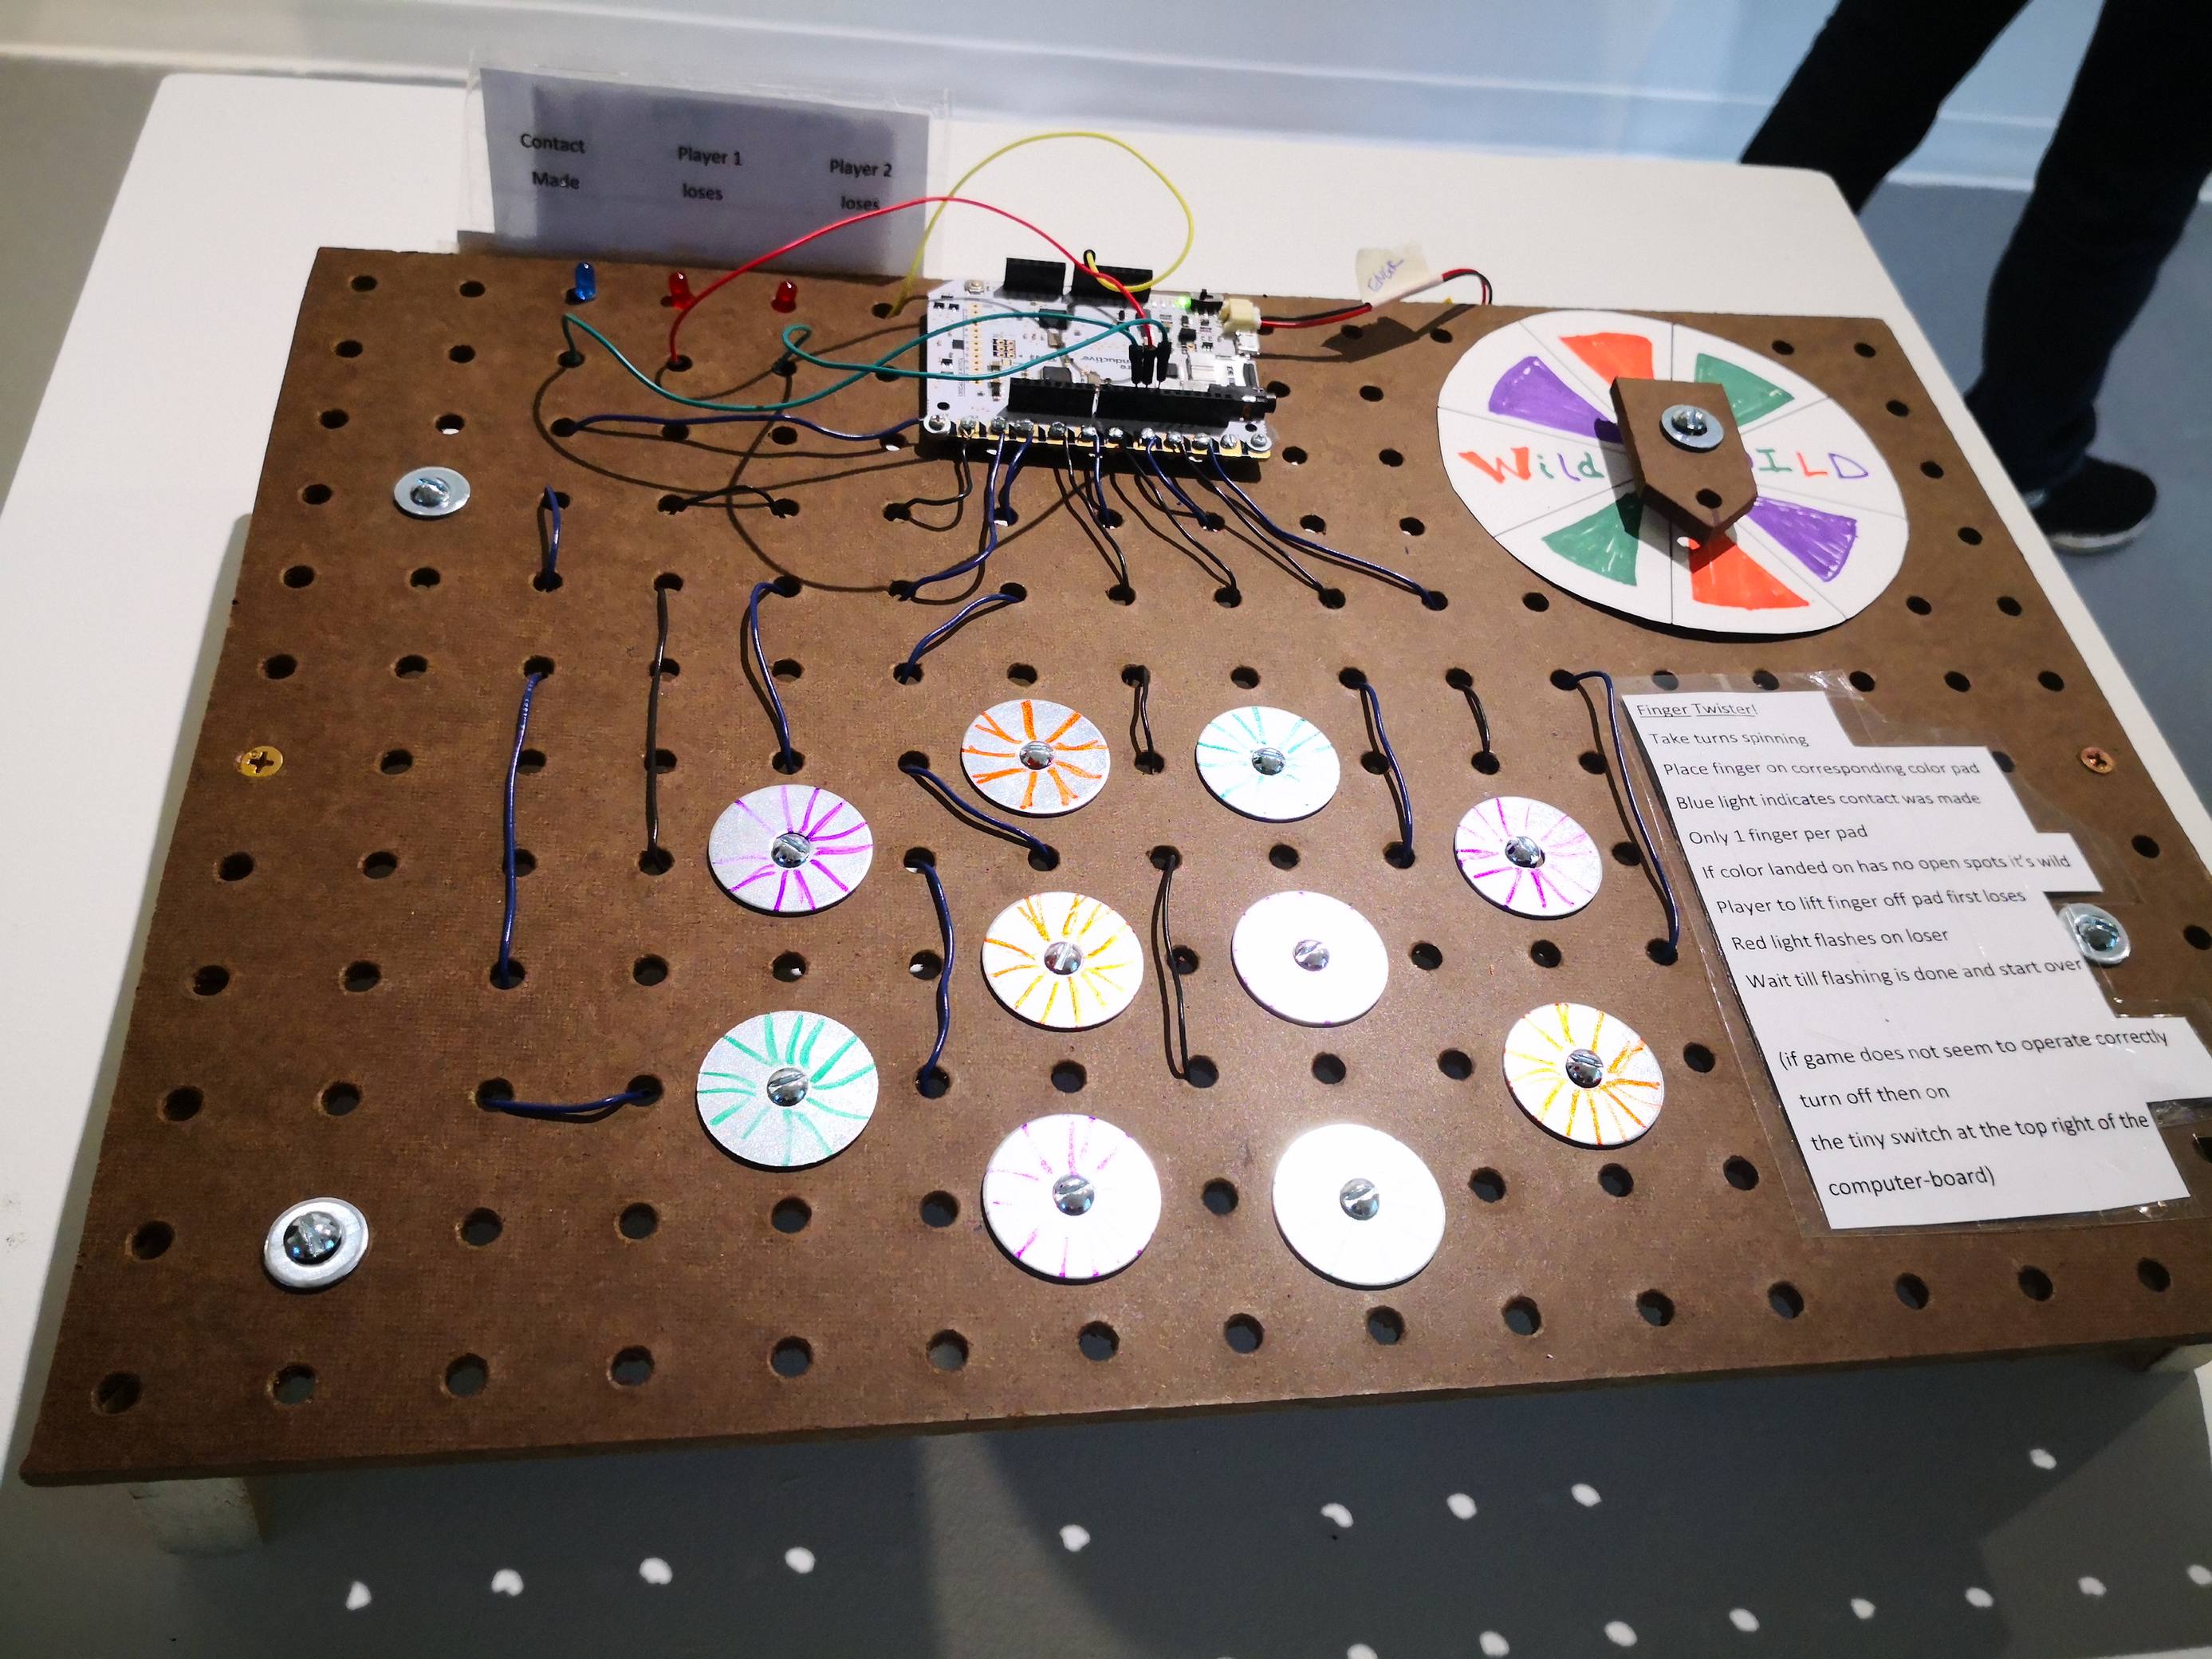
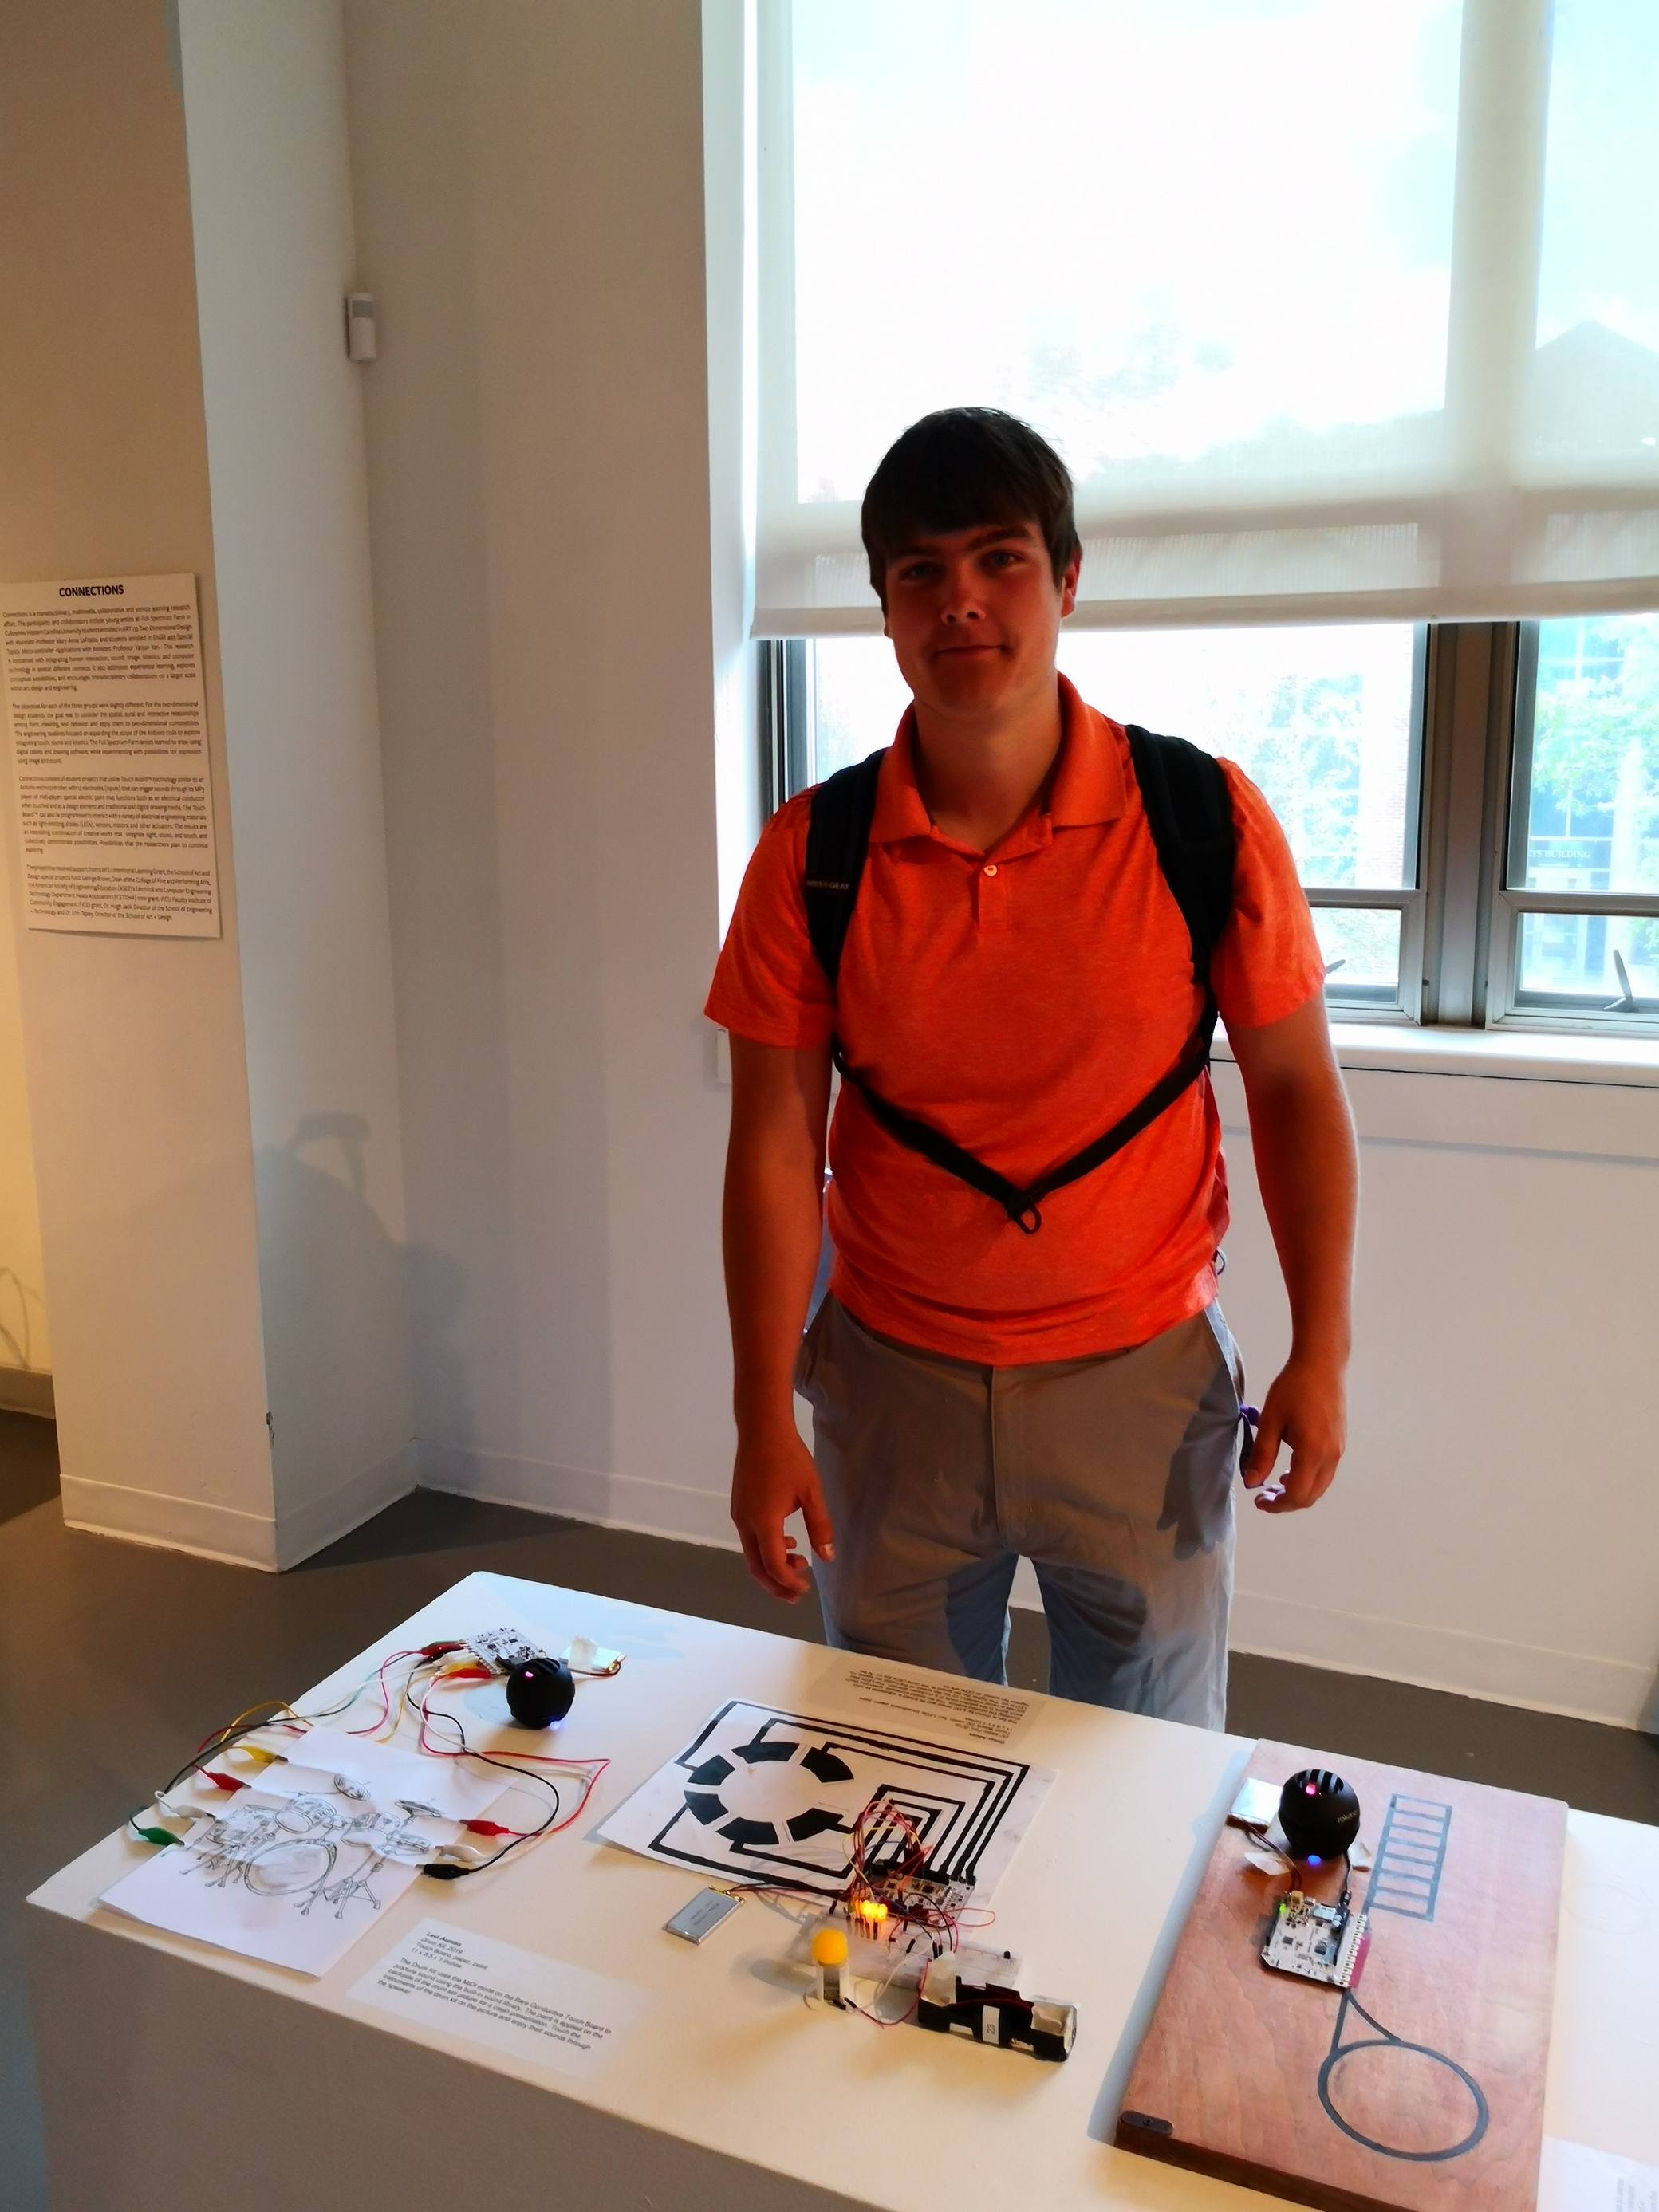
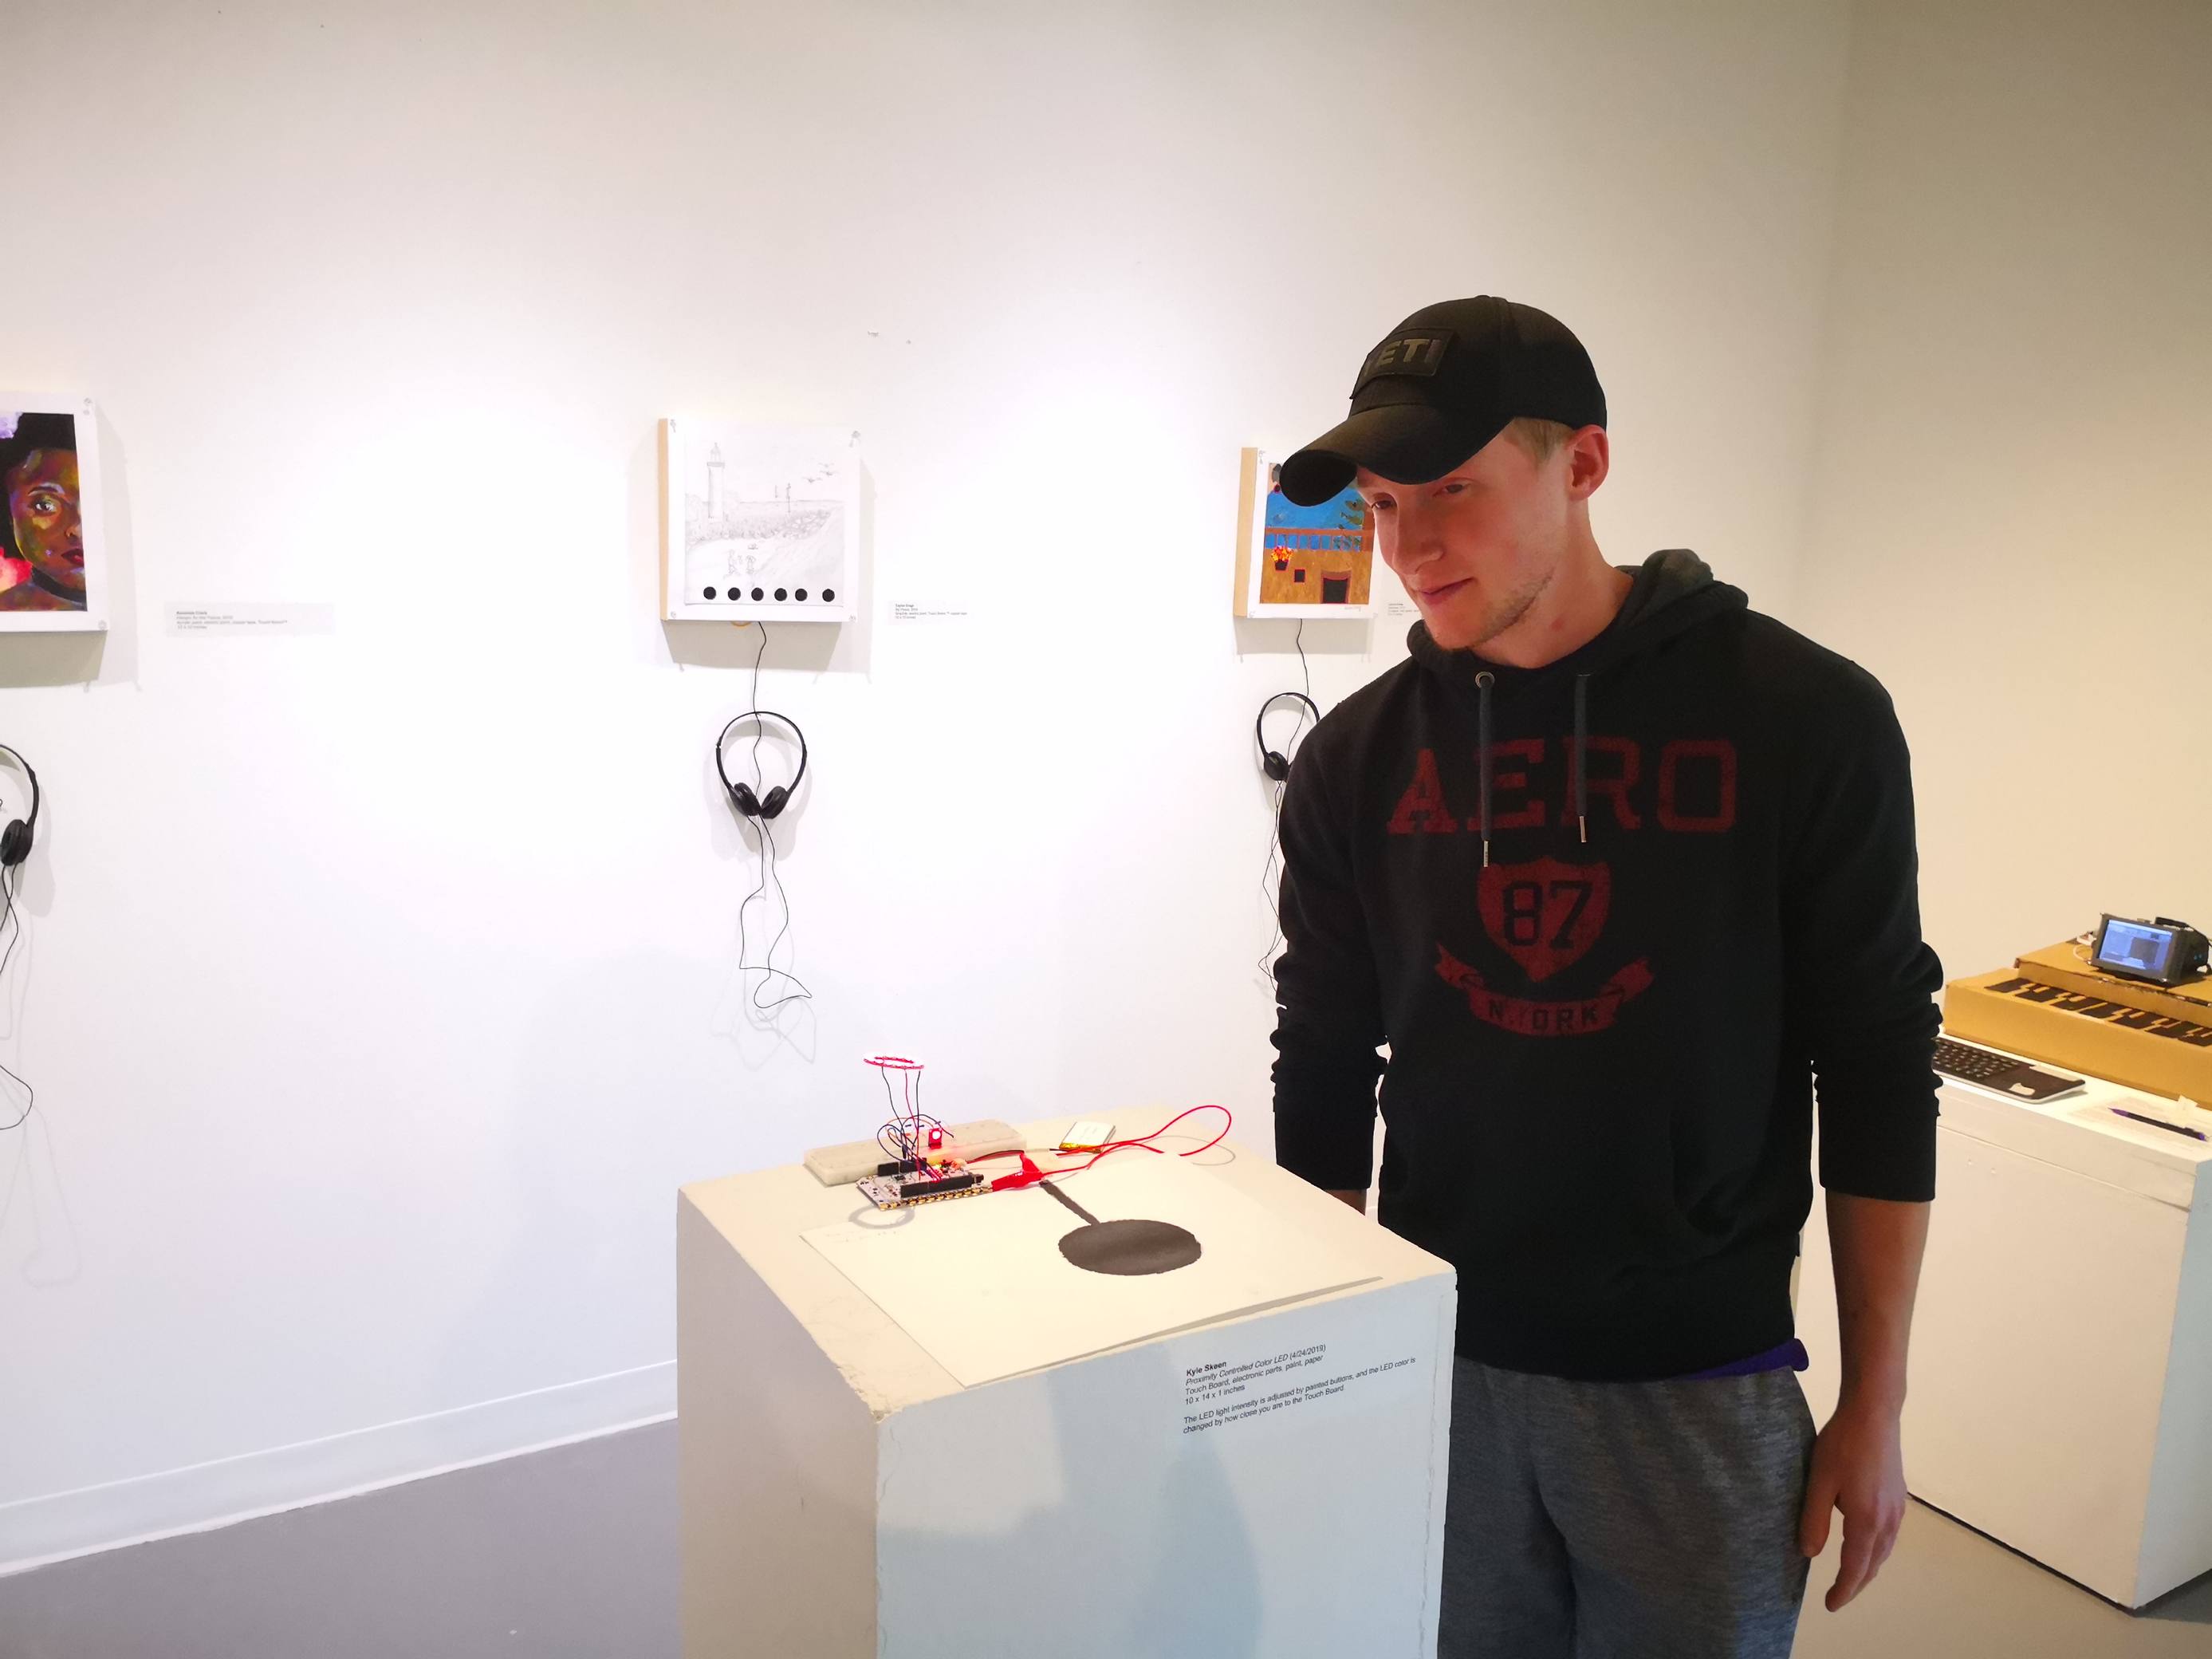
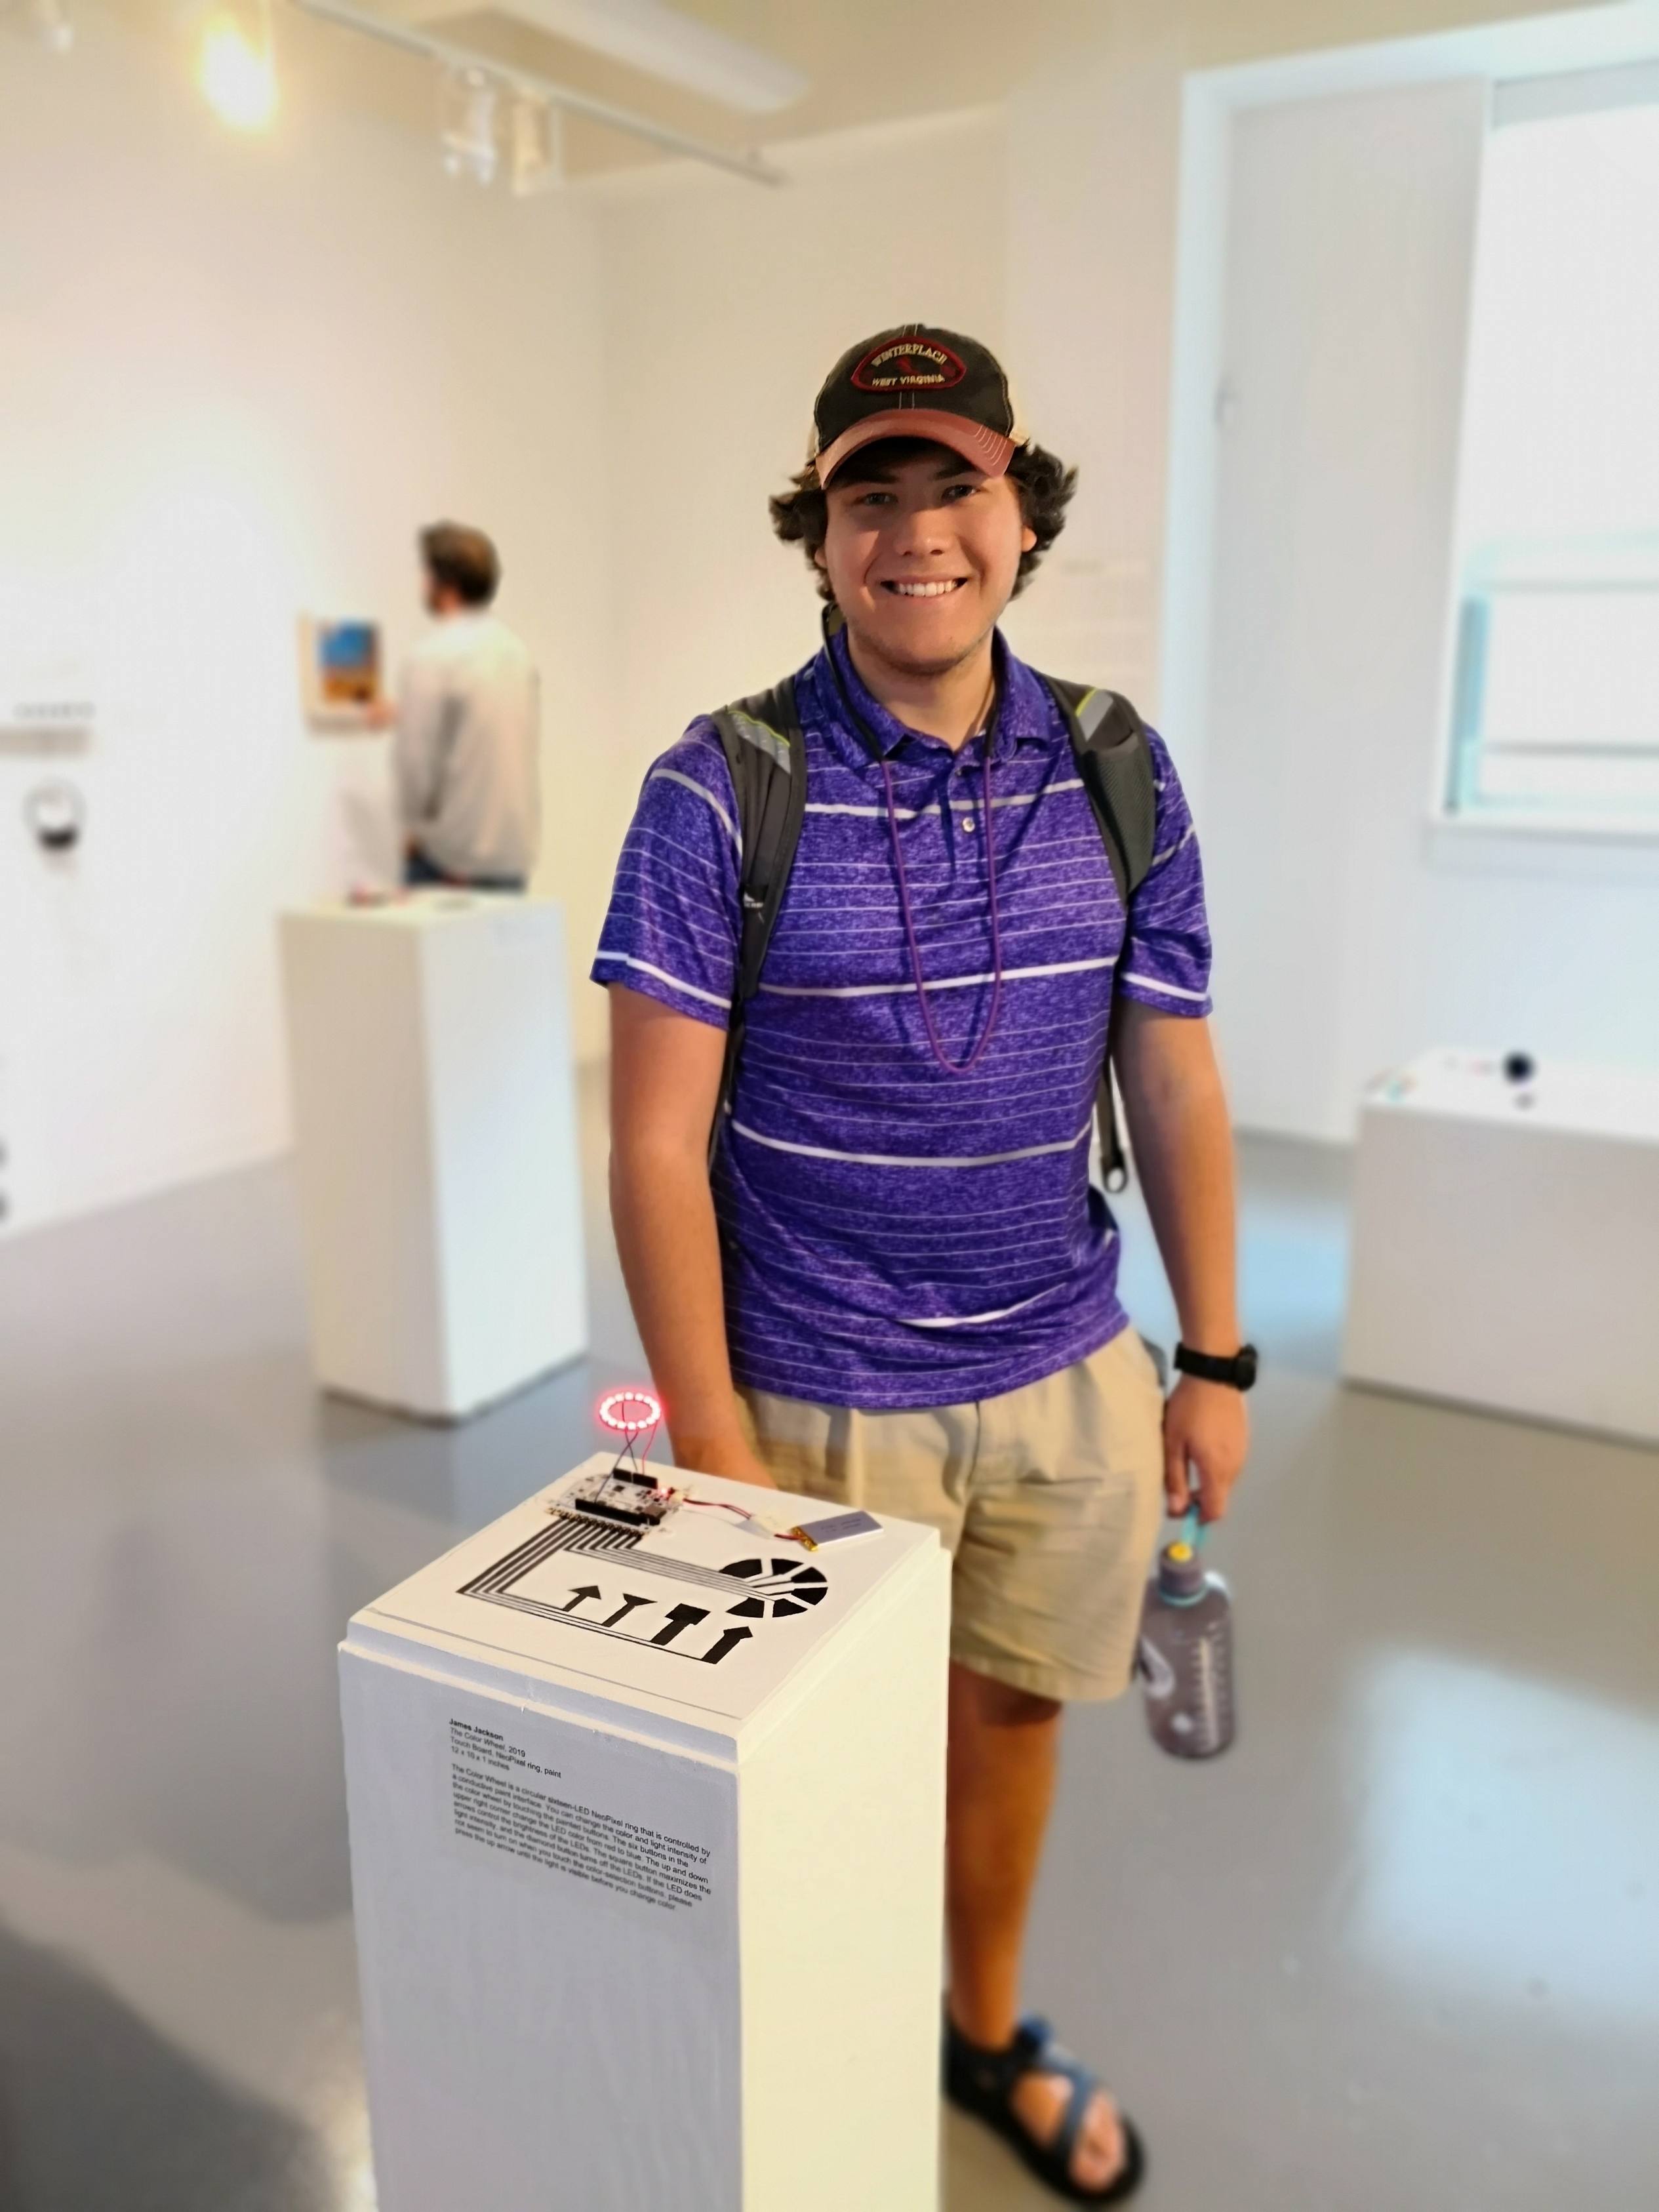
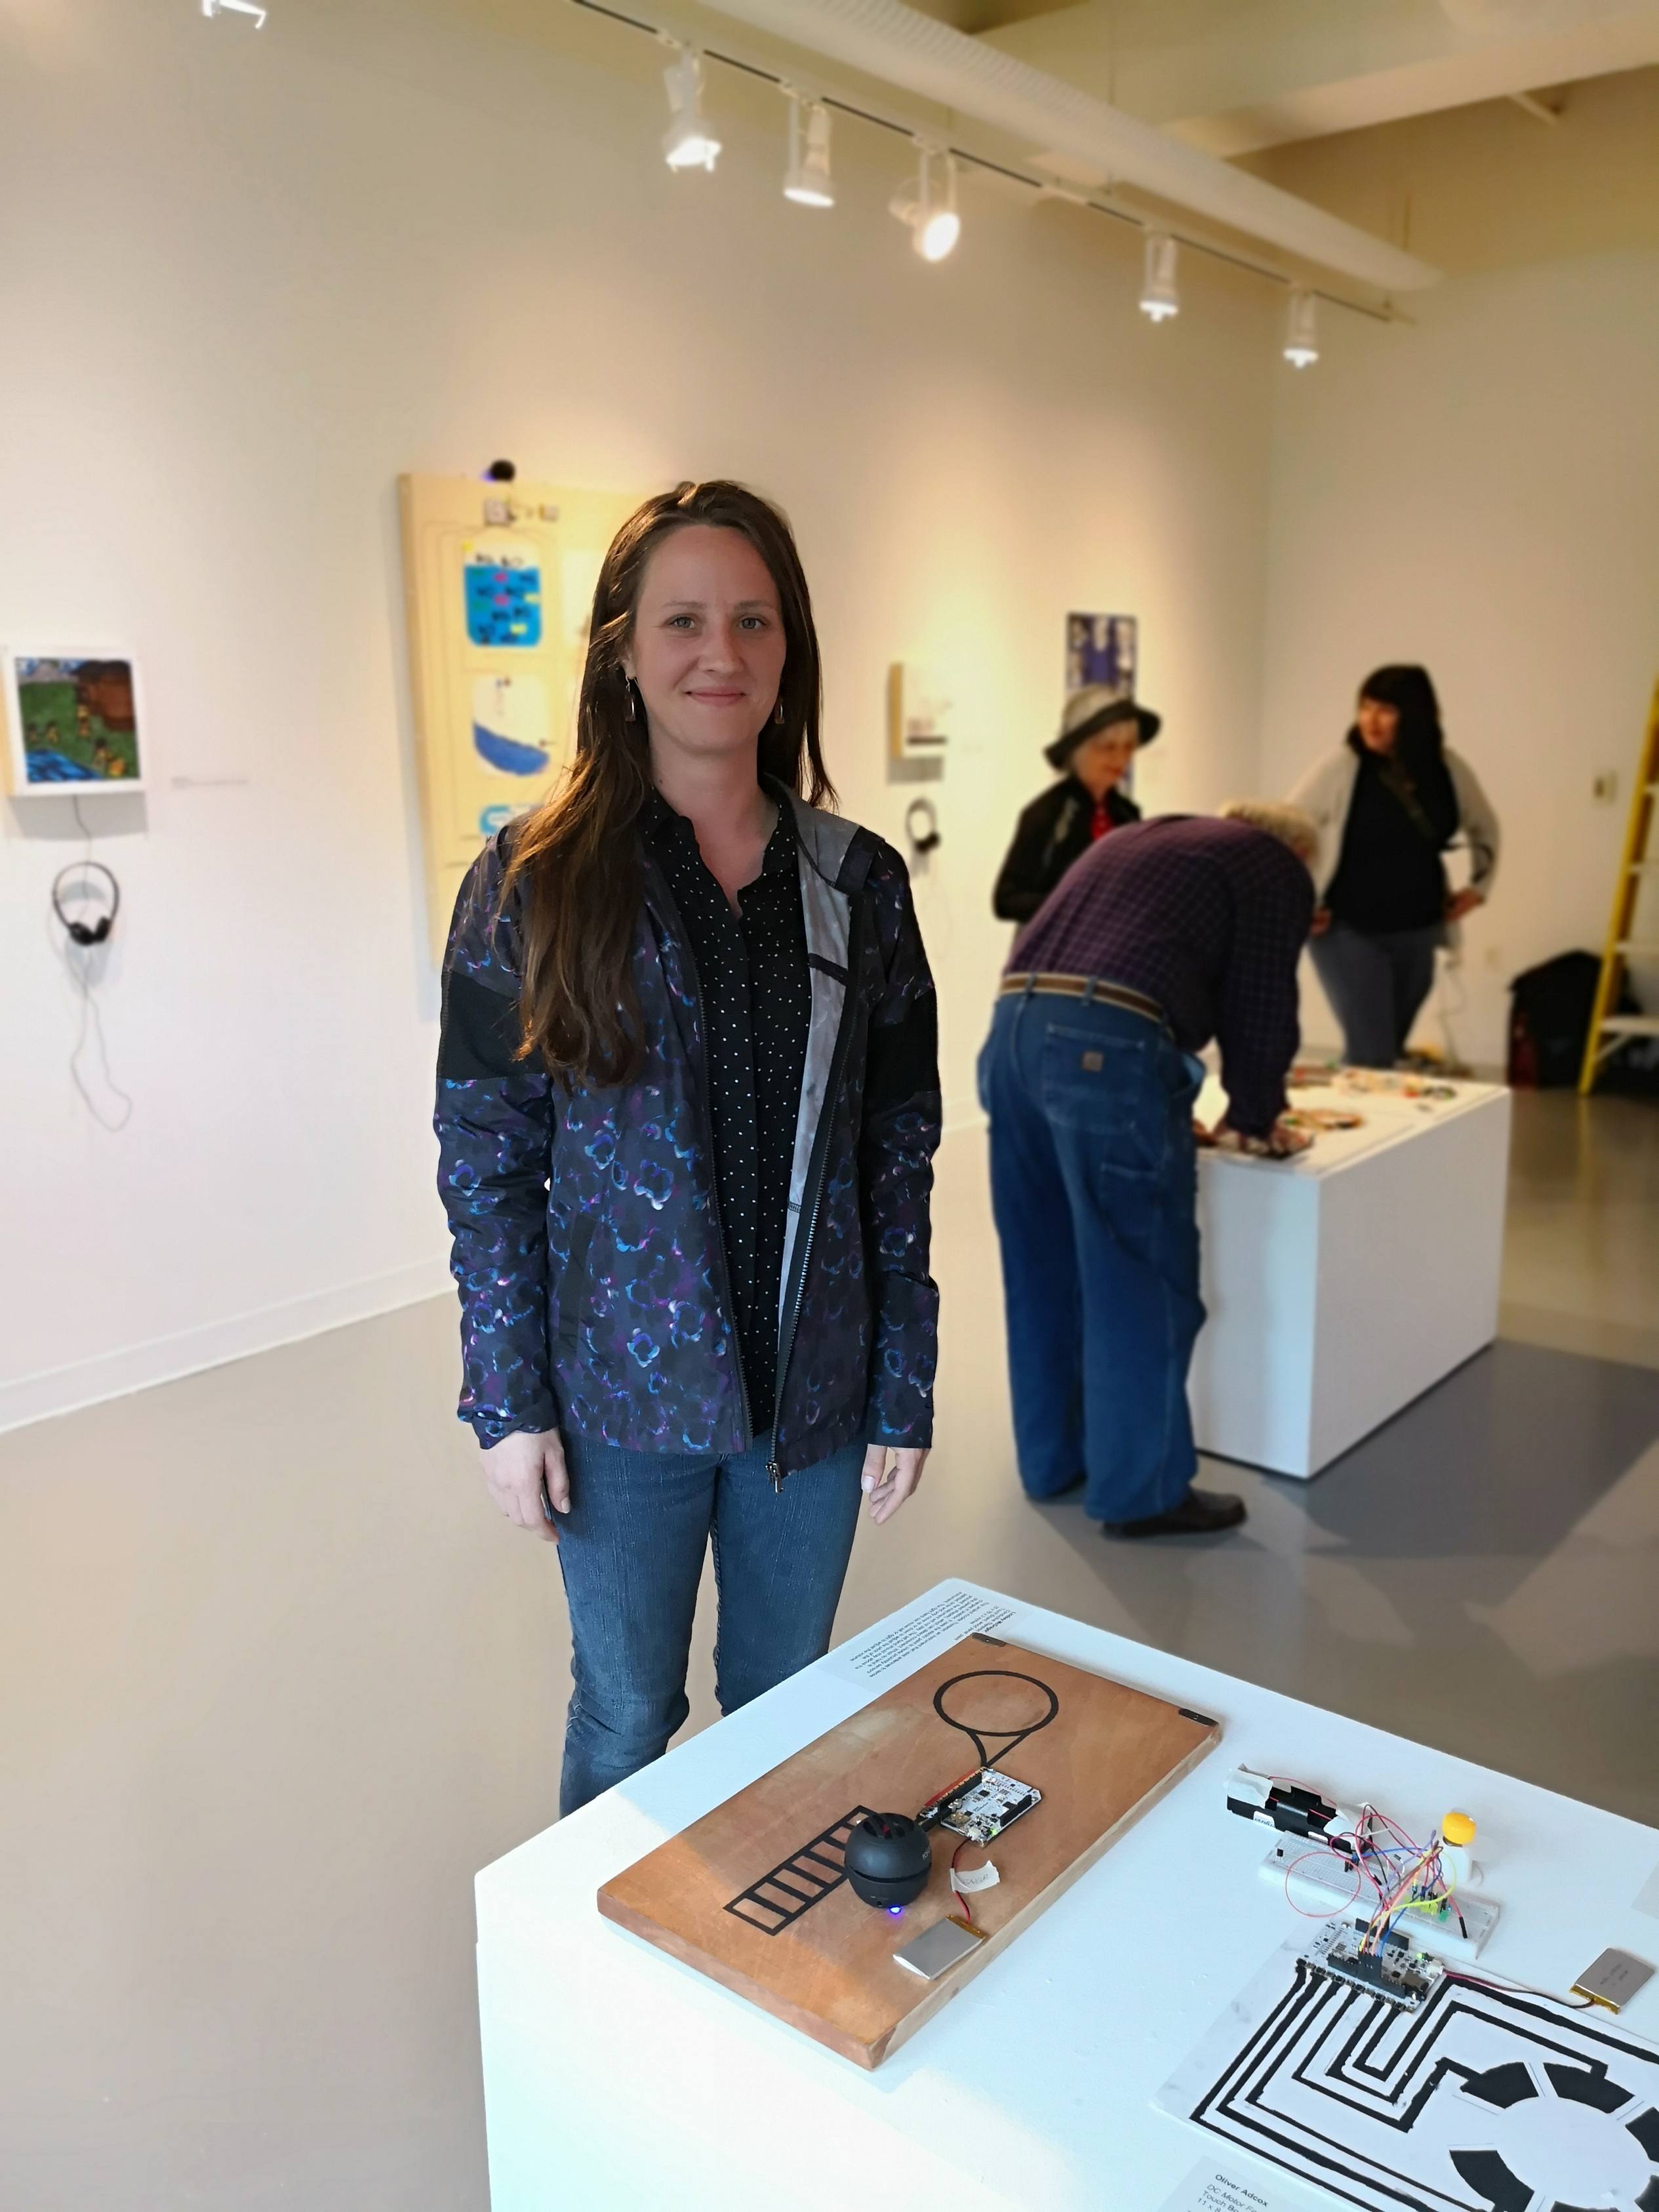
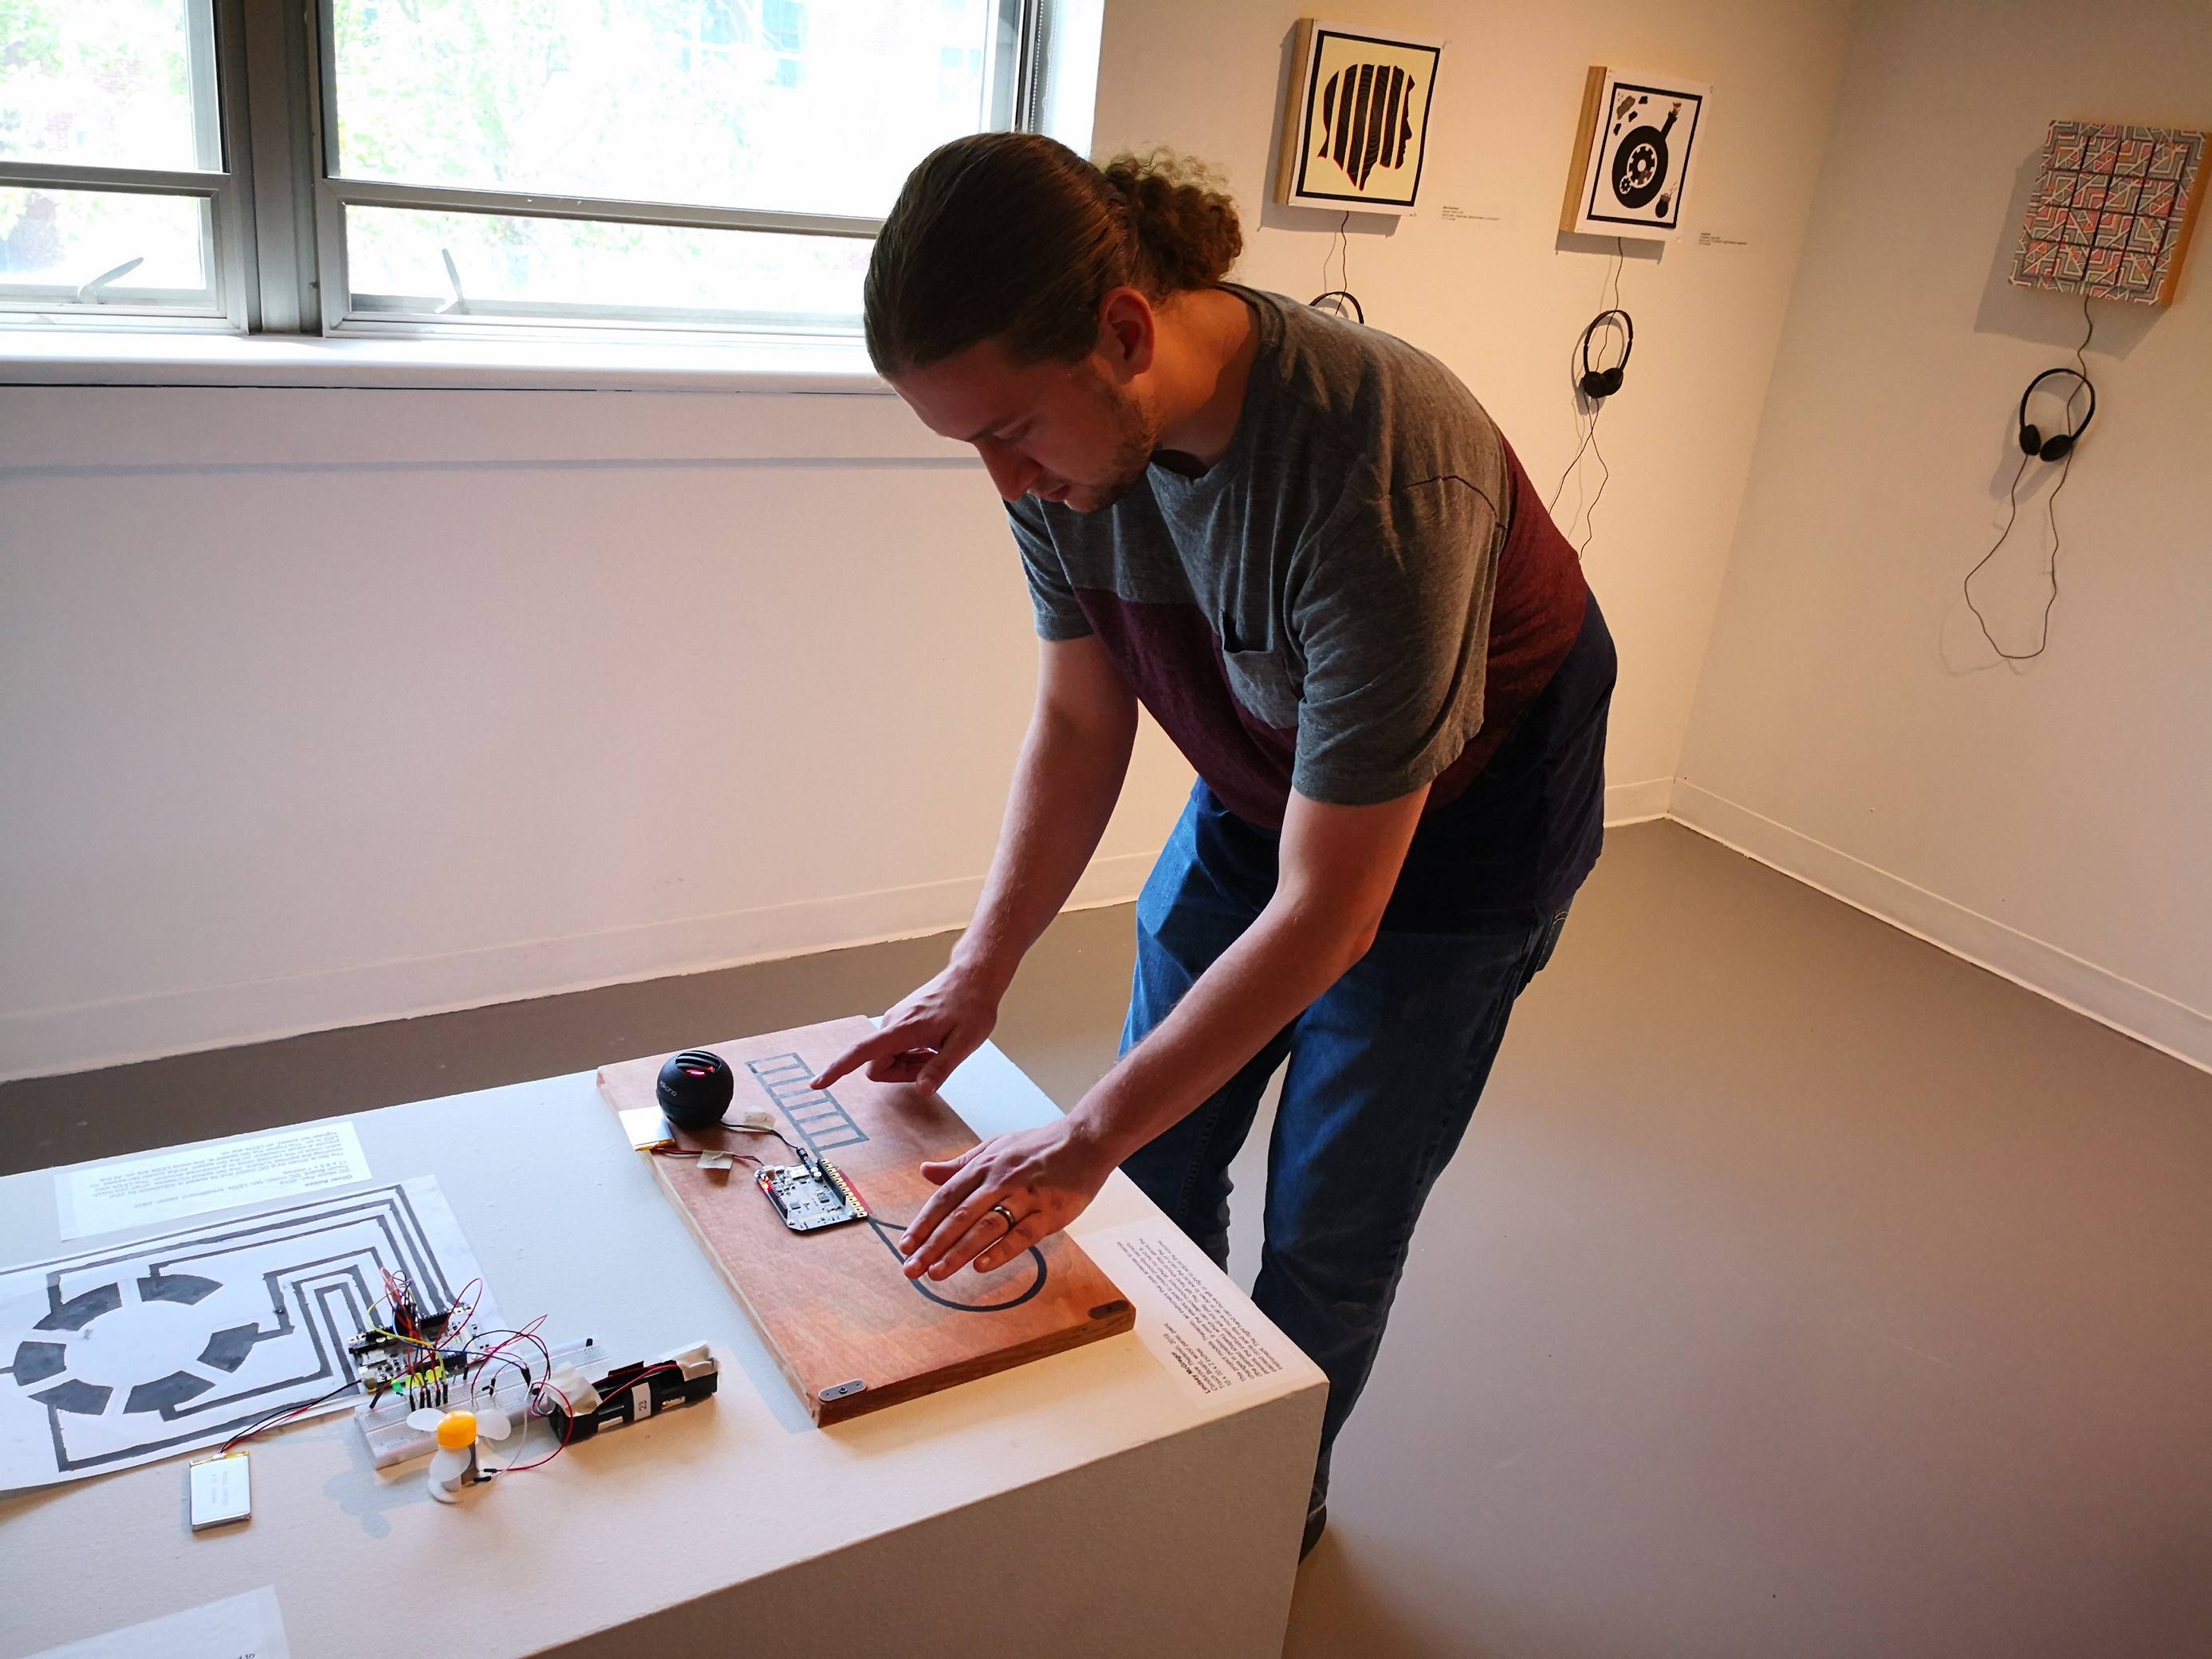
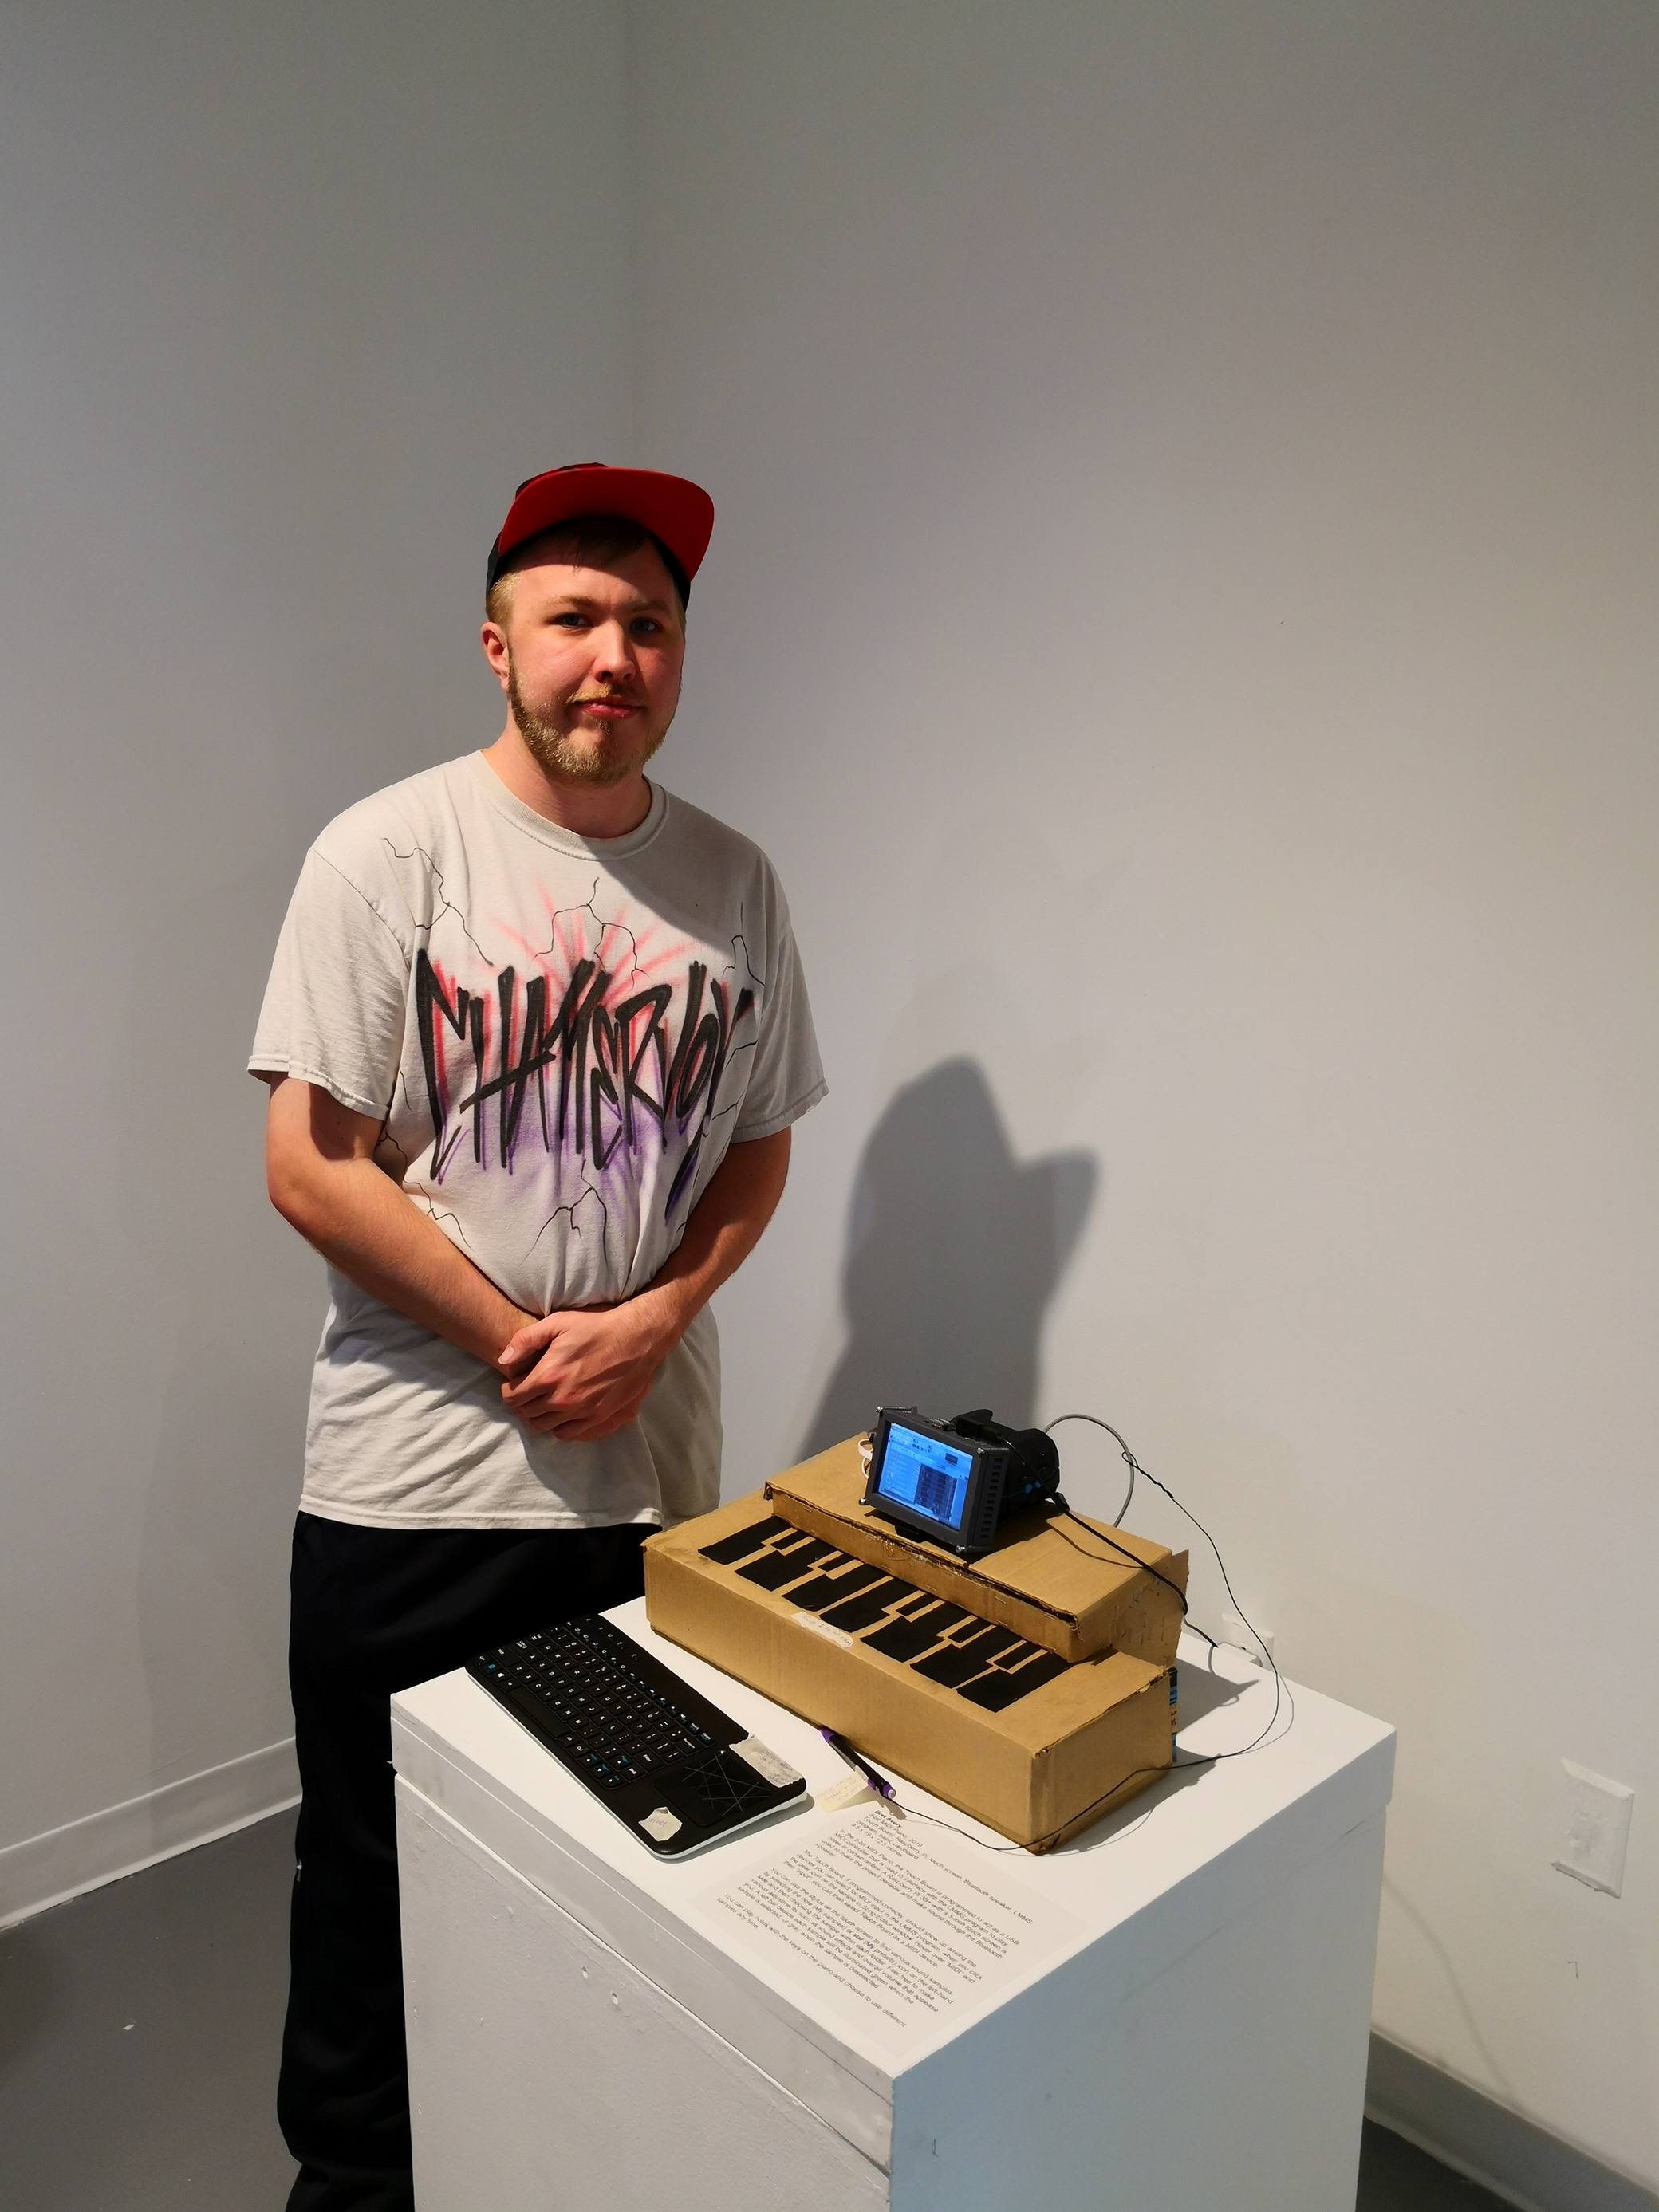


ENGR Projects

Some ART Projects
Do It Yourself
Excited to build a Touchboard project yourself? Let’s get started!
What to buy?
Here are all the products by Bare Conductive. We tried the Pro Kit, the Lamp Kit, and used the Workshop Pack for the course projects, with this big jar of conductive paint as a backup.
You still need to buy some produts elsewhere, such as speakers (we used two products: Rokono with extension wire and volume control but bulkier, or Leadsound where the audio jack plug-in is fixed in place as you saw in the photo without any extension wire but skinnier), paint brush, cardstock paper and foamboard.
If you want to create stand-alone projects (meaning not to use computer and USB cable to power it up), you can use the power adaptor that is included in the Bare Conductive kit, but you’d need to put your project close to a wall power outlet. Or you can use rechargeable batteries, then no wall outlet is requried. We used the 1200 mAh Li-Po battery that can last for at least 8 hours (throughout our exhibit, and perhaps for longer), or you may try the 2500 mAh one that will last longer but be heavier and bulkier than the 1200 mAh one. As to battery charger, you don’t necessarily need to get a charger for every battery you get, but you may want to get multiple chargers just to speep up the charging. The speakers (what we used with links earlier) are rechargable using a USB A to Mini-B cable that is included in their package, and the battery charger uses the same kind of cable, so you can reuse the cable. Or else, you can get a few extra USB cables like this.
How to set up the software?
Please follow the instructions at “Getting started with Touch Board by Bare Conductive” step by step, especially the installation of Arduino IDE (if you don’t have it yet) and the Touchboard plug-in in Arduino. If you don’t have a speaker yet, you can connect an earphone to the Touchboard (make sure that it’s pushed all the way into the jack) to listen to the default instructions.
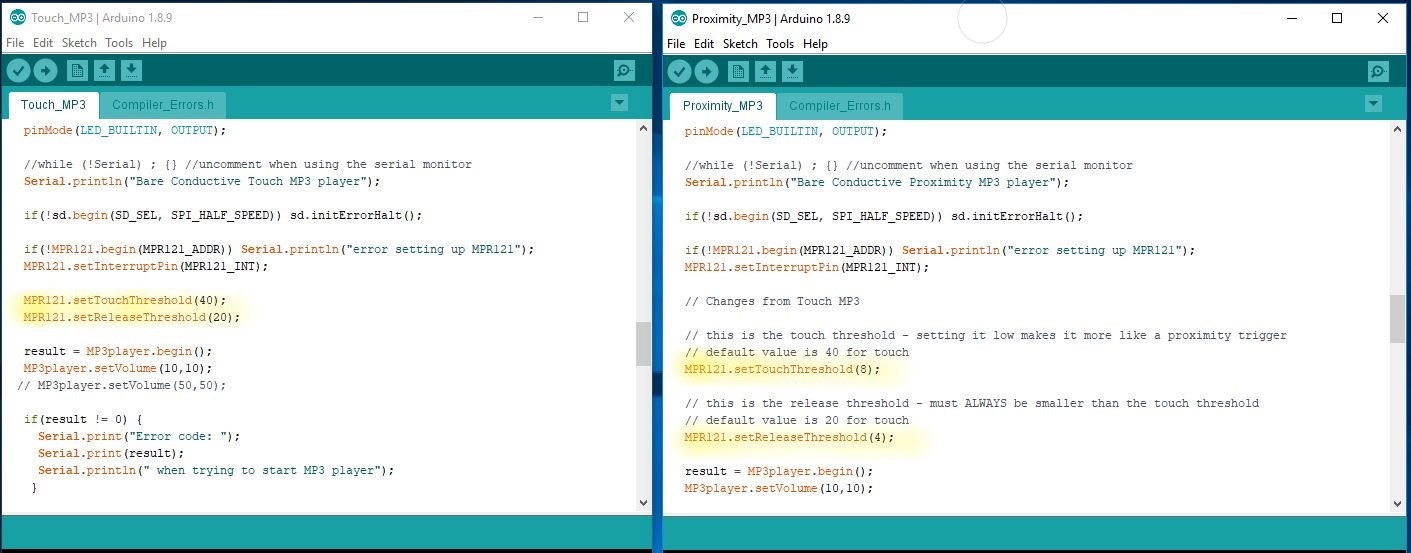
Then you can follow other instructions on how to set up a touch sensor and a proximity sensor. Note that the Touchboard plug-in in Arduino provided many sample sketches to work from. The same sensor can be set up to be a touch sensor or a proxmility sensor depending on the sensivity threshold, as highlighted in the sample sketches below. Sometimes such thresholds may need to be adjusted depdending on the environment where the projects will be used.
How to set up the Touch Board?
This is the FAQ on Touch board provided by Bare Conductive. Read the pin map to understand which pins you want to and can use.
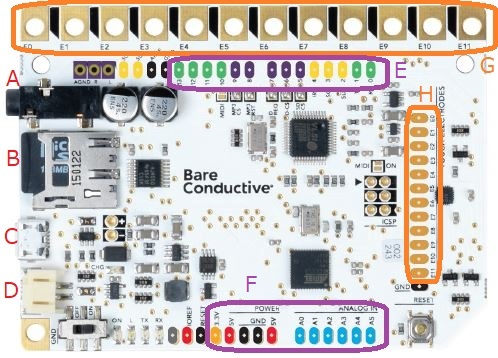
If you only use the touch electrode (in regions G and H in the board photo below, G and H are equivalent), and you will mount the touchboard onto some drillable surface, using bolt and nut to secure the wire connected to the electrode will be the easiest way. If the touchboard is attached onto a paper surface, cold soldering (as Bare conductive calls it, to paint the conductive paint over the electrode and its connecting paint strokes, let it try before using it) is fine, but it may lose connectivity when the paper warps over time given humidity change, etc. A foamboard backing of the paper helps retain the shape of the project and the connectivity.
If you want to experiment with prototying using other pins (in regions E and F, and connect to region H through wiring), you can solder the header-pins (included in the pro kit but not the workshop pack) onto the slots of the Touchboard to use removable wires easily, as in the typical way you would use an Arduino board. Note, however, that some pins are reserved for touch sensing IC’s data transmission and hence shoud not be used for other I/O. The headerpins make the board taller, though. If you need to purchase the headerpins separately (such as from mouser or digi-key), you will need
- 2 of 8 pin female header pins
- 2 of 13 pin female header pins
- 1 of 6 pin female header pins
Where to get the sound?
Touch Board uses mp3 audio files. There are free sound tracks available at https://freesound.org/. You can also record your own. When we use multiple source sources in a single project, we can normalize their volume (using some software that is available online) to ensure a consistent user experience.
There is also a place in the sketch to uniformly change the maximum volume of all the tracks. Read the Bare Conductive description here. In MP3player.setVolume(X,Y); X is the left channel volume and Y is the right channel volume. Lower values represent higher volumes, so MP3player.setVolume(0,0); will set the volume to maximum on both channels, and MP3player.setVolume(254,0); will set the left channel to be silent, with the right channel at maximum volume.
What to build?
The projects done in our courses are presented on this website, and you could do something similar.
Here are more projects made by the Touch board community that can give you lots of inspirations.
Tips on charging and battery choices
The Bare Conductive’s recommendation is at this link. Using battery, the project can stand alone. One full charge of the battery may allow the board to function for a day. Or else, there are power adaptors in the kit that that can be plugged onto the wall outlet.
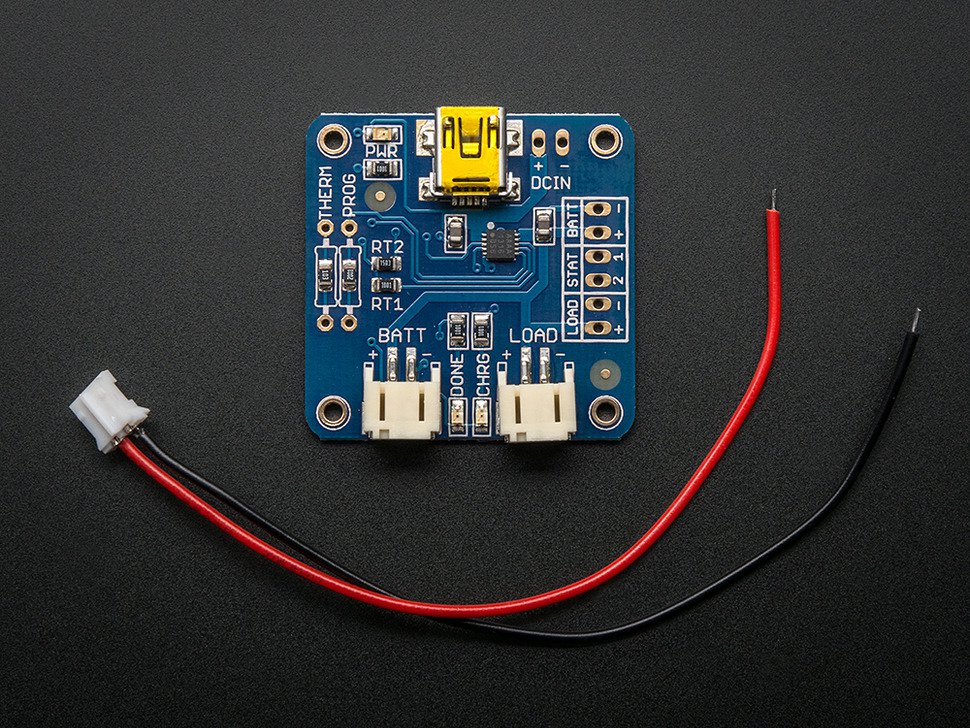
USB LiIon/LiPoly charger – v1.2
https://www.adafruit.com/product/259
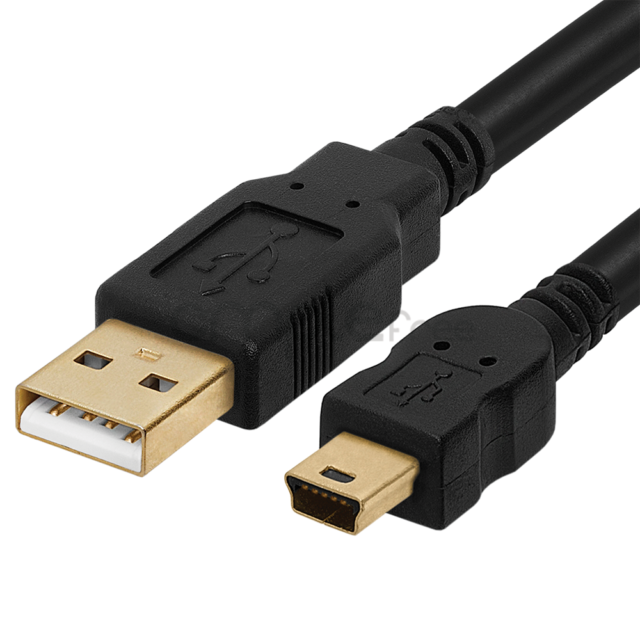
USB charging cable: A to mini-B
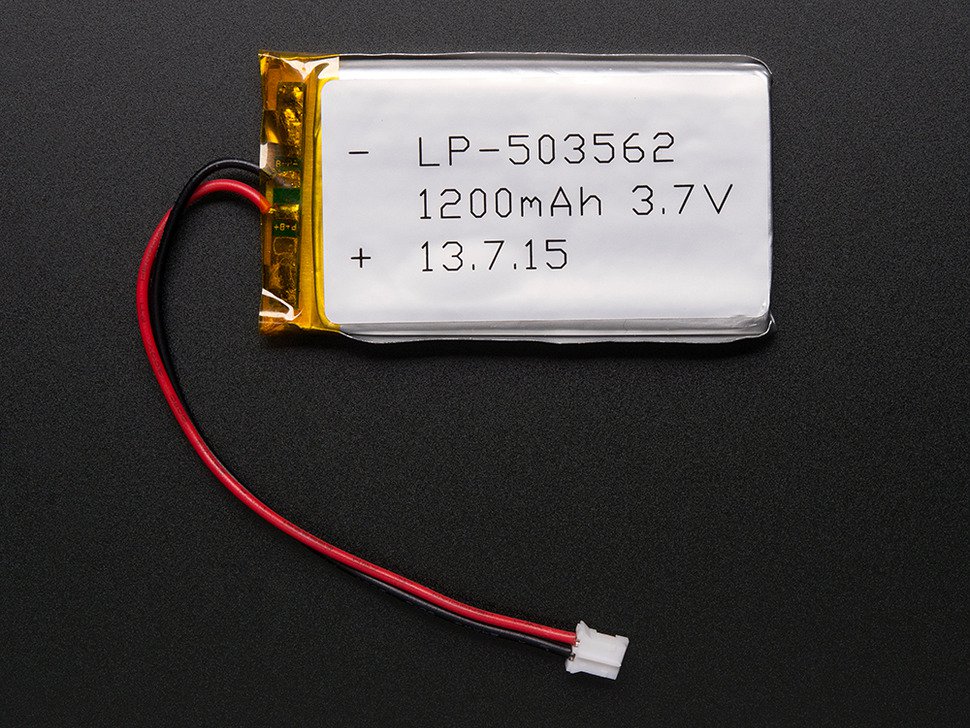
Lithium Ion Polymer Battery – 3.7v 1200mAh
https://www.adafruit.com/product/258
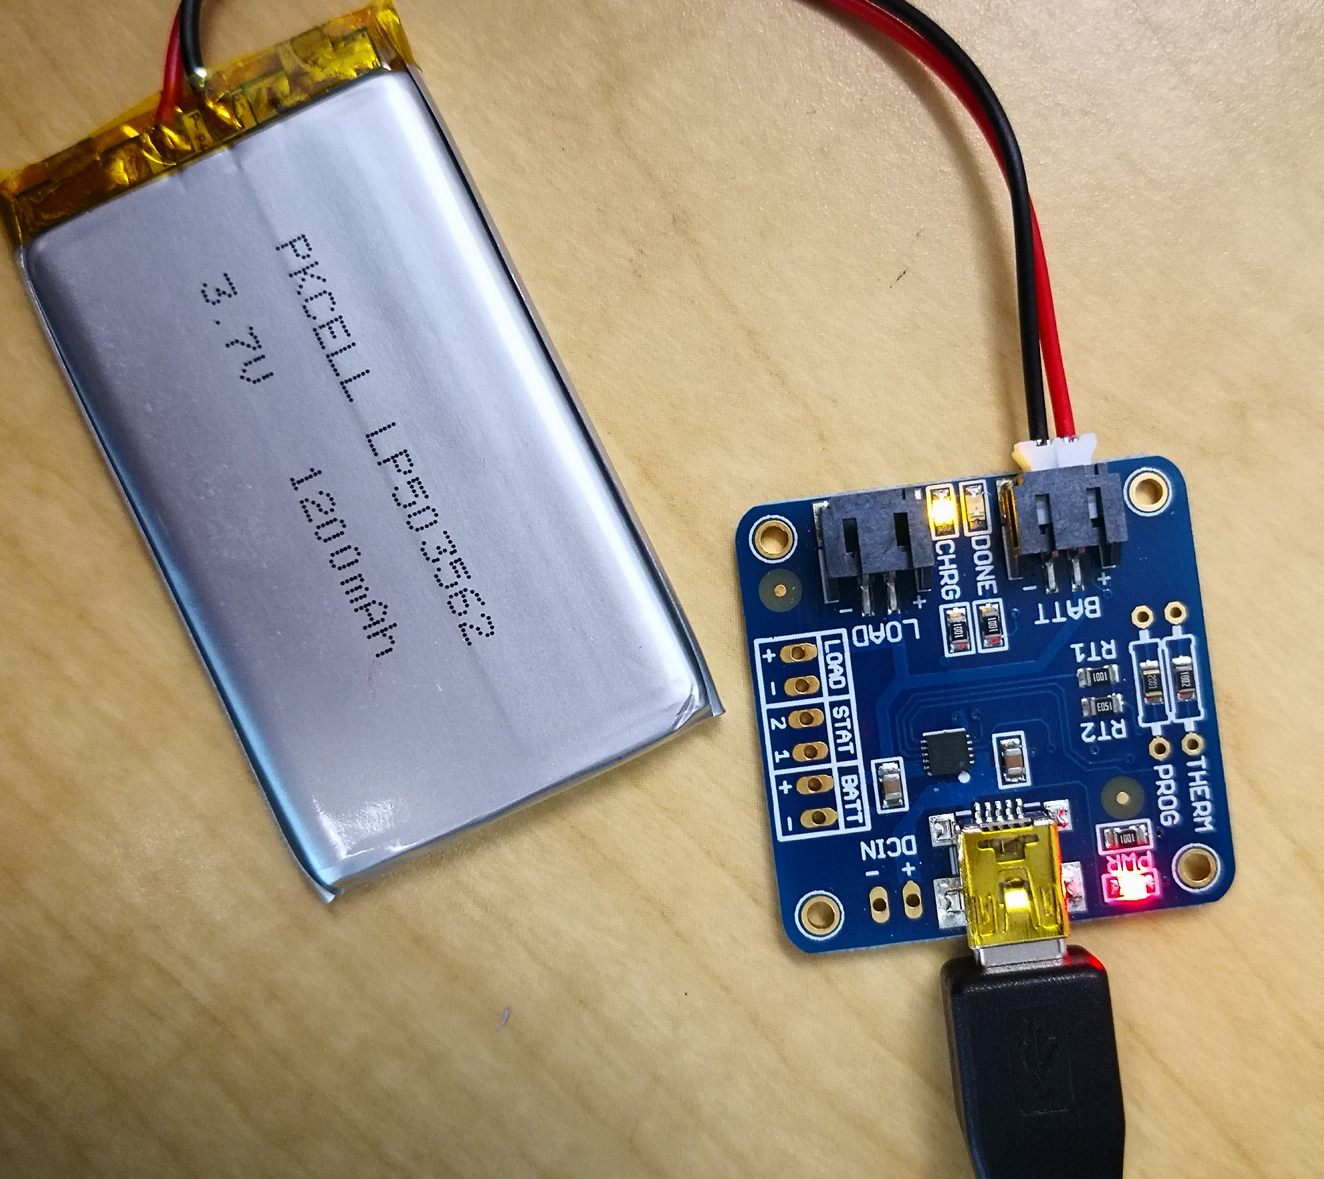
Yellow CHRG light is on when charging

Green DONE light is on when charging is finished
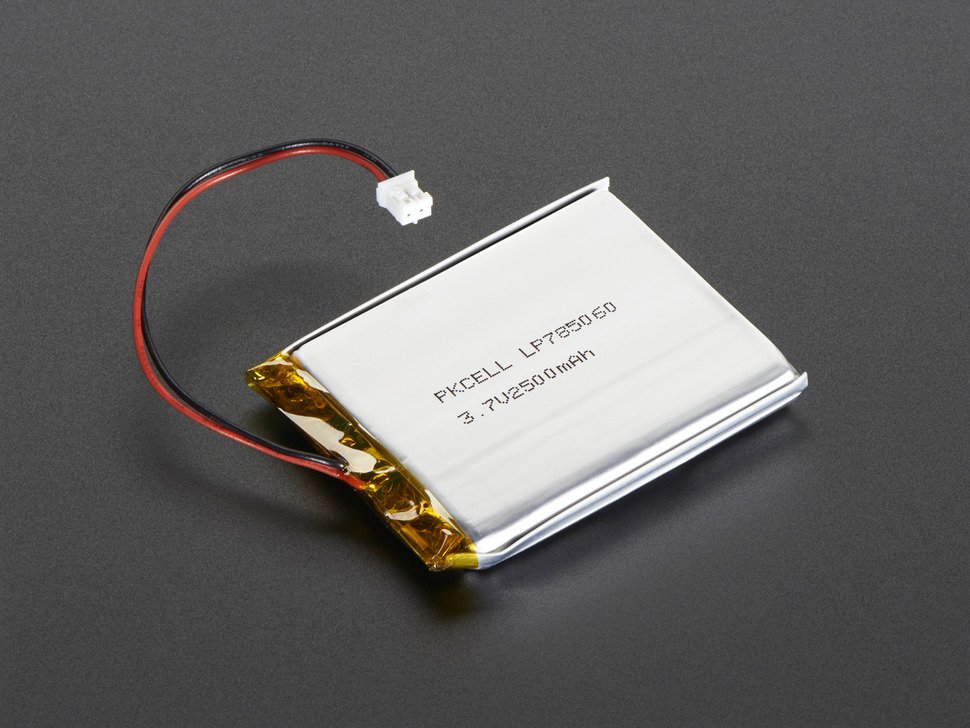
2500 mAh battery will last longer
https://www.adafruit.com/product/328
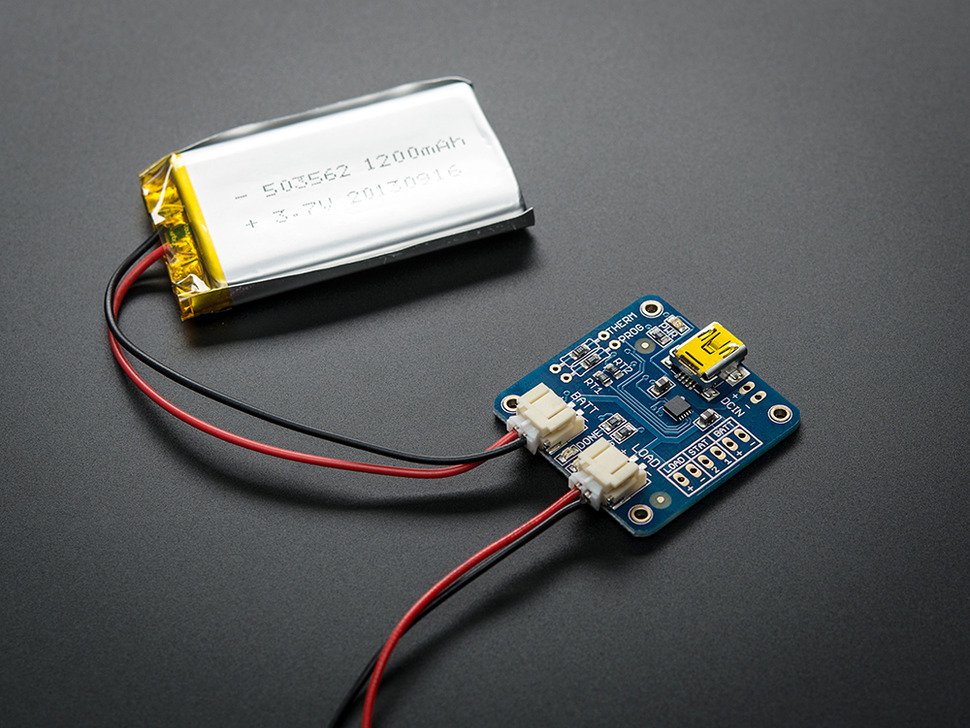
The Load Line Discharges the Battery!
This charger can be the connector between the battery and the load
Acknowledgement
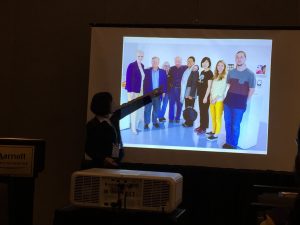
We presented the results of this project at the 127th and 126th ASEE annual conference:
- Yanjun Yan, Mary Anna LaFratta, Lane Graves Perry III, and Hugh Jack. “Engagement in Practice (EIP): Differences in Perceptions between Engineering and Art Students in an Interdisciplinary Service-Learning Project,” The 127th ASEE (American Society of Engineering Education) Annual Conference and Exposition (ASEE2020), Montreal, Canada, June 21, 2020.
- Yanjun Yan, Mary Anna LaFratta, Hugh Jack, and Lane Graves Perry III. “Engagement in Practice: An Engineering Service-Learning Course in Collaboration with an ART 2D Design Course to Serve Young People on the Autism Spectrum Using The Touchboard,” The 126th ASEE (American Society of Engineering Education) Annual Conference and Exposition (ASEE2019), Tampa, USA, June 19, 2019.
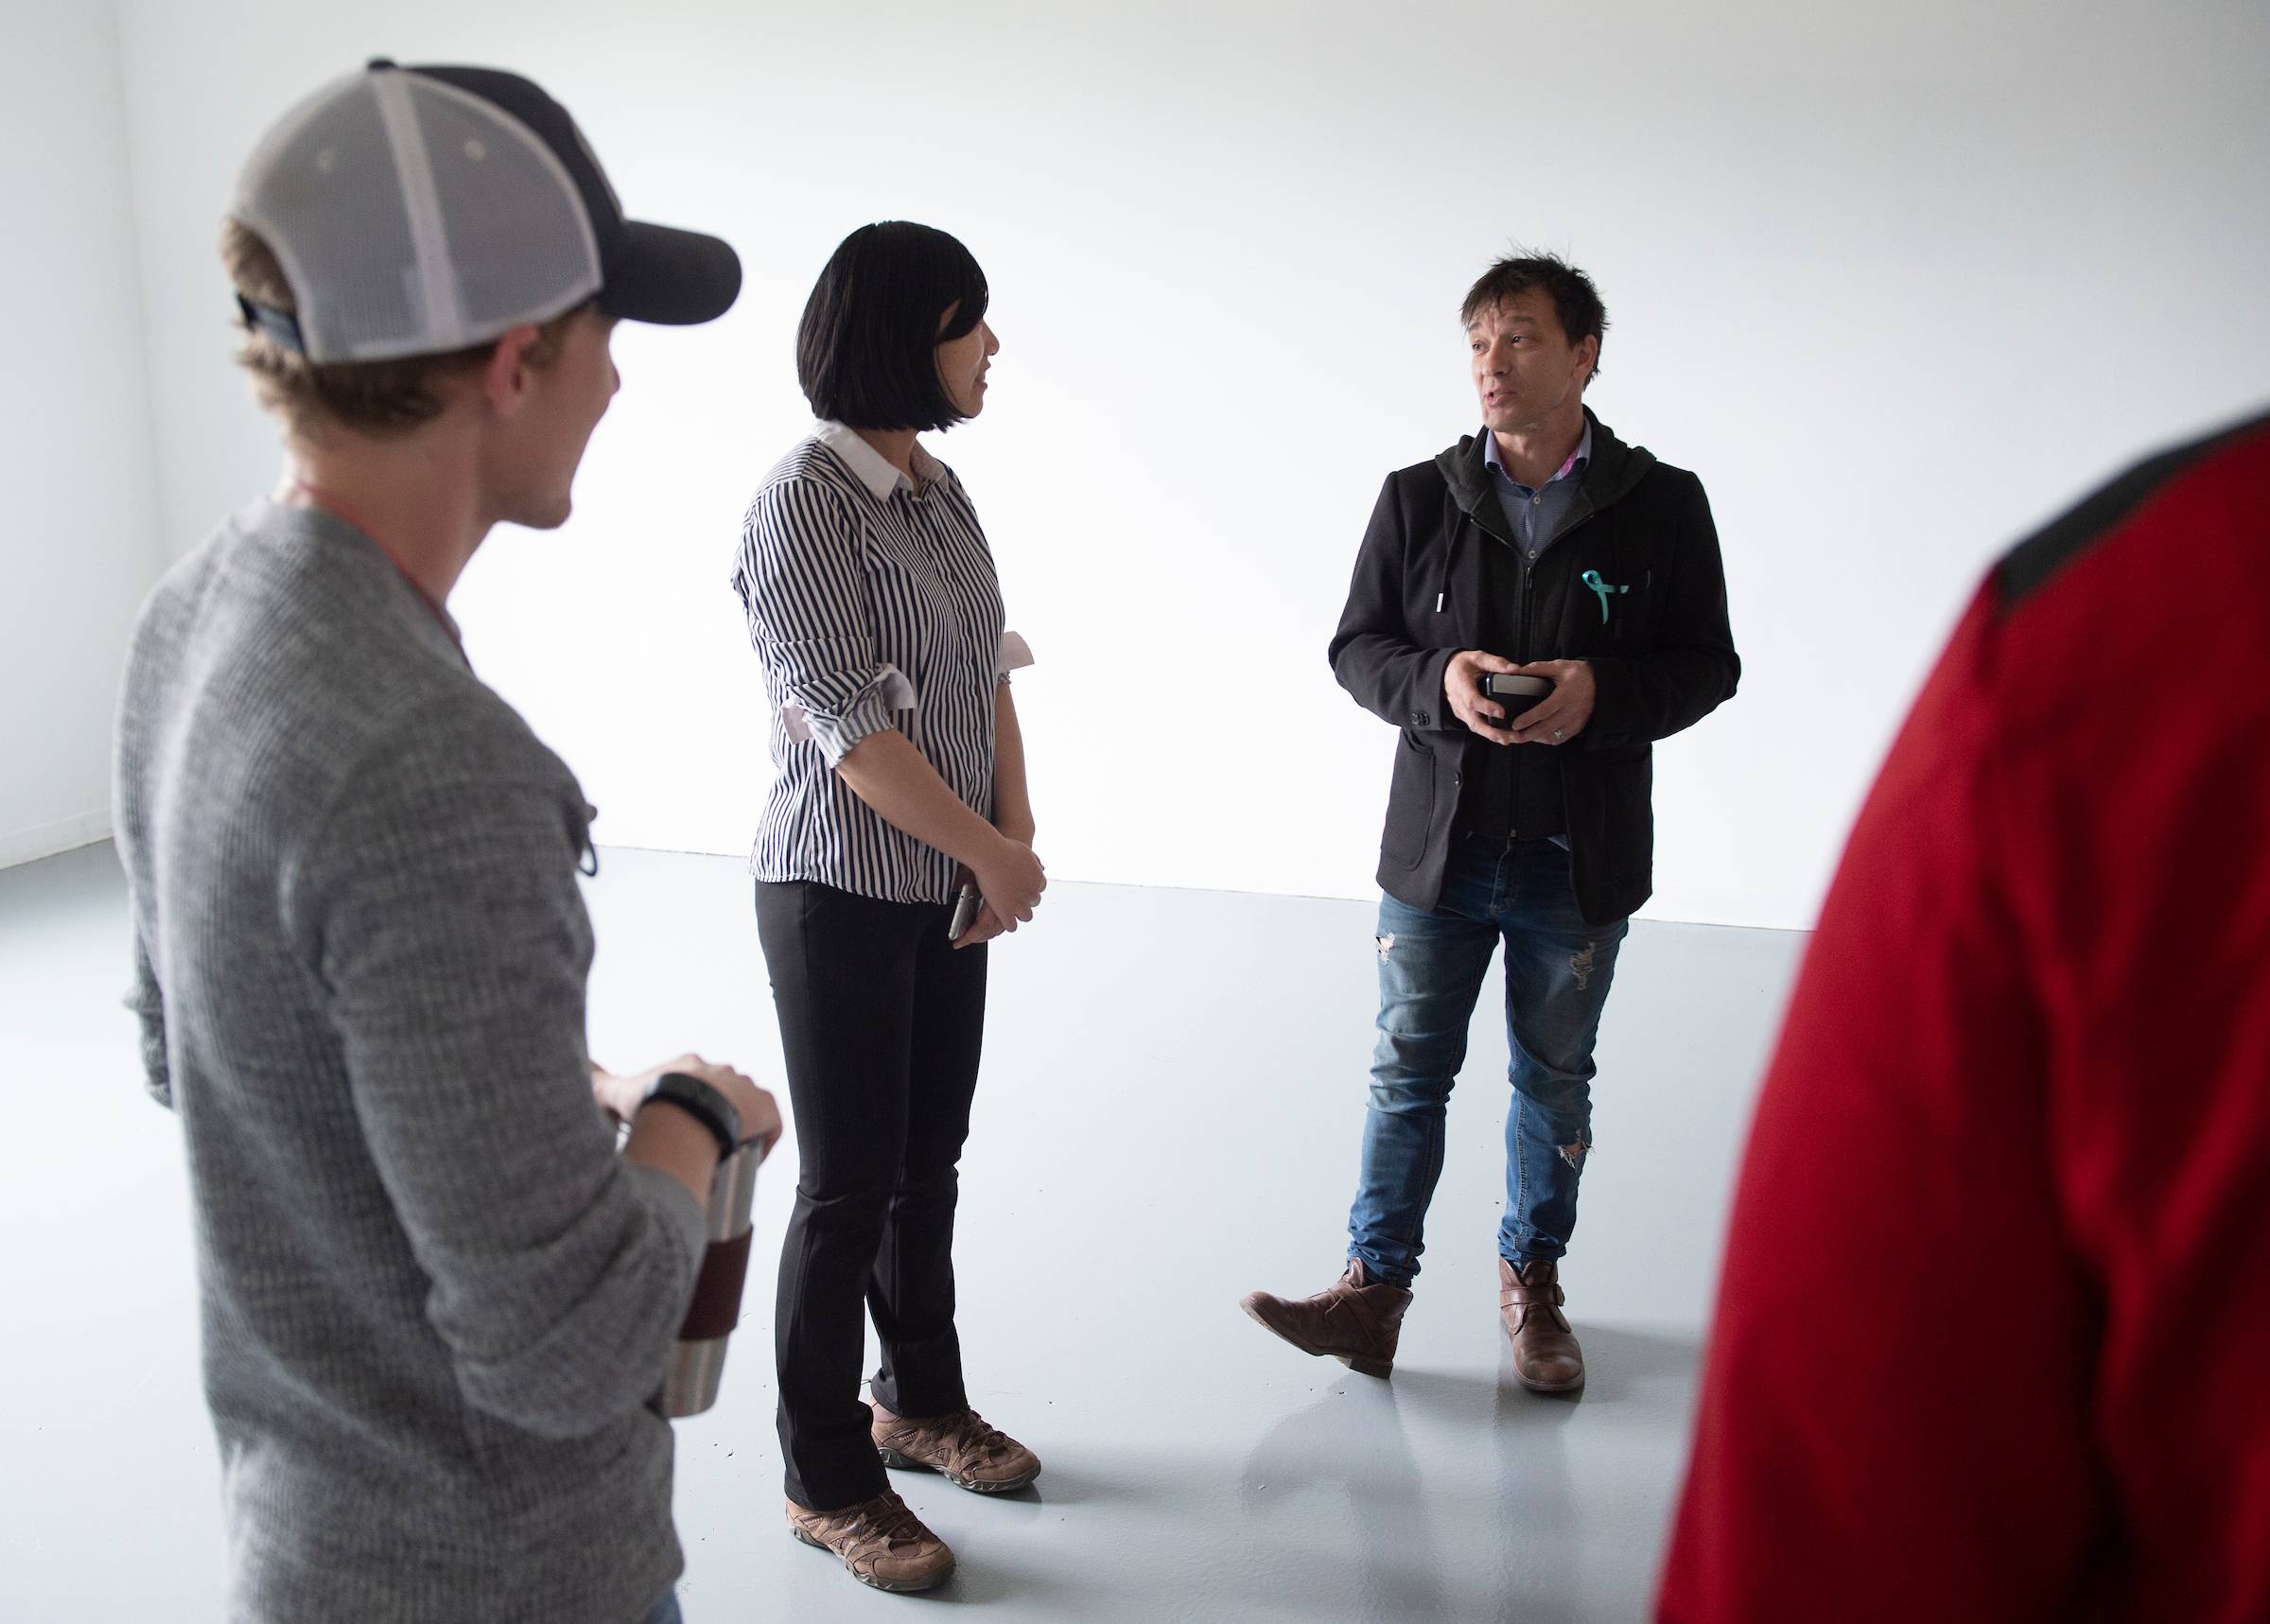
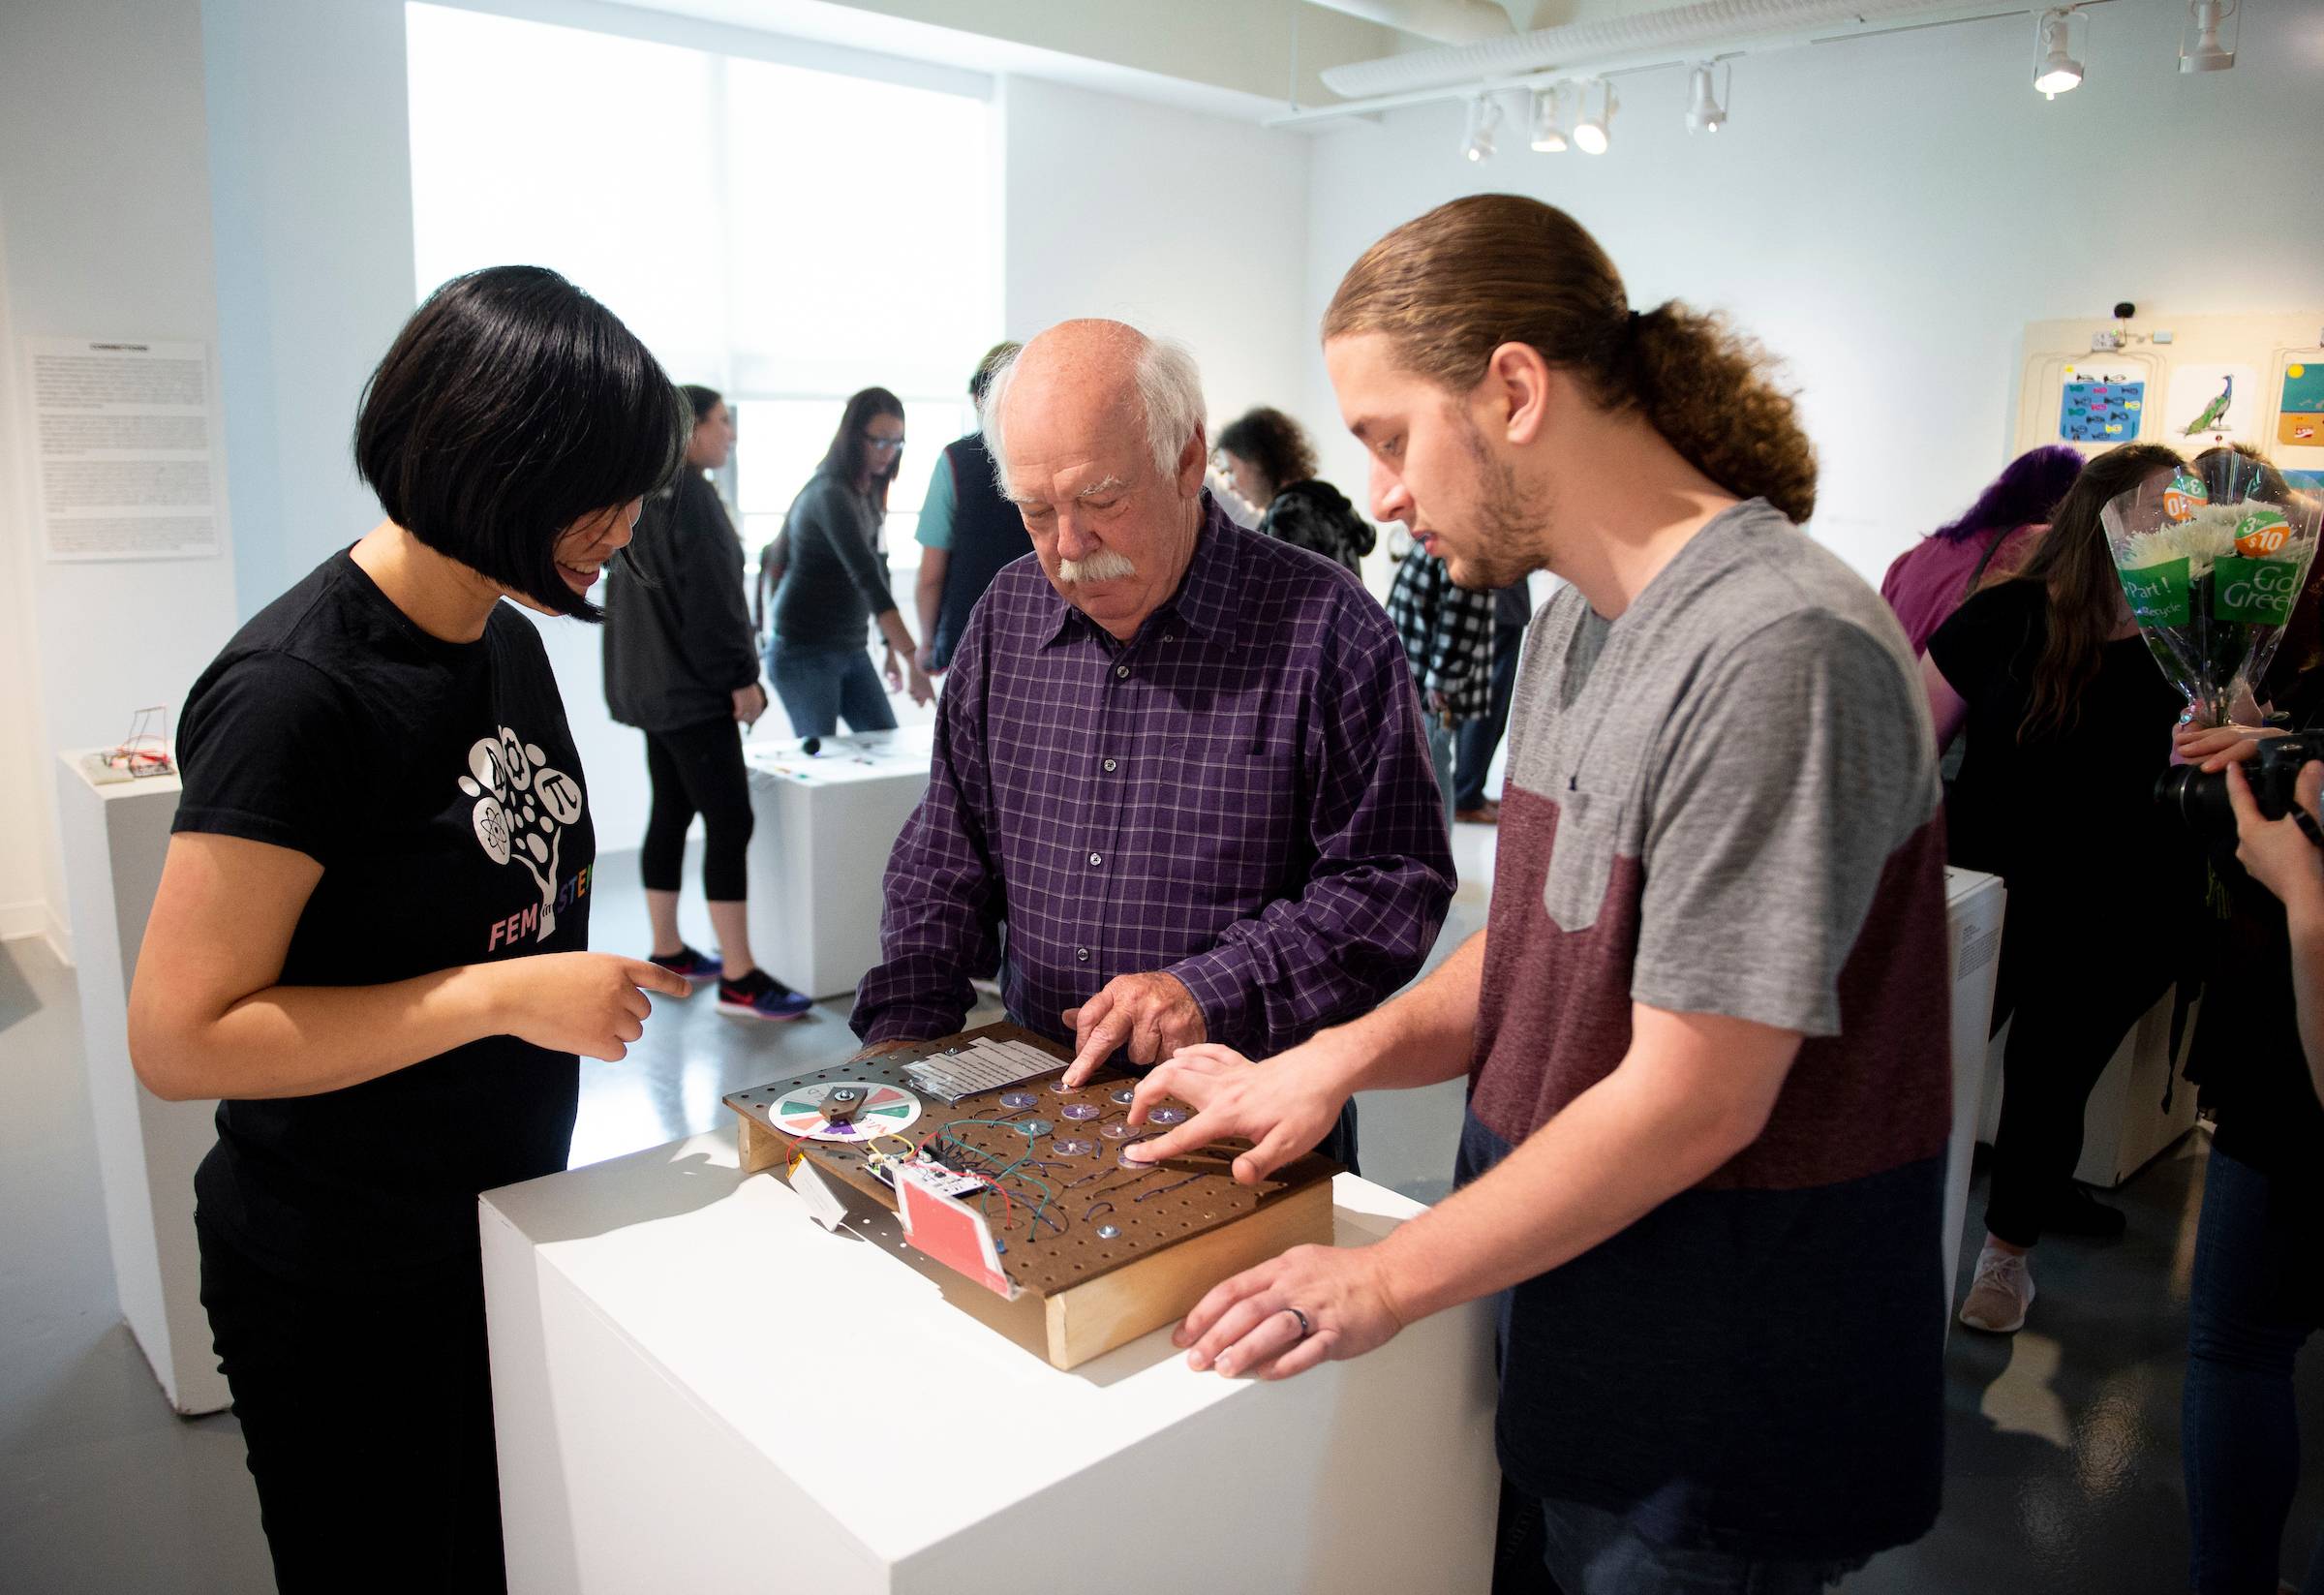
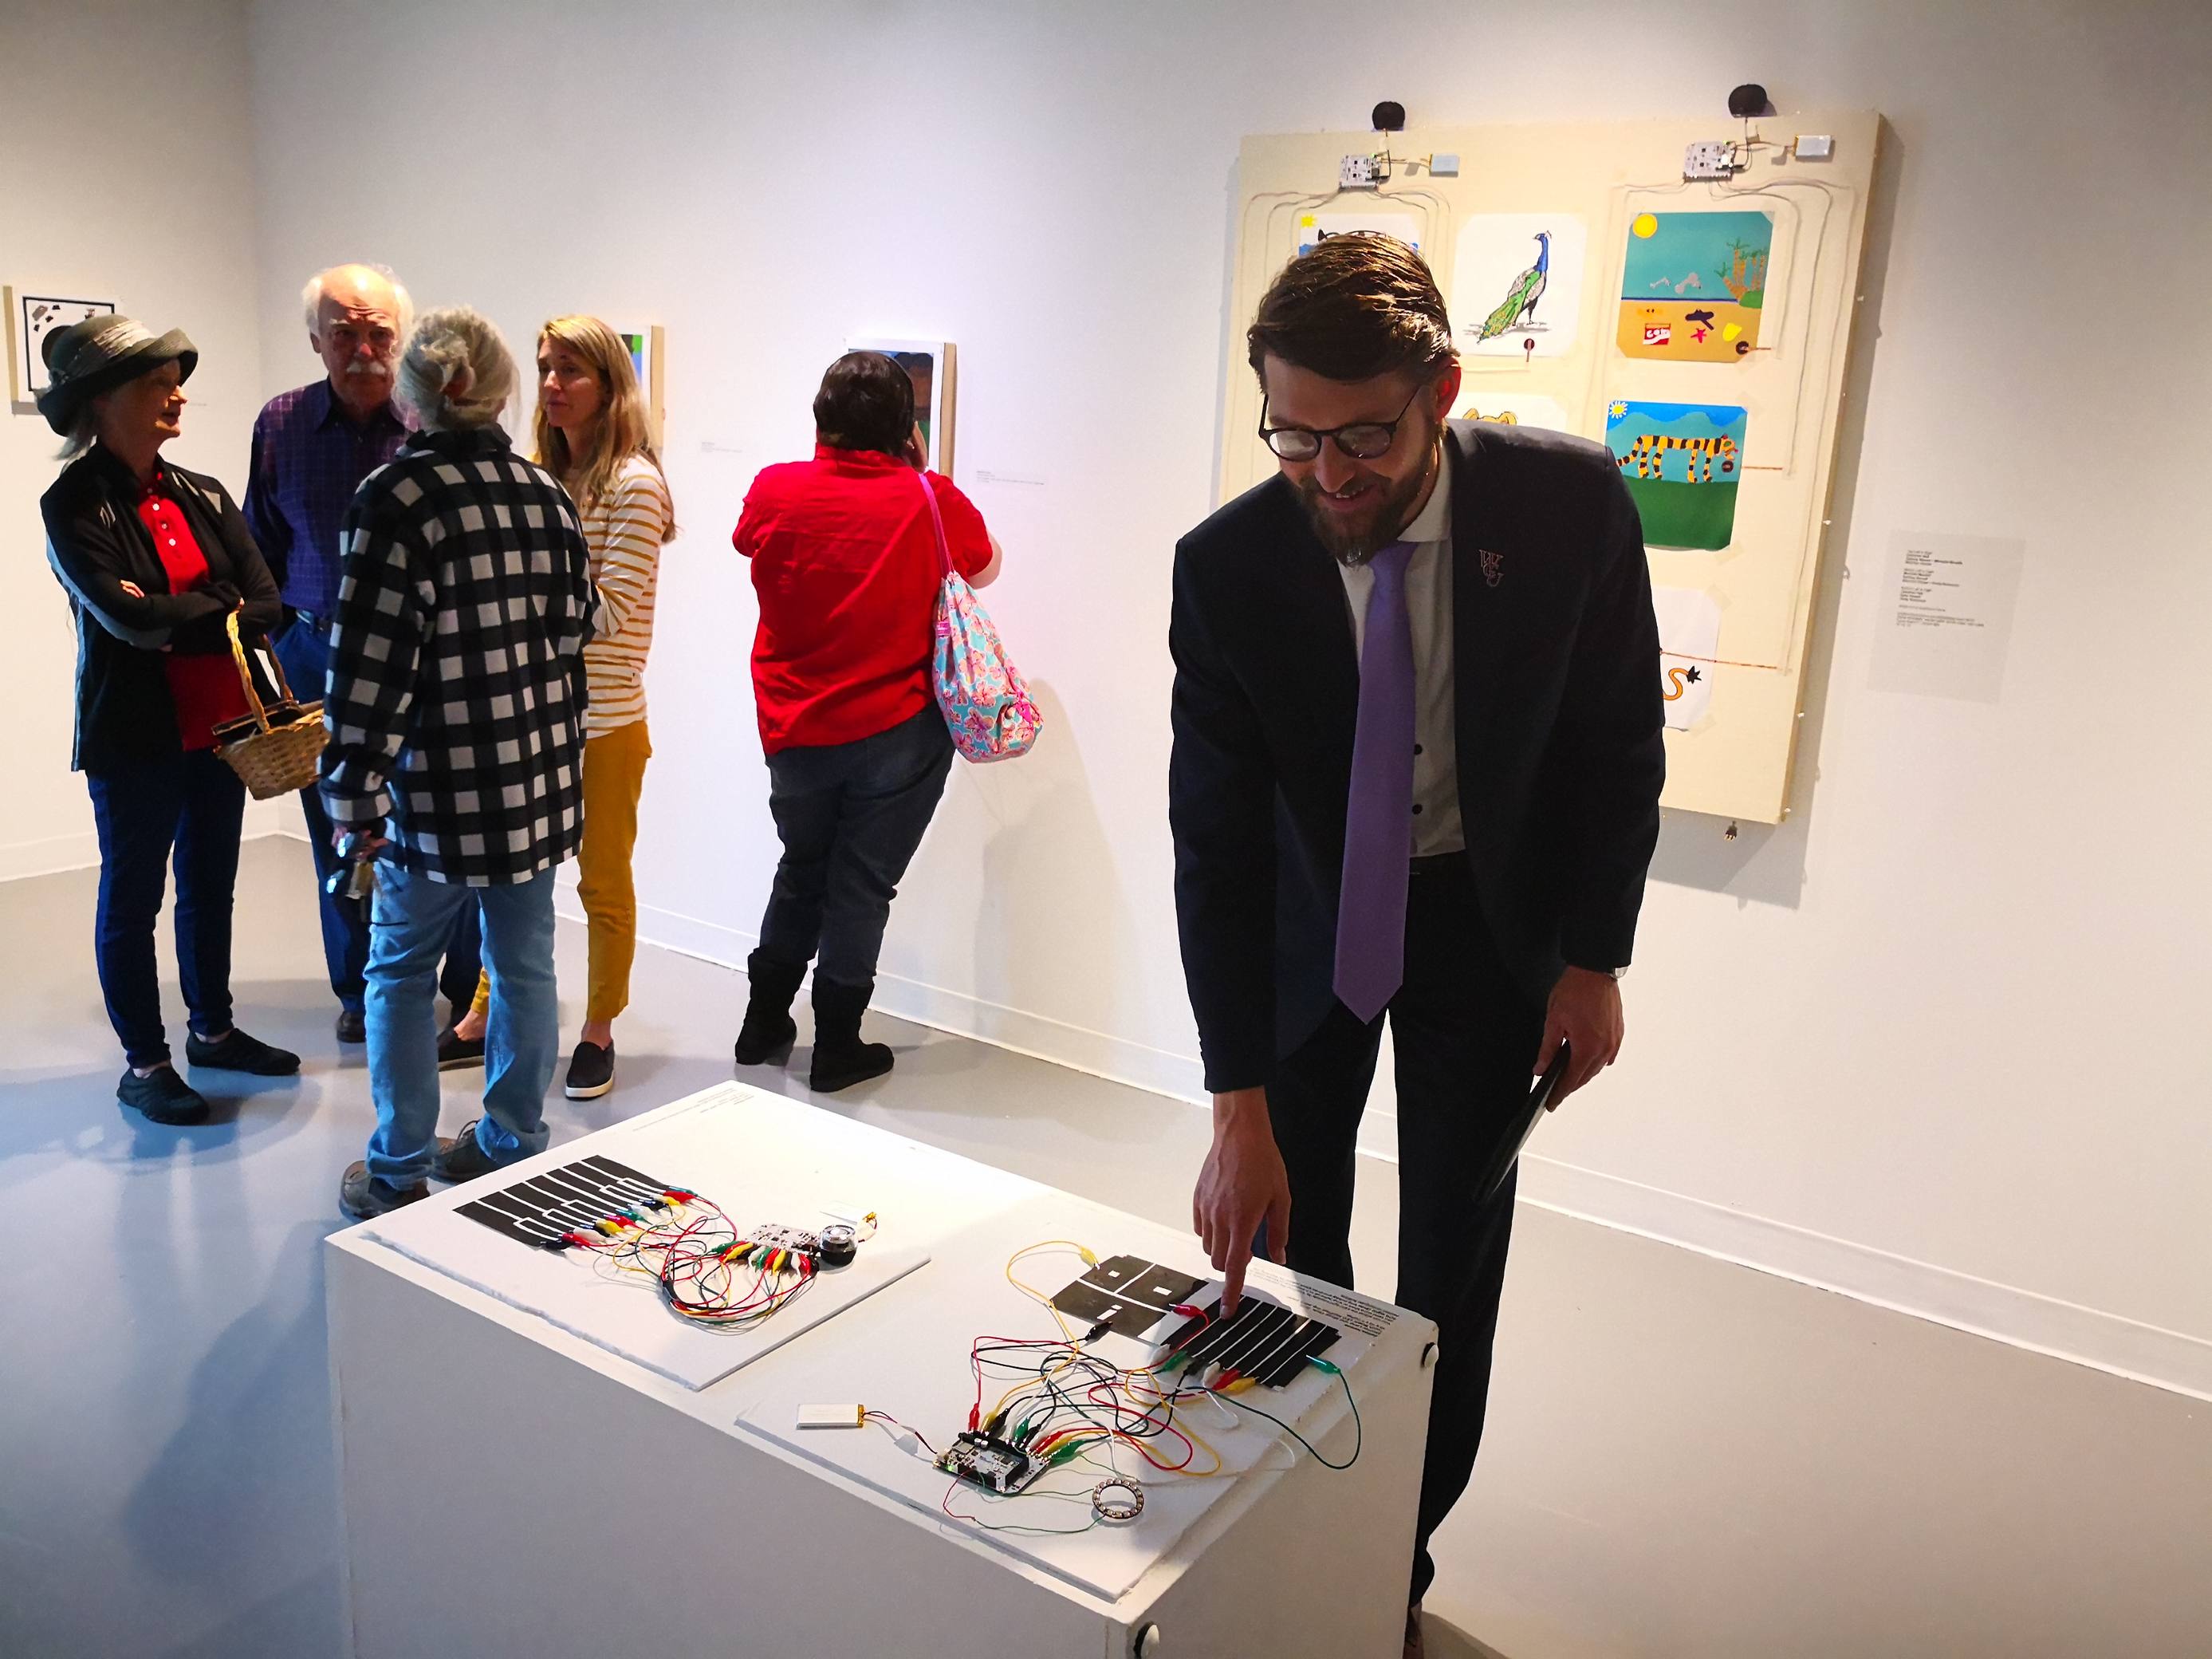
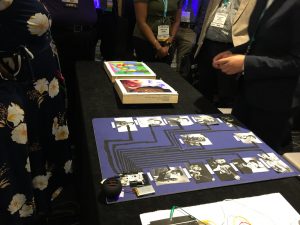
Dr. Yan brought some sample projects and allowed the audience to try them with first-hand experiences before going through this presentation (thanks to a member at the audience who provided the photos below).
We sincerely appreciate the strong support from the following funding sources:
- American Society of Engineering Education (ASEE)’s Electrical and Computer Engineering Technology Department Heads Association (ECETDHA) Minigrant, $1000
- WCU Intentional Learning Grant, $1250
- WCU Faculty Institute of Community Engagement Grant, $1000
- WCU Academic Project Grant, $500
- Dr. Hugh Jack (WCU SET Program Director and Distinguished Professor)’s Endowment Fund, ~$500
- College of Fine and Performing Art Support on ART 132 course materials
Some photos at the work session and the exhibit were taken by WCU photographer, Mrs. Ashley Evans, and her superb work is sincerely appreciated.
We really appreciate the clients and the helpers at Full Spectrum Farm for working with us together throughout the year, and we thank everyone who has supported and contributed to this project.